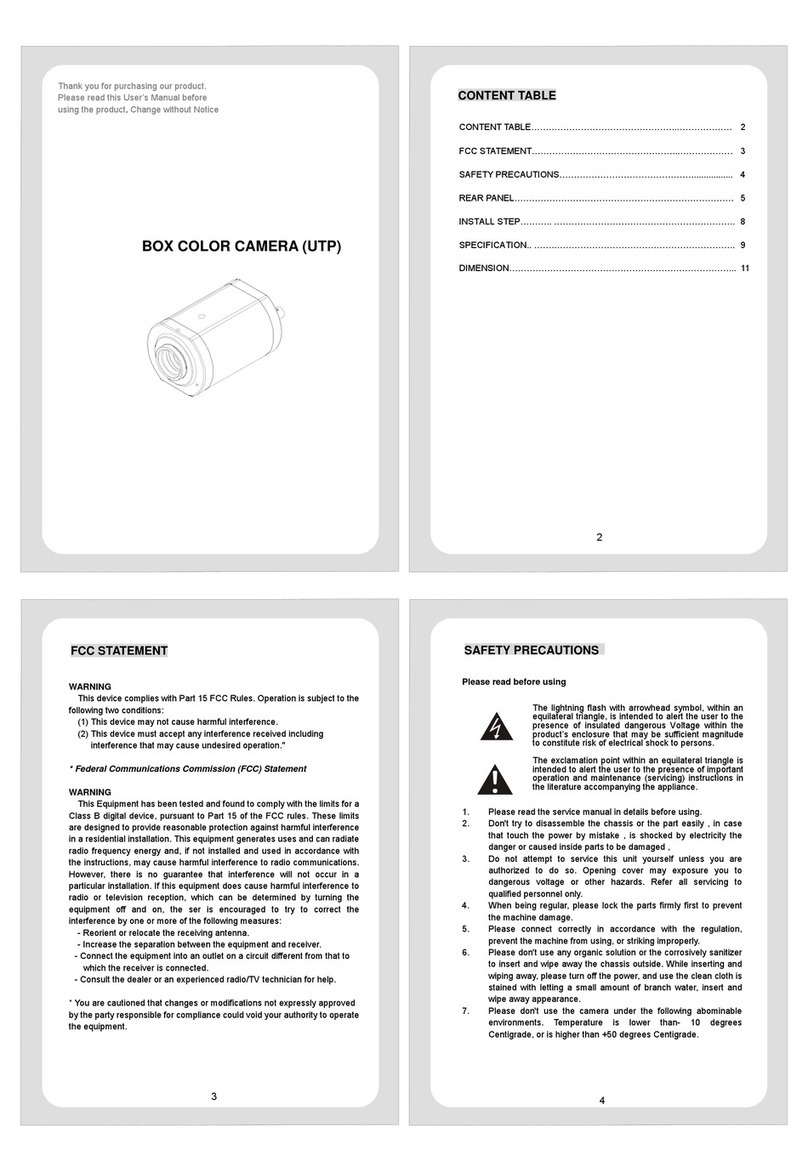
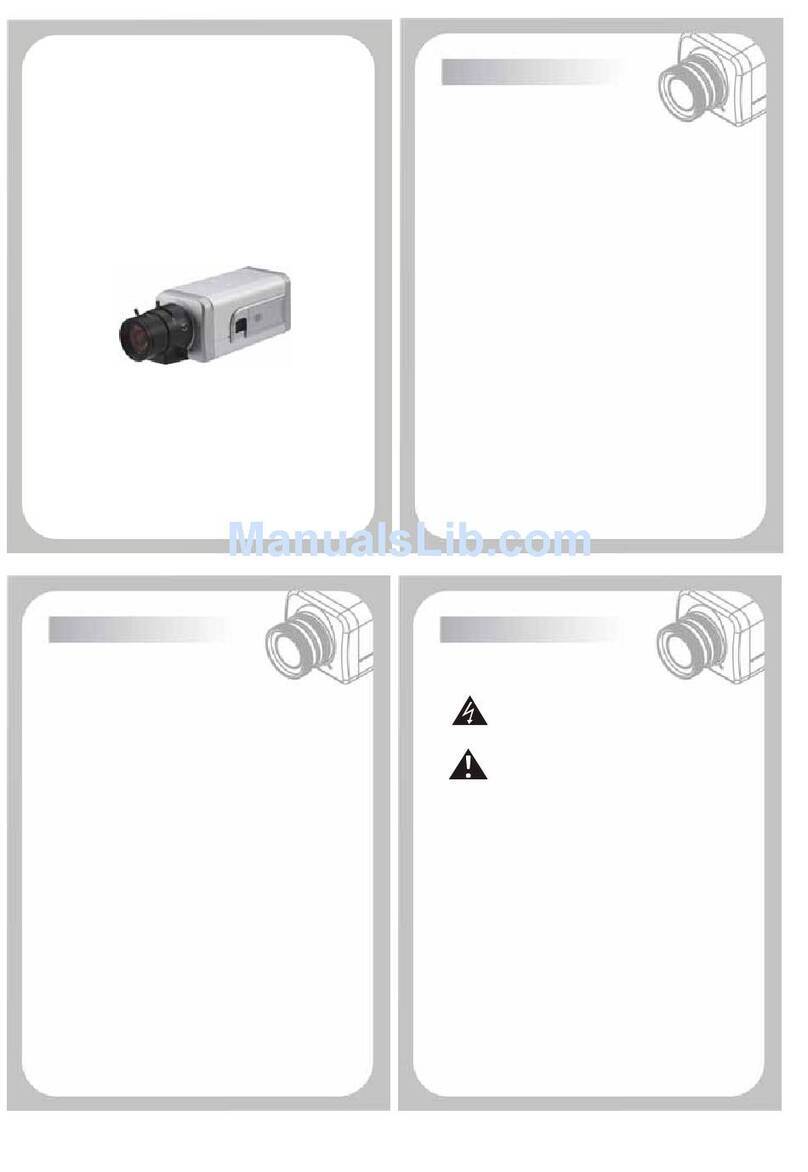
Hi Sharp HS-CX9W00 User manual

Thank you for purchasing our product.
Please read this User’s Manual before
using the product. Change without Notice Table of Content
Content…………………………………………………………………………..2
FCC Statement………………………………………………………………….3
Safety Precautions……………………………………………………………..4
Features…………………………………………………………………………5
Parts & Functions………………………………………………………………6
Connection Interface…………………………………………………………...7
Operations………………………………………………………………………8
Specification……………………………………………………………………14
Dimension………………………………………………………………………15
1/3” Wide Dynamic Range Color
CCD Camera
FCC STATEMENT
WARNING
This device complies with Part 15 FCC Rules. Operation is subject to the
following two conditions:
(1) This device may not cause harmful interference.
(2) This device must accept any interference received including
interference that may cause undesired operation."
* Federal Communications Commission (FCC) Statement
WARNING
This Equipment has been tested and found to comply with the limits for a
Class B digital device, pursuant to Part 15 of the FCC rules. These limits
are designed to provide reasonable protection against harmful interference
in a residential installation. This equipment generates uses and can radiate
radio frequency energy and, if not installed and used in accordance with
the instructions, may cause harmful interference to radio communications.
However, there is no guarantee that interference will not occur in a
particular installation. If this equipment does cause harmful interference to
radio or television reception, which can be determined by turning the
equipment off and on, the ser is encouraged to try to correct the
interference by one or more of the following measures:
- Reorient or relocate the receiving antenna.
- Increase the separation between the equipment and receiver.
- Connect the equipment into an outlet on a circuit different from that to
which the receiver is connected.
- Consult the dealer or an experienced radio/TV technician for help.
* You are cautioned that changes or modifications not expressly approved
by the party responsible for compliance could void your authority to operate
the equipment.
3
Safety Precautions
Please read before using
1. Don't try to disassemble the chassis or the part easily, in case
that touch the power by mistake, is shocked by electricity the
danger or caused inside parts to be damaged.
2. Do not attempt to service this unit yourself unless you are
authorized to do so. Opening cover may exposure you to
dangerous voltage or other hazards. When the problem
cannot solve, please contact the professional. Refer all
servicing to qualified personnel only.
3. When being regular, please lock the parts firmly first to prevent
the machine damage.
4. Please connect power source correctly in accordance with
the regulation, prevent the machine from using, or striking
improperly.
5. Power source of camera is AC100-240V or DC12V/AC24V.
6. Please don't use any organic solution or the corrosively
sanitizer to insert and wipe away the chassis outside. While
inserting and wiping away. Please turn off the power, and use
the clean cloth is stained with letting a small amount of branch
water, insert and wipe away appearance.
7. Please don't use the camera under the following abominable
environments: The humidity is higher than 90%. Temperature
is lower than- 10 degrees Centigrade, or is higher than +50
degrees Centigrade.
4
The lightning flash with arrowhead symbol, within an
equilateral triangle, is intended to alert the user to the
presence of insulated dangerous Voltage within the
product’s enclosure that may be sufficient magnitude to
constitute risk of electrical shock to persons.
The exclamation point within an equilateral triangle is
intended to alert the user to the presence of important
operation and maintenance (servicing) instructions in the
literature accompan
y
in
g
the appliance.

Parts & Functions
Features
1. 1/3” Sony Wide Dynamic image senor
2. Easy installation and special application
3. Support up to 8 privacy zone setting
4. Remote controllable for easy setting
5. 256X digital zoom for high quality picture
6. Advanced Day & Night mode with built-in Sony DSP chip for necessary
light level compensation.
7. Standard high quality audio
8. Power selection at AC100-240V or DC12V/AC24V
9. Offer image rotate function in both Horizontal and vertical.
10. Selectable picture display in normal and negative mode
11. 530 lines of high horizontal resolution
12. Minimum subject illumination of 0.003 lux @ F1.2
13. Automatic / Manual electronic shutter function 1/60 ~ 1/50,000 Seconds.
14. Digital slow shutter function available for special application.
5
VIDEO OUT
RS485
AUDIO OU
Connection Interface-RS485
1. Connection:
2. CAMERA and KEYBOARD PELCO P Connection: KEYBOARD ID must be
CAMERA ID+1
3. If Users changed the CAMERA ID from OSD MENU, users have to shut
down (exit) OSD menu once in order to make New CAMERA ID actives.
Keyboard(RS485) Camera Remark
Press CLOSE Key Exit Sub Menu / Enter Sub Menu OSD Mode
Joystick Left setting value decrease (-) at Sub Menu OSD Mode
Joystick Right setting value increase (+) at Sub Menu OSD Mode
Joystick Up Cursor Up OSD Mode
Joystick Down Cursor Down OSD Mode
95 + Preset Enter(Æ/Exit) OSD Mode
7
1. Menu Selection Button:
*MENU button:Confirm button;long press means exit function.
*UP/DOWN button:Users are able to use Up/Down button select the
function that want to change from the menu list.
*LEFT/RIGHT button:Users are able to use Left/Right button to change
each function’s setting.
2. Lens type:
Refer to lens type, users are able to choose best mode (DC, VIDEO or
AES) for their lens.
3. Remote Jack:
Provided RS485 connection interface
4. RS485 Terminal Switch
5. Power Indicator Light
6. Audio Output (RCA Jack)
7. Image Output (BNC Jack)
8. Auto IRIS Connector
9. Power Source:a. AC100V-AC240V ;b. DC12V/ AC24V;c. DC12V
6
T-
PELCO P/D
T+
4
R- 2
1
CAMERA
R+
485 Interface
D-
RS
D+
3
※Normal Manual
In Normal Screen, Please use Up/Down button
for Digital Zoom Control.
Digital Zoom: 3X (WDR mode has to be OFF).
※In Normal screen, please press Menu button in order to access main menu.
O (MENU/Confirm Key)
※When users are initialing camera’s settings, General menu’s Camera ID、
Baud rate function, and Message menu’s Zone function won’t initial
camera’s settings back to factory setting.
PS. The left key is back to root menu and right key is entry further menu.
Change menu option is moveable by up/down key.
Main MENU SETUP
BRIGHTNESS 50↓
EXPOSURE ALCÆ↓
WHITEBAL ATW1↓
BACKLIGHT OFF↓
GAIN ONÆ↓
SENS-UP AUTO X8↓
SPECIAL Æ↓
RESET ↓
Exit ↓
8
Operations
T
DC
VIDEO
ON
+OF
DC +12V
IRIS
--
○
8
○
1
F
○
9
○
6
○
5
○
2
○
3
○
7
○
4

BRIGHTNESS
/
EXPOSURE
WHITE BAL / BACKLIGHT
GAIN / SENS-UP
●BRIGHTNESS
In Main Menu, adjust camera brightness level by left/right
key to increase/decrease value. Adjust range: 0~100.
●EXPOSURE
In Main Menu, change camera exposure method by left/right key to turn on
or off Auto Lens Control (ALC) function. The Auto Iris function has built in
with DC driver so that user can’t modify this option. User can click enter key
to adjust detail parameters of ALC configuration. The ALC setup has many
electronic shutter and slow shutter (FIX x means x/60) levels such as 1/60,
1/100, 1/250/1/500, 1/1000, 1/2000, 1/5000, 1/7000, 1/12000, FIX x12, FIX
x10, FIX x8, FIX x6, FIX x4, FIX x2 for various applications.
Notice:If user select ESC option that will close BACKLIGHT function.
●WHITE BAL
In Main Menu, change camera white balance correction method by left/right
key in WHITE BAL option. There have 4 types function to adjust such as
ATW1, ATW2, AWC and MANUAL. ATW1 is suitable for small deviation like
indoor. ATW2 is suitable for large deviation like outdoor, AWC is calculating
again. MANUAL function can adjust red and blue percentage of white
ingredient for various applications.
●BACKLIGHT
In Main Menu, change camera backlight compensation method by left/right
key in BACKLIGHT option. There have Backlight Compensation (BLC) and
Wide Dynamic Range (WDR) ON/OFF switch function to adjust sensitivity
level of backlight compensation threshold. In addition, BLC setup also
supports HLM function to hide intense light to avoid exposure. AREA
function to adjust ROI (Region of interest) size and position for various
applications.
●GAIN & SENS-UP
Auto gain control with SENS-UP function is helpful especially in dark
environment and user could turn on/off it by left/right key in GAIN option.
The SENS-UP function has many gain levels to improve low-illumination
vision such as auto x2, x4, x6, x8, x10, x12, x14, x16, x24, x32, x64, x128,
x256 for various applications.
9
SPECIAL -1/3
In Main Menu,Select SPECIAL menu
SPECIAL SETUP
DAY/NIGHT COLOR
MOTION DET OFF
PRIVACY OFF
SYNC INT
CAM-ID OFF
IMAGE CTRL Æ
SYSTEM CTRL Æ
RETURN
1.DAY/NIGHT:
Day / Night (D/N) mode, User can select AUTO、COLOR、B/W
modes for the different needs.
(1) AUTO:According to D/N level and brightness level, camera
will automatically switches between Day or Night mode.
(2) COLOR:Day Mode (Color picture).
(3) B/W:Night Mode (Black-and-white picture).
2. MOTION DET:
Motion detect mode. User can setup a 16x12 motion detect area and
adjust sensitivity level for the different needs. Camera screen will
show MD icon about 5 seconds then motion detection function has
triggered.
(1) MD AREA SETUP:User can select which interested block
by enter key and press above 3 seconds to exit.
(2) SENSITIVITY:Motion detects sensitivity level, Adjust range:
0~100.
11
SPECIAL -2/3 SPECIAL -3/3 / RESET/ EXIT
3.PRIVACY:
Privacy mask mode, User can select privacy area、
area color and transparency.
(1) AREA SELÆ:System provide 8 default blocks to modify and
step 1 and 2 is define start-end points of rectangle sharp and
step 3 is decide this block is show or cancel. Press enter key
above 3 seconds to exit this setting page.
(2) AREA COLOR:There have 8 color for user select such as
blue, black, white, yellow, cyan, green, magenta and red.
(3) AREA TRANS:Area transparency level. Adjust range: 0~100.
4.SYNC:
Synchronize mode, user can select internal and line lock for the
different needs.
Notice:The line lock function just for engineer mode only.
5.CAM-ID:
User can name a title for this camera via its OSD system and then
easily find the camera according to this title on the screen.
6.IMAGE CTRL:
User can control image rotation, zoom, sharpness, saturation as below.
(1) MIRROR:Left/Right horizontal reverse.
(2) FLIP:Up/Down vertical reverse.
(3) STILL:Freeze image.
(4) D-ZOOM:Digital zoom in. Adjust range: 1~255.
(5)SHARPNESS :Sharpness level adjustment. Adjust range:
0~100.
(6)SATURATION :Saturation level adjustment. Adjust range:
0~100.
12
7. SYSTEM CTRL:
User can configure system communication and check
version as below.
(1) RS485ID:Set protocol ID. Adjust range: 0~255.
(2) BAUDRATE:Set communication baud rate speed such as
2400, 4800, 9600, 19200, 38400, 57600.
(3) PROTOCOL:There have PELCO-P and D for setup.
(4) DEFECT:Self diagnostic.
(5) LANGUAGE:English/Chinese mode, default is English.
The late text line is shown model version for update reference.
Notice:The DEFECT function just for engineer mode only.
●RESET
Initial menu’s setting back to factory settings.
●EXIT
Exit menu.
13

Image Sensor NTSC:1/3" Sony CCD ICx212
PAL:1/3" Sony CCD ICx213
Pick-up Device 1/3" INTERLINE transfer CCD
Total Pixel NTSC:811(H)x508(V) / PAL:795(H)x596(V)
Effective Pixel NTSC:768(H)x494(V) / PAL:752(H)x582(V)
Resolution 530 TV Lines
Scanning Sys. NTSC:525 lines / 60 fields PAL:625 lines / 50 fields
S/N Ratio More than 48 dB (AGC off)
Auto 1/60(1/50)-1/50,000 second
Electronic
Shutter Manual:1/250,1/500,1/1000,1/2000,1/4000,1/10000
,1/20000,1/50000
Gamma Correct 0.45
Min. Illumination 0.1 lux (Day & Night on), 0.003lux (DSS)/F1.2
Video Output 1.0 Vp-p, 75ohm
Wdr Function ON / OFF
Control Interface RS485
Gain AGC/MGC
White Balance Auto/Indoor/Outdoor/Manual/Push Lock
Day & Night Auto / Day / Night
Scanning Rate H: NTSC:15,734 KHz;PAL;15,625 KHz
V: NTSC:59.94Hz;PAL:50Hz
BLC ON/OFF
Lens Mount Type C or Cs mount, Optional DC / Video drive
Power Source AC 100-240V, < 6W ; DC12V /AC24V < 6W
Dimension 63.9(W)x133.4(D)x64(H)mm
Operating Temp. -10 to 50 (14 to 122 )℃℉
Storage Temp. -20 to 70 (℃-4 to 158 )℉
14
Specification
Dimension
VIDEO OUT
RS485
AUDIO OUT
DC
VIDEO
ON
IRIS
-
+OFF
-
DC +12V
15
Other Hi Sharp Security Camera manuals
Hi Sharp
Hi Sharp HS-CC756W User manual
Hi Sharp
Hi Sharp HS-4IN1-D073AA User manual
Hi Sharp
Hi Sharp HS-6IN1-T067B7 User manual
Hi Sharp
Hi Sharp HS-4IN1-T067AA User manual
Hi Sharp
Hi Sharp HS-CC757 User manual
Hi Sharp
Hi Sharp HS-CW8762 User manual
Hi Sharp
Hi Sharp HS-4IN1-T068AA User manual
Hi Sharp
Hi Sharp CD3213 User manual
Hi Sharp
Hi Sharp HS-CX1050 User manual
Hi Sharp
Hi Sharp HS-4IN1-T022CQ User manual
