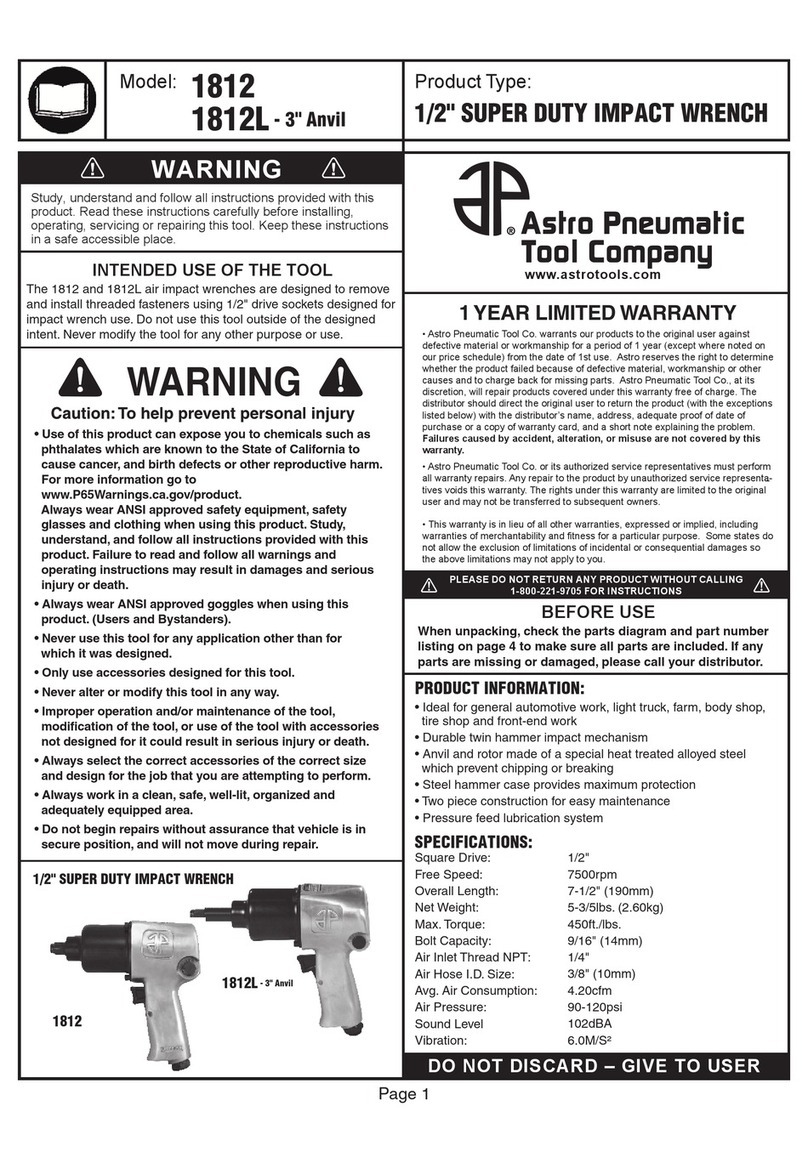
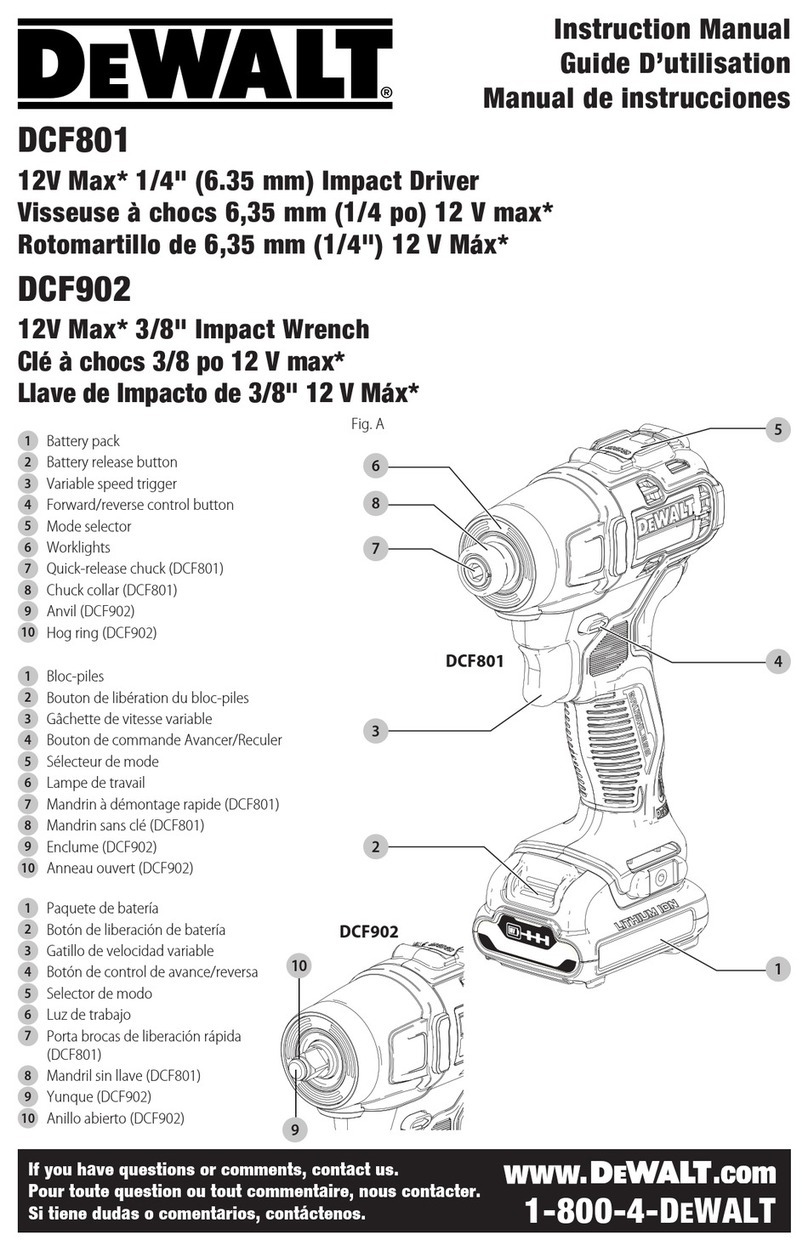
HIKOKI WR14A User manual

WR14A.WR27A

Impact/Rachet Wrenches
It is intended for lightening/loosening or installing/
uninstalling of threaded fasteners,with appropriate
power socket wrenches ir driver bits.

◆
◆
◆
◆
●
●
●
●
●
●
●●
●
●
●
●
●
●
CAUTION
IMPORTANT
OPERATION INSTRUCTION
General
Before each use:
Always operate, inspect and maintain tool in accordance with all regulations (local, state,
federal and country), that may apply to hand held pneumatic tools.
Drain water from air compressor tank and condensation from air lines. See air
compressor’s operation manual.
Disconnect the tool from the air supply before lubricating,
installing, removing or adjusting the tool.
Lubricate tool, see “Maintenance“ section in this manual.
Select the required drilling bit depending on the material to be work on .
Connect tool to air hose of recommended size.
NOTE: The use of a quick connect set makes connecting easier.
The use of air filters and air line lubricators is recommended.
To use:
Turn air compressor on and allow air tank to fill.
Set the air compressor’s regulator to 90 PSI (6.2 bars). This tool operates at a maximum 90 PSI
(6.2 bar)pressure.
For rotating tools, make sure the direction of rotation before operating tools.
Make sure the inserted tool is firmly secured by the chuck (drill/tappers), by the retainer
(hammers/needle scalers), by the bit holder (screwdrivers), by the collet (die grinders), by
the flange set (grinders), blade holder (saws) or firmly attached to the anvil (impact/ratchet
wrenches) or the pad (sanders/polishers).
Setting for the rotational direction, if any:
Pull the level/switch as it is marked on the tool.
「F」(Forward) - Clockwaise direction seen from the operator ’s position.
「R」(Reverse) - Counter-clockwaise direction seen from the operator’s position.
Note: For some tools, it may marked with the combination of 「L」and「R」. In this case,
「R」(right) indicates the forward direction and「L」(Left) indicates the reverse
direction.
Setting for the rotating/reciprocating speed settings, if any:
by digits: greater number indicates a hight setting and vice versa.
by symbols: greater size of the symbol indicates a hight setting and vice versa.
Note: Always start operating with a lower setting.
Allow the tool to stop completely before changing the direction of rotation.
To Start or Stop
The tool equips with a hold -to-run trigger/level. Pull the trigger (or press down the lever) to
start the tool. The tool will stop running when t he trigger/lever is released.
Note: For certain kinds of air tools, it might take some seconds for the tool to stop
completely because of the inertia.

VII Page 4 of 15
IMPORTANT
The engery transmitted form the tool can vary depending on the size of
the air compressor and the volumn of air the air compressor delivers.
Do not use damaged, frayed or deteriorated air hoses and fitting.
Always disconnect air supply before lubricating, installing, removing or adjusting the tool.
When job is complete, turn the air compressor off and store as described in the air
compressor operator manual.
Always use clean, dry air at 90 PSI (6.2 bars) maximum air pressure. Dust, corrosive fumes
and/or excessive moisture can ruin the internal components of a pneumatic tool.
Do not remove any labels. Replac e a damaged label.
Keep hands, loose clothing and long hair away from the moving parts of tool.
GENERAL SAFETY TIPS FOR AIR TOOLS
Read the general safety tips and the safety tips related to
specific tools carefully for your own safety.
□
□
GS
General safety rules
- For multiple hazards, read and understand the safety instructions before installing,
operating, repairing, maintaining, changing accessories on, or working nearthe power tool.
Failure to do so can result in serious bo dily injury.
- Only qualified and trained operators should install, adjust or use the power tool.
- Do not modify this power tool. Modifications can reduce the effectiveness of safety
measures and increase the risks to the operator.
- Do not discard the sa fety instructions; give them to the operator.
- Do not use the power tool if it has been damaged.
- Tools shall be inspected periodically to verify thatthe ratings and markings are legibly
marked on the tool. The employer/user shall contact the manufactur er to obtain
replacement marking labels when necessary.
- In orderto counteract the reaction torque and /or reduce the risk form the vibration, it is
recommended to fix the tool on a stable supporting device when working with the tool.
PH Projectile hazards
-
Disconnect the power tool from the energy source when changing inserted tool or
accessories.
- Be aware that the failure of the workpiece, or accessories, or even of the inserted tool
itself can generate high -velocity projectiles.
- Always wear impact-resistant eye protection during the operation of the power tool. The
grade of protection required should be assessed for each use.
- The risk to others should also be accessed.
- Ensure thatthe workpiece is securely fixed.
●
●
●
●
●
●

VII Page 5 of 15
- Choking, scalping and/or lacerations if loose clothing, personal jewellery, neckware, hair
or gloves are not kept away from the tool and accessories.
- Gloves can become entangled with the rotating drive, causing severed or bro ken fingers.
- Do not wear loose -fitting gloves or gloves with cut or frayed fingers.
- Keep hands away from rotating drives.
OH Operating hazards
Entanglement hazards
- Use of the tool can expose the operator's hands to hazar ds including impact, cuts,
abrasions and/or heat. Wear suitable gloves to protect hands.
- Operators and maintenance personnelshall be physically able to handle the bulk, weight
and power of the tool.
- Hold the tool correctly; be readytocounteract normal or sudden movements and have
both hands available.
- Maintain a balanced body position and secure footing.
- Release the start -and-stop device in the case of an interruption of the energy supply.
- Use only lubricants recommended by the manufacturer.
- Personal protective safety glasses s hall be used;suitable gloves and protective clothing
are recommended.
- If the power tool is fixed to a suspension device, makesure that the fixation is secure.
RM Repetitive motions hazards
- When using a power tool to perform work -related activities, the operator can experience
discomfort in the hands, arms, shoulders, neck, or other parts of the body.
- While using a power tool, the operator should adopt acomfortable posture whilst
maintaining secure footing and avoiding awkward or off -balanced postures. The operator
should change posture during extended tasks, which can help avoid discomfort and
fatigue.
- If the operator experiences symptoms such as persistent or recurring discomfort, pain,
throbbing, aching, tingling, numbness, burning sensations or stiffness, these warning
signs should not be ignored. The operator should tell the employer and consult a qualified
health professional.
AH Accessory hazards
- Disconnect the power tool from the energy supply before fitting or changing the inserted
tool or accessory.
- Use only sizes and typ es of accessories and consumables that are recommended by the
power tool manufacturer; do not use othertypes or sizes of accessories and
consumables.
- Avoid direct contact with the inserte d tool during and after use, as it can be hot or sharp.
□
□
□
□
EH

□
□
VII Page 6 of 15
caused by the use of the tool and also of trip hazards caused by the air line or hydraulic
hose.
- Proceed with care in unfamiliar surr oundings. Hidden hazards, such as electricity or other
utility lines, can exist.
- The power tool is not intended for use in potentially explosive atmospheres and is not
insulated against coming into contact with electric power.
- Make sure there are no el ectrical cables, gas pipes, etc., that can cause a hazard if
damaged by use of the tool.
DF Dust and fume hazards
- Dust andfumes generated when using power tools can cause ill health (for example,
cancer, birth defects, asthma and/or dermatitis); risk assessment and implementation of
appropriate controls for these hazards are essential.
- Risk assessment should include dust created by the use of the tool and the potential for
disturbing existing dust.
- Operate and maintain the tool as recommended in these instructions, to minimize dust
and fume emissions.
- Direct the exhaust so as to min imize disturbance of dust in a dust -filled environment.
- Where dust or fumes are created, the priority shall be tocontrol them at the point of
emission.
- All integral features or accessories for the collection, extraction or suppression of airborne
dust or fumes should be correctly used and maintained in accordance with the
manufacturer's instructions.
- Select, maintain and replace the consumable/inserted tool as recommended in the
instruction handbook to prevent an unnecessary increase in dust or fumes .
- Use respiratory protection in accordance with employer's instructions and as required by
occupational health and safety regulations.
NH Noise hazards
- Exposure to high noise levels can cause permanent, disabling, hearing loss and other
problems, such as tinnitus (ringing, buzzing, whistling or humming in the ears). Therefore,
risk assessment and implementation of appropriate control s for these hazards are
essential.
- Appropriate controls to reduce the risk may include actions such as damping materials to
prevent workpieces from “ringing”.
- Use hearing protection in accordance with employer's instructions and as required by
occupational health and safety regulations.
- Operate and maintain the power tool as recommended in the instruction handbook, to
prevent an unnecessary increase in noise levels.
- Select, maintain and replace the consumable/inserted tool as recommended in the
WH Workplace hazards
- Slips, trips and falls are major causes of workplace injury. Be aware of slippery surfaces
□

when the power tool is operating.
VH Vibration hazards
- Exposure to vibration can cause disabling damage to the nerves and blood supply of the
hands and arms.
- Wear warm clothing when working in cold conditions and keep your hands warm and dry.
- If you experience numbness, tingling, pain or whitening of the skin in your fingers or
hands, stop using the power tool, tell your employer and consult a physician.
- Operate and maintain the power tool as recommended in the instruction handbook, to
prevent an unnecessary increase in vibration levels.
- Hold the tool with a light but safe grip, taking account of the required hand reaction forces,
because the risk from vibration is generally greater when the grip force is higher.
PT Additional safety instructions for pneumatic power tool
- Air under pressure can cause severe injury
- Always shut off air supply, drain hose of air pressure and disconnect tool from air supply
when not in use, before changing accessories or when making repairs
- Never direct air at yourself or anyone else.
- Whipping hoses can cause severe injury. Always check for damaged or loose hoses and
fittings.
- Cold air shall be directed away from the hands.
- Do not use quick disconnect couplings at tool inlet for impact and impulse wrenches. Use
hardened steel (or material with comparable shock resistance) threaded hose fittings.
- Whenever universal twist couplings (claw couplings) are used, lock pins shall be installed
and whipcheck safety cables shall be used to safeguard against possible hose-to-tool and
hose-and-hose connection failure.
- Do not exceed the maximum air pressure stated on the tool.
- Never carry an air tool by the hose.
instruction handbook to prevent an unnecessary increase in the noise level.
- If the power tool has a silencer, always ensure it is in place and in good working order
□
□
SAFETY TIPS FOR SPECIFIC AIR TOOLS
Precautions
related to
specific
t ool s
General safety tips apply.
P
H
E H
OH
RM
A H
IMPACT/RATCHET WRENCHES
General safety tips apply.
entangle rubber- coated or metal-reinforced gloves. Never hold
Rotating drive sockets and drive extensions can easily
In cases where the means to absorb the reaction torque are requested, it is recommended to use a suspension arm
whenever possible. If that is not possible, side handles are
recommended for straight case tools and pistol -grip tools.
In any case, it is recommen ded to use a means to absorb the reaction torque above 4 Nm for straight tools , above 10
Nm for pistol-grip tools and 60 Nm for angle nutrunners. Fingers can be crushed in open -ended crow-foot nutrunners.
Do not use in confined spaces and beware of crushing hands between tool and workpiece, especially when unscrewing.
Do not touch sockets or accessories during impacting, as this increases the risk of cuts, burns or vibration injuries.
Use only impact-wrench-rated sockets in good condition, as poor condition or hand sockets and accessories used
with impact wrenches can shatter and become a projectile.
General safety tips apply.
Keep the hands away from the nutrunner sockets. Do not use worn or ill -fitting sockets or extensio ns, as this is likely to
Sleeve fittings should be used where practicable. Support the weight of the tool
balancer, if possible.
Do not use quick - disconnect couplings at tool inlet. Use hardened steel (or material with comparable shock resistance)
threaded hose fittings.
DF
NH
VH
PT
the drive, socket or drive extension.
cause a substantial increase in vibration.
in a stand, tensioner or
WH

SPECIFICATIONS
Product name
Model WR14A WR27A
Square drive 1/2”(12.7mm) 3/4”(19mm)
No-load speed 7,200/min 6,800/min
Tightening torque(Maximum) 785 Nm 1,763 Nm
Capasities(size of bolt)(Ordinary bolt) 16mm 32mm
Air Consumption (90psi) 4.6cfm 6.9cfm
Maximum permissible operating pressure 90psi(6.2bar) 90psi(6.2bar)
Weight 1.9kg 3.5kg
Dimension (Length x Height x Width)
184mm x 205mm x 68mm 216mm x 233mm x 84mm
A-weighted sound pressure level at workstation(Lpa) 92.8dB 102.5dB
A-weighted sound power level(Lwa) 01 3.8dB 113.5dB
Vibration value according to EN ISO 28927-2 4.80m/s2 19.7m/s2
Impact Wrench
Noise characteristic values in accordance with EN ISO 15744
WR14A•WR27A
Square attachment for sockets
Slide switch for setting the
direction of rotation
Trigger
Lever for setting the torque
Air connection
Air outlet
Recommended Air hose diameter at least 10 mm at least 13 mm

9
Fig.A Fig.B
Pinch the ears
Air connection
Hose connection
Ear hose clamp
Air hose
Before using the tool for the first time
Prepare the compressed air connection.
Do not fit quick-lock couplings directly to the compressed air connection.
Never screw the enclosed connection pieces for quick-lock couplings directly onto the compressed air
connection. - simply screw the hose connection onto the device and then connect the compressed air
hose to this. The compressed air hose between the compressed air connection and a quick-lock
coupling must be at least 20 cm in length. If fitted too close to the device, a quick-lock coupling may fail:
whiplashing hoses can cause serious injury as a result.
- Screw the enclosed hose connection on the compressed air connection : using an openend spanner,
secure the compressed air connection against twisting and then screw on the hose connection with
another open-end spanner. See Fig. A.
- Fit the enclosed ear hose clamp onto the compressed air hose that you want to connect.
- Push the compressed air hose onto the hose connection as far as it will go.
- Slide the ear hose clamp onto the hose connection. Using a suitable pliers, pinch the ear (see Fig. B).

VII Page 14 of 15
EXPLANATION OF SYMBOLS
Read insturction before
use.
Wear eye protectors.
Wear hearing protectors.
Wear half masks.
Lubricate daily
Proper position of a fixed
torque reaction device.
Risk of crushing
(between the reaction bar
and workpiece)
Risk of crushing
(open-ended
spanner)
Direction of
rotation
MAINTENANCE
General Notes
Hold the tool and hav e it running without a load to check the vibration level before using
tool. It is a sign for maintenance or repair if excessive vibration level is detected.
Check the free running speed of the tool by hearing the sound generated form the tool
before use. It is recommended to check the free running speed of the tool by a tachometer
or stroboscope regularly and after each service .
Keep tool clean after each use to avoid the risk from exposure to hazardous substances
deposited on the tool due to work processes .
Follow national legislations for the waste disposal.
Always use the accessories recommended by your distributor.
Always disconnect the air supply before performing any maintenance on the tool.
Lubrication
Air tools require regular lubrication throughout the life of the tool. The air motor and bearing use
compressed air to power the tool. Because moisture in compressed air will rust the air motor,
you must lubricate the motor daily. An inline oiler is recommended.
To lubricate the air motor manually:
Disconnect the tool from the air supply holding it so the air inlet
faces up.
Depress the trigger and place one to two drops of air tool oil in the
air inlet.
Connect the tool to an air source, cover the exhaust end with a
towel and run for a few seconds.
Do not lubricate tools with flammable or volatile liquids such as kerosene, diesel or jet fuel .
Read insturction before
use.
Wear eye protectors.
Wear hearing protectors.
Wear half masks.
Lubricate daily
Proper position of a fixed
torque reaction device.
Risk of crushing
(between the reaction bar
and workpiece)
Risk of crushing
(open-ended
spanner)
Direction of
rotation
●
●
●
●
●
●
●
●
●
●
10

807
Code No. C99252011 Ō
Printed in Taiwan
Shinagawa Intercity Tower A, 15-1, Konan 2-chome,
Minato-ku, Tokyo, Japan
This manual suits for next models
1
Table of contents
Other HIKOKI Impact Driver manuals

HIKOKI
HIKOKI WH 14DDL User manual

HIKOKI
HIKOKI WH 10DCL User manual

HIKOKI
HIKOKI WH 14DCL User manual

HIKOKI
HIKOKI WH 18DBSL User manual

HIKOKI
HIKOKI DV18DEW2Z User manual

HIKOKI
HIKOKI DH45MAWSZ User manual

HIKOKI
HIKOKI WH 14DSDL User manual

HIKOKI
HIKOKI WR 14VE User manual

HIKOKI
HIKOKI WH 12DA User manual

HIKOKI
HIKOKI WH 10DCL User manual

HIKOKI
HIKOKI WH 18DE User manual

HIKOKI
HIKOKI 01618-001 User manual

HIKOKI
HIKOKI WR 22SE User manual

HIKOKI
HIKOKI WH 12DA User manual

HIKOKI
HIKOKI WH 14DBAL2 User manual

HIKOKI
HIKOKI DH 45MA User manual

HIKOKI
HIKOKI WH 10DL User manual

HIKOKI
HIKOKI WR 22SE User manual

HIKOKI
HIKOKI WW8A User manual

HIKOKI
HIKOKI WR 16SE User manual