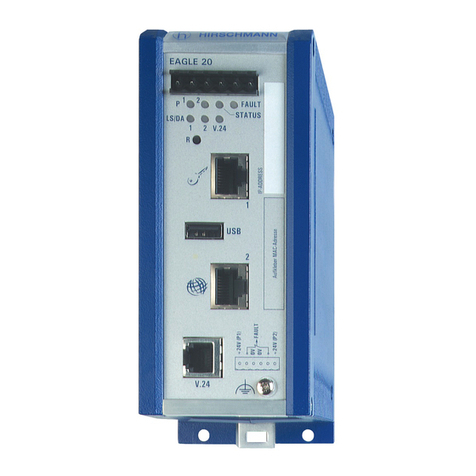
Hirschmann EAGLE 20 Series User manual

RM CLI EAGLE 20
Release
4.3
09/08
Technical Support
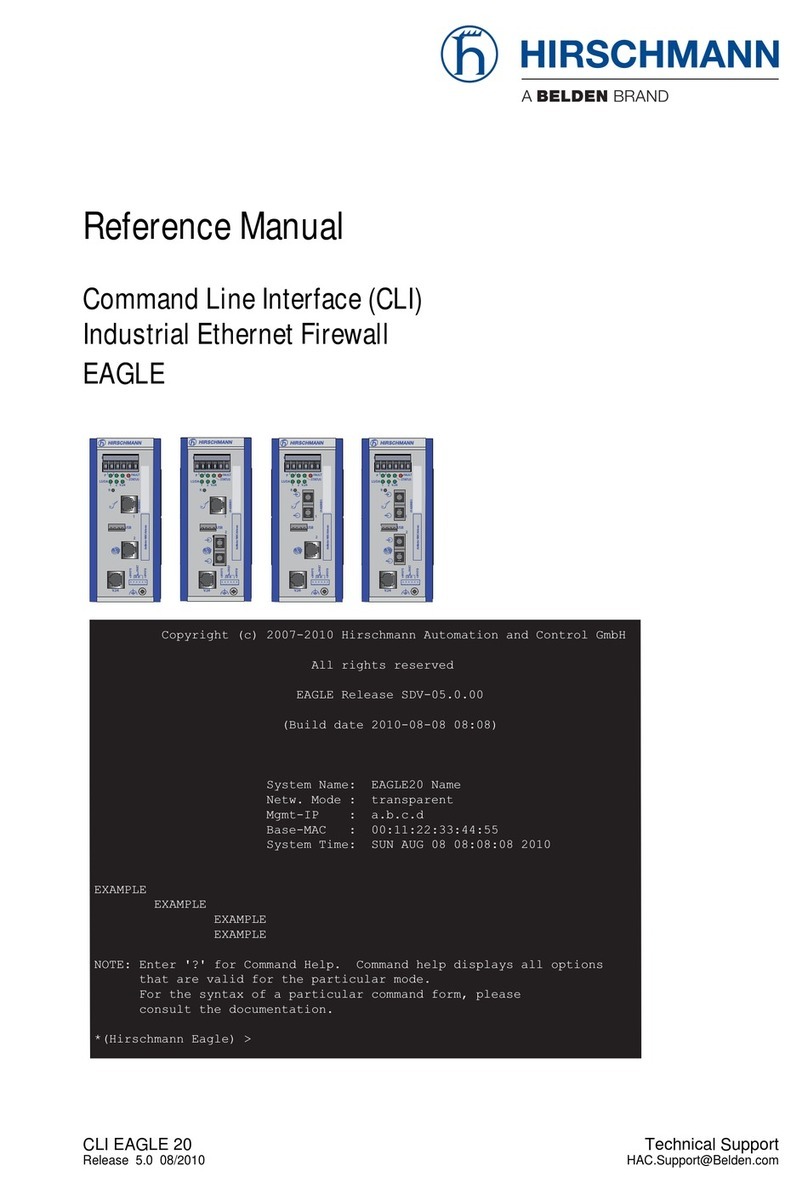
Reference Manual
Command Line Interface (CLI)
Industrial ETHERNET Firewall
EAGLE 20
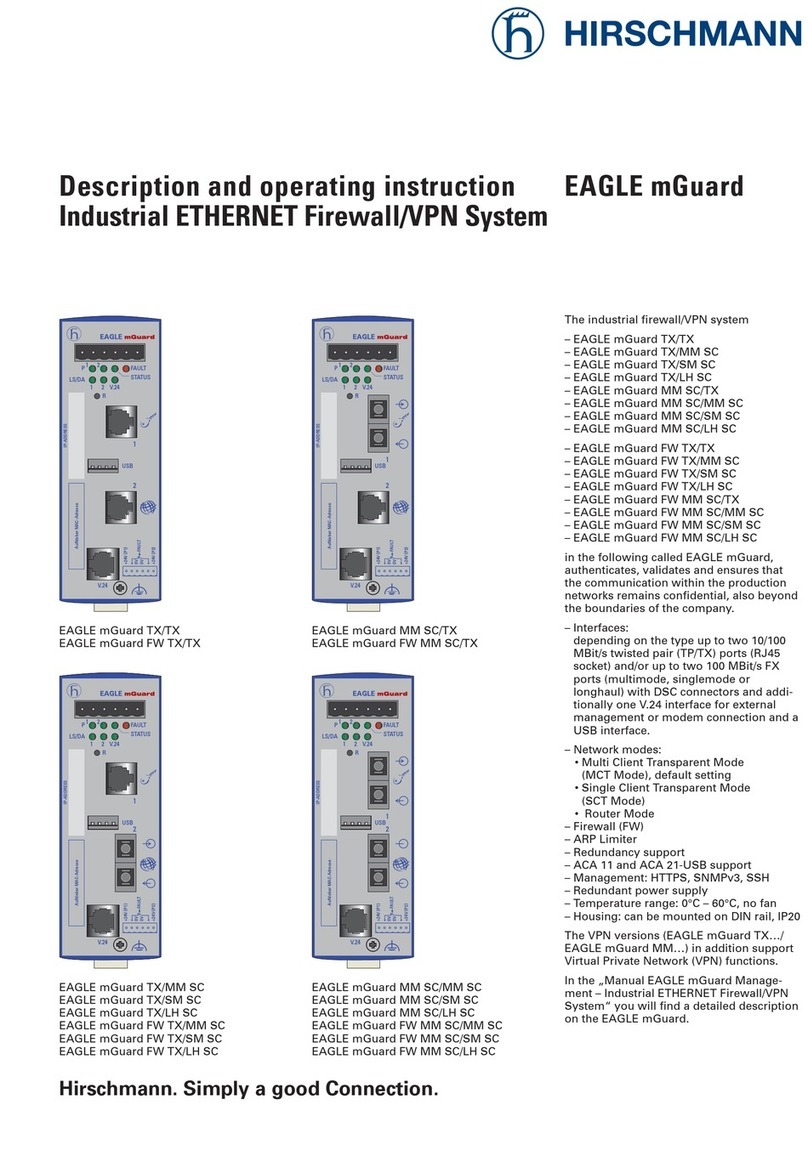
EAGLE 20 TX/TX EAGLE 20 TX/MM
EAGLE 20 TX/SM
EAGLE 20 MM/TX EAGLE 20 MM/MM
1
P21 FAULT
LS/DA
21
k
STATUS
V.24
IP-ADDRESS
V.24
R
EAGLE 20
USB
+24V (P1)
FAULT
+24V (P2)
0V
0V
g
2
Aufkleber MAC-Adresse
1
P21 FAULT
LS/DA
21
k
STATUS
V.24
IP-ADDRESS
V.24
R
EAGLE 20
USB
+24V (P1)
FAULT
+24V (P2)
0V
0V
g
2
Aufkleber MAC-Adresse
1
P21 FAULT
LS/DA
21
k
STATUS
V.24
IP-ADDRESS
V.24
R
EAGLE 20
USB
+24V (P1)
FAULT
+24V (P2)
0V
0V
g
2
Aufkleber MAC-Adresse
1
P21 FAULT
LS/DA
21
k
STATUS
V.24
IP-ADDRESS
V.24
R
EAGLE 20
USB
+24V (P1)
FAULT
+24V (P2)
0V
0V
g
2
Aufkleber MAC-Adresse
_
___________________________________________________________________________
_
Copyright (c) 2007-2008 Hirschmann Automation and Control GmbH
All rights reser ed
EAGLE Release SDV-04.3.00
(Build date 2008-08-26 11:46)
System Name: EAGLE-000000
Netw. Mode : transparent
Mgmt-IP : a.b.c.d
Base-MAC : 00:80:63:62:B0:FF
System Time: WED JAN 02 01:26:13 2008
NOTE: Enter '?' for Command Help. Command help displays all options
that are alid .or the particular mode.
.or the syntax of a particular command form, please
consult the documentation.
!*(Hirschmann Eagle) >
_
___________________________________________________________________________
_

The naming of copyrighted trademarks in this manual, even when not specially indicated, should
not be taken to mean that these names may be considered as free in the sense of the trademark
and tradename protection law and hence that they may be freely used by anyone.
© 2008 Hirschmann Automation and Control GmbH
Manuals and software are protected by copyright. All rights reserved. The copying, reproduction,
translation, conversion into any electronic medium or machine scannable form is not permitted,
either in whole or in part. An exception is the preparation of a backup copy of the software for
your own use. For devices with embedded software, the end-user license agreement on the en-
closed CD applies.
The performance features described here are binding only if they have been expressly guaran-
teed in the contract. This publication has been created by Hirschmann Automation and Control
GmbH according to the best of our knowledge. Hirschmann reserves the right to change the con-
tents of this manual without prior notice. Hirschmann can give no guarantee in respect of the
correctness or accuracy of the details in this publication.
Hirschmann can accept no responsibility for damages, resulting from the use of the network
components or the associated operating software. In addition, we refer to the conditions of use
specified in the license contract.
Printed in Germany
Hirschmann Automation and Control GmbH
Stuttgarter Str. 45-51
72654 Neckartenzlingen
Germany
Tel.: +49 1805 141538
039 xxx-001-01-0908 – 29.9.08

Content
RM CLI EAGLE 20
Release
4.3
09/08 3
Content
About this Manual 5
Key 7
1 Introduction 8
1.1 Industrial ETHERNET Firewall 9
1.1.1 Application areas 9
1.1.2 Operating modes 9
1.2 User interfaces 11
1.3 Command Line Interface 12
2 Access to CLI 13
2.1 Preparing the connection 14
2.2 CLI via SSH (Secure Shell) 15
2.3 CLI via the V.24 port 19
3 Using the CLI 21
3.1 Mode-based command hierarchy 22
3.2 Executing commands 27
3.2.1 Syntax analysis 27
3.2.2 Command tree 27
3.2.3 Structure of a command 28
3.3 Properties of the CLI 31
3.3.1 Input prompt 31
3.3.2 Key combinations 32
3.3.3 Data entry elements 34
3.3.4 Line length 35
4Example 37
A Index 41
B Further support 43

Content
4RM CLI EAGLE 20
Release
4.3
09/08

About this Manual
RM CLI EAGLE 20
Release
4.3
09/08 5
About this Manual
The "Command Line Interface" reference manual contains detailed informa-
tion on using the Command Line Interface to operate the individual functions
of the device.
The “Configuration” user manual contains all the information you need to
start operating the Industrial ETHERNET Firewall EAGLE 20. It takes you
step by step from the first startup operation through to the basic settings for
operation in your environment.
The "Web-based Interface" reference manual contains detailed information
on using the Web interface to operate the individual functions of the device.
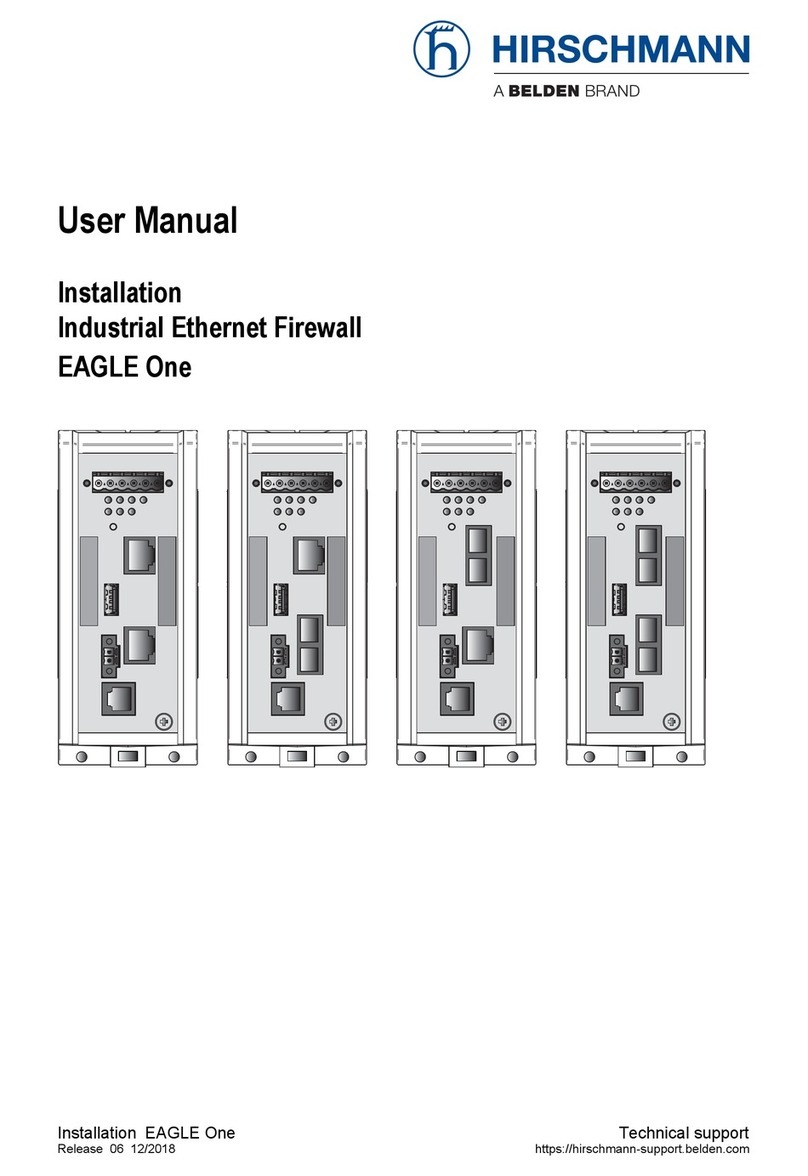
The “Installation” user manual contains a device description, safety instruc-
tions, a description of the display, and all the other information that you need
to install the device before you begin with the configuration of the device.
The Network Management Software HiVision provides you with additional
options for smooth configuration and monitoring:
XEvent logbook.
XConfiguration of „System Location“ and „System Name“.
XConfiguration of the network address range and SNMP parameters.
XSaving the configuration on the device.
XSimultaneous configuration of multiple devices.
XConfiguration of the port display color red for a connection error.

About this Manual
6RM CLI EAGLE 20
Release
4.3
09/08

Key
RM CLI EAGLE 20
Release
4.3
09/08 7
Key
The designations used in this manual have the following meanings:
XList
Work step
Subheading
Link Indicates a cross-reference with a stored link
Note: A note emphasizes an important fact or draws your
attention to a dependency.
Courier ASCII representation in user interface

Introduction
8RM CLI EAGLE 20
Release
4.3
09/08
1 Introduction

Introduction
RM CLI EAGLE 20
Release
4.3
09/08
1.1
Industrial ETHERNET Firewall
9
1.1 Industrial ETHERNET
Firewall
1.1.1 Application areas
The EAGLE 20 industrial firewall/VPN system ensures the authentication,
security and confidentiality of communication within production networks, but
also beyond company boundaries.
The EAGLE 20 supports the following network modes:
XTransparent Mode
XRouter Mode
XPPPoE Mode
1.1.2 Operating modes
This device protects the network to be secured (secure port) from external
influences (non-secure port). These influences can include deliberate attacks
or unauthorized access attempts, as well as interfering network events such
as overloads.
State on delivery
On delivery, the device works in the Transparent Mode. In this mode, no
network settings (e.g., for subnetworks) are required for operation.

Introduction
10
1.1
Industrial ETHERNET Firewall
RM CLI EAGLE 20
Release
4.3
09/08
The firewall has been preconfigured so that all IP traffic from the secure
network is possible; however, traffic from the insecure network to the se-
cure one is not possible. Thus, already in the delivery state, external at-
tacks on the secure network are not possible.
Modes
XTransparent Mode
In transparent mode, the Firewall transmits on level 2 of the ISO/OSI
layer model. The IP address ranges before and after the Firewall are
located in the same subnetwork.
In the state on delivery, you can access the device via address
192.168.1.1/24 without configuring the IP address.
XRouter Mode
In router mode, the Firewall transmits on level 3 of the ISO/OSI layer
model. The IP address ranges before and after the Firewall are located
in different subnetworks. You will find a detailed description of the IP
configuration in the “Basic Configuration” user manual of the EAGLE
20.
XPPPoE Mode
In PPPoE Mode, the EAGLE 20 works like in the router mode, with the
difference that the PPPoE protocol is used at the external port. This
enables Internet connections via a DSL modem, for example.

Introduction
RM CLI EAGLE 20
Release
4.3
09/08
1.2
User interfaces
11
1.2 User interfaces
The device has three user interfaces, which you can access via different
interfaces:
XSystem monitor via the V.24 interface (out-of-band)
XCommand Line Interface (CLI) via the V.24 connection (out-of-band) or
via SSH (in-band)
XWeb-based interface via Ethernet (in-band)

Introduction
12
1.3
Command Line Interface
RM CLI EAGLE 20
Release
4.3
09/08
1.3 Command Line Interface
The Command Line Interface enables you to use all the functions of the de-
vice via a local or remote connection. This enables you to securely administer
the firewall via V.24 or via the Secure Shell (SSH) protocol. You can also de-
fine rules to secure the access and the administration.
The Command Line Interface provides IT specialists with a familiar environ-
ment for configuring IT devices. As an experienced user or administrator, you
have knowledge about the basics and about using secure shell (SSH)
connections.
The “Command Line Interface” reference manual gives you step-by-step in-
formation on using the Command Line Interface (CLI) and its commands.
The commands in the Command Line Interface of the EAGLE 20 Firewall can
be divided into the following areas:
XAuthentication
XDelete
XCopy
XDeny Service
XDevice Status
XInterface
XLogging
XNAT (Network Address Translation)
XNetwork
XPacket Filter
XProfiles
XSignal Contact
XSNMP Trap (Simple Network Management Protocol)
XSNTP (Simple Network Time Protocol)
XUsers
XDisplay

Access to CLI
RM CLI EAGLE 20
Release
4.3
09/08
1.3
Command Line Interface
13
2 Access to CLI

Access to CLI
14
2.1
Preparing the connection
RM CLI EAGLE 20
Release
4.3
09/08
2.1 Preparing the connection
Information for assembling and starting up your EAGLE 20 Industrial
ETHERNET Firewall can be found in the “Installation” user manual.
Information for configuring your EAGLE 20 Industrial ETHERNET Firewall
can be found in the “Configuration” user manual.
Connect your Firewall with the network.
The network parameters must be set correctly for the connection to be
successful.
You can access the user interface of the Command Line Interface with the
freeware program “PuTTY”. This program is located on the product CD.
Make sure that PuTTY is installed on your computer.
If the required programs are not already installed on your PC, please in-
stall them.

Access to CLI
RM CLI EAGLE 20
Release
4.3
09/08
2.2
CLI via SSH (Secure Shell)
15
2.2 CLI via SSH (Secure Shell)
Start the PuTTY program on your computer.
PuTTY appears with the login screen (see fig. 1).
Figure 1: PuTTY input screen
In the Host Name (or IP address) input field you enter
the IP address of your device.
The IP address (a.b.c.d) consists of four decimal numbers with values
from
0 to 255. The four decimal numbers are separated by a point.

Access to CLI
16
2.2
CLI via SSH (Secure Shell)
RM CLI EAGLE 20
Release
4.3
09/08
To select a connection type, click on
SSH under Connection type.
After selecting and setting all the required parameters, you can set up the
connection via SSH.
Click “Open” to set up the connection to your device. Depending on the
device and the time at which SSH was configured, it can take up to a
minute to set up the connection.
When you first login to your device, towards the end of the connection setup,
PuTTY displays a security alert message and gives you
the option of checking the fingerprint of the key.
Figure 2: Security alert prompt for the fingerprint
Check the fingerprint to protect yourself from unwelcome guests.
If the fingerprint matches that of the device key, click “Yes”.
You can read the fingerprints of the device key with the CLI command “show
login” or in the Web interface, in the “SSH access” dialog.

Access to CLI
RM CLI EAGLE 20
Release
4.3
09/08
2.2
CLI via SSH (Secure Shell)
17
Note:
The OpenSSH Suite offers experienced network administrators a further op-
tion to access your device via SSH. To set up the connection, enter the fol-
lowing command:
admin represents the user name.
149.218.112.53 is the IP address of your device.
CLI appears on the screen with a window for entering the user name.
Up to five users can access the Command Line Interface at the same time.
Figure 3: Login window in CLI
a.b.c.d is the IP address of your device.
Enter a user name. The default setting for the user name is admin . Press
the Enter key.
Enter the password. The default setting for the password is private .
Press the Enter key.
You can change the user name and the password later in the Command
Line Interface.
Please note that these entries are case-sensitive.
The start screen appears.
Note: This device is a security-relevant product. For your own security,
change the password during the first startup procedure.
login as: admin

Access to CLI
18
2.2
CLI via SSH (Secure Shell)
RM CLI EAGLE 20
Release
4.3
09/08
Figure 4: Start screen of CLI.
Your Firewall appears with the input prompt
(Hirschmann Eagle) >
Copyright (c) 2007-2008 Hirschmann Automation and Control GmbH
All rights reserved
EAGLE Release SDV-04.3.00
(Build date 2008-08-26 11:46)
System Name: EAGLE-000000
Netw. Mode : transparent
Mgmt-IP : a.b.c.d
Base-MAC : 00:80:63:62:B0:FF
System Time: WED JAN 02 01:26:13 2008
NOTE: Enter '?' for Command Help. Command help displays all options
that are valid for the particular mode.
For the syntax of a particular command form, please
consult the documentation.
!*(Hirschmann Eagle) >

Access to CLI
RM CLI EAGLE 20
Release
4.3
09/08
2.3
CLI via the V.24 port
19
2.3 CLI via the V.24 port
A serial interface is provided on the RJ11 socket (V.24 interface) for the local
connection of an external management station (VT100 terminal or PC with
corresponding terminal emulation). This enables you to set up a connection
to the Command Line Interface (CLI) and to the system monitor.
You will find a description of the V.24 interface in the “User Manual
Installation”.
Connect the device to a terminal via V.24 or to a “COM” port of your PC
using terminal emulation based on VT100, and press any key.
After the connection has been made successfully, a window for entering the
user name appears on the screen.
Figure 5: Logging in to the Command Line Interface program
Enter a user name. The default setting for the user name is admin . Press
the Enter key.
Copyright (c) 2007-2008 Hirschmann Automation and Control GmbH
All rights reserved
Eagle NG Release SDV-04.3.00-A07
(Build date 2008-03-07 18:06)
System Name: EAGLE-000000
Netw. Mode : transparent
Mgmt-IP : 192.168.1.1
Base-MAC : 00:80:63:45:BE:5D
System Time: FRI JAN 02 01:50:47 1970
(Hirschmann Eagle)
User:

Access to CLI
20
2.3
CLI via the V.24 port
RM CLI EAGLE 20
Release
4.3
09/08
Enter the password. The default setting for the password is private .
Press the Enter key.
You can change the user name and the password later in the Command
Line Interface.
Please note that these entries are case-sensitive.
The start screen appears.
Figure 6: CLI screen after login
Note: You can configure the V.24 interface either as a modem interface or a
terminal/CLI interface.
However, to be able have at least limited access to the CLI interface in
modem mode, you connect your terminal (setting on terminal: 9600 baud) to
the V.24 interface.
Press any key on your terminal keyboard a number of times until the login
screen indicates the CLI mode.
NOTE: Enter '?' for Command Help. Command help displays all options
that are valid for the particular mode.
For the syntax of a particular command form, please
consult the documentation.
(Hirschmann Eagle) >
Other manuals for EAGLE 20 Series
1
This manual suits for next models
5
Table of contents
Other Hirschmann Firewall manuals
Popular Firewall manuals by other brands
NETGEAR
NETGEAR FVS318G - ProSafe Gigabit VPN Firewall Data Sheet... datasheet

Huawei
Huawei USG6000E Series Hardware guide

NETGEAR
NETGEAR ProSAFE SRX5308 Cli reference manual

NETGEAR
NETGEAR FVG318v2 - ProSafe 802.11g Wireless VPN Firewall... installation guide

H3C
H3C SecPath F100-C installation manual

Fortinet
Fortinet FortiDB-1000B quick start guide