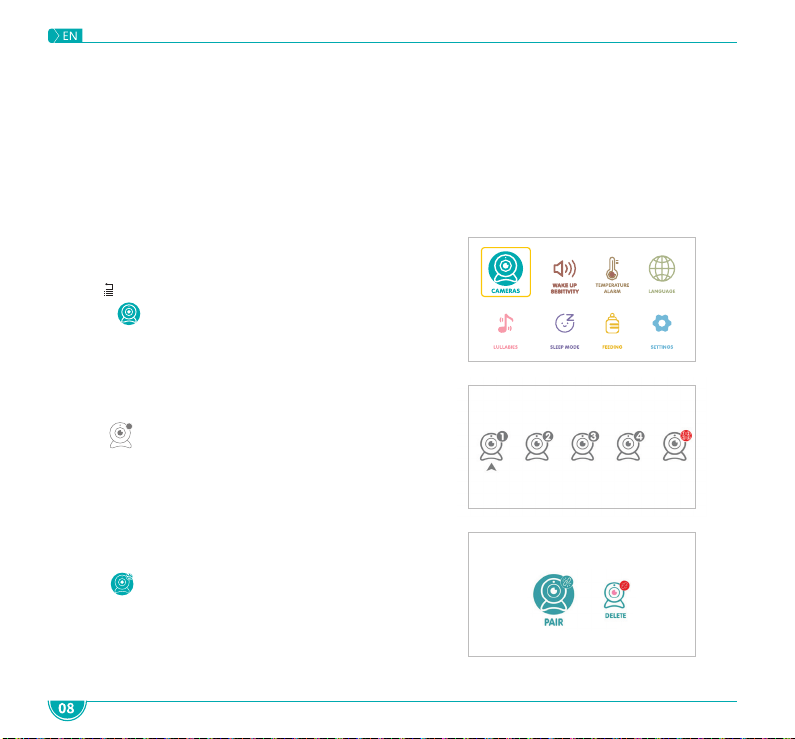
Menu/Back:
Camera Switch:
Charging Indicator: While the monitor is being charged, the Charging Indicator will light up in a yellow
colour.
Up:
Right:
Down:
Power Indicator:
Zoom/OK
Talk:
Sound Level LED:
Volume/Brightness:
Microphone
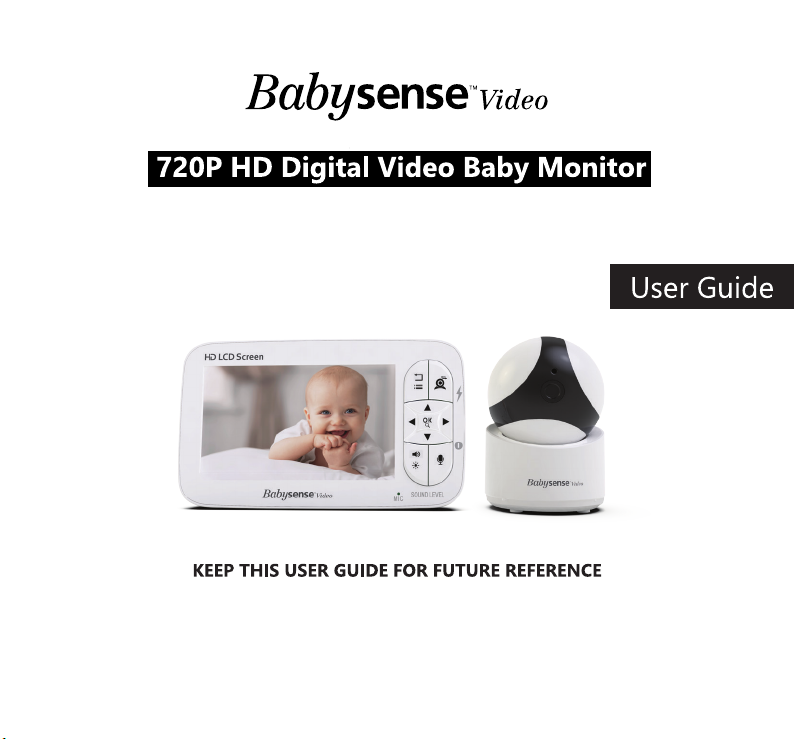
1.
2.
3.
4.
5.
6.
7.
8.
9.
10.
11.
12.
13.
14.
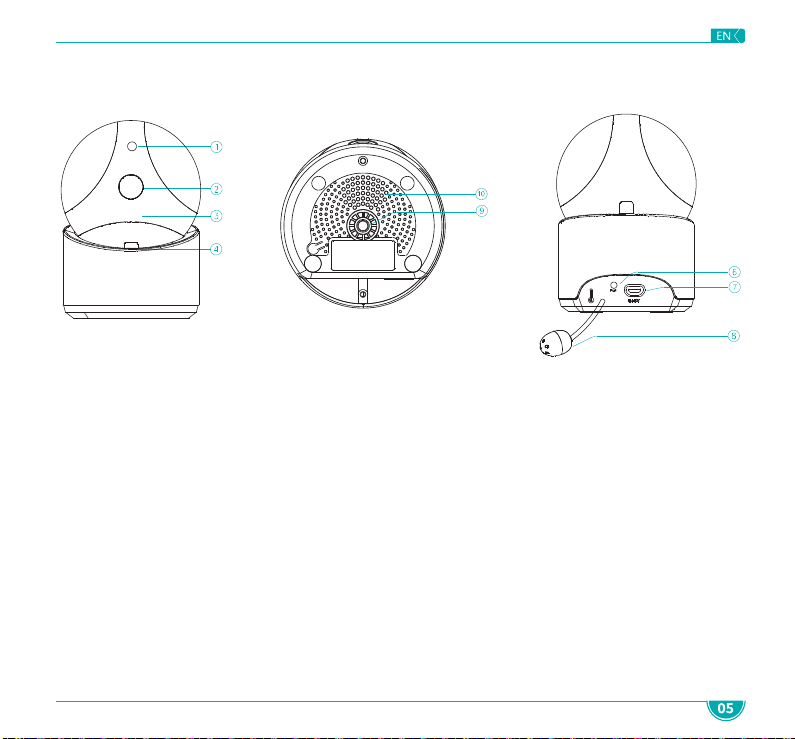
15. Antenna
17. Support Stand
18. Speaker
19. Power Input
20. Reset Hole
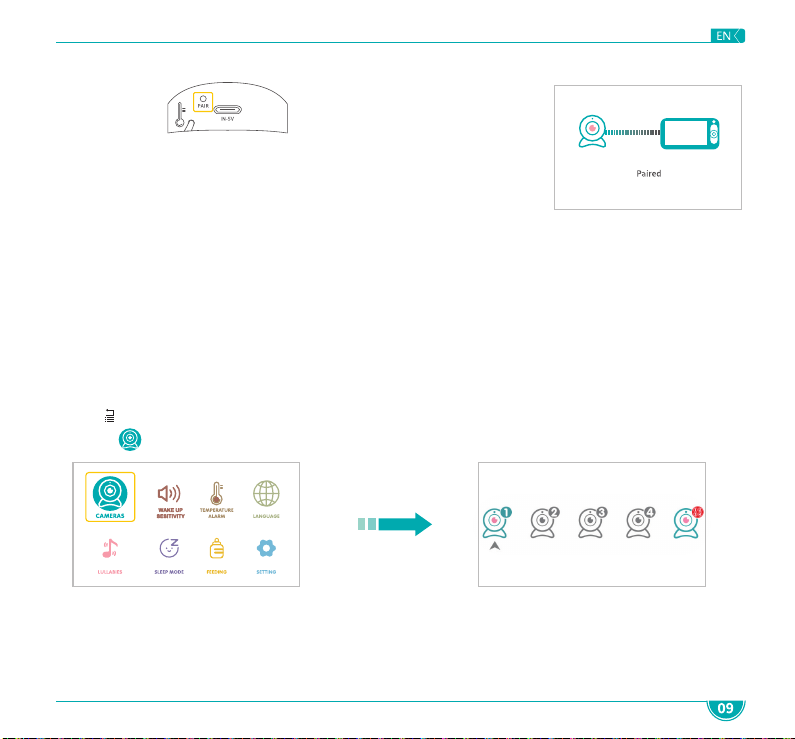
GETTING STARTED
Note:
If you RESET the monitor with a pin, the monitor will be forced to shut down
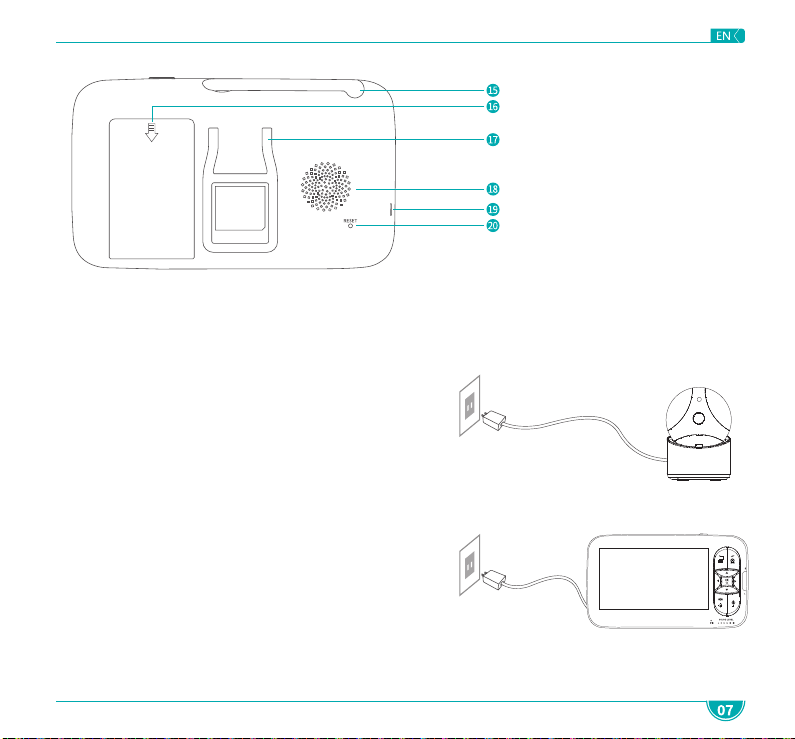
Step 1:
Connect the camera to the supplied AC Adapter
Note:
Step 2:
Connect the monitor to the supplied AC Adapter
Note: The monitor takes up to 4 hours to fully charge and
We HIGHLY recommend that the monitor be kept