IV
When it is rainy, please pull out the power plug, CATV plug or
outside antenna plug to avoid any possible damage to the TV
set. Do not touch the inducting wire of the antenna.
If you do not use the product for a long time, please pull out
the power plug.
If you find abnormal sound or smell, or there is sound but no
image, please turn off the TV and pull out the plug immediately
and contact the professional technicians.
Please do not press the power line and signal line with other
things.
Please do not make the power outlet overloaded, or it will
result in the danger of fire.
Keep the power line away from high temperature and heating
things.
There are some changes for the outdoor antenna if it stays
outside for a long time, which may affect the picture quality of
the TV, so please check the antenna or replace it regularly.
Do not clean this unit with volatile oils or dilution, which may
cause cabinet deterioration or damage its coating surface.
If the cabinet becomes dirty, please clean it with a soft cloth
which has neutral detergent wet with water.
In the case where such substances that are painted with paint
or organic solvent and grease, etc. on the surface of the TV
cabinet, the chemical reaction may be occurred in between the
rubber cushion on the base and such substances hereinbefore,
which may cause a slight corrosion on the surface of the TV
cabinet. Therefore, users are recommended to firstly put a
layer of protective material (such as pressboard or glass sheet,
etc.) on the TV cabinet and then place the TV set.
Please do not try to decompose any part of the product, which
may cause damage to the product as well as harm to the
human. And it will also make you face the product warranty
failure.
Please do not remove the back cover. The adjust and check
inside the unit should only be carried out by the professional
technicians.
Please do not cover or block the heat-radiating holes in order
not to hamper the unit to give off heat.
Please do not stick the sharp objects, metal, or liquid into or
use them to touch the signal interface or heat-radiating holes
in case of short circuit or damage to the product.
Watch TV at a proper distance, and the best distance is 3
to 4 times the length of the vertical distance of LCD.
Keep the lighting indoors bright enough to read newspaper.
The volume should be properly set in order not to disturb
your neighbors, esp. when it is during the night.
It is recommended that 2 or more people should load, unload
and carry the unit; try to avoid any crash when carrying the
unit, and protect the LCD screen in particular.
If you touch the LCD screen when turning on or off the TV,
you can feel the slight electric shock, which is the so-called
electrostatic and does no harm to your health.
As the difference between the power cord/ground cord and
wired cable, It may cause the heat in the connection ports and
may lead to serious accidents.
The professional technicians will detect the situation when
installing the TV set to decide whether to install the isolator, if
installed, please never remove it.
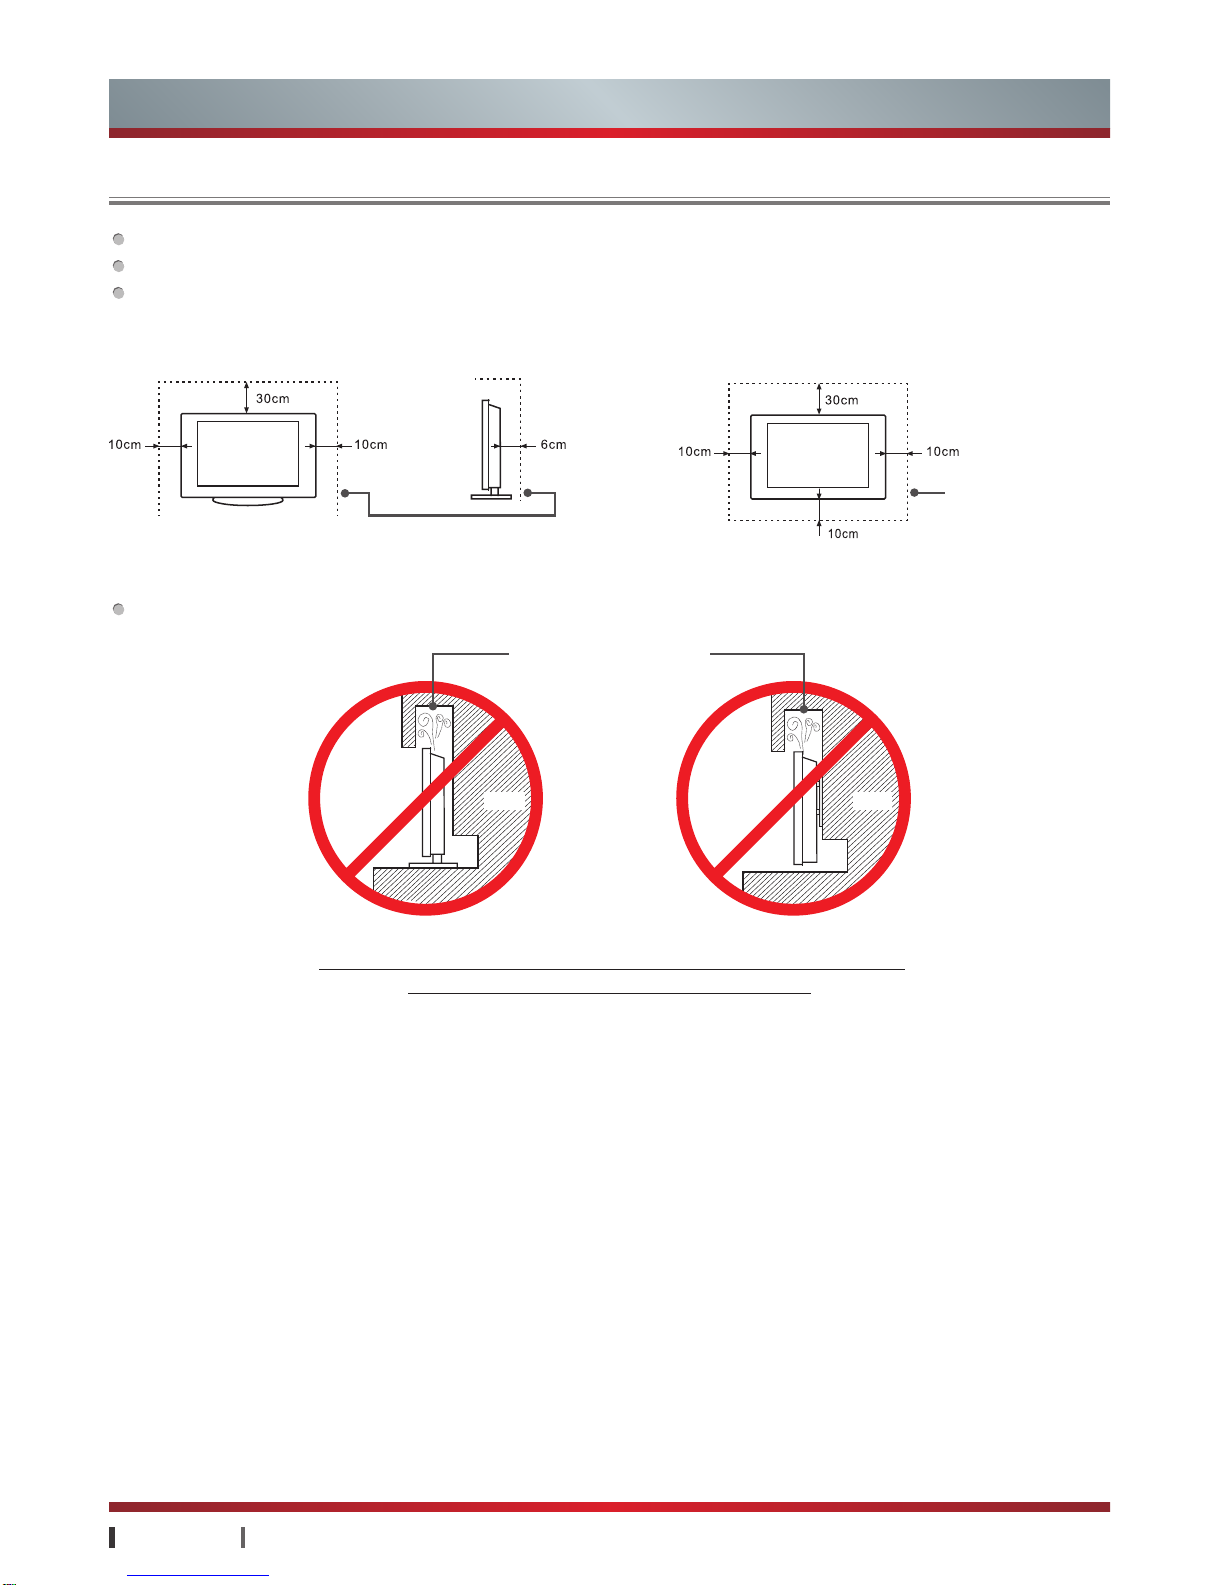
√Even and steady occasions.
× Places under direct sunshine or close to heating devices.
× Places with poor ventilation.
× Places close to furnace or places to which water, oil or smoke
is easy to enter.
× Places where ventilating openings are closed.
× Unsteady places.
× Places suffering from easy vibration.
× Places of lot of dust or moist places.
× Places of high temperatures.
LCD display panel is the advanced S&T product, composed of
several millions of Movie transistors inside. There can be dark
or bright spots appearing on the panel. please note that this
is a normal phenomenon, which does not affect the overall
performance.
The incorrect maintenance will lead to damage to the LCD screen,
which will affect the image effect, so you must pay attention to the
following items:
Don't clean the screen with the organic solvents, such as
alcohol, gasoline, etc. or chemical reagents ,such as acid,
alkali, etc.
Do not clean the screen with any kind of detergent.
After the TV is turned off, you, when necessary, can clean the
screen with a clean and soft cotton cloth to properly safeguard
it, but repeatedly cleaning with force is prohibited.
Please do not directly touch the screen with your fingers,
which may damage the screen surface. What's more, the oil
and fat on the screen is difficult to remove.
Please do not put pressure on the LCD, for the LCD screen is
delicate and vulnerable.
The hard object is not allowed to touch the LCD screen, for it
is easily scratched.
Alerts: Before using the product, please read the following clauses carefully.
Product
Watching TV
Others
Antenna isolator
Power and signal
Maintenance
LCD display instruction and maintenance
Method of placement
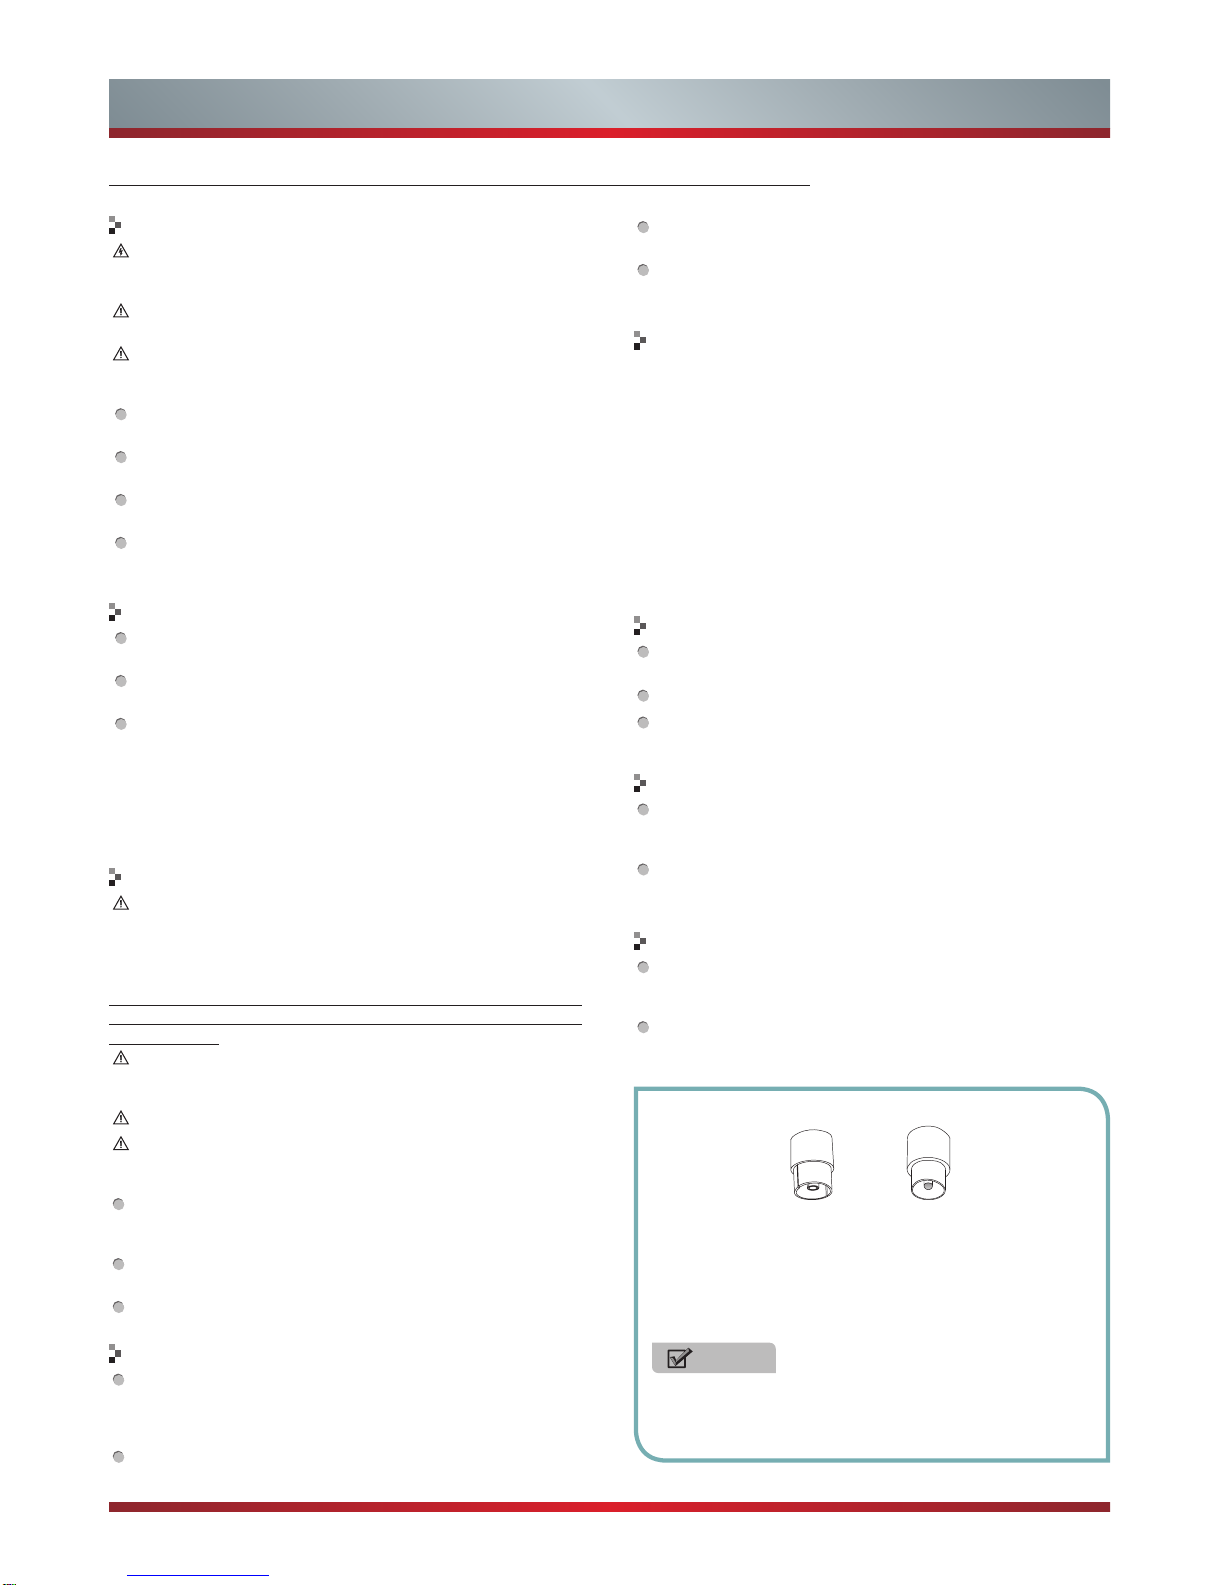
How to install:
Plug1 Plug2
1. Connect the plug1 to cable signal.
2. Connect the plug2 to the antenna port in the rear of the
TV. If the cable signal is connected with STB, please
connect plug2 to the antenna input port in the rear of the
STB.
NOTE
The isolator is not a accessary with the TV set. If there is
heating for your signal cable, please contact with us and
we will provide the service for detecting and installing.
Important Safety Instructions