Page 9
...........................................................................
...........................................................................
Message function
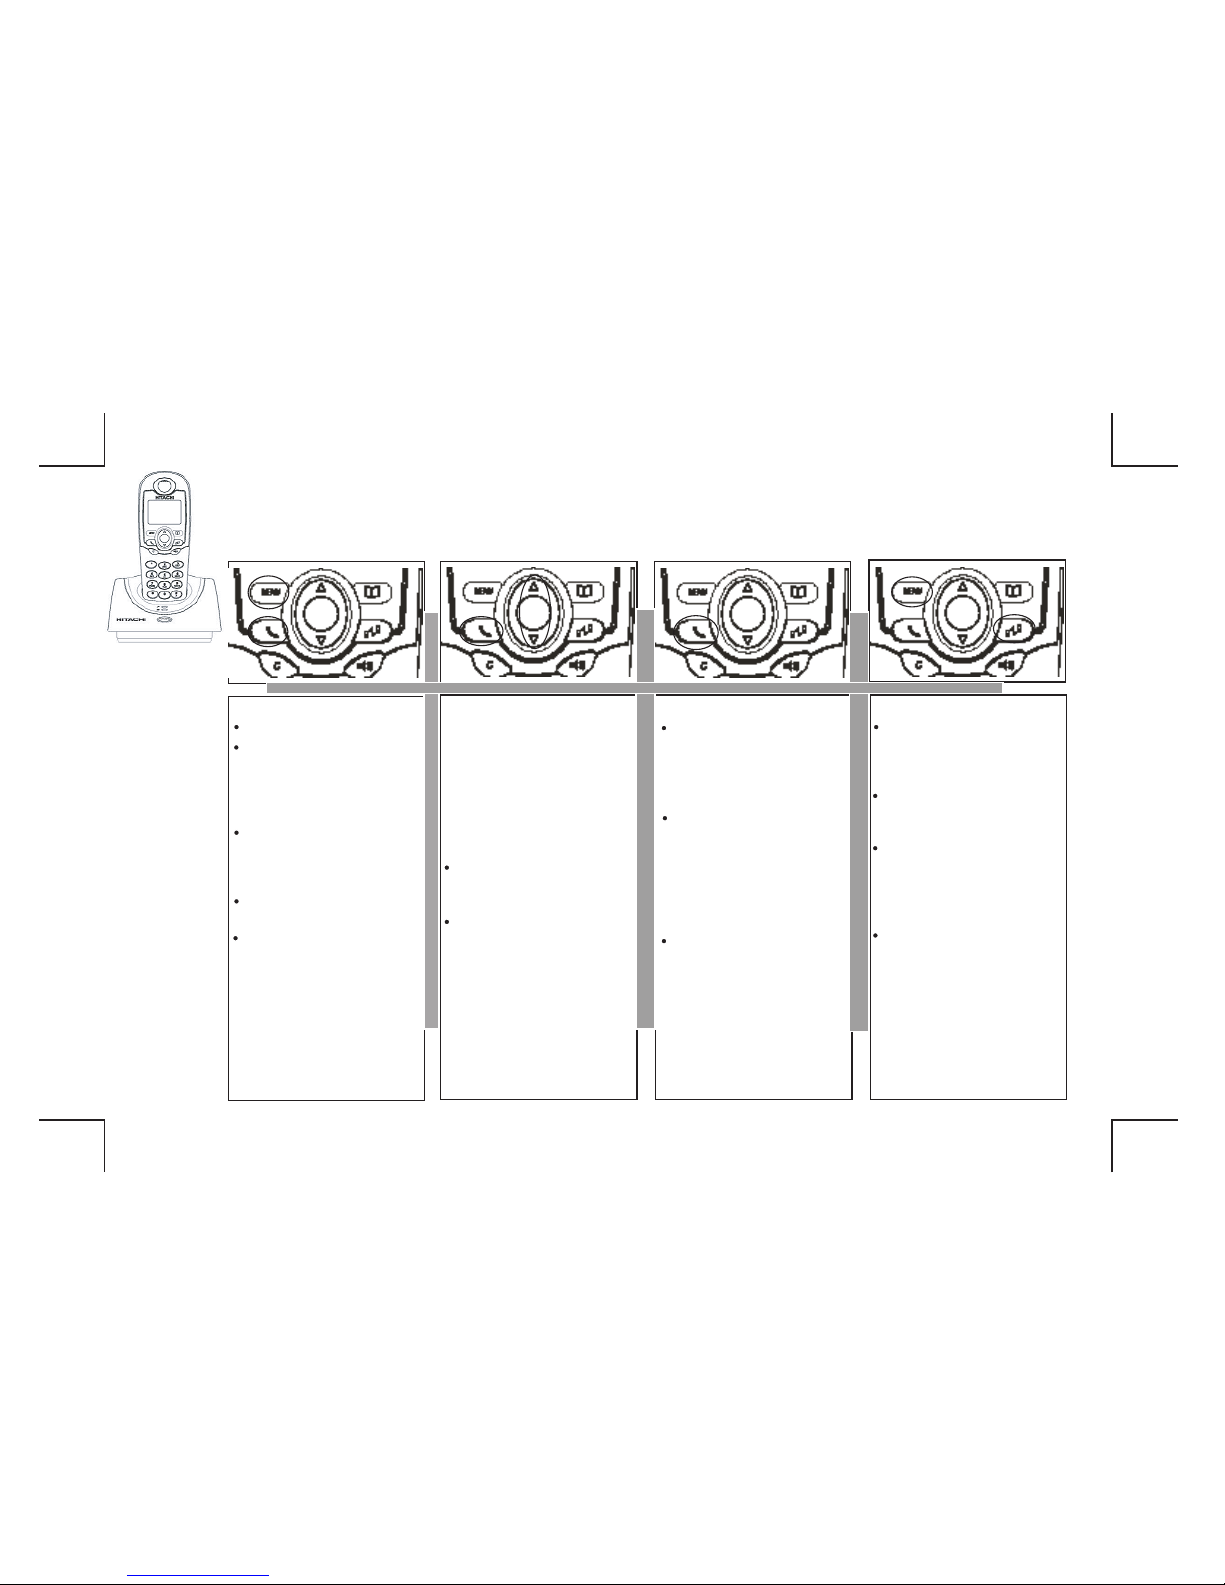
To write message
Select <Write Message> under MESSAGE
mode
Enter text using the number keypad. Press
RIGHT key once to clear one letter; press
and hold RIGHY key to clear the screen
Use UP/DOWN button to backspace;
For symbols, the key "i" used for the following
symbols: . ,? ! "" - () @ / : _ 1; the key
"*" is used for the following symbols: *;
+ & %= <>${ } [ ] \ ~^, you can press
continuous till choosing the symbol you
want..
Press number "0" once, it is used for
spacebar, press number "0" twice, it is
used for "0"
Note: If text entry is interrupted, the message
will be saved in the "Write Message" option
for later access.
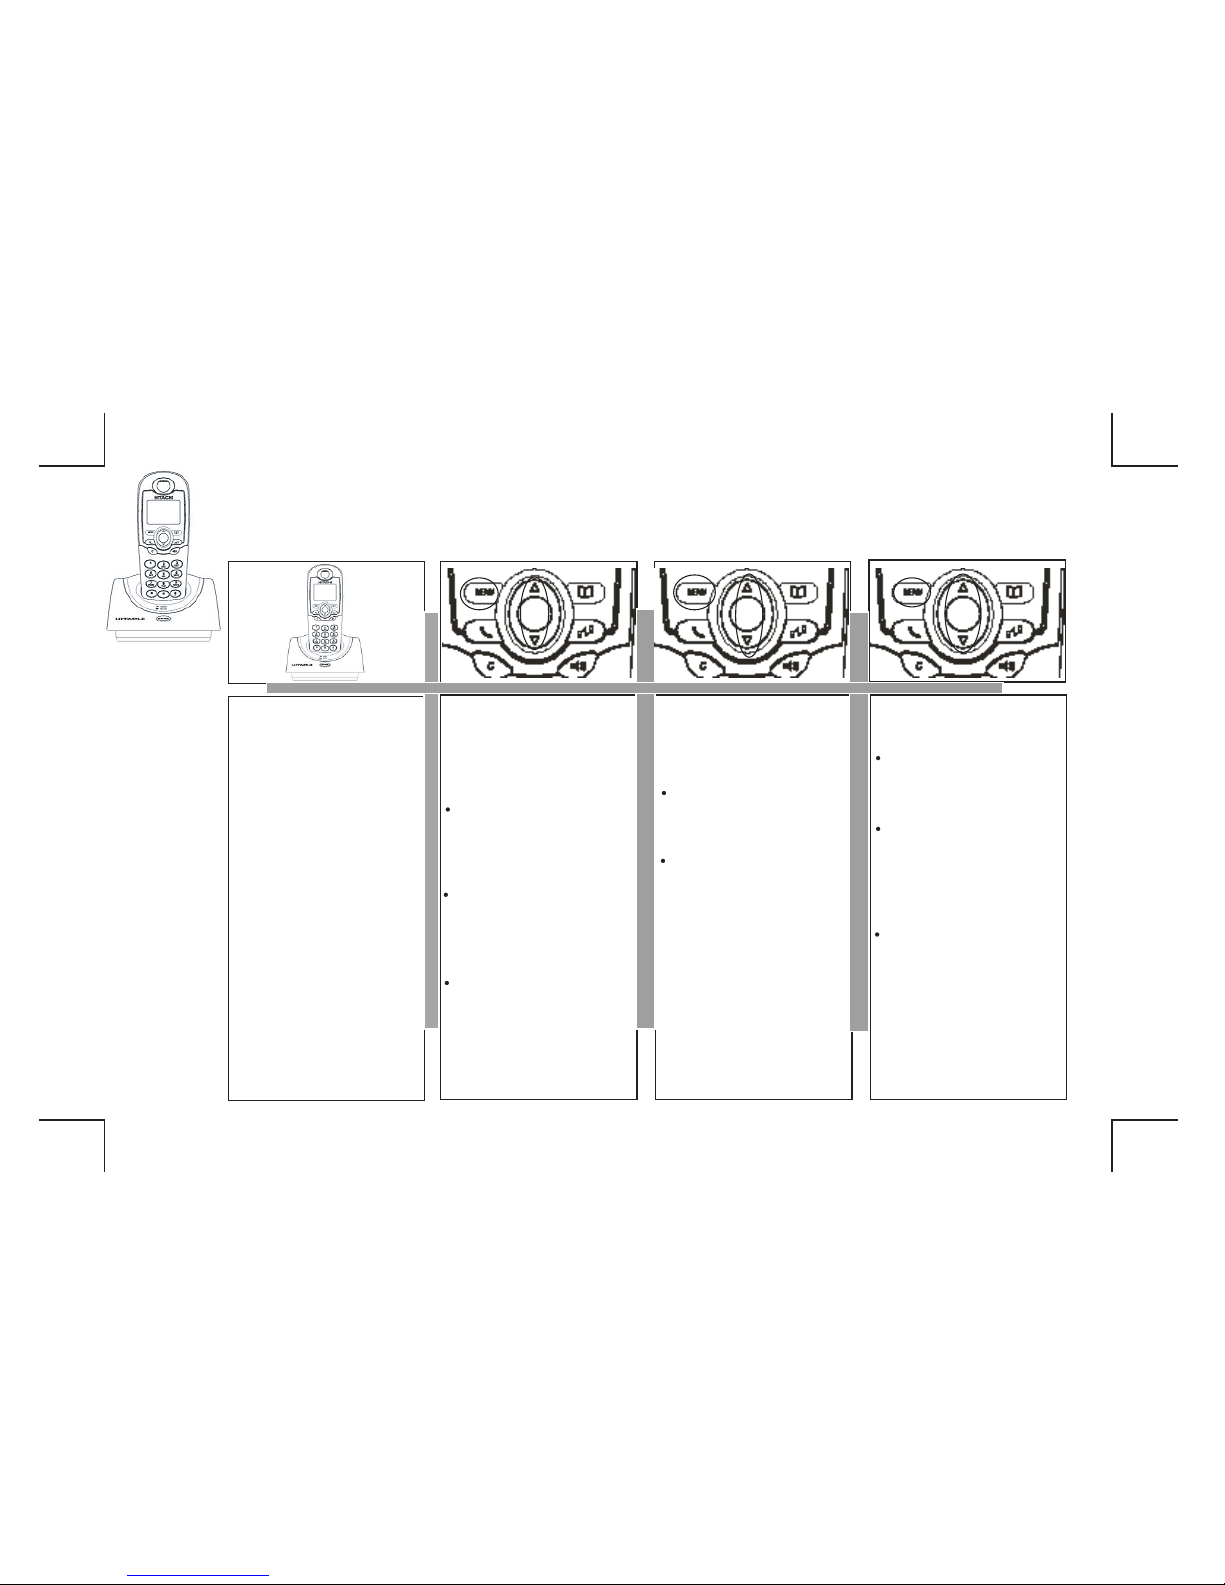
To send message
After entering a message, then
press LEFT key , you can
choose to send message to one
number, or to group numbers
Key in the number, then press
LEFT key to confirm, the display
shows "sending...."
When the message is
successfully sent, the display
shows " Message has been
sent successfully."
If sending fails, the screen will
display"send failed"
The sent message will not
saved automaticlly.
To save message
After you type a message,
press LEFT key, then select
Save message
Press LEFT key again to save
this message to Draft, the
display shows "Saving..."
To clear all message
Select <SMS Setting> under
MESSAGE mode, press LEFT
key and UP/DOWN button, and
goes to the location Clear ALL
Press LEFT key, then the
display shows "Deleted?"
Press LEFT key to confirm,
then the display show "deleted".
All messages in Inbox, outbox
and draft are deleted.
SMS Setting
To send and receive SMS messages,
you need your SMS Message Center
numbers. For your reference, these are
two numbers that have been preset in
your phone. Send Center NO is
0809101000. Receive Center NO is
01410049, You can change the pre-set
number if required.
To change SMS Center NO
Select <SMS Setting> under ME
SSAGE
mode, press LEFT key and UP/DOWN
button, and goes to the location send
/receive center;
Press LEFT key, you can see the
preset number, press RIGHT key to
clear the number and key in new
number
Press LEFT key to confirm, the display
shows "saving...."