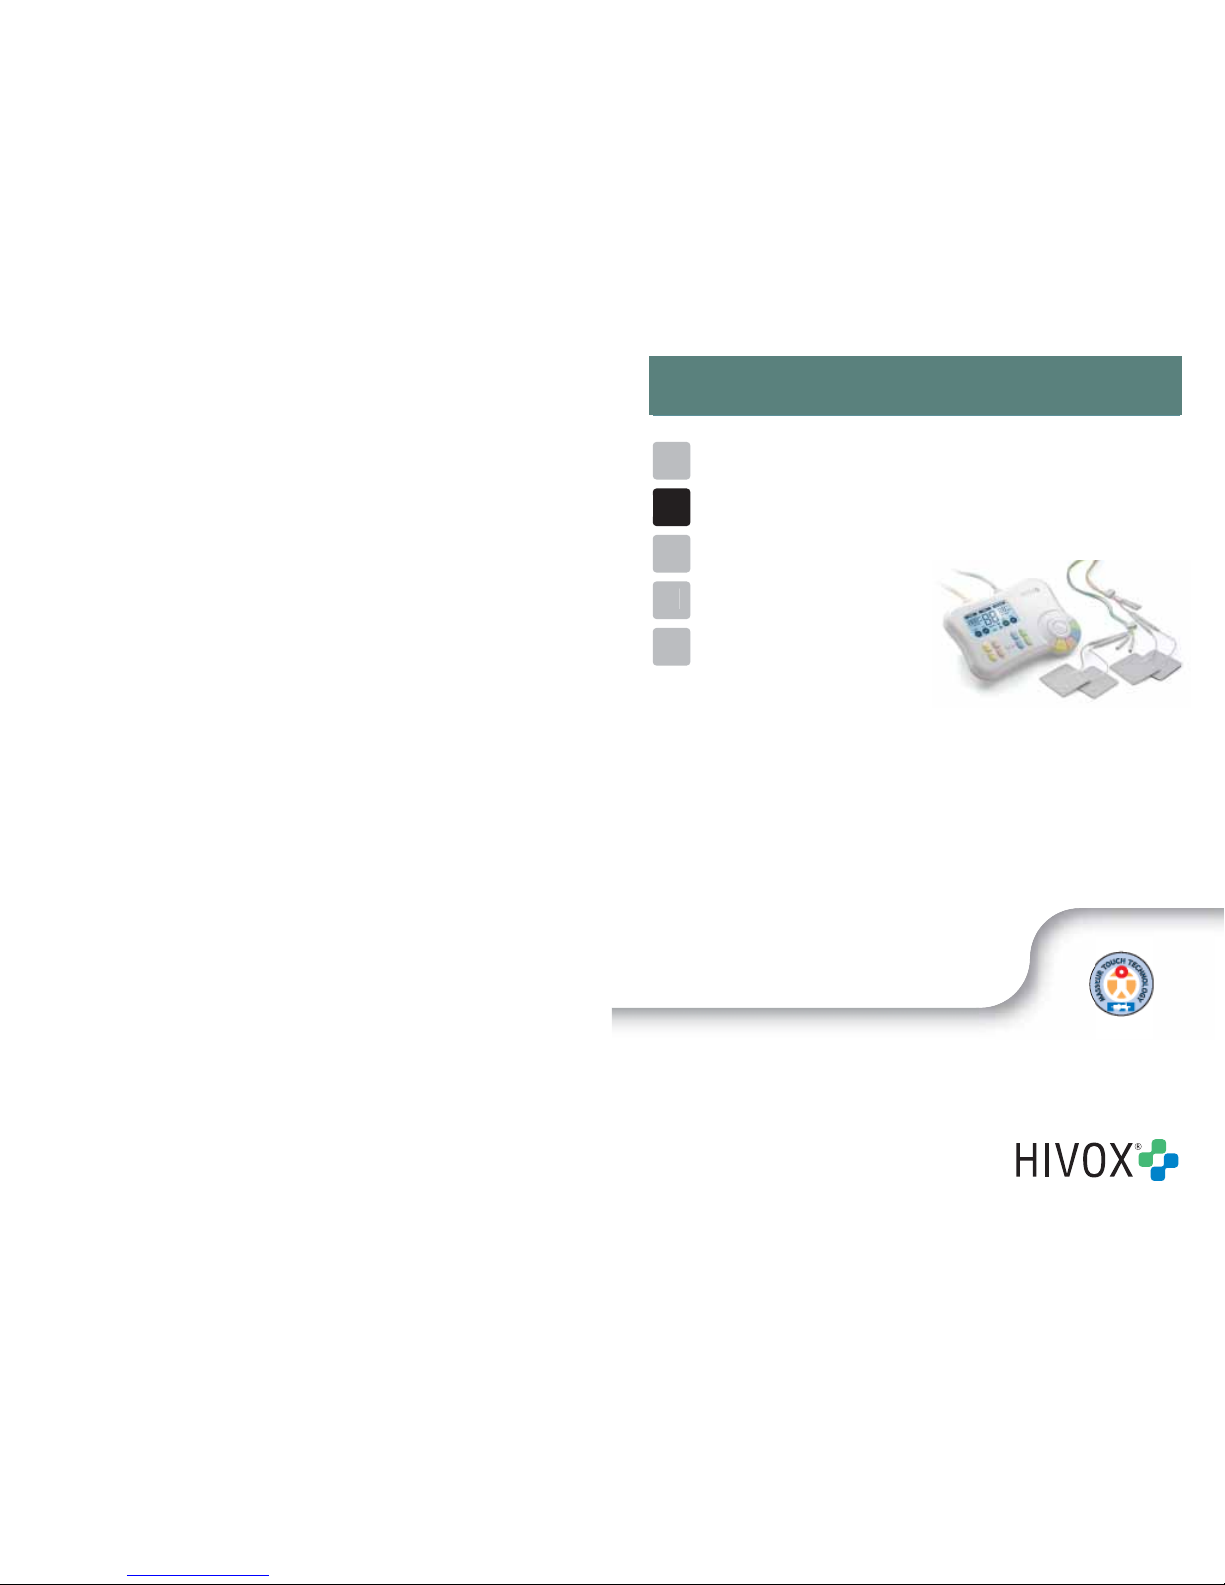
hivox Styline 880 User manual
Electric Stimulat
or
Electric Stimulat
or
T
E
N
S + EM
ST
E
N
S + EM
S
In
s
truction Manua
l
In
s
truction Manua
l
D
G
GB
F
E
I
TENS & EMS HD4P
Four Independent Channels With Back Lit LCD
D
G
G
B
F
E
I
P
a
in R
el
i
ef
p
Muscular Sports
R
ela
x
at
i
o
n
El
ec
tri
c
El
ec
tri
c
TENS + EMSTENS + EMS
TT

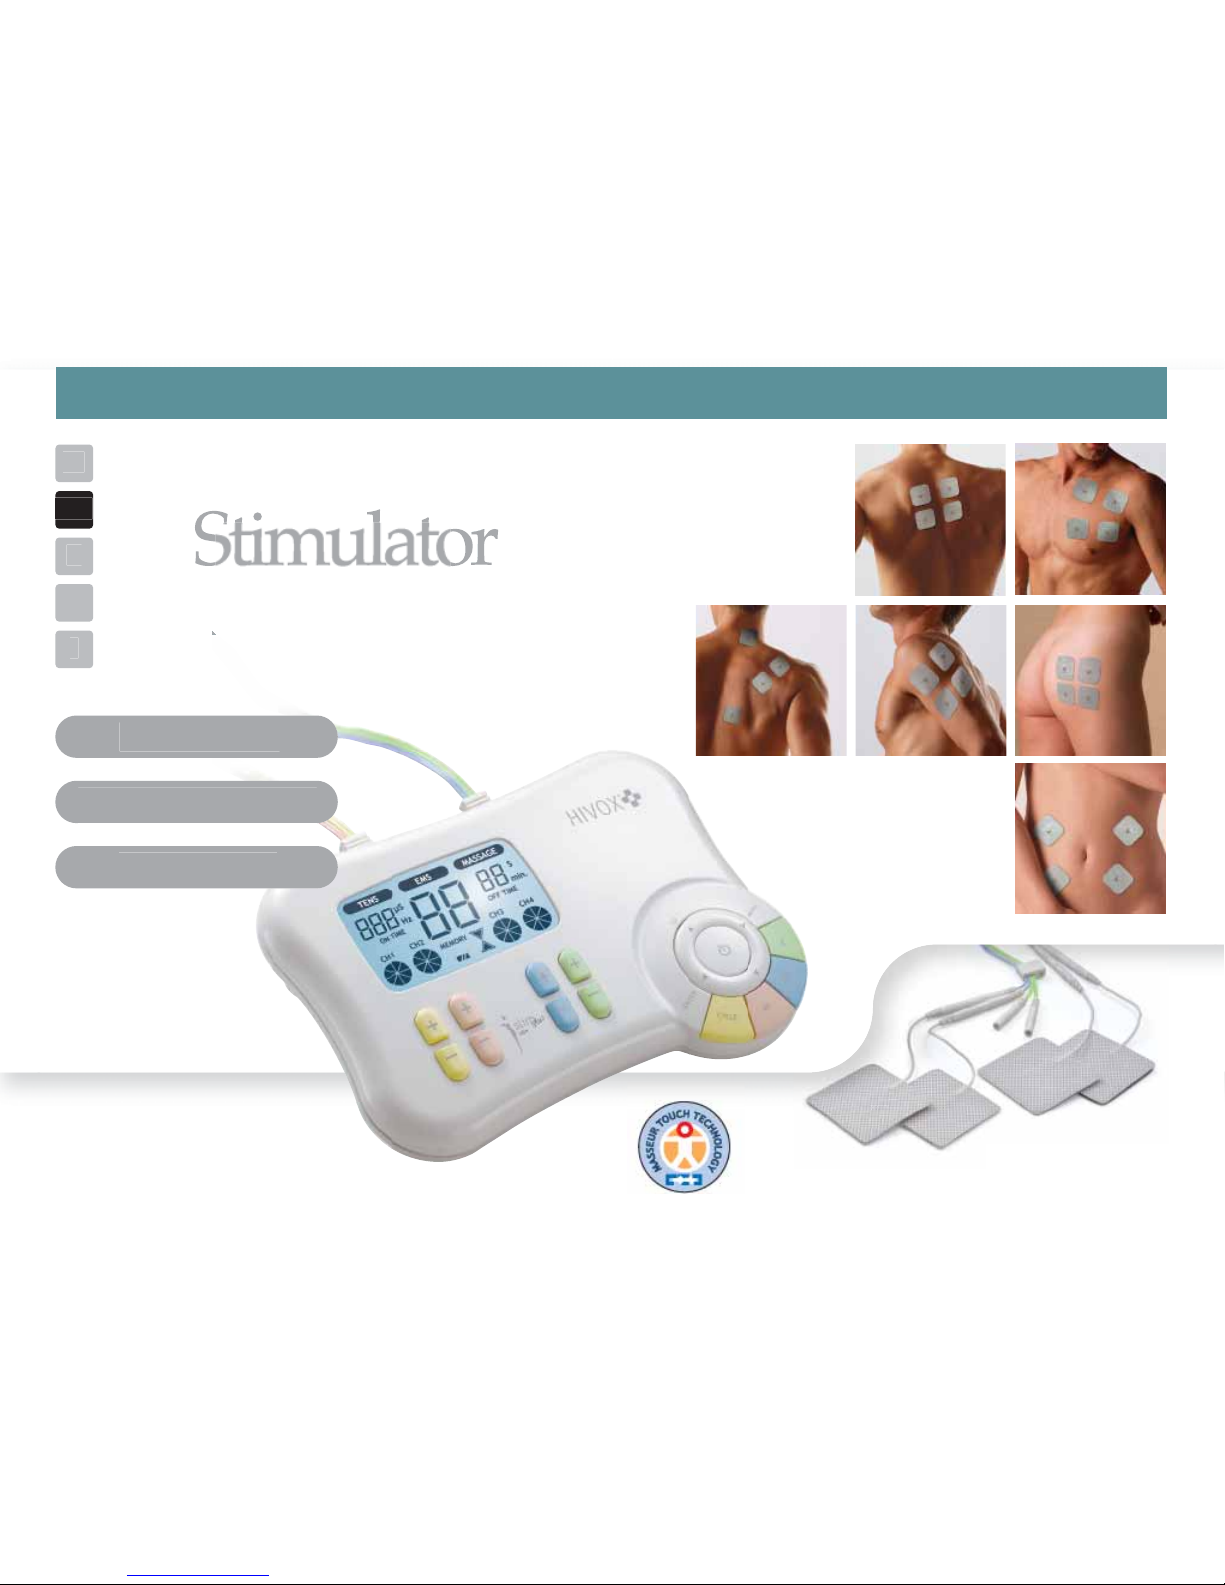
Illustrations of Muscle & Pad Positions
Knee Flexors
Adductors
Quadr.
Ankle
Pectoral Muscles
Deltoid
Large Dorsals
Biceps
Elbow
Wrist
Abdominal Muscles
sore shoulder
Migraine
PMS
sore muscle
neck pain
Trapezium
Lumbar Region
External
Abdominal Obligue
Deltoid
Triceps
Large Dorsals
Plantar Flexors
Buttocks
Biceps Fomoris
upper back pain
sciatica
sciatica
arthritis at joints
I

1234
5678
9101112
13 14 15 16
17 18 19 20
21 22 23
Illustrations of Muscle & Pad Positions
24 25 26 27
28 29 30 31
32
II

1Sore Neck; Migraine Endorphin
2Sore Uppper Back Endorphin
3Sore Shoulder Endorphin
4Rheumatic Arthritis Pain Gate
5Sciatica Pain Gate
6PMS Endorphin
7Sore Muscle Endorphin
8Knee Pain Endorphin
9 Burst Endorphin/Pain Gate
10 Burst Pain Gate
250 4 30 0 250 4 30 0 250 5 30 0 250 5 30 0
250 6 20 0 250 6 20 0 250 8 30 0 250 8 30 0
250 6 30 0 250 6 30 0 250 8 20 0 250 8 20 0
250 10 20 0 250 10 20 0 250
250 2 10 0 250 4 8 0 250 6 6 0
250 60 20 0 250 70 20 0 250 80 30 0 250 80 30 0
250 80 20 0 250 80 20 0 250 75 4 0 250 10 20 0
250 70 4 0 250 65 4
250 40 30 0 250 45 30 0 250 55 30 0 250 60 30 0
250 4 30 0 250 4 20 0 250 6 30 0 250 6 20 0
250 8 30 0 250 8 20 0 250 10 30 0 250 10 20 0
250 40 5 0 250 6 10 0 250 50 5 0
250 75 250ms 250ms 250 2 500 ms
250 100 250 ms 250ms
Cycle 1 Cycle 2 Cycle 3 Cycle 4
Cycle 5 Cycle 6 Cycle 7 Cycle 8
Prog.No. USES Application
HIVOX HD 4P PART 1. TENS PROGRAMS
Width Rate On Time Off Time Width Rate On Time Off Time Width Rate On Time Off Time Width Rate On Time Off Time
(µs) (Hz) Sec. Sec. (µs) (Hz) Sec. Sec. (µs) (Hz) Sec. Sec. (µs) (Hz) Sec. Sec.
III-1
Table of contents
Other hivox Fitness Equipment manuals

Popular Fitness Equipment manuals by other brands


G-FITNESS
G-FITNESS AIR ROWER user manual

CAPITAL SPORTS
CAPITAL SPORTS Dominate Edition 10028796 manual

Martin System
Martin System TT4FK user guide

CIRCLE FITNESS
CIRCLE FITNESS E7 owner's manual

G-FITNESS
G-FITNESS TZ-6017 user manual

Accelerated Care Plus
Accelerated Care Plus OMNISTIM FX2 CYCLE/WALK user manual


