manuals.online logo
Brands
  1. Home
  2. •
  3. Brands
  4. •
  5. Hobby King
  6. •
  7. Toy
  8. •
  9. Hobby King RYAN-STA User manual

Hobby King RYAN-STA User manual

eT4
PV ra !r_!-
Elqt tE
Brief introduction.
iEfr+8.*EX
Ma in specirications
Ffr'EfT
Product constitutio
FEF
Statement
Safety precautions
i€t;*&;iH+a
Charging nerhod ard cdutions. . .
" RYAN-STA,,N iJL iH*+ g*
Assembling sLeps for RYAN
iEt$iq6rr 6E
FuncLions for control set.......
E,I.,EEH!id6
Centerofgravitycheck........ ............. 11
Flf,EH14E!i.IEE&E*,.*
The possible problems and solutions. .............. 12
F{t1+;E +
Spare parts |ist....... ....... 13
10
I,
!!\/ ll !t-!- cr n
lii;tiEt?fq4li'LT EhF. ' i6A+ € -E 4Ct A!iEEE4-ti,tl*4i*, 1A E fi {+ifr1*4 A;'tid ,\ A! ,\9&MFiEit
IhE I
iE nt+*liirEPiatq selF{tii Fr + }}e1f , +rfrlR'LEF++.'&91&4eEtlr}EEi€+€*81+' 6,u:iEtln FEtF
tM).I^lhEI
3.,qFitTuFAiarjEifr+F'fftFis,Hfi€4*B^=i+r+!trad{FlHts6r'itrliEEt}*rcTEdEltga!.E14t'i*4fiEl
A{E!
1. Ryan-sra" is nolatoy; which is onlysu lable lorlhe experienced piloi. Please keep in mind that you are responsible
for ihe sale ope.ation for ih s model in case of damaqe or harm which may cause.
2. P ease adjust this plane coffecily according to nstructionsandmakesurethelingersandolherpartsofyoutbodyoLrtof
lhe rotaiing pa s of the p ane, or;t maycausedamagetoihe planeor njuryyourseLf.
3. The user b;ars futt respons bility of proper operai on and usage oi this model.The manufacturer and any of ts d slributor
can not be he d respons b e fot any ability or oss due io impropet operation.
E==ri
Safety precautions
1.EhtriE*,,EB..t,
1. Do notflyoutside in €iJtLXii!€tl'tlr.
the thunderstorm, rain and sirong winds.
z.GA#tlLrZ, 'tr€, aEF, HE €rlFfii6-t15"
2. Do not fly nearby the airpori, railway, road, power lines.
3. iF, &,^.i+He a!Jt--rli.
3. Do noi fly where the re arecrowds ofpeople. sk
4.Eh#wftE ).ft trH Fl4t!+iE++ia€da##g € €tt ++lt Atrt&''rf-. ft# q.,
4. Do not fly where the same frequency model plane is llying or there are oiher electric waves nearby ' eA X
5.lFHEr*eXli &4-ri,'L+FEfr{ rri!!+ EHl/ia. I t# r,"*?;,
5. IVake sure the model plane and control system js under norrnal condiiion before flyinq. l=5 l:=
6. i€liE6a\d a! tr ff a? 1+ 6 +4lE tr a! az{+ "
6. Only use genuine accessories as replacement fot damaged pads.
7. ts n t- + ziea E *flrr1t + E! -r{J1.
7. Do nol attempt to catch ihe plane whileflying.
s.NolrecommendlorchildrenLnderl4yeatsold.Childtenunderl4shouldonlyoperatethis
model under the guidance of a responsible adult.
".F
/r; x
*
AU
a
J)t
#*ry
I
ffiPfi|E
Brief iniroduction
tlqiSi+EH, Ejtqflr+,E' &8, n"4fiFtr16. A4#rt!84R4!f : a)6tlRE'tSEC, ,R81fi0!+eg+'
6Ce6gffir6#n,RFm tfi.
High scaled design. Removable horizontal tail, Vertical tail and main wing, which is convenient to maintain
Landing gear sysiem is equipped with plastic .Super easy operation , easy io conirol. just enjoy and have fun of
it.
:tg0tffrli=tr
Main specifications
idi,Efin:
E F:1000mm
dl, K:7aomm
€ iE:rEft!]3oA
€ ;U3s l3oomA 25c
fig {,r[:e+-4Pcs
E#iA6:acH rx and 6cH RX
t1f€E:67otr
€dl4=:312e KVl 100
ESC:30A
Bailery:35 1300mA 25C
Radio Systed:4cH TX and 6CH RX
lMotor:3128 KV1100
FF! !EfiI
Product's conslitution
tlE. flq. +E, E,E, +?**.
Fuselage, Wing, Horizontal tail, aB{+E. EE:3, €;b.
Vertical tail, Landing gear set, Spare parts, 2.4Ghz Radio, Battery.
-?s+
IEiEFEEiE Li Po battery(balance charser)
#ft.)b+'ejir#.w*rffi4N.
+A.#>X,
ffi-\ €J5: Dcr2v
#iu €lI, Dc 7 4V&11 1 V
(4iJ2 3EIEEE;bfo
t € €fi,0 5A
tF'; *T li *
powedJHtr€t€iFle'niT
charglngF+*l)b[6t€
charq ngSlTHx)b€)&enF*
Li-Po batiery(ba ance cha rge0 specifications
' Power
nput vo tage: Dc 12v
Ouipui voltage DC 7.4V&11.1 V (2 3cel s L Pobattery)
C h argifg curreni: 0 5A
Power ighl redrpower irdjcator
Charging ighigreen:charg ng
Greencharo nolishlto beofi,butpowe. isht red:charqe complete y
Charging
lRFlEiE operating
1.J?rtH:gFt12v€;F, llNEii€EE6!Powe.*lntJC, =;i€gEtrHIGqLI€€'diH.
2 F€t€Ai€ib1ii.fl€fi iFi6,\€iDEa,ItsiF!;il,*-i€:EEf +€;Ei€.
T.Conneci the charger to 12V power su pp y,if the charger power lighi show red ii nreans we can charge the baitery.
2.Connectthebatterytocharseraccordnstoits ntedace mark.The LED becomes green,which rneans charging
4.r
RY4$J-sr-a-
iIE:=E Notice
1 +Jt a E)6 4.F1, r1?9 €?rt6,\€{.+ATL +, 6tU a }F1Ii e;*.
2. E +igi e€-e Eirlc E Fi, G a E ^E+fr E Et 4h Fe "
3. Z. Jt.i+tE F,ir,tfljfi fF=+ a! €;&iI1-n B.
4 [47+e € id 4.4 Jri+$x e ei!ittt7. H.
5. E+ern€€"eEtsftEE!FilE, iF'EEEE /LEMeAa\tui "
,tntrllFrLne.
7 iF21+,8 {iii * €,E H +12vAlDc€;F.
I 1e n +ft J+ +',8! 18 tuiE ItW H.
e. g €tdtr ts tdll*r.i, Ehe+LH.
1. Do noi inseft anything conductive nio ihe coo ing hole when power ls on, or damage wil be caused to ihe charger'
2. While charging is in process, p ease do not make it neat f ammab e mater als.
3. Lt is noi allowed to charge iwo-ce L and three-ce I Li poly baltery ai the same time.
4. Expeci Li po y battery, th s charger is not allowed for oiher kinds of battery
5. Wh Le charglng, p ease keep t oui of the reach of Children.
6 When ihis charqer is in !se, please do not go away and leave ii unwatched f any abnormalitv occLrrs
(such as the power indicator is off, ihe temperaiure oflhebatteryriserapidlv, etc ) stop charging immedjatev'
7. Peasedonoi use powerwth outp!tvoliageh gherthanl2V
8. P ease do not disassemble the charget ot ts accessories
9. When the battery s not cool down. please do noi utge to charge it
5.,
1 +rL*E+P4iE E+.itI
2. Hrlle8€€iul
3 +t.{l;F+{FE I
a. +rLI+ €i!+q,\7x +. ;6zt +el+;E I
5. +tai6^!l:dl E ifR9iTi€ 1
6 +rr{gtT7tf;,\€td+.,Ht*;48{+lnF,wq I
7. Hrt,+frettirll
8. +rlP€tFt4llgfrTlt,E I
e. HltA€ftfE*ie* j
ro. +tErEi€lIilff€l
r 1. *rtlB €)dE1Ct!*i6n €t6Edi;5+.€M;Et !
r2. +]lH+tE+lEis€_Ll
r3. Hrttt*'*fr4;6 +.* +.;d rE,ifliet*8&;At €;F. iF,HE*r+*l
14. +t]+-)t ll € tt fFtt$ €i&)EA&,q I
15. +rttEi +E'E i € Fl lEl !
r 6. Hrt)l? €;UE+ffi ;fr +48EEt;-c + !
17. *f1*,€TtrHAtH;dl
18. +rt€tdElH)tE8AT{f E{riEl
re +rL6ES€ (fr3 6406Frt+iF,E l
20. +rtto! tX T {!45 .c tjl |'6tEE,q !
2r. F.;01tHFi, #€;Ei6-, iE145*EtTTEHIB*.. +rtiiE+i*
EH€HI
22. 1ee4\&fi8+4 &A\tbfi 1
23. ft,qlEEid;F, i49Ri€4* (i€€;'l4FIi+1A) |
24. *rli+,\eEH F.;dr,t. Jte*ffi tE+x##rE+EF€1+Htt* !
1. Do noi dlsassemble or reconstrLrci ihe baitery.
2. Do not short-circuii ihe baiiery.
3. Do not use or leave the baiiery nearby the fire, siove or heated place (more lhan 80(]).
4. Do rot immerse the battery in water or sea water, do nol get it wet.
5. Do not charge lhe battery under lhe blazing sunlight.
6. Do not drlve a nail inio ihe battery sir ke it by hammer or lread t.
7. Do not impaci or toss the battery.
8. Do not use the battery with consp cuo!s damage or deformai on
9. Do not charge a warm battery. Allow it to cool completely before ailempting io charge.
T 0. Do not reverse charge or over d scharge the battery.
T 1. Do not connect ihe ballery to lhe ordinary charger sockei or car c gareite jack.
T2. Do not use the battery for unspecified equipment.
13. Do nottouch the leak ng baltery directly, p ease wash your skin orcloihes
iftheyare bedewed by liqu d leak ng from the batiery.
14. Do not m x the LiPoly baiierywiih oiher un-chargeable battery nusing.
15. Do not continue charging the ballery overihe prescribed I me.
16. Do not putthe battery nto the microwave oven orhigh pressure container.
17. Do not use the abnormalbattery.
18. Do not use or keep ihe baiiery underthe sun ghi.
19. Do not use the batiery nearby ihe place where generates static electr city (over 64V).
20. Do not charge ihe bailery when ihe environmenia ternperature is under 0"C or over 45'C.
2T. lf yoLr find the ballery leaking, sme ngorabnormal,slopusngitandrelurnittotheseller.
22. Keep the batiery away frorn the childr-An.
23. Use the speciiied charger and observe charging requirement (under 1A).
24. When us ng by minors, parents should show them to the correct insiruction.
6/
I
CT-A-
*v & $J-
F_.
'Yl
.\Jo
.PBl 7-15mm
1 ax+Efrttu
1 lnstal theelev.i.rhorn.f -avenl. I3.4*GEiEc
3 nsla th€ nrdd.,ar h.,i .:YFra ..1t.
fi
F*-'-l
2?.' I
4 Q*+E
4.lnstallthe even tai
L._
2 a+.il€ffie
E
I
E
.#
5 A*EE
5 nstal the verticaltai .
a
'('r
6.{qtEl: ? *7.ia,**F*
T.lnsta the land ng gear
-:
\
6 lnstal rhe p ope er
8 ttEi,l+i4+
8 lnsr: llhe n. ner r r! :r : :::
np
e.tl_€ F +:
9 lnsla lthe main w ngs. r o.E Eijlfi'!lftgt
10 Fix the incl ned slruton
11.'itt=fliifl4F*
11 nsta the steetw re of
{frilEtttl+ieA+*h]o^. ruu^n14t:a-;b. €4,'LE nl*gltrTtnElT6rrrF4.alEE, fr++*.
[,4akesureiheswitchoniheiransmitter sintheOFFposton Placelhe8AAbatteriesinthebacko{thetransmtter.
Ensure ihe throit e js fu ly closed before turning the transmitter on
EArr €;dfFfj1g €ilEfi+at1. ^ tr A +Ern H +.'e E! {n E.e .
Correct y conneci then ESC w ih the batiery and the f x ilrem in ihe proper posit on
I
ETA
qv ^ !r_!-
1386F*+!{,19t.
Assemble Cab n on fLrselage.
j,trliii€L+gliTa!t*4trt6u EAEH. djulinatnfigffiitrHlE+[1,1j6n+44. +1e{i{r1{61t48 i'!liii F,1T:it ti.
Move a tthe joysticks to ensure correct operation so thai the contro s move in the correct sense. l\,4ake sLrre ihe propeller
can'lhurtotherpeopleorobjectswhle benglested Hodthefuselagefirmivsoihai tcan'tmoveduringtest'
l
". r.,
1l
''r _!- ^
I !'l
r-_.+l
'-.5'
v
,IHfr ]
Mode I
E* I]
Mode II
\r*irFilE
Throitle lMax
+ [+9t T F+
Elevaior down
tlqEtE <+ '.lam6
Rudder eil t Rudder rlqht
1+ N+frt t:11
Elevator up
t rE ffifdiE
Trm
rififr*
Bind Key Button
;E'4iefr+ *
[,4ixed-mode swiich
t& ll F 4,1E
Throitle N,4ir
€ iF +" tr rtT
;F++
OEI!€E,Efit**
ileron againsi the rLrdder swltch
a#f+.EEm+ )e
[4ovemenls againsi the rudder sw tch
o*irEr9fiE+*
+ [+ftT [+
Et!€t
left
E{EEfi
right
D re.i on a.. nstlhen,.ldersw t.h
* ^fJ1*H iEi4&li, oeo**taar6. @ +*#Erm
The use ol mixed-mode OaO switches for be owi O sw tches for ihe above
Otrbtr,Efi?+*
ijiF++
Bjnd Key Buiion
;EE&*+ *
;fiirE*iE
Throtile [/ax
rlant;.J+rFrEtE
Rudder eit + Rudder r qht
;fiirF4'iH
Thrott e Min
h E]frt'H.sa
Trm
alEats
left
Erlts6
right
tf[+Eit#
Elevator up €;FFz.}]
€F+ie
E+EtrEF?fr+
Lrovements asa nsl the rudd€r switch
Ot*iltr,EF?+*
inst the nrdder switch
O ' ]E trE BE++
Dlrection aga nsithe ruddersw ich
* ^i,r*E;8,=iHd, oeo+*t&aTEi, o+i(t&tsf Ei
The use of m xed-mode , OAO sw tches for belowt O swiiches for the above
1O/
cT_4_
$J-
,tE! \'
AEfiEEE
idl]€€!1;i+E
t+!+E€i+E
BlFi+l*
THROWS AND SET UP
Ailerons - Up 25mm
Down 15mm
Expo - 25o/o
Elevator - Up 25mm
Expo -
Rudder -
Expo -
Throttel-
Expo -
Down 25mm
Left 25mm
Right 25mm
15%
100%
N one
1r)
18*
git44+eJ
Can notflystraighi
4#.@Ht*ntl
Can not cl mb
T6FIIE+
Limited conlrol range
jg i4,?F g iR le
Problems
GAfr!F]FE
1 Battery s noi fully charged.
2. The baitery in the transmitter
3. The circu t in model has been
danraged due to Crash
4 Bind ing Problem.
1. €rd!E*i# €
2. xi 9f in e. iE 9E €E 4 E
3. tr - iilEmE,ta!84
l +,'L A ;B tt ffi d[ f*
4 ts9it*&)i€iitfi+
E evator and / orA erons are
R!dderare outoftr m
Elef,a m fi ^r,ti,l
FEAgtsEiEfTrifi
1 The batiery s noi fully
charged.
2.Two ai eron are biased downward
3 E evator are out of trim.
1. H;d!Bt;d B
2. ffi t E! gt]r Fi T1&
3 fiIefiE;q€mFii+
Tlre balteries are a most flat
&ft €Jd!E €ET,?
solutions
,01'I#,+
T. Charge the ballery.
2. lnslall new dry cel s.
3. Contact the distribuior.
4 Re-binding Wel .
r . ia €;&rEi €
2. F*ffFt Bt&rH
3.1iiFrl+H6
4 E*txifi
Adiusl the tr m sw tch ofthe
appropriate control io be correct.
Adjust Rudder trlm lo be correci.
i,Er g t tt f,l _L a.t 1ff Jd,
ftElertilri
iEn]j Frfi tIFifHiArts'j Efr?iif,n
1 Chargerthe battery
2. Adjust the irim sw tch on the
Transmitter. Aileron lo theiwo up
3.Adlusl elevator trinr to be correct
1 . ,A @.ittrgVt +.
2. iJA #tqilrlf Atr1triE,1FAt
El€1ffErtiE
3 €t1P+fEEiEtlE
lnslal new batler es
A *+'t H,U4B
12.
l
€Y-a-!\!-sr-a
fiEEiEEErilrr
Hor zontal Tail
+E VerticalTail
EE L -pol_v -:a:i9'!
M o:c.
si-- r
:
Esc
€ r,E
.*
Spare Parts
E?.t+a
B alance Charger
f +.:R
Land nc G€Er Se
Radio
iE*38
B.
N/lain Wing Set
*lt €Fuselage
IIIH
ttr
Servo
r1ti/l
(€ - -t
E)
Propeller Set
wft#-E
t3
+EEUlf, iIE lPCS
+€EEESSdI 160mm iIE l PCS
EUtr,lEdl 310mm 2 PCS
E!EGK4 Y9i 100mm lPCS
* The manufacturer reserve the rghl to modifythe specificaiion oi this
model ai any time without notice.
14

Other Hobby King Toy manuals

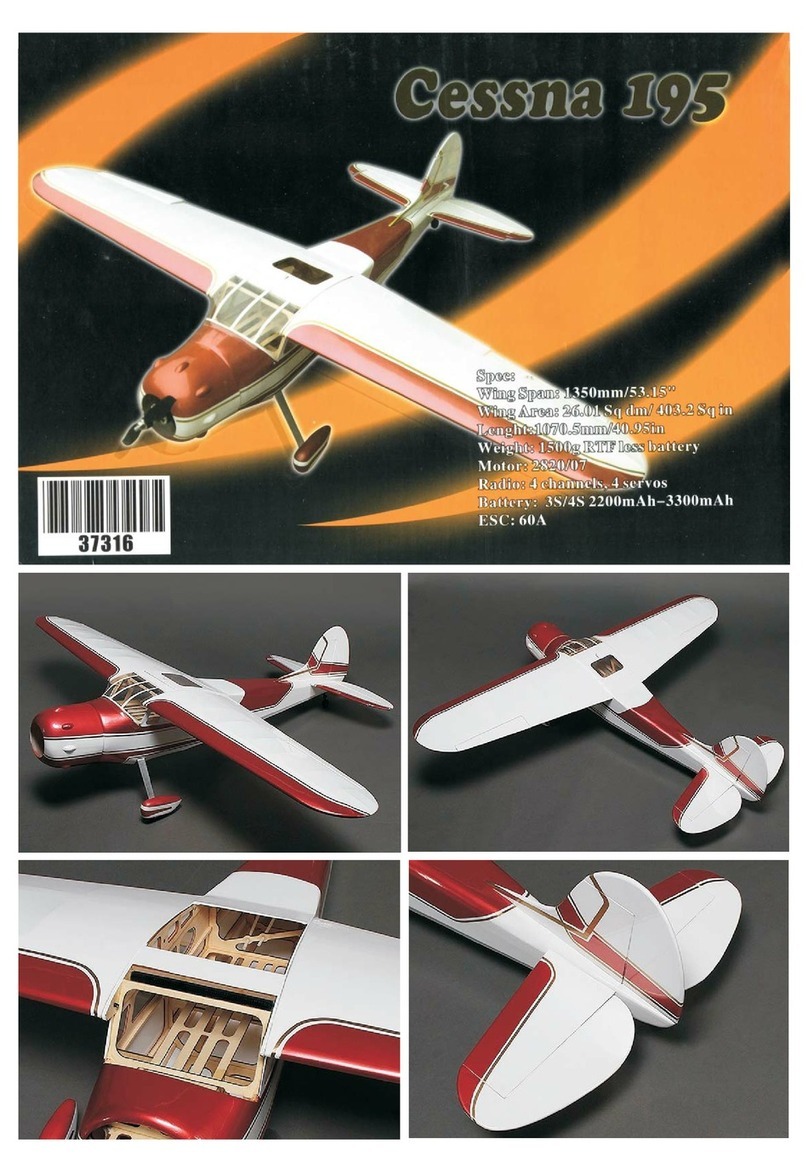
Hobby King Cessna 195 User manual

Hobby King

Hobby King Cessna 195 User manual
Hobby King SBACH 55" User manual

Hobby King

Hobby King SBACH 55" User manual
Hobby King DODGER-EP User manual

Hobby King

Hobby King DODGER-EP User manual
Hobby King Tanager Glider User manual

Hobby King

Hobby King Tanager Glider User manual

Hobby King Breeze User manual

Hobby King

Hobby King Breeze User manual

Hobby King skipper User manual

Hobby King

Hobby King skipper User manual

Hobby King spitfire User manual

Hobby King

Hobby King spitfire User manual

Hobby King BAE Hawk User manual

Hobby King

Hobby King BAE Hawk User manual

Hobby King DH 82 Tiger Moth User manual
Hobby King

Hobby King DH 82 Tiger Moth User manual

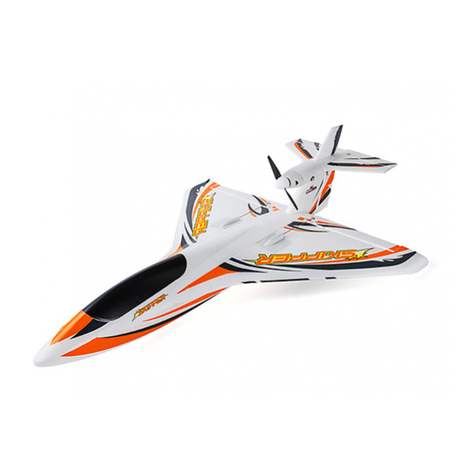
Hobby King Skipper 40228 User manual

Hobby King

Hobby King Skipper 40228 User manual
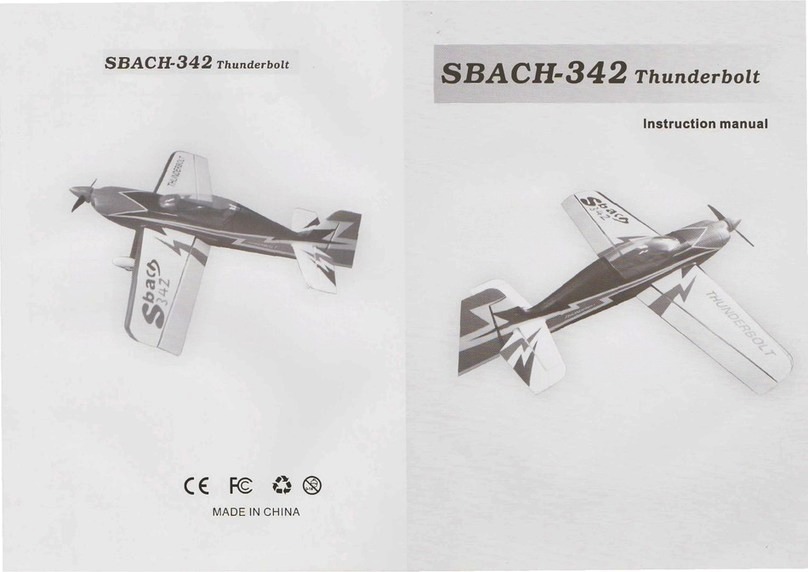
Hobby King SBACH-342 Thunderbol User manual

Hobby King

Hobby King SBACH-342 Thunderbol User manual

Hobby King Fokker Dr.I Triplane EPO Assembly instructions
Hobby King

Hobby King Fokker Dr.I Triplane EPO Assembly instructions

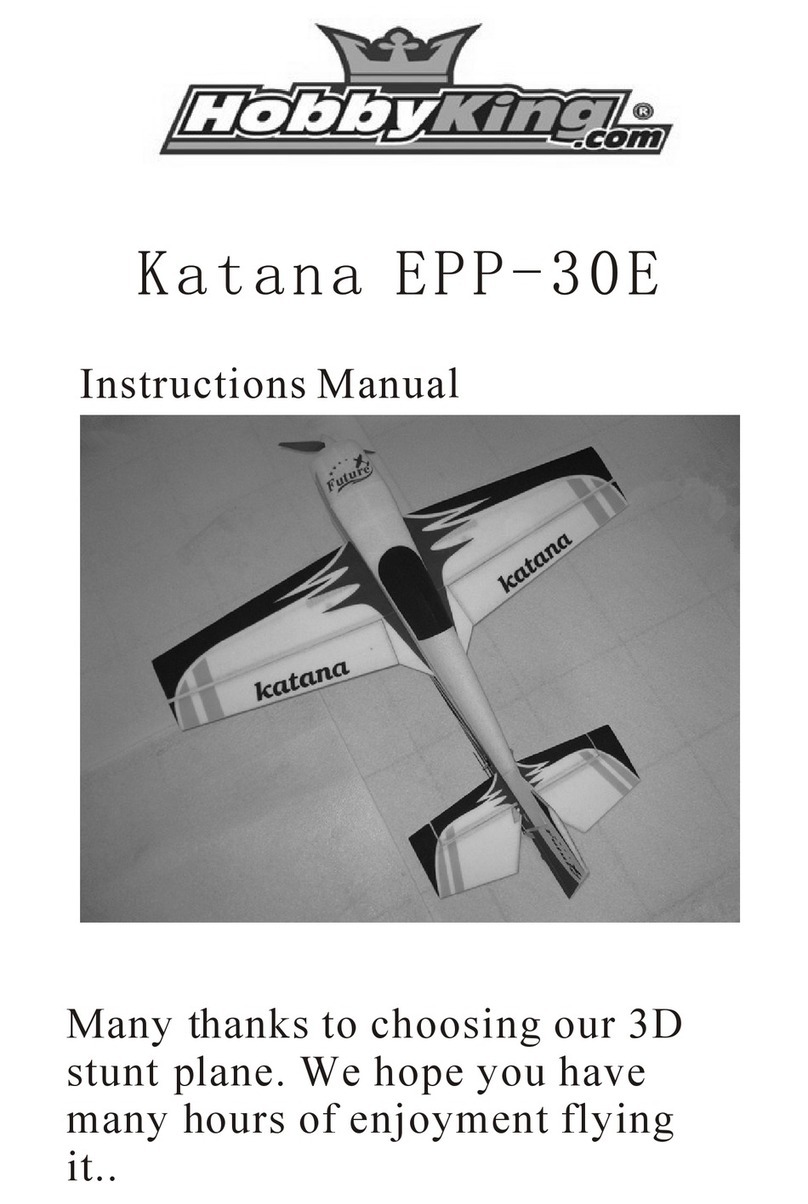
Hobby King Katana EPP-30E User manual

Hobby King

Hobby King Katana EPP-30E User manual
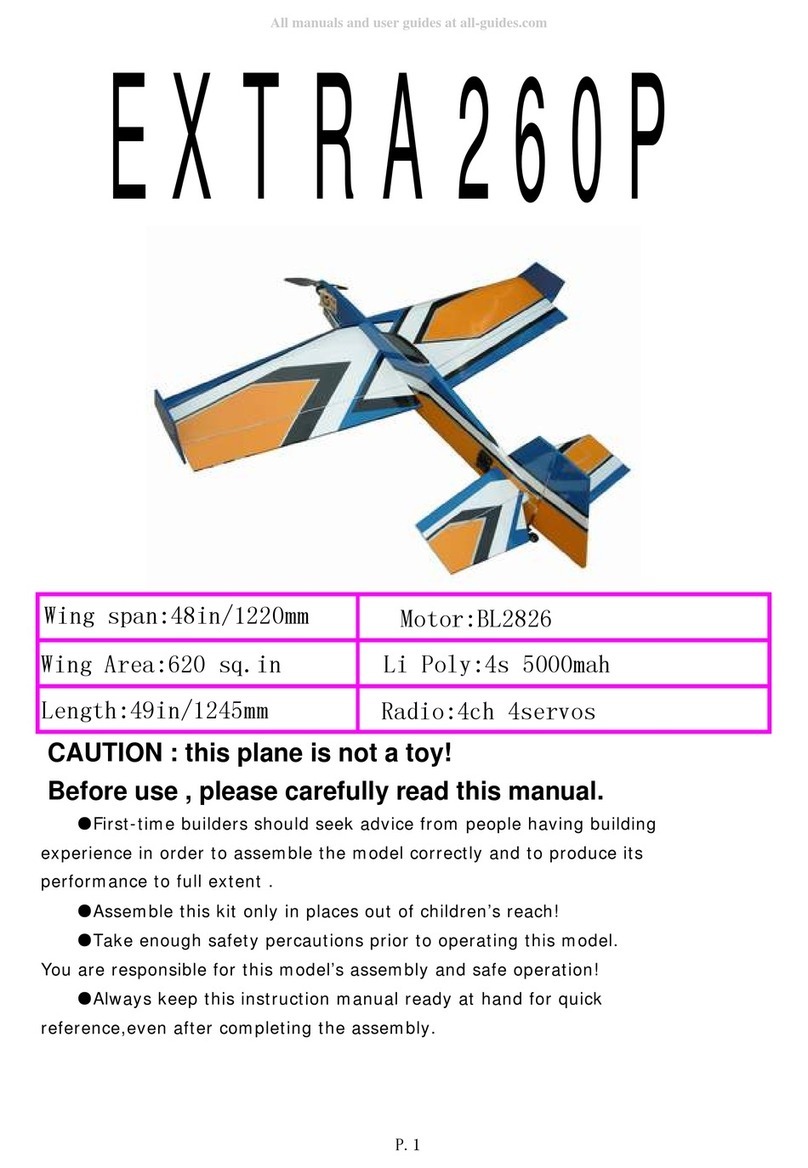
Hobby King EXTRA260P User manual

Hobby King

Hobby King EXTRA260P User manual
Hobby King J3 CUB User manual

Hobby King

Hobby King J3 CUB User manual
Hobby King Gulfstream G500 ARF User manual
Hobby King

Hobby King Gulfstream G500 ARF User manual

Hobby King Electrolyte User manual

Hobby King

Hobby King Electrolyte User manual
Hobby King HUMMER EPP-3D User manual

Hobby King

Hobby King HUMMER EPP-3D User manual

Hobby King Maestro-46 User manual

Hobby King

Hobby King Maestro-46 User manual
Hobby King 12A BEC User manual

Hobby King

Hobby King 12A BEC User manual

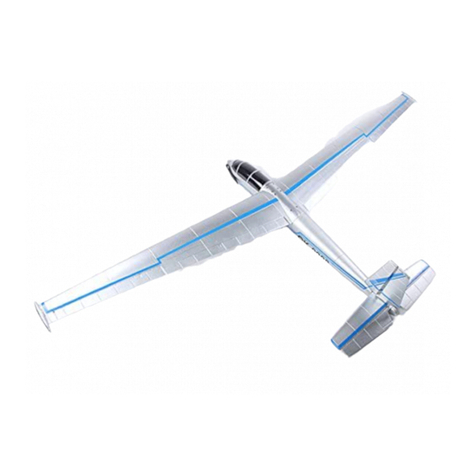
Hobby King Blanik User manual

Hobby King

Hobby King Blanik User manual

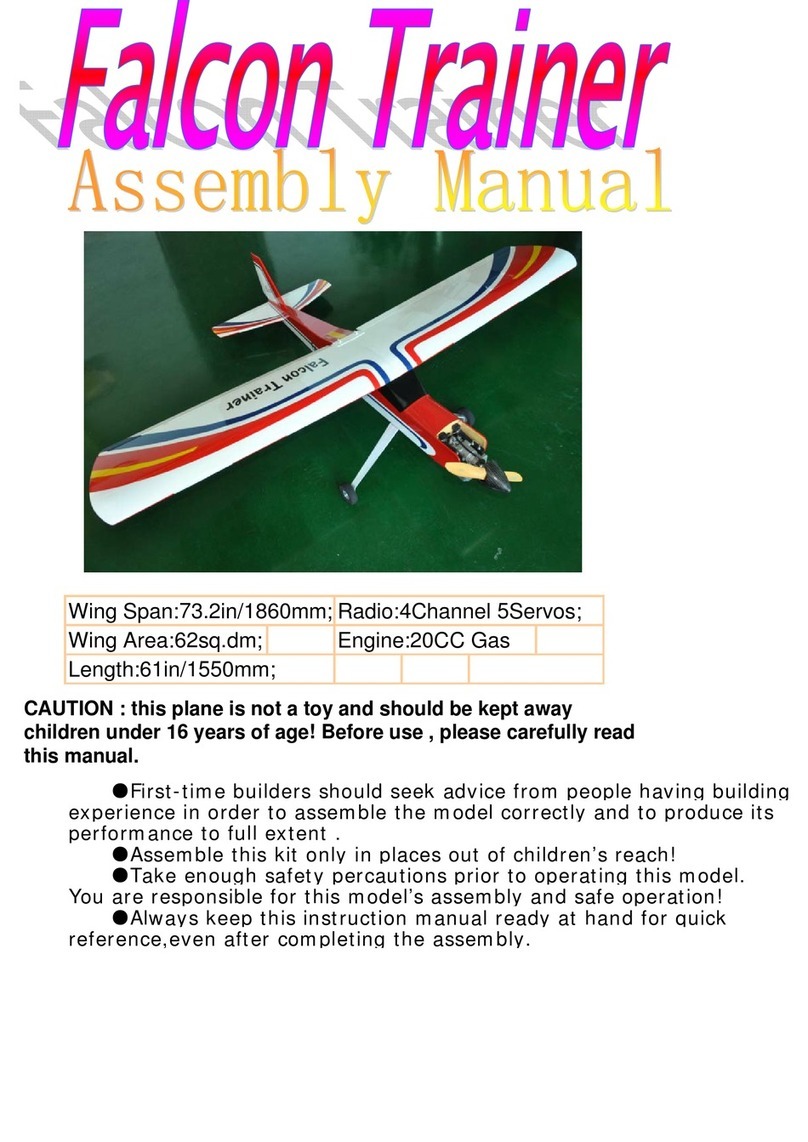
Hobby King FALCON TRAINER User manual

Hobby King

Hobby King FALCON TRAINER User manual

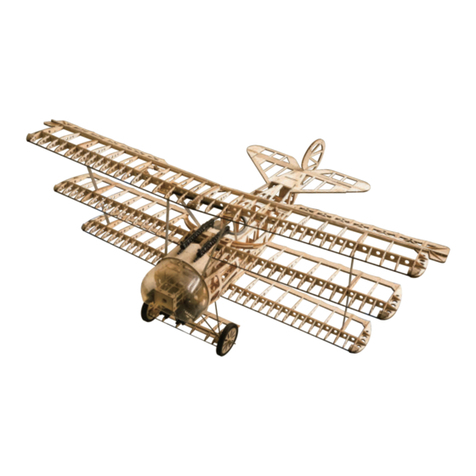
Hobby King Fokker Dr.I User manual

Hobby King

Hobby King Fokker Dr.I User manual

Hobby King Mellizo-50e User manual

Hobby King

Hobby King Mellizo-50e User manual

Popular Toy manuals by other brands

RC Factory Edge 540T instructions

RC Factory

RC Factory Edge 540T instructions

Associated Electrics 80930 manual

Associated Electrics

Associated Electrics 80930 manual

Fisher-Price DGG70 manual

Fisher-Price

Fisher-Price DGG70 manual

Hasbro My Little Pony Teapot Palace 62826 instruction manual

Hasbro

Hasbro My Little Pony Teapot Palace 62826 instruction manual

Eduard 49 1012 manual

Eduard

Eduard 49 1012 manual

PARKZONE T-28 Trojan instruction manual

PARKZONE

PARKZONE T-28 Trojan instruction manual

Multiplex Dog Fighter Building instructions
Multiplex

Multiplex Dog Fighter Building instructions

Thomas & Friends TRACK MASTER THOMAS AVALANCHE ESCAPE SET instructions

Thomas & Friends

Thomas & Friends TRACK MASTER THOMAS AVALANCHE ESCAPE SET instructions

Eduard WEEKEND Series quick start guide
Eduard

Eduard WEEKEND Series quick start guide

SG Models Skyraider Warbird 10CC Assembly manual

SG Models

SG Models Skyraider Warbird 10CC Assembly manual

Bengtson Company Wedell Williams 52.4 Model instructions

Bengtson Company

Bengtson Company Wedell Williams 52.4 Model instructions

Replogle Intelliglobe How to use

Replogle

Replogle Intelliglobe How to use

Viessmann Vollmer 43864 Mounting instruction

Viessmann

Viessmann Vollmer 43864 Mounting instruction

Eduard Su-25K exterior manual

Eduard

Eduard Su-25K exterior manual

LGB 27432 instruction manual

LGB

LGB 27432 instruction manual

EFE Rail Class J94 Locomotive Owner's Information

EFE Rail

EFE Rail Class J94 Locomotive Owner's Information

Alien Aircraft Corp C-310-B Assembly instructions

Alien Aircraft Corp

Alien Aircraft Corp C-310-B Assembly instructions

Hasbro HUNGRY HUNGRY HIPPOS instructions

Hasbro

Hasbro HUNGRY HUNGRY HIPPOS instructions

manuals.online logo
manuals.online logoBrands
  • About & Mission
  • Contact us
  • Privacy Policy
  • Terms and Conditions

Copyright 2025 Manuals.Online. All Rights Reserved.