manuals.online logo
Brands
  1. Home
  2. •
  3. Brands
  4. •
  5. Hobby King
  6. •
  7. Toy
  8. •
  9. Hobby King 12A BEC User manual

Hobby King 12A BEC User manual

Y Thank you for purchasing EobbykingBrushless Electroric
EEEE& Speed Controllert ESC r.
High power systems for RC model can be very dangerous and we
strongly suggest tlat you read this manual carefully Hobbyking Model have no control
over the use, installation, application, or maintenance of these products, thus no
liability shall be assumed nor accepúed for any damages, losses of costs resulting
from the use of this itern. Any claims arisiag from the operating, faift¡re or
malfunctioning etc. will be denied. We assume no liability for personal injury,
property damage or consequential damages resulting from our product or our
workmanship. As fa¡ as is legally permitted, the obligation for compensation is
limited to the invoice amount of the product in question.
The Hobbyking ESC's high powerBEC has been specifrcally desiped for extreme
aerobatics and therefore has the capability to support the higher momentary peak
demand loads to eliminate the possibility of unwanted shutdowns, and is also
capable of supporting continuous simultaneous multiple servo operations typically
found in CCPM equipped hardcore 3D E-helicopters.
Wires Connection:
The speed controller can be co¡nected to the motor by soldering directly or with
high quali§ connectors. Always use new connectors, which should be soldered
carefully to the cables and insulated with heat shri¡k tube. The maximum length of
the battery pack wires shall be within 6 inches.
o Solder conholler to the motor wires.
a Solder appropriate comectors to the bauery wires.
o lnsulate all solder comectom with heat sbrink tube.
O Plug the "JR" comector into the receiverth¡ottle channel.
Controller Red md Black wires comects to bat¡ery prck Red md Blrck wires
respectively. Brushless Speed Controller
Soecification:
Type Cont.
Cuñent(A) Brust Cwen
(A) l0 sec Battery cetl
NiXX/Lipo Weigb
(e) BEC
Outpul Size(mm)
W*L*H User
P¡ograo
I2A BEC t2A t6A tl2NC\24Lipo 85.0v/ 1A 2lxl}x4 y6
2OA BEC 204 304 ! I 2NC \ 2-4 Lipo 18 5.0v/24 23x3lx6 y6
3OA BEC l0A 40A t12NC\24Lipo 10 5.0v/34 23x43x6 y6
4OA SBEC OA ó04 5-18NC \ 2-6 Lipo 32 5.5V/44 23x52x'l y6
5OA SBEC 504 704 5-18NC\2-6Lim 45 5.5V/44 3l x58x 11 y6
óOA SBEC 604 804 5-l8NC \ 2'6 L'!o 45 5,5V/44 3l x58x ll ys
7()A SBEC i0A 904 5-l8NC \ 2.6 L'po 53 5.5V/54 3l x5?x12 yes
854 SBEC 854 1004 5-l8NC\ 2-6 Lipo 62 5.5V/5A 36x62x16 ys
Features:
a Extremely low intemal resistance
a Super smoottr and accurate throttle linearity
a Safetythermalover-loadprotection
a Auto throttle shut down in signal lose situation
a SupportshighRPMmotors
a Power arming protection (prevents the motor from accidentally running when
switched ON)
a NewAdvancedprogrammingsoftware
Our ESC allows vou to proeram all functions to fit vour specific needs.which
m¿kes it verv efficient and user friendlv:
l.User programmable brake setting (we recommend using brake for only folding
props applications)
2.User programmable battery type(LiPo or NiCd/NiMlD
3.User programmable low voltage cutoffsetting
4.User programmable factory default setup restore
5.User programmable timing settings (to enhance ESC efficiency and smoothnpss)
6.User programmable soft acceleration start ups (for delicate gearbox and
helicopter applications)
7.User programmable govemor mode(for helicopter applications)
8.User pro grammable motor rotation(clockwi se\counterclockwise)
9.User programmable switching frequency
l0.User programmable low voltage cutof type (power reduction orimmediate
shutdown)
Settinqs:
l.Brake: ON/OFF
* ON-Sets the propeller to the brake position when the tb¡ottle stick is at the
minimum position (Recommended for folding props).
+ OFF-Sets the propeller to freewheel when the th¡ottle stick is at the mi¡imum
position.
2.Battery §pe: LiPo or NiC¡d/NiMH
* NiCad/NiMH- Sets Low Voltage protection threshold for NiCad/NiMH c¿lls.
* LiPo - Sets Low voltage protection threshold for Lipo cells and automatically
detects the number ofcells withid the pack.
Note: Selecting the NiCad,/NiMHoprion for the battery type, triggers the ESC to
automatically set the cutoff threshold to the factory default of 60lo. The cutoff
thieshold can then be subsequently altered through the Low Voltage protection
function, if required. The ESC will read the initial voltage of the NiCad/NiMh pack
once it is plugged in and the voltage read will then be used as a reference for the
cutoff volt¿ge tbreshold.
3.Low Voltage Protection Threshold ( CutoffThreshold ):
Low / Medium/ High
l) For Li-PO packs- number of cells are automatically calculated and requires no
user input apart from defining the battery type. This ESC provides 3 setting options
for the low voltage protection threshold ; Low (2.8V/ Medium (3.0V)/ High (3.2V).
For example : the voltage cutoffoptions for an ll.lV/ 3 cell Li-Po pack would be
8.4V (Low)/ 9.ov(Med/ 9.6v(High)
2) For Ni-MH packslow / medium / high cutoff voltages are 50W6ü/o/65% of the
initial voltage ofthe battery pack.. For example: A ñrlly charged 6 cell Nil,lh pack's
voltage is 1.44Y xGS.64Y,when "LOW" cutoffvoltage is set, the cutoffvoltage is:
8.64Y x50o/o4.3V and when "Medium" of "High" is set, the cutofrvoltage is now
8.64V X 6570:5.61V.
4. Restore frctory setup def¡ults¡
Rostore- Sets the ESC back to factory default settings;
Brake: OFF
Battery type Detect: LiPo with Autom¿tic Cell
Lowvoltagecutoffthreshold¡ Medium(3.0V/6OZ)
Timing setupr Automatic
S.Timing setup : Autom&tic/ Low / High.
* Automatic (7-30deg)-ESC automatically determines the optimum motor timing
r Low (7-22 deg) - Setting for most 2 pole motors.
* High(22-30 deg)-setting for motors with 6 or more poles.
In most cases, automatic timing works well for all types of motors.However for
high efficiency we recommend the Low timing setting for 2 pole motors (general
in-runners) and high timing for 6 poles and above (general outrunners). For higher
speed, High timing can be set. Some motors require different timi¡g .sef¡pg
therefore we suggest you to follow the manufacturer recommended setup or use the
automatic timing setting ifyou are unsure.
Note: Run yor¡r motor on the ground first after making any changes to your motor
timing!
6.Soft Acceleration Start ups: Very Soft / Soft Acceleration/ Start Acceleration
I Very Soft - Proüdes initial slow 1.5 sec ramp-up from start to full rpm intended
to protect delicate gears from stripping under instant load. This setting is
¡ecommended for either fixed wing models equipped with gearboxes and / or
helicopters.
t Soft Acceleration- Proüdes initial slow 1 sec ramp-up from start to fifl rpm. This
setting is recommended for either fixed wing models eqüpped üth gearboxes and
or helicopters.
* Start Acceleration - Provides quick acceleration start ups with a linear th¡ottle
response. This is recommended for fxed wing models fitted with direct drive
setups.
T.Active RPM Control (He[ Góvernor mode)
*I{PM Crntrol OFF
t Fi¡st Range There will be a 5-second delay from start to ñ¡ll rpm, but if the throttle is
cutoffafter starting, then the next start will be as normal start.
tsecond Range There will be a l5-seond delay ftom start to frrll rprq but ifthe
tkottle is cutoffafter stafing, then the next start will be as nomal staft.
Note: Once ttre Governor Mode is enabled, the ESC's Brake and Low Voltage
CutoffType settings will automatically be reset to No Brake and Reduce Power
respectively regardless ofwhat settings they were previously set.
E.Motor Rot¡tion: Forwsrd/Reverse
In most cases motor rotation is usually reversed by swapping two motor wires.
However, in cases where the motor cables have been directly soldered the ESC
cables, motor rotation catr be reversed by changing the value ofsetting on the ESC.
Soft Accele¡ation Start Upr
Governor mode ,
Frequency :
Low voltage cutofftype¡
Soft Acceleration
RPMOFF
8kHz
Reduce power
J
9.Switching Frequency : SkHz/l6kIIz
+ 8kHz - Sets ESC switching frequency for 2 pole motors, e.g. in-runners.
* lákJlz Sets ESC switching frequency for motors with more than 2 poles, e.g.
out-runners.
Although 16kllz is more effrcient with our Thrust motors, the setup default is SkHz
due to the higher RF noises caused at 16kIIz.
10.Low Yottage CutoffTlpe : Reduce Power / Hard cutoff
* Reduce Power - ESC reduces motor power when the pre-set Low Voltage Protection
Threshold Value is reached (recommended).
t Hard Cutoff - ESC instantly cuts motor power when the pre-set Low Voltage
Protection Threshold value is reached.
UsineYourNew ESC
Improper polarity or short circuit will damage the ESC therefore it is your
responsibility to double check all plugs for proper polarity and frm fit BEEORE
connecting the battery pack.
Alert Tones
l.TheHobbyking ESC is equipped with audible alert tones to indicate abnormal conditions
at power up.
2. Continuous beeping tone (****) - Indicates that throttle stick is not in the
minimum position.
3. Single beeping tone followed by a one second pause (t * * *f Indicates
that the battery pack voltage exceeds the acceptable range. (The ESC
automatically checks and verifies the battery l'oltage once the battery is connected),
Built-in Intellieent ESC Safetv Functions
1. Over-heat protection: When the temperature ofESC exceed 110 deg C, the ESC
will reduce the output power to allow it too cool.
2. Lost Throttle signal protection: The ESC will automatically cut power
to the motor when it detects a lost of throttle signal for 2 secon(
then motor will emit continuous beeping tone.
Powering up the ESC for the first time and setting tle Autom¿tic Throttle
Caübration
TheHobbykingESCfeaturesAutomatic Th¡ottle Calibration to attain the smootlest
tlrottle response and resolution tlroughout the entire tlrottle range of your
transmitter. This step is done once to allow the ESC to "learn and memorize" your
Transmitter's thottle output signals and only repeated if you change your
transmitter.
l.Switch your Transmitter ON and set the throttle stick to its maximum position.
2.Connect the battery pack to the ESC. Wait for about 2 seconds, the motor will beep
for twice, thm put the thrcttle in the minimm position, the motor will also beep, which
indicates that your ESC hm got the signal range ofthe throttle from you transmifter.
The throlrle is ,tow calüraled and yoar ESC is read.y for operation
Entering the Programmins Mode:
l. Switch your Transmitter Q![ and set the throttle to its q!ryposition.
2. Connect the batterypack to the ESC.
3. Wait until you hear two short beeps (oe oo oo oo) confirming that the ESC has
now entered the programming mode.
4. If the throttle stick is left in the--lq¡¿lmum position beyond 5 seconds,
the ESC will begin the sequence from one function and its associated
setting options to another. (Please refer to the table below to cross reference
the functions with the audible tones).
5. When the desired tone for the function and setting option is reached, move
the throttle stick down to its minimum position. ESC will emit two beeps (**)
confirming the new setting has been stored.
6. The ESC only allows the setting of one function at a time.
Therefore should you require making changes to other function, disconnect
the battery pack and wait 5 seconds to reconnect the battery and repeat the
above steps.
Normal ESC start up procedure:
1. Switch your Transmitter (l[ and set the throttle to its pqlglgg¡r ¡rosition.
2. Connect the battery packto the ESC.
3. When the ESC is first powered up, it emits two sets of audible tones in
succession indicating the status ofits working status.
* The first set oftones denotes the number ofcells in the LiPo pack connected to
the ESC. (Three beeps (++*)indicates a 3 cell LiPo pack while 4 beeps (****)
indicates a 4 cell LiPo pack).
* The second set denoting Brake status (one beep(*) for Brake "ON" and two
beeps (**) for Brake *OFF").
*The ESC is now ready for use.
General §afetv Precautions
. Do not install the propeller (fixed wing) or drive pinion(helicopter) on the motor
when you test the ESC and motor for the fust time to verifr the correct settings
on your radio. Only install your propeller or pinion after you have confirmed
that the settings on your radio is correct.
o Never use ruptured or punctured battery cells.
a Never use battery packs that are knoürr to overheat.
o Never short circuit battery or motor terminals.
o Always use proper insulation material for cable insulation.
o Always use proper cable connetors.
a Do not exceed the number ofcells or servos specified by the ESC.
Wrong battery polarity will damage the ESC and void the warranty.
o Install the ESC in a suitable location with adequate ventilation for cooling.
This ESC has a bült-in over temperature cutoff protection feature that will
. immediately cut power to the motor once the ESC temperature exceeds the
23ODegFl 110 Deg C high temperature limit.
o Use only batteries that are supported by the ESC and ensure the correct
polarity before connecting.
o Switch your Transmitter ON and ensure the th¡ottle stick is in the minimum
position before connecting the battery pack.
o Never switch your transmitter OFF while the battery is corurected to your
ESC.
o Only connect your battery pack just before fllng and do not leave your
battery pack connected after flying.
o Handle your model with extreme care once tle battery pack is connected and
keep away from the propeller at all times. Never stand in-line or directly in
froot ofany rotating parts.
o Do not immerse the ESC underwater or allow it to get wet while powered up.
o Always fly at a designated flying site and abide by the rules and guidelines
set by your flying club.
Trouble Shooting
freublc Poralbb Rolaon Aú'Uon
Moior doesn't work, but there are
audlble tones signalllng the
number of cells after powering uP
ESC.
The ESc thrcttle Gllbauon has
not set up. S€t up the ESC thrcttle Glibratior
Motor doesn't work and no audible
Poor/loos Connecton betwen
battery Pack and ESC. Clean @nnector teñlnals or
replace connedor.
No power Replace wfth a freshly charged
báfteil oack
battery. Seryos are not worldng
elther.
P@r eldercd @nnedlons (dry Re-solder the @ble connectlo¡s
d báfréd @ble oolarltv Chtrk and verlfy @ble Polarlty
ESC thDttle eble @nnected to
reeiver ¡n the reveE polarlty
check the EsC @b¡e @nnected to
the ESC to eñsure the connedoE
ere ln the 6red mlaritv.
Faulw ESC ESC
P@r / l@* @nnectlon betuen
ESC and motor Cleañ @nnector term¡nals or
reDlace connectoE
Bumt motor co¡ls motor
battery BUf seryos are work¡ng. P@r soldered @nnectlons(dry
lolnts) Re-$lder the @ble @nnecUons
powerlng up the ESC. An alert
tone wlth s¡ngle beP¡ng tons
followed by a short plus (* * * *)
ls emltted.
The battery pack voltage exceeds
the acceptable range.
Replace wlth a freshly charged
battery pack
Check battery pack volbge
Motor doesnt work after powerlng
up the ESC. Añ alert toñe w¡th
@ntlnuous bÉp¡ng tons (**r*)
is éñltted.
The thrcttle stick ls not ¡n the
m¡n¡mum posltlon at power uP. Move the th.ottle stlck to the
mlnlmum rcsltlon.
Motor doesn't work after Powerlng
up the ESC.ESC em¡ts two aud¡ble
tones followed by short beePs (.. Reveed thrcttle channel @used
the ESC to enter the prcgÉmmlñg
mode.
Enter the *ruo reveEe menu on
your transmltter and reveEe the
thrcttle chañnel. Note:
For Futaba Edlos st the tñrcttle
drannel b RweEe.
Motor runs ¡n reveÉ rctatlon wrong cables polarlty between
the ESC and the motor.
Swap any two of the thrce @ble
@ñnecdons betwen the ESC and
the Motor or a@s the Motor
Rot¡tloñ fundlon vla the ESC
prcgrammlng mode and change
the ore-st oaÉmeteE.
9
TreUbI. PoÚlbl. Rcrton Acllon
Motor stops ruñn¡ng ln ñight.
Lost thrcttle signal
Chffk prcper operauon of the
Edlo equlpment.
Chftk the placement of the ESC
and the Recelver and check the
rcute of tñe rdve/s aerial and
ESC @bl6 to ensure there ¡s
adequate separation to Prevent RF
lnterferen@.
¡nstall a fenite rlng on the ESC'5
thóftle 6ble.
Battery Pack voltage has reachd
the Low Voltage Prctecdon
threshold.
Land the model immed¡atelY and
replace tñe battery p.ck.
Posslble bad €ble co.nectlon Check and verify the lntegrlty of
the @ble connec-t¡ons
Motor restarts abnomally ESC
Overheats
Posslble RF lñterference at the
fly¡ng fleld.
fhe nomal operat¡on of the ESC
may be susceptlble to surcundlng
RF lñterference. Restart the ESC
to resume nomal oPeGUon on
the grcund to ver¡fy recurrence. If
the prcblem Pecists, test the
opeÉdon of the ESC at a d¡fferent
ñvlno field.
Inadequate
Vendlatlon Relo@te the ESC to allow better
ventllatlon
Seryos drawlng too much curent
and over loadlng the Esc.
Use seryos that aE adequately
slzed for the ESC, fhe maxlmum
BEC curent drawn should be
wlth¡n the BEC limlts.
Over slzed motor or pop Redu@ Prcp §lze or 6lze the
motor
t0

This manual suits for next models

7

Other Hobby King Toy manuals
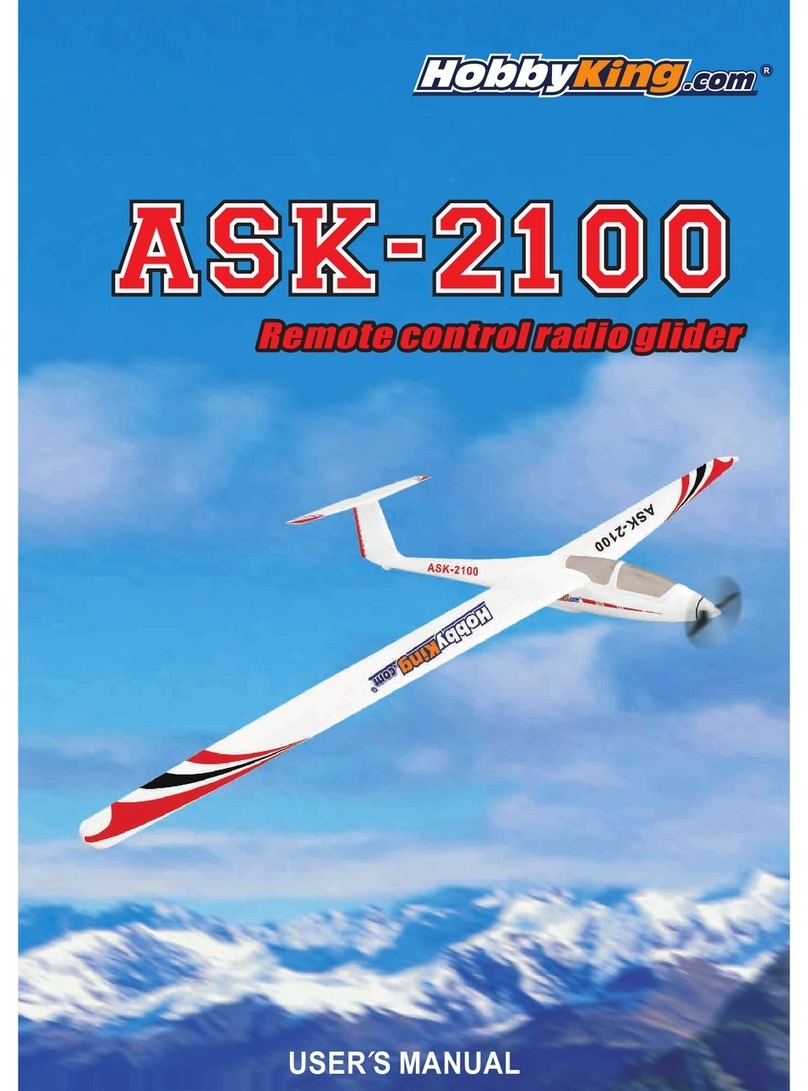
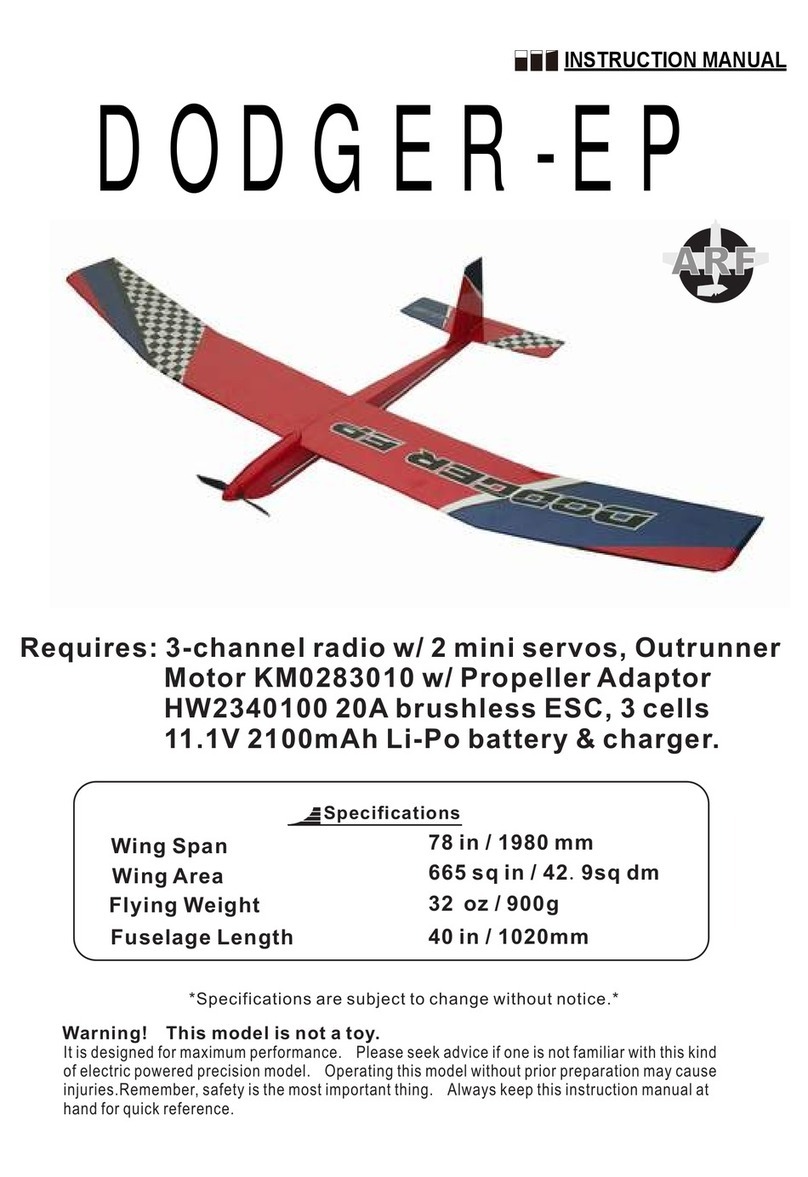
Hobby King DODGER-EP User manual

Hobby King

Hobby King DODGER-EP User manual

Hobby King AT-6 Texan User manual

Hobby King

Hobby King AT-6 Texan User manual

Hobby King Typhoon -EP User manual

Hobby King

Hobby King Typhoon -EP User manual

Hobby King Tanager Glider User manual

Hobby King

Hobby King Tanager Glider User manual

Hobby King Maestro-46 User manual

Hobby King

Hobby King Maestro-46 User manual

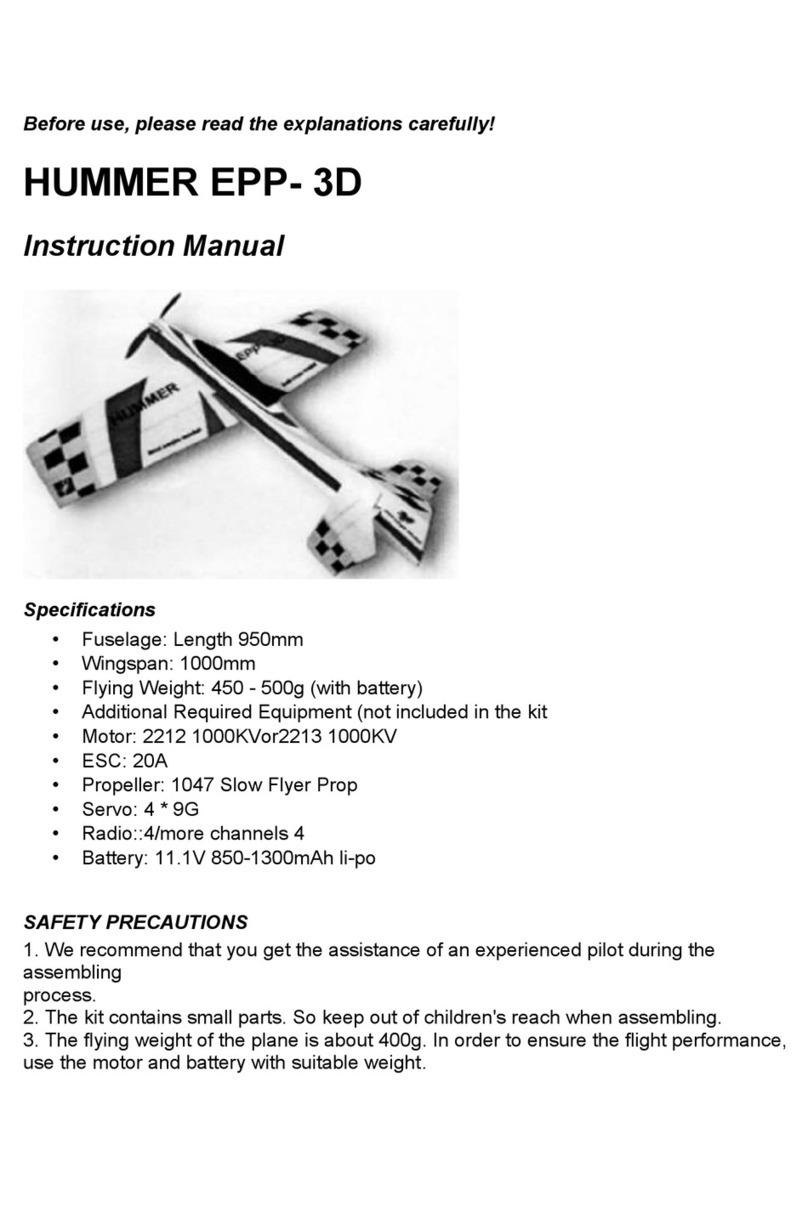
Hobby King Katana EPP-30E User manual

Hobby King

Hobby King Katana EPP-30E User manual

Hobby King MiG-15 User manual

Hobby King

Hobby King MiG-15 User manual

Hobby King FALCON TRAINER User manual

Hobby King

Hobby King FALCON TRAINER User manual

Hobby King BAE Hawk User manual

Hobby King

Hobby King BAE Hawk User manual

Hobby King DragonFly EDF User manual

Hobby King

Hobby King DragonFly EDF User manual

Hobby King EXTRA260P User manual

Hobby King

Hobby King EXTRA260P User manual
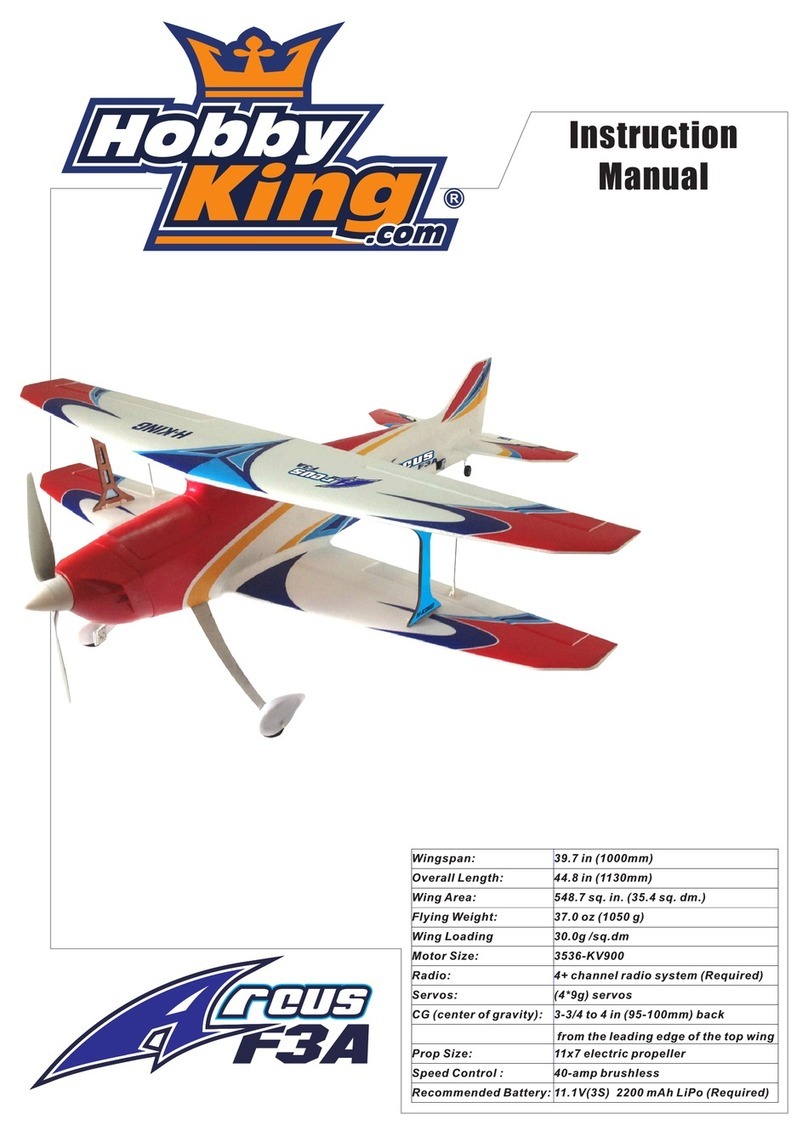
Hobby King Arcus F3A User manual

Hobby King

Hobby King Arcus F3A User manual

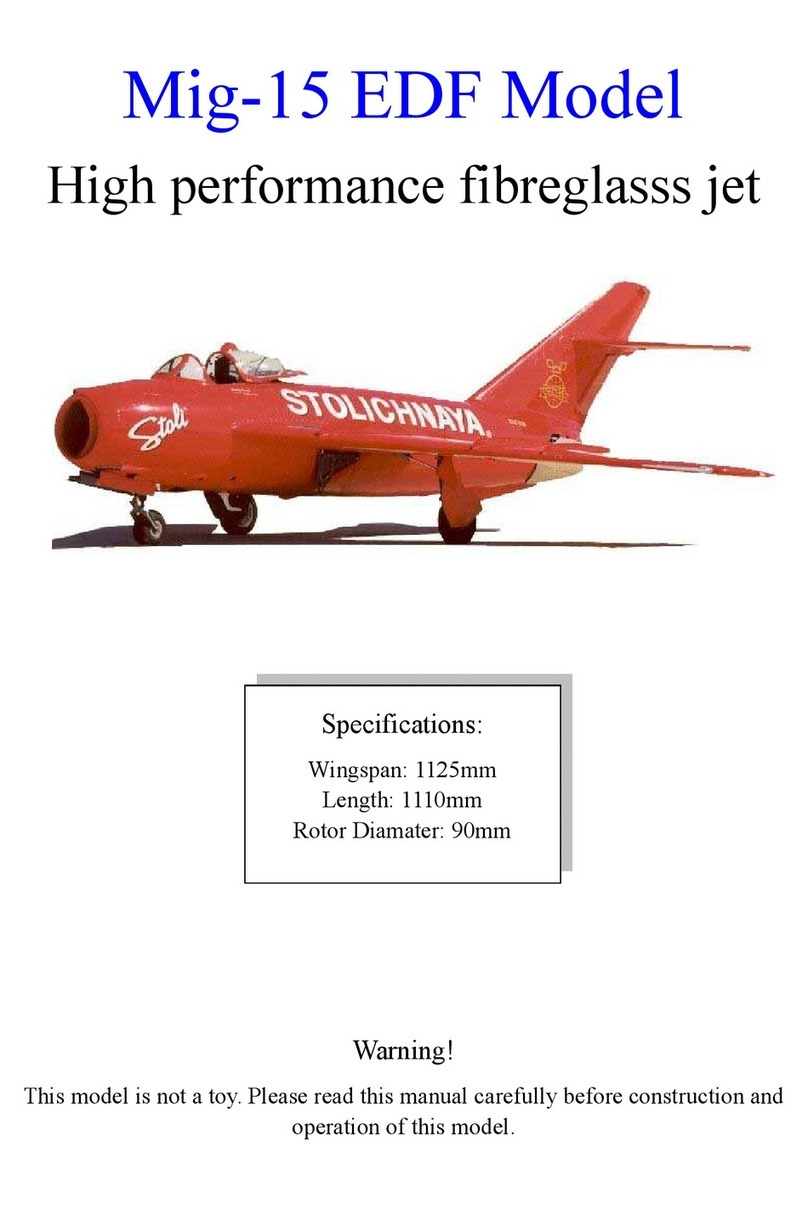
Hobby King Mig-15 EDF User manual

Hobby King

Hobby King Mig-15 EDF User manual
Hobby King Angel 920 User manual

Hobby King

Hobby King Angel 920 User manual

Hobby King skipper User manual

Hobby King

Hobby King skipper User manual

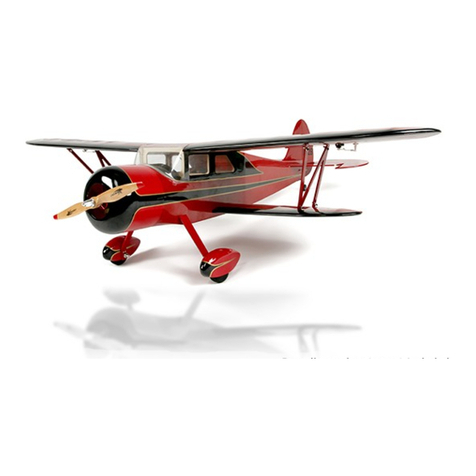
Hobby King Waco SRE User manual

Hobby King

Hobby King Waco SRE User manual

Hobby King B-17G User manual

Hobby King

Hobby King B-17G User manual

Hobby King Decathlon-46 User manual

Hobby King

Hobby King Decathlon-46 User manual
Hobby King Fly Baby-EP User manual

Hobby King

Hobby King Fly Baby-EP User manual

Hobby King Fokker E.111 Fighter Aircraft User manual

Hobby King

Hobby King Fokker E.111 Fighter Aircraft User manual

Hobby King Li13der-EP User manual

Hobby King

Hobby King Li13der-EP User manual

Hobby King go Discover User manual

Hobby King

Hobby King go Discover User manual

Hobby King RYAN-STA User manual

Hobby King

Hobby King RYAN-STA User manual

Hobby King wing wing z-84 User manual

Hobby King

Hobby King wing wing z-84 User manual

Popular Toy manuals by other brands
LGB 23196, 25196 manual

LGB

LGB 23196, 25196 manual

SkyArtec Mini Cessna manual

SkyArtec

SkyArtec Mini Cessna manual

REVELL Concorde Air France manual

REVELL

REVELL Concorde Air France manual

Black Horce Model SUKHOI31 Instruction manual book

Black Horce Model

Black Horce Model SUKHOI31 Instruction manual book

DELTA-SPORT 21576 Instructions for use

DELTA-SPORT

DELTA-SPORT 21576 Instructions for use

Esu Class 66 instruction manual

Esu

Esu Class 66 instruction manual

Trix E-Lok Ae 8/14 user manual

Trix

Trix E-Lok Ae 8/14 user manual

Mega Construx HALO PRO BUILDERS SPARTAN GRENADIER ARMOR PACK... manual

Mega Construx

Mega Construx HALO PRO BUILDERS SPARTAN GRENADIER ARMOR PACK... manual

LEGO 75825 Assembly instruction

LEGO

LEGO 75825 Assembly instruction

Melissa & Doug Mine To Love Assembly instructions

Melissa & Doug

Melissa & Doug Mine To Love Assembly instructions

Mega Bloks Warriors Future Force Assault U-240 manual

Mega Bloks

Mega Bloks Warriors Future Force Assault U-240 manual

Modellbau Laffont Bahnhof Eschelbronn N3701 Assembly instructions

Modellbau Laffont

Modellbau Laffont Bahnhof Eschelbronn N3701 Assembly instructions

Zapf Creation Baby Annabell 794562 manual

Zapf Creation

Zapf Creation Baby Annabell 794562 manual

LEGO City 60096 Assembly manual

LEGO

LEGO City 60096 Assembly manual

FMS FOX FMM023P operating manual

FMS

FMS FOX FMM023P operating manual

REVELL F/A-18C Hornet Assembly instructions

REVELL

REVELL F/A-18C Hornet Assembly instructions

Faller 222207 manual

Faller

Faller 222207 manual

PARKZONE Habu BNF instruction manual

PARKZONE

PARKZONE Habu BNF instruction manual

manuals.online logo
manuals.online logoBrands
  • About & Mission
  • Contact us
  • Privacy Policy
  • Terms and Conditions

Copyright 2025 Manuals.Online. All Rights Reserved.