Hoegger Home Farm Products Milking System Training Series User manual

MILKING SYSTEMS MANUAL
HOEGGER HOME FARM PRODUCTS
TRAINING SERIES

HOEGGER HOME FARM PRODUCTS | MILKING SYSTEMS MANUAL 1
Copyright © 2015 by Hoegger Home Farm Products. All rights reserved. No part of this book may be reproduced or
transmitted in any form or by any means, electronic or mechanical, including photocopying, recording, or by any
information storage and retrieval system, without written permission from the publisher.
For information, contact Hoegger Home Farm Products at (678) 850-1140.
PRINTED IN THE UNITED STATES OF AMERICA
Copyright © 2015 Hoegger Home Farm Products
HOEGGER HOME FARM PRODUTS
MILKING SYSTEM MANUAL
Care and Maintenance
TABLE OF CONTENTS
Milking Machine Overview
Parts Identication
Machine Assembly
Pail Instructions
Cleaning & Maintenance
Troubleshooting
Exploded Drawings and Parts
Parts Replacement List
2
3
4
5-7
8
9
9-12
13
HOEGGER HOME FARM PRODUCTS | MILKING SYSTEMS MANUAL 1
Thank you for purchasing the Hoegger Milking System, a compact
and ecient system built specically for goats. Over 76 years of goat
handling and dairying have gone into the design of this machine, and
we know you will get many years of service from it. This manual was
designed to help you get the most out of this machine, and to teach
you to maintain the unit, as well as diagnose any problems that might
develop over time and use.
The Hoegger Milking Systems are extremely durable, and with proper
maintenance will deliver a lifetime of service. We have many customers
who have used their systems for over 25 years with only routine
maintenance and common sense care.
We will be happy to help you with any questions about set-up and care
of the Hoegger Milking System. Contact us at:
Web: www.hoeggermilkingsystems.com
Mail: Hoegger Home Farm Products
91 June Lane
Senoia, GA 30276

HOEGGER HOME FARM PRODUCTS | MILKING SYSTEMS MANUAL 32 MILKING SYSTEMS MANUAL | HOEGGER HOME FARM PRODUCTS
Parts Identification
1. Vacuum Gauge 6. 60/40 Switch
2. Pulsator assembly 7. Fuse Block
3. Vacuum Regulator 8. ON/OFF Switch
4. Stall Cock 9. Connector Hose
5. Vacuum Reserve Tank
Milking Machine Overview
The Hoegger Milking System is unique to the industry. While virtually all other
systems are cow machines converted for use on goats, the Hoegger System is
designed from the ground up, specifically for goats.
The Pulsator
Our system uses an electronic pulsator built into the machine itself. This
substantially reduces the amount of residual moisture in the pulsator and
helps to make it the easiest to maintain on the market today.
Vacuum Source
We exclusively use Gast brand rotary vane vacuum pumps because of their
renowned ease of maintenance, reliability and longevity.
Technical Data
Specifications:
Length: 14”
Width: 13”
Height: 18”
Weight: 45 lbs
Voltage: 110V or 220V as specified
4.8/2.4 amps respectively
Pump: ¼ hp Gast brand rotary vane (oil-less)
25” vacuum max
Sound level: less than <65 dB
Pulsator: Electronic D.C. 24V solenoid type
60ppm or 40ppm Selector (pulsations per minute)
1 AMP Fuse protection to the pulsator circuit
12
3
45
6
9
8
7

HOEGGER HOME FARM PRODUCTS | MILKING SYSTEMS MANUAL 54 MILKING SYSTEMS MANUAL | HOEGGER HOME FARM PRODUCTS
***ATTENTION***
If milk gets in the vacuum reserve tank, turn off machine immediately
and follow cleaning instruction on page 8.
Machine Assembly
1. Remove machine from packing board
2. Attache “FOOT” (Attache
front bolts [11/4”] through motor
strap and foot first, then rear
bolts [13/4”] through motor
strap, foot, and axel assembly)
3. Remove handle from bottom
of machine frame and place in
top holes of machine frame.
4. Attach hanger to side of
frame using [11/2”] Bolts
Belly Pail Instructions
As a courtesy to our customers, we deliver the belly pail assembly fully
assembled, so that you may have a visual reference for how it works. What
follows are instructions for milking and cleaning.
1. Select the desired pulsation rate with the right switch. Your options are 40
and 60 pulsations per minute. Normal pulsation rate is 60, 40 is intended for a
doe having difficulty letting down her milk.
2. Turn on machine and allow vacuum to build.
3. Open vacuum to the pail by turning handle parallel to stall cock.
4. Place belly pail under doe.
5. Hold one inflation at a downward angle to close off the vacuum to that
inflation. Keep pressure on the tail of the inflation while raising the hole end.
6. Attach inflations to each teat.
7. Milking time should be between 60 and 90 seconds per goat.
8. Use Fight BacTM or another sanitizing spray or wipe each doe so as not to
spread any potential contaminants or infections.
9. After milking with the belly pail, rinse the entire pail and lid with cool water.
10. Detach the ends of the two pulsation lines from the splitter on the lid of
the pail.
11. Connect the open ends of the pulsation lines to the solid stainless steel
plug.
12. Put entire pail and lid disassembled into your dishwasher and run normally.
Do not use hot drying option, as this will ruin your shells and inflations.
13. If you choose to wash and sanitize the pail(s) by hand, use the Dairy Soap
and Sanitizer included in your original shipment.

HOEGGER HOME FARM PRODUCTS | MILKING SYSTEMS MANUAL 76 MILKING SYSTEMS MANUAL | HOEGGER HOME FARM PRODUCTS
35 LB Goat Pail Instructions
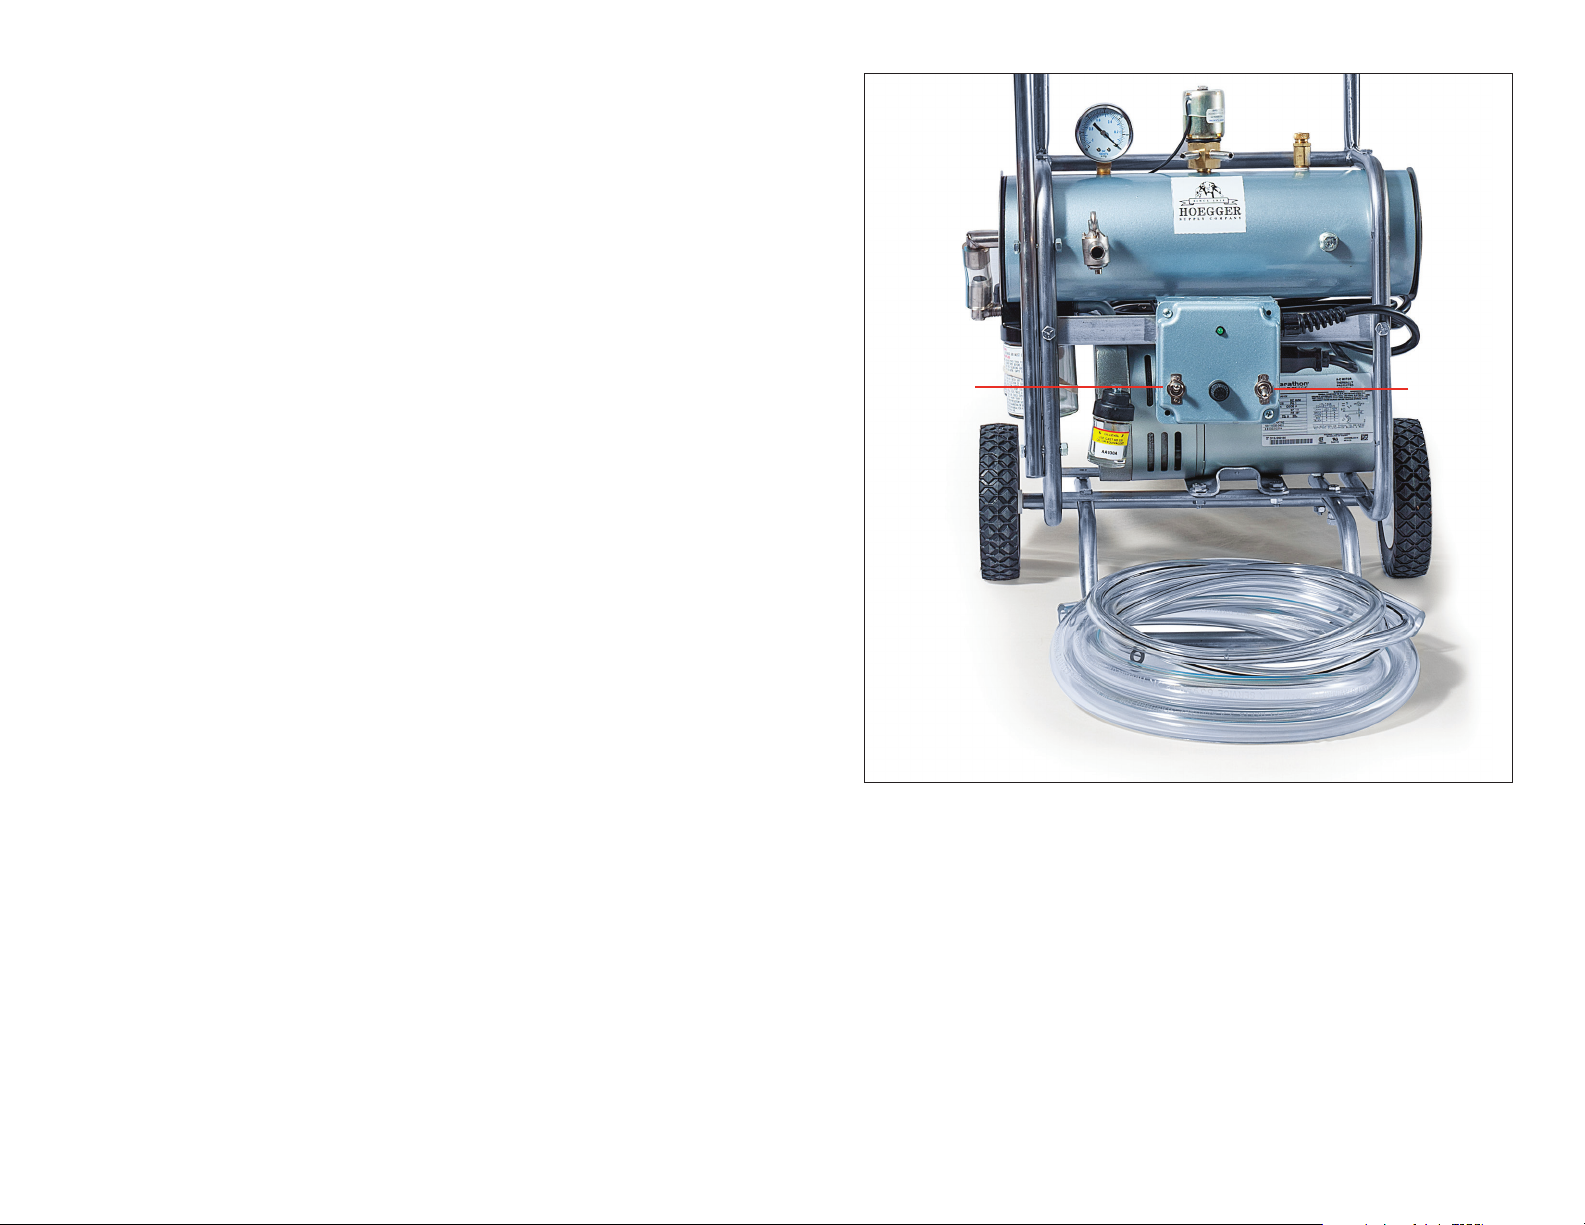
Your milk and vacuum line setup was delivered completely assembled for your
convenience. You may choose to disassemble this setup after use for cleaning
purposes, but note the sequence of assembly so you can duplicate it after
cleaning.
!!IMPORTANT!! Before first use, wash thoroughly all surfaces that milk will come
in contact with.
1. Spray a mist of sanitizing solution on pail interior and lid.
2. With stall cock in the off position (handle parallel to tank) turn on machine.
3. Close vacuum at claw (small stainless lever to be in top position).
4. Open stall cock to allow vacuum into pail.
5. Hold inflations hole down, in a pail of “hot” water and sanitizing solution.
Open valve on claw to allow sanitizing solution into inflations, milk hose and
pail.
6. Close valve on claw and empty sanitizing solution from pail. Do not rinse!
Rinse water can carry bacteria that will contaminate sterile surfaces.
8. Wash utter thoroughly.
9. Express several sprays of milk into a strip cup to check for mastitis and to
relax the orifice in the teat.
10. Locate teat into inflation.
11. Open vacuum at claw to attach teat. (stainless lever to be in the down
position)
12. Repeat for remaining teats.
13. When milk flow stops, close lever on claw and remove inflation.
14. Express any remaining milk from teat
15. Use a post milking treatment (FightBac, etc) to close orifice in teat and
prevent infection
35 LB Cow Pail Instructions
!!IMPORTANT!! Before first use, wash thoroughly all surfaces that milk will come
in contact with.
1. Spray a mist of sanitizing solution on pail interior and lid.
2. With stall cock in the off position (handle parallel to tank) turn on machine.
3. Pull the black shut off valve and lock in down position on bottom of claw.
4. Open stall cock to allow vacuum into pail.
5. Hold inflations hole down, in a pail of “hot” water and sanitizing solution.
Open valve on claw to allow sanitizing solution into inflations, milk hose and
pail
6. Close valve on claw and empty sanitizing solution from pail. Do not rinse!
Rinse water can carry bacteria that will contaminate sterile surfaces.
8. Wash utter thoroughly.
9. Express several sprays of milk into a strip cup to check for mastitis and to
relax the orifice in the teat
10. Hold claw, clear bowl down, inflations up, under utter.
11. Open vacuum at claw and lock
12. Grasp one shell and raise the “hole end” up while keeping pressure on the
“tail end” of the inflation to keep vacuum from escaping the claw
13. Locate teat in “hole end” of inflation and straighten “tail end” of inflation to
open vacuum to inflation
12. Repeat for remaining teats (this must be done with care so as not to break
vacuum on the already attached inflations)
13. when milk flow stops, close lever on claw and remove inflations
14. express any remaining milk from teat
15. use a post milking treatment (FightBac, etc) to close orifice in teat and
prevent infection.

HOEGGER HOME FARM PRODUCTS | MILKING SYSTEMS MANUAL 98 MILKING SYSTEMS MANUAL | HOEGGER HOME FARM PRODUCTS
Machine Assembly
1. Tank Assembly MS37
2. Frame SMS1
3. Controller Assembly MS38
4. Vacuum Pump SMS2
5. Controller Strap SMS4
35 LB Pail Cleaning Procedures
1. When milking has been completed, hold inflations, hole down, in a pail of
cold water. Open valve on claw to rinse inflations, milk line and pail (this will
prevent milk stone, or calcium build up)
2. Hold inflations, hole down, in a pail of hot water and cleaning solution.
Open valve on claw to allow cleaning solution into inflations, milk hose and
pail.
3. Wash pail. *NOTE — Disassemble milking equipment (claws, milk hoses etc.)
and wash thoroughly at least once a week
Machine Maintenance
• Do not immerse any part of the machine in water or spray with water.
• Wipe any accumulated dust off with a moist cloth.
• Follow cleaning instructions below for weekly maintenance and before any
long term storage.
Machine Cleaning
• Remove end cap assembly.
• Clean inside of vacuum tank and small connector hose from pump to tank
and reassemble. Do not store disassembled.
• Remove filter caps
• Close stall cocks
• Turn on machine
• Spray “Brake Parts Cleaner” into intake side of pump for 3-5 seconds
• Replace filter caps
• Clean filter muffler (Part #11 in Gast Manual)
MACHINE REPLACEMENT PARTS

HOEGGER HOME FARM PRODUCTS | MILKING SYSTEMS MANUAL 1110 MILKING SYSTEMS MANUAL | HOEGGER HOME FARM PRODUCTS
4
3
2
1
Pulsator Base Assembly
1. Pulsator Base MS33
2. 5/16”Threaded Tube MS34
3. 5/16” Allen Plug MS35
4. Plunger Seat MS36
Solenoid Assembly
1. Solenoid O Ring MS32
2. Solenoid MS13
3. Pluger O Ring MS 25
4. Plunger MS31
5. Pulsator Screen MS17
Tank Assembly
1. Vacuum Reserve Tank SMS3
2. Vacuum Gauge MS3
3. Pulsator/Solenoid MS13
4. Stall Cock Valve MS21
5. End Cap with 3/16” Hole MS29
6. Vacuum Regulator MS4
7. End cap with Elbow MS30
8. Pulsator Base Assembly MS28
Controller Assembly
1. Control Box SMS3
2. AC Outlet MS14
3. PSB 30 MS15
4. Transformer MS9
5. Switch Cover MS19
6. Indicator Light MS10
7. Switch MS1
8. Fuse Holder MS11

HOEGGER HOME FARM PRODUCTS | MILKING SYSTEMS MANUAL 1312 MILKING SYSTEMS MANUAL | HOEGGER HOME FARM PRODUCTS
Pail Assembly
1. Pail BP1
2. Gasket BP4
3. Lid Assembly BP2
4. Swivel O Ring BP5
5. Swivel BP3
Belly Pail Accessories
Belly Pail Gasket [BPG]
Pail Plugs [BPP]
Shell [13F-3]
Inflations [13F-4]
Small Shell [13FF-3]
Small Inflation [13FF-4]
35 LB Pail Accessories
Vac Tube Line Splitter [13G-7]
Milk Tube Line Splitter [13G-8]
Elbow (Stainless Steel) [13G-9]
Elbow (Plastic) [13G-10]
In-line Shut Off Valve-Vacuum 3/8” [13G-11]
In-line Shut Off Valve-Milk 1/2” [13G-12]
Goat and Sheep Claw [13B]
General Parts for Hoegger Milking System
Vanes for the Vacuum Pump [VANES]
Milk Tubing
9/16” [13G-2]
3/8” [13G-14]
1/2” [13G-1]
5/8” [13G-3]
1/4”Vacuum Tubing [13G-4]
1/4”Twin Vacuum Tubing [13G-5]
Vacuum Gauge [13C]
Solenoid [SOL]
Stall Cock [13G-6]
Hydraulic Oil [OIL]
Felt Filter [FF]

MILKING SYSTEM MANUAL
Care and Maintenance
HOEGGER HOME FARM PRODUCTS
91 June Lane, Senoia, GA 30276
_______________________________________________
www.hoeggermilkingsystems.com