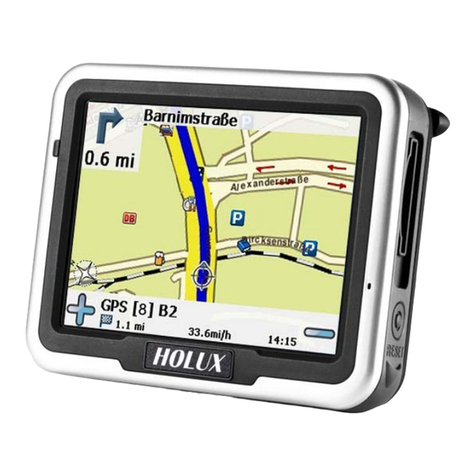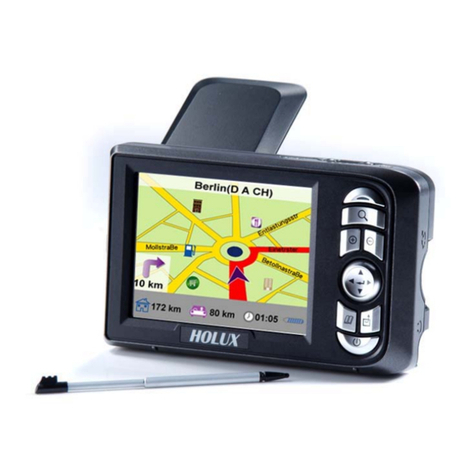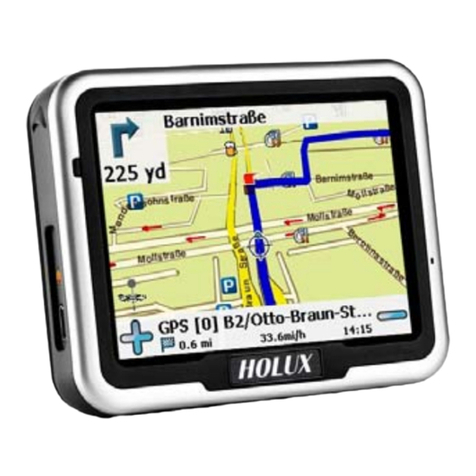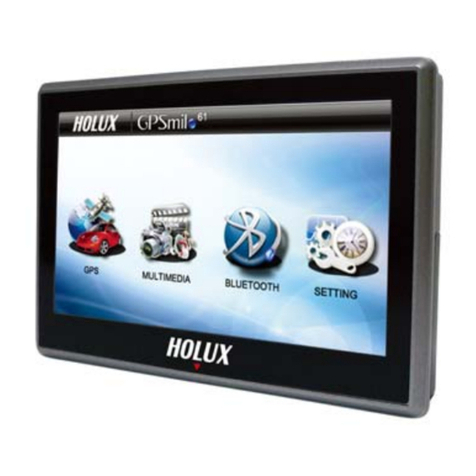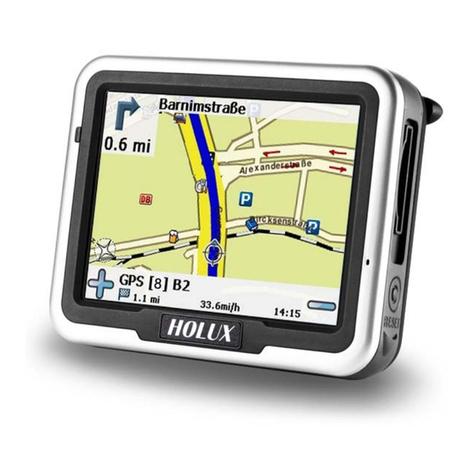
GPSmile 55 Portable Automobile Navigation System
Quick Start Guide
Version: V2.0 December 2007
Registered info
HOLUX and GPSmi e are trademarks of HOLUX Techno ogy, Inc.
A other trademarks be ong to registered companies.
Note:
˙
The contents of this manua wi be modified without further notice.
˙
The operation temperature for the product is between 0℃~40℃.
Operating or recharging in an environment with a temperature over
45℃ might cause the system to stop functioning. However, this shou d
be considered a norma phenomenon. P ease do not operate under
extreme temperatures.
Operating Methods
Startup
1. For first time use, p ease turn the system power switch at the rear
side On.
2. Press and ho d the power button for about two seconds to turn on
the power.
Note: Before using for the first time, please switch the system
power on.
Shutdown
1. Whi e the power is on, press the power button to turn the power
off.
2. If the unit wi not be used for a ong time, turn the system power
switch at the rear side O .
Using the Vehicle Bracket
The inc uded vehic e bracket set can be secure y mounted on the front
windshie d, or secured on top of the g ove compartment using the
adhesive p ate. This device wi effective y secure the GPS unit in the
vehic e. Fo ow the procedures be ow to secure the bracket:
1. Fo ow the arrows and s ide the unit into the in-vehic e bracket fitting
ho es to secure.
2. Gent y push down unti the unit is tight y fixed with the bracket.
3. Bend the bracket support to a proper ang e. Secure y mount the
vehic e bracket to the windshie d, ensuring its base is resting firm y
on the dashboard.
Note: P ease note the directions of the arrows. When secured, the
assemb y shou d be tight. If these directions are not fo owed, a oose fit
wi resu t, and components must be reassemb ed.
4. Fo ow the directions, insert the bracket into the s ots on the bracket,
and s ide to fix the set (A
B).
5. The in-vehic e bracket assemb y is comp ete.
When using the in-vehic e secure bracket, do not insta it in a
ocation that wi b ock the view of the driver
Recommended insta ation requirements:
The bracket base shou d rest secure y on the dashboard to prevent
excessive shock.
Using the Car Charger
Whi e using the device in a vehic e, use the inc uded car charger for
ong periods of usage.
1. P ug the sma p ug into the power jack on the rear of the in-vehic e
bracket.
2. Insert the other end into the cigarette ighter.
System Reset
It wi on y be required to reboot the system under extreme y few
circumstances. Reset your system if the fo owing situations occur:
1. Heavy ag experienced when refreshing screens or operations,
which resu t in an inoperab e system.
2. Cannot turn off the system with the power button.
3. No response after a se ection is made on the screen.
If any of the above occurs, turn the system power switch at the rear side
O and turn it back On to reboot the system.
Main Menu
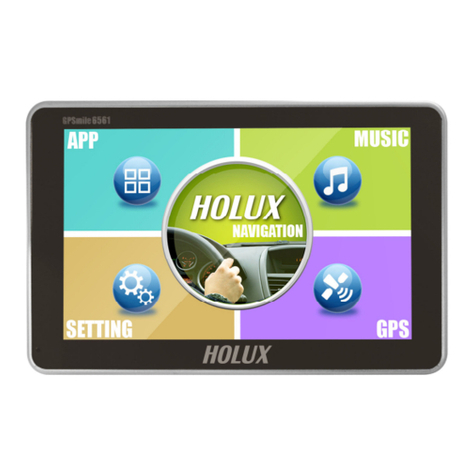
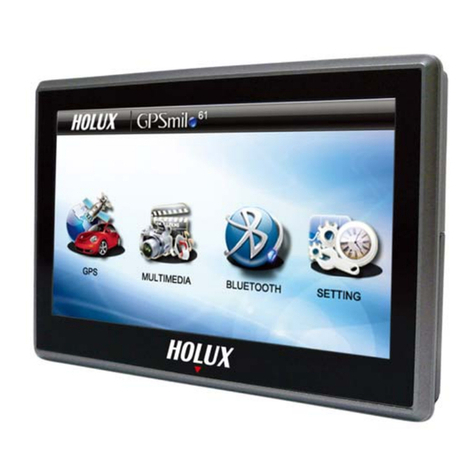
During the first startup, the screen wi show the main screen consisting
of four functions: navigation, music, photo, and settings. Direct y se ect
an icon on the screen to use that function
GPS Loads the navigation program and navigation
screen
Note: If an SD card with navigator software is
inserted, the system wi enter the GPS function
automatica y after startup.
PHOTO P ays images
eBook Can read fi e with __txt format
SETTING System setup
System power
switch
Power button
