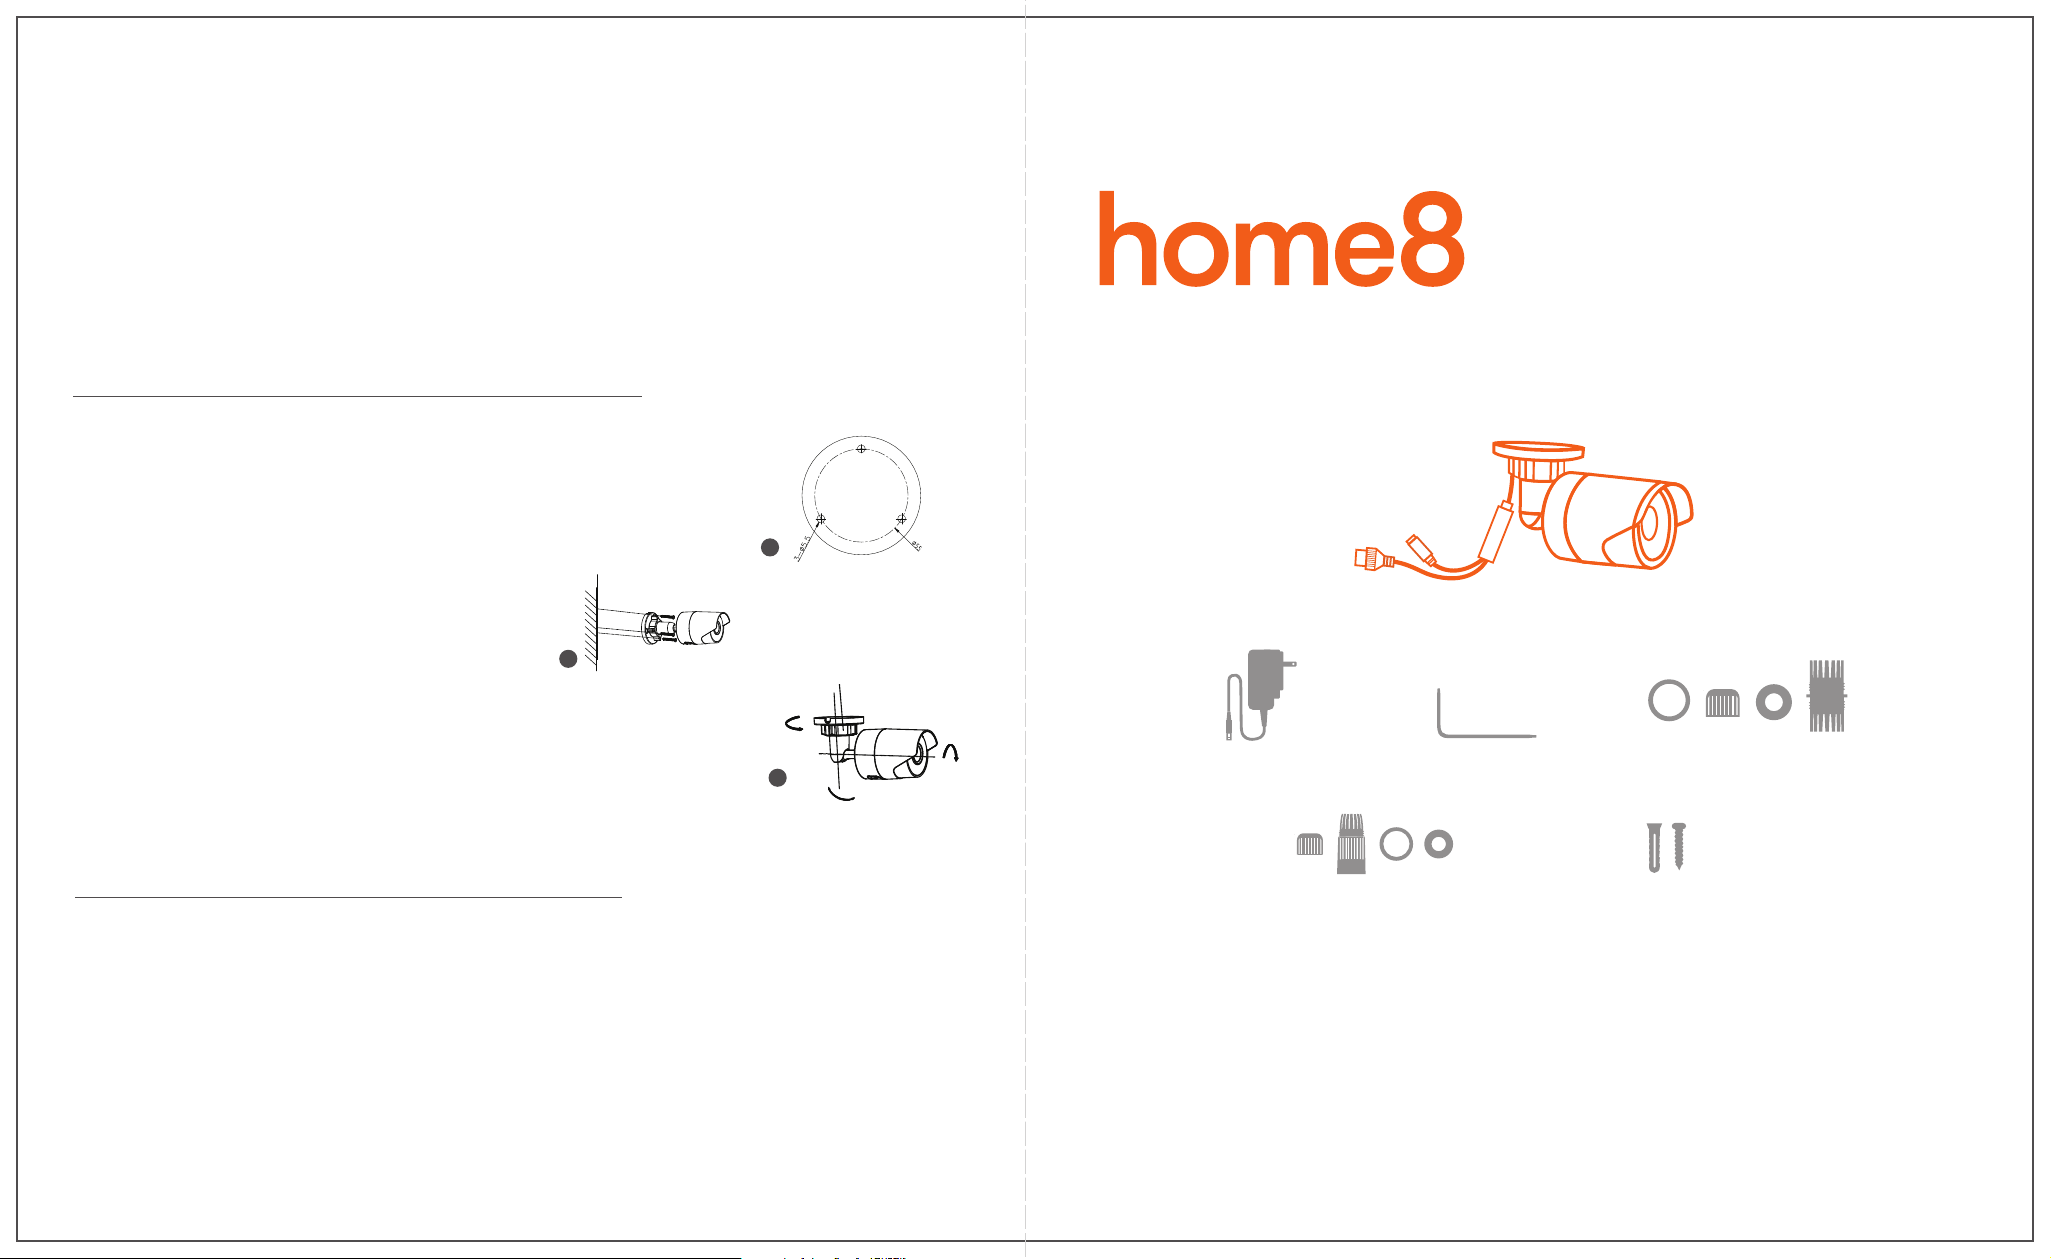
1 . Unpack your devices and accessories.
2. Pair the device with the Security Shuttle within 1-10 feet
to make sure the connection is working well.
Step 1: Assemble your device and accessories
2
Option 1: Add it with your existing Home8 system
1-10 ft
1 . Insert the microSD* card into the Camera Card Slot before powering up
the Camera. You can also purchase a microSD Card at a later time.
2. There are two methods for powering and connecting.
Please review the two options and decide which option you
would like to use:
Connect the included power adapter to the Camera’s
power supply interface.
Step 2: Power on the Camera and connect it to the system
1 . Open the Home8 app, tap on the menu button "≡" and select “ Device Management ”.
2. Press the add button " + " next to Camera List.
3. Follow the app instructions to scan the QR code located on the device.
* Note: If the scan is incomplete, you will be asked to enter the serial number (SN) of the device.
Step 3: Add a device
1 . Before mounting your camera, see if it is within the Security Shuttle's range by taking the Camera to the
place where you want it to be mounted and plug it in.
2. Wait until you see live streaming video from the Home8 app before mounting.
3. Go to Step 5.
Step 4: Before mounting your device
9
8
10
11
Power supply interface
Ethernet interface
* Ethernet cable is not included.
1-A: Wireless
Connect the PoE Injector to your home router with an Ethernet cable.
Using the other Ethernet cable, connect the PoE Injector to the
Camera's Ethernet interface.
Power on the PoE Injector.
* Note: PoE Injector and Ethernet cables are not included in the package.
1-B: Wired
Connect the Camera to your home router with an Ethernet cable* and power on the camera.
* For the best data transmission quality, the maximum length of Ethernet cable is 100 meters.
2-A:
Connect the PoE Injector to your home router with an Ethernet cable.
Using the other Ethernet cable, connect the PoE Injector to the
Camera's Ethernet interface.
Power on the PoE Injector.
*Note: PoE Injector and Ethernet cables are not included in the package.
2-B:
Router
Network data
Electrical Power
1-A
Router
PoE Injector
(Not Included)
Network data Electrical Power
1-B
1 . Connect your Smartphone to Wi-Fi.
2. Download the Home8 app from the App Store, Google Play, or Windows store and create an account.
Step 1: Set up your smartphone
Option 2: Add it with Virtual Gateway (without Security Shuttle)
Note: Make sure your Wi-Fi router is on.
Make sure the Wi-Fi of your smartphone is on
1. Tap the side bar “≡” and select “Device Management”.
2. Select “IP Camera”.
3. Follow the on-screen instructions. When finished, press “Next”.
Step 3: Add it to the System with Vitural Gateway
1. After scanning the QR code, select your Wi-Fi network and enter
the password if necessary. When finished, tap “Join”.
2. Follow the on-screen instructions.
Step 4: Sync Virtual Gateway with Wi-Fi Network
1 . Insert the microSD* card into the Camera Card Slot before powering up the
Camera. You can also purchase a microSD Card at a later time.
2. There are two methods for powering and connecting.
Please review the two options and decide which option you
would like to use:
Step 2: Assemble your device and accessories
9
8
10
11
Power supply interface
Ethernet interface
* Ethernet cable is not included.
Next
microSD Card Slot
WPS/RESET
* NOTE - microSD Card not included.
microSD Card Slot
WPS/RESET
* NOTE - microSD Card not included.
* Existing users:
Please swipe left
across the screen
Continue to next page
FAT32 format.
FAT32 format.