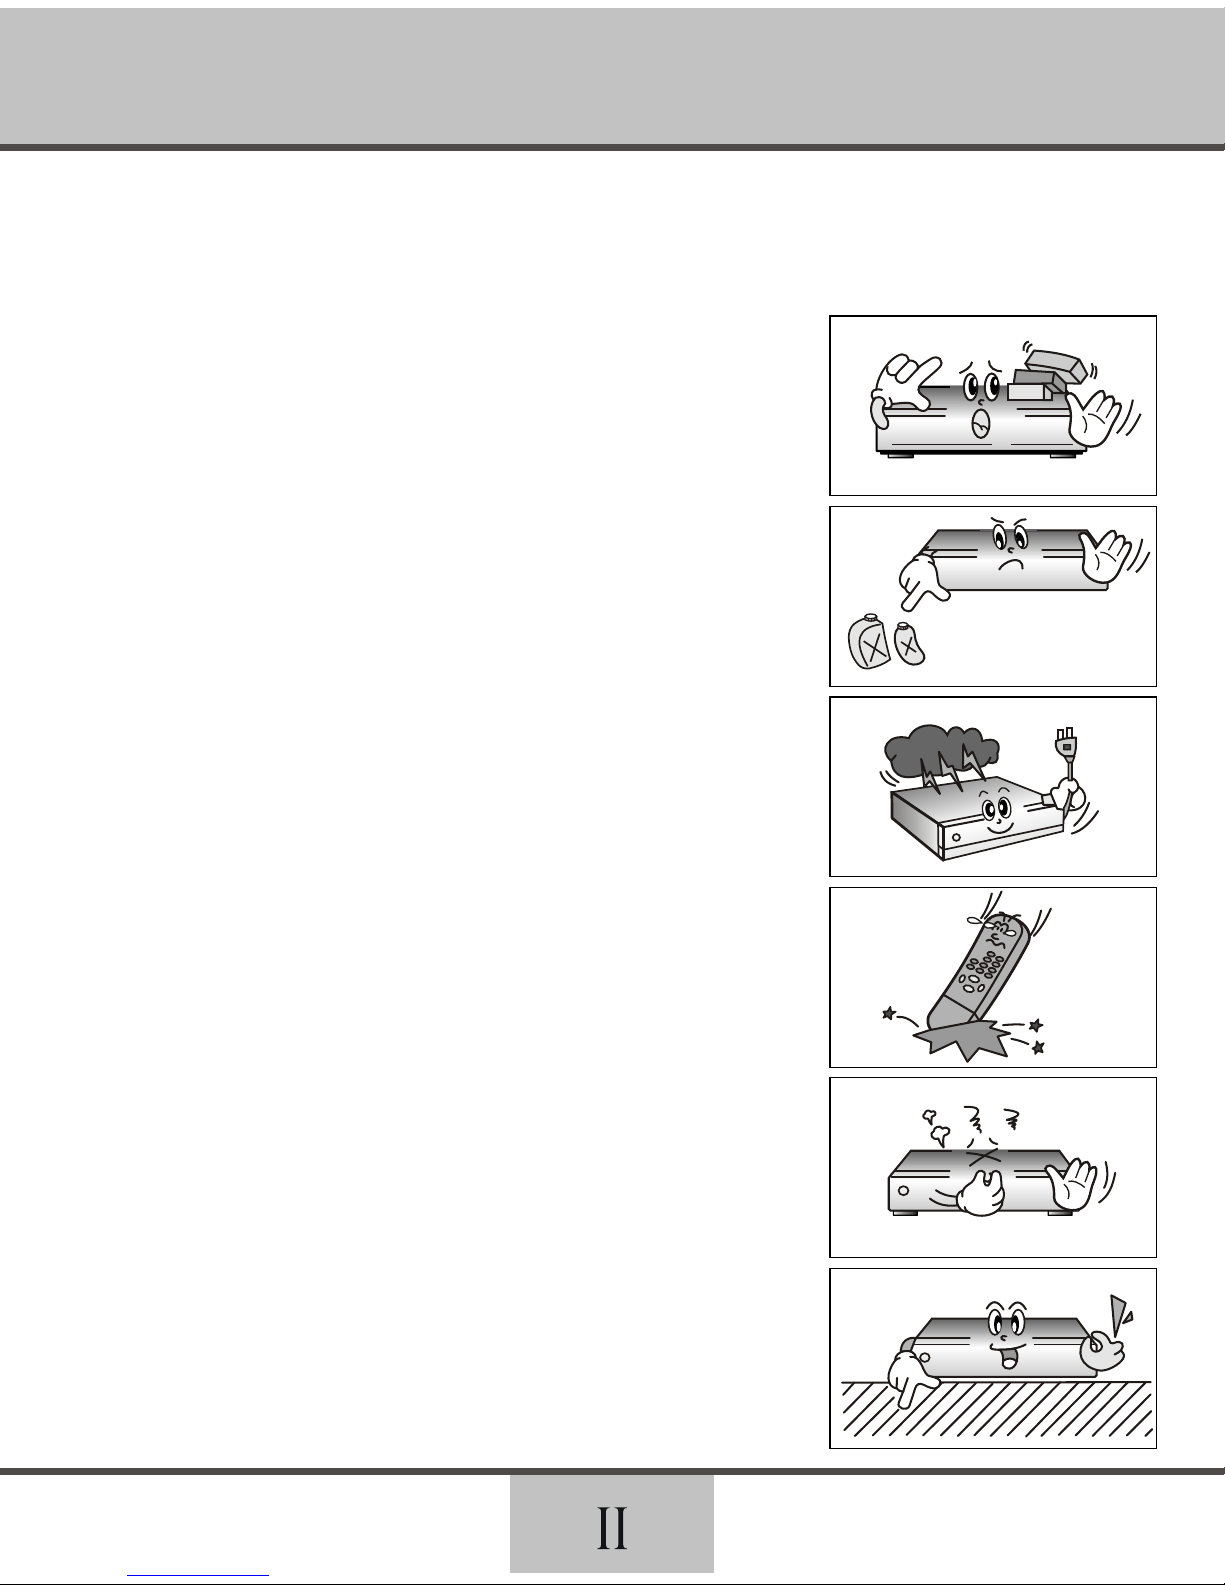
- Do not expose the STB to rain or moisture.
The apparatus shall not be exposed to dripping or splashing water
and that no objects filled with liquids, such as vases, shall be placed
on the apparatus.
- Clear off the dust. Dust or Metallic particles inside the set can
cause fire and electric shock.
- Avoid dissembling and assembling. Do not open the set.
- Do not snatch the cable to plug out.
- Keep the distance from Magnetic items and Audio Speaker.
- Place the set with the good ventilation and away from the direct
sunlight and humidity.
- Avoid the temperature of over 30C and below 5C.
Safety Information