manuals.online logo
Brands
  1. Home
  2. •
  3. Brands
  4. •
  5. Honeywell
  6. •
  7. Air Conditioner
  8. •
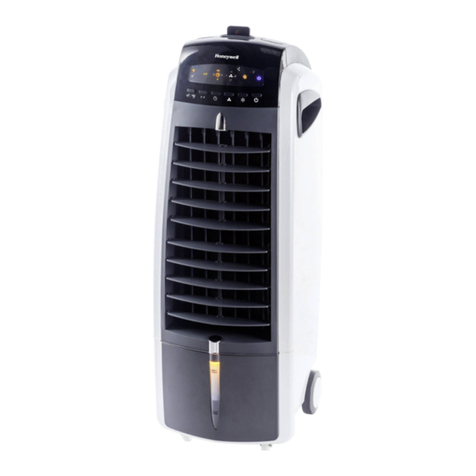
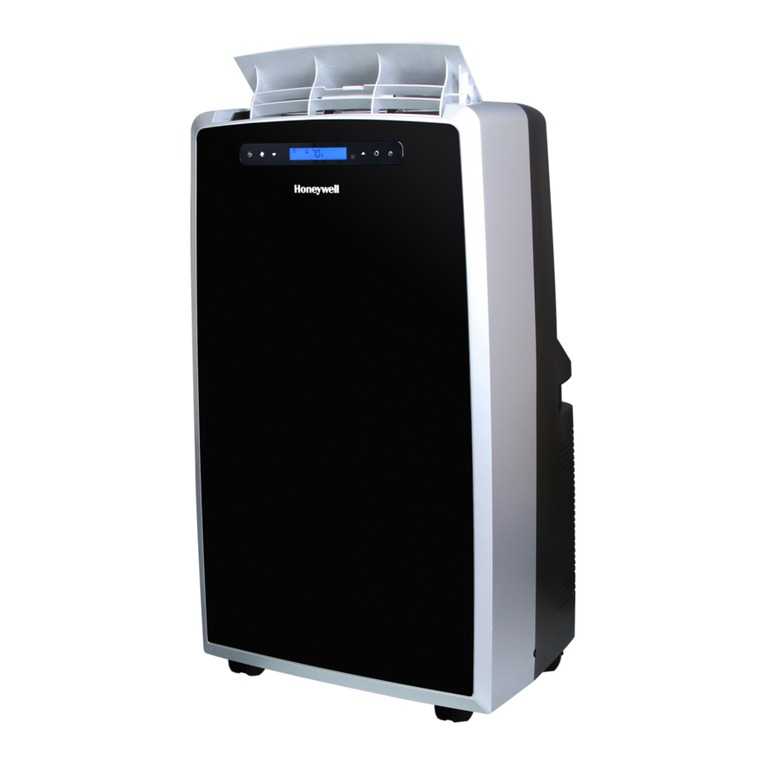
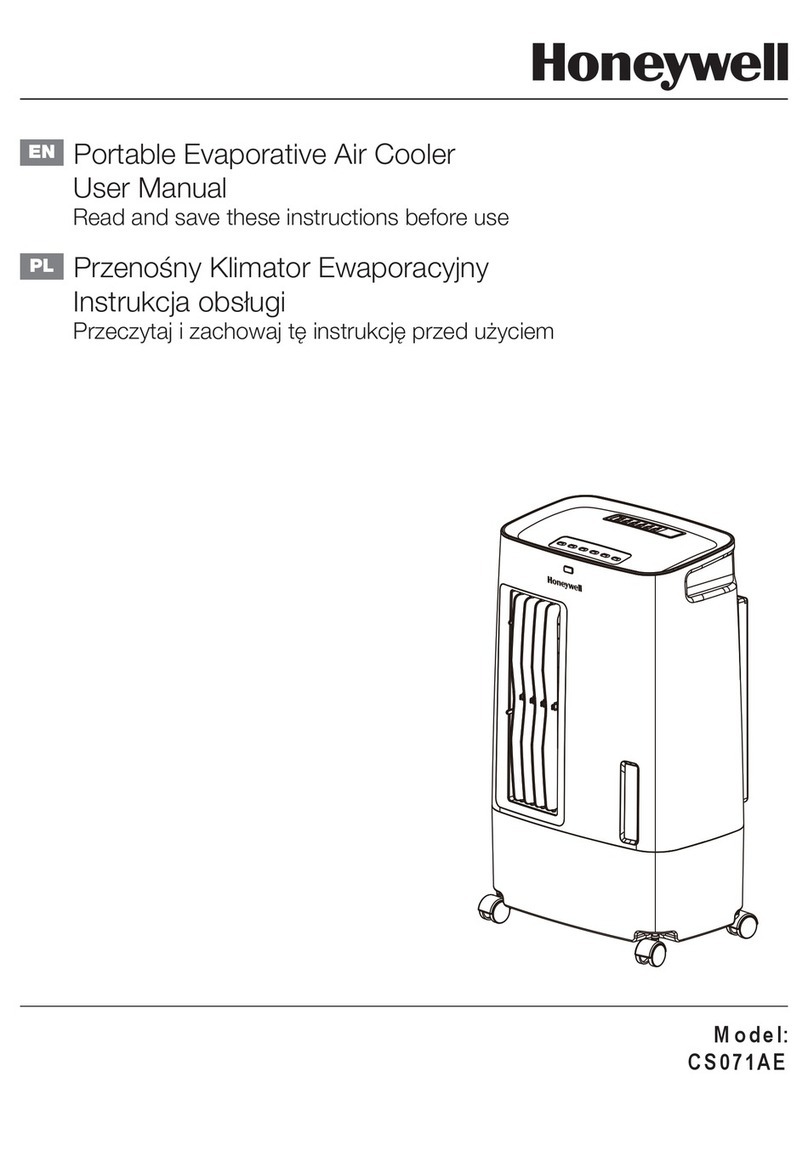
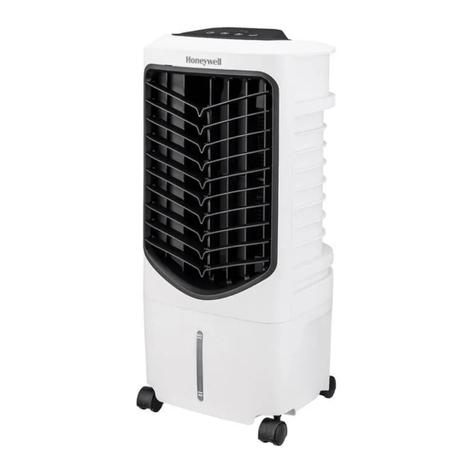
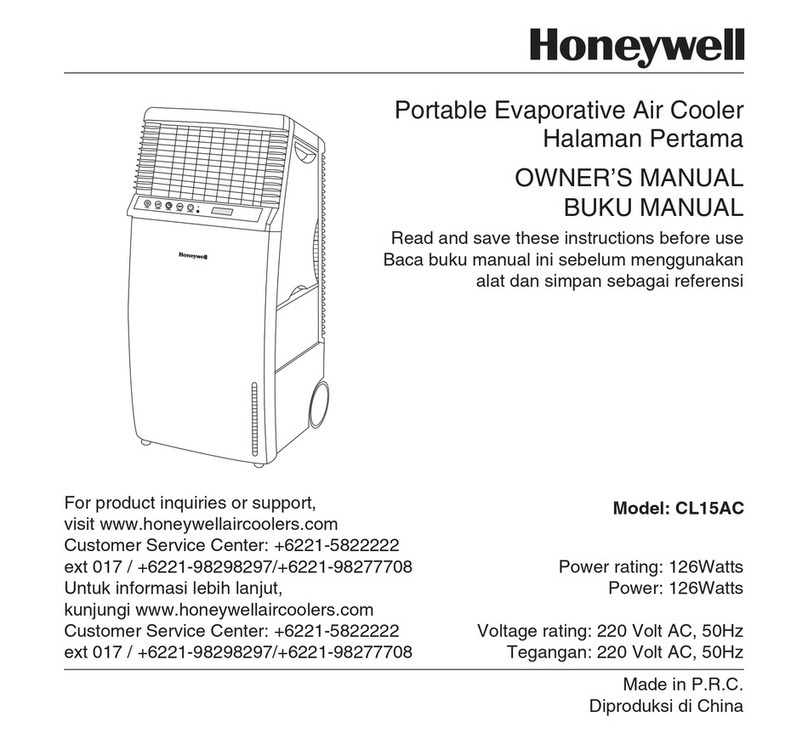
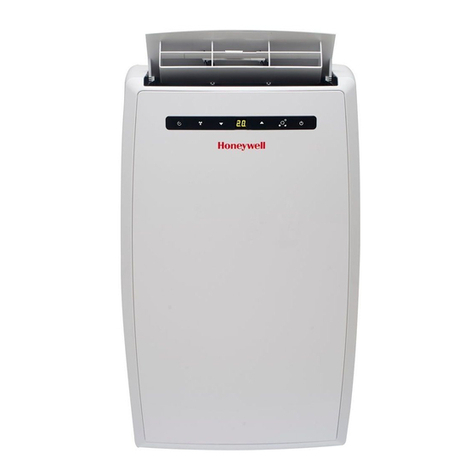
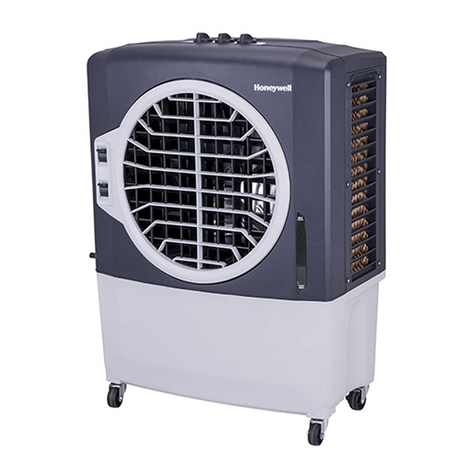
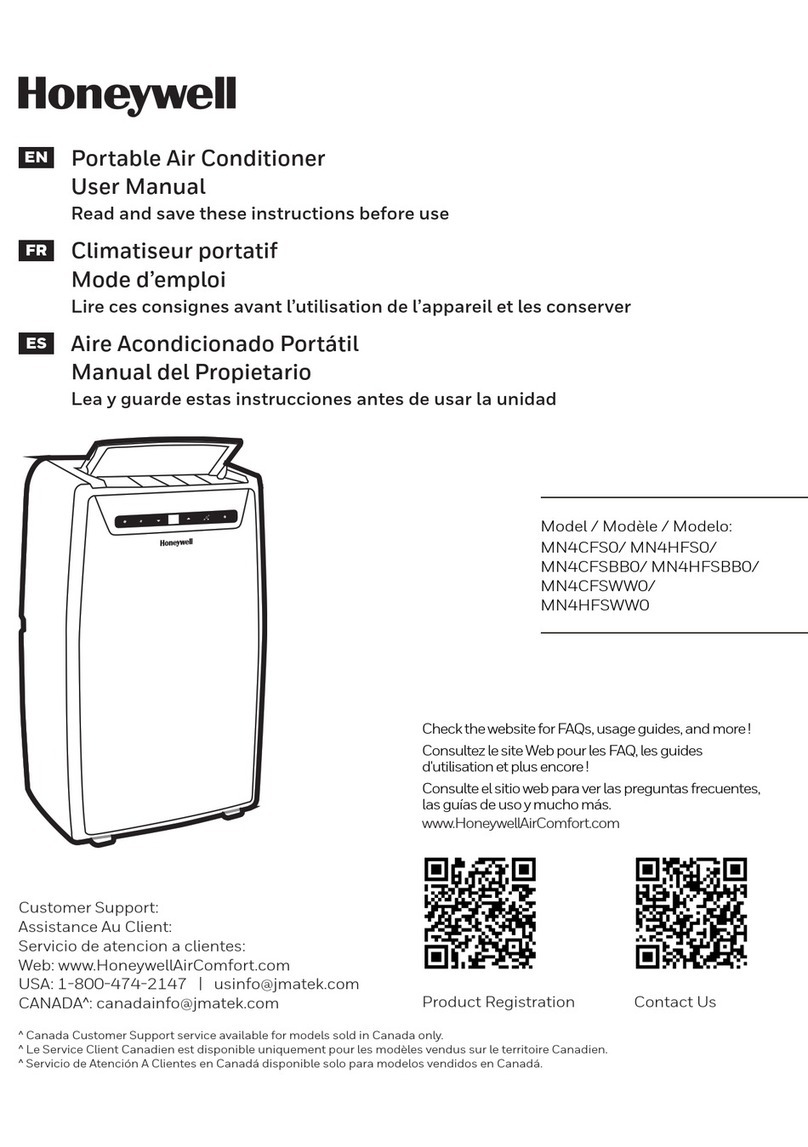
  9. Honeywell CS071AE User manual

Honeywell CS071AE User manual

TROUBLE-SHOOTING GUIDE
Description of Problem Possible Causes Possible Corrective Action
86
Blisters • Excessive moisture. • Pre-dry sheet at the temperature
required for the material you are
forming.
• Heat sheet very slowly to forming
temperature.
• Protect sheet from moisture before
using.
• Heating sheet too hot. • Cut down sheet forming
temperature. You may be boiling
the stabilizers out of the material.
• Heating sheet too fast. • Lower element temperatures.
Generally speaking, element
temperatures should not exceed
950°F.
• Increase the distance between the
heating elements and the sheet.
• Uneven heating of the sheet. • Check forming oven for elements
that are overheating.
• Screen out hot spots.
• Heat sensitive material. • Check with plastic supplier on
temperature parameters for the
material involved.
Thinning • Design of the part. • The overall draw ratio of the part is
too great for the starting thickness
of the sheet.
• The part has specific areas on it
that exceed the draw ratios of the
rest of the part.
• Sheet too thin. • Increase the gauge thickness of the
plastic sheet.
• Uneven sheet temperature. • Check for air drafts in the forming
oven.
• Check for hot spots in the forming
oven. May have defective heating
elements.
• Check the sheet for a variation in
thickness.
• Forming technique. • Consider where the part is thinning
and what forming technique would
best address this problem.
• Bad plastic sheet. Melt
index of sheet may be low.
• Have physical properties of the
sheet analyzed.
TROUBLE-SHOOTING GUIDE
Description of Problem Possible Causes Possible Corrective Action
87
Discoloration • Forming temperature too
hot.
• Cut down on the forming
temperature of the sheet.
• Pigment loading too low. • Increase pigment loading.
• Hot spots in forming oven. • Check out heating elements.
Webbing or bridging • Poor mold design or layout. • Redesign mold.
• Use plug assist or mechanical ring
to eliminate webbing.
• Add spacing blocks to take up
excess material.
• Increase draft or radii to webbed
area.
• Slow down the vacuum speed.
• Redesign ring or plug assist.
• If it is a multiple mold, increase the
spacing between parts.
• Wrong forming technique or
bad design on present
technique.
• Select a better forming technique.
• Make mold adjustments to the
current technique. Gussets, etc.
• Incorrect sheet temperature. • In billow forming, the corners of
the sheet may be too hot.
• In snapback forming, the corners of
the sheet may be too cold.
• Screen out appropriate areas of the
sheet.
• High sheet sag. • Cut down the heat of the sheet to
be formed.
• Select a resin with a lower melt
index.
• Vacuum rate too fast. • Slow down the vacuum rate.
• • Use smaller vacuum holes
• Restrict the vacuum flow with ball
or gate valves in the main vacuum
line.
• Insufficient vacuum. • Check the vacuum system for
leaks.
• Increase the number of vacuum
holes.
• Check to see if the vacuum holes
are plugged up.
• Check to see if the vacuum holes
are in the proper area.
TROUBLE-SHOOTING GUIDE
Description of Problem Possible Causes Possible Corrective Action
88
• Selectively increase the size of the
vacuum holes.
• Timing the billow in the
snapback box.
• Get a more sensitive flow valve.
• Put an electric eye in the snapback
box.
Sheet pulls out of clamp
frame.
• Clamp frames warped. • Put a piece of paper in the clamp
frame and see if you can pull it out
without tearing it.
• Clamping pressure too low. • Seals leaking on clamp frames.
• Air pressure to clamp frames
adjusted to low.
• High shrinkage in plastic
sheet.
• Put double-sided adhesive foam
tape with 40-grit emery paper on
the clamp frames.
• If possible, control the orientation
in the plastic sheet.
Lumps and bumps. • Contamination in the sheet. • Cut a cross section of the lump and
examine it to see if looks different
than the plastic matrix. If so, it is
an extruder issue.
• Incompatible plastic mixed
within the sheet.
• Check incompatible lump with an
IR test.
• Compare color of lump with the
rest of the matrix.
• Water droplets on hot plastic
sheet.
• Cut a cross section of the lump and
check for compatibility.
• Bump on the mold. • Look for a depression on the side
of the sheet touching the mold.
• Loose debris on the mold. • Look at the back of the formed part
for loose debris imbedded within
the part.
Texture washout. • Draw ratio of the part too
great.
• Consider a deeper texture.
• Plastic sheet heated too hot,
especially on the texture
side.
• Turn down the texture side heaters
in the oven.
• Cut down the heater cycle time.
• Cut down the overall heat on the
sheet.
• Shade out certain areas of the sheet
to keep it cooler and less
susceptible to thinning.
TROUBLE-SHOOTING GUIDE
Description of Problem Possible Causes Possible Corrective Action
89
Texture separation. • Texture too deep for starting
thickness of the sheet.
• Select a different texture.
• Texture has deep furrow
lines in a pattern.
• Select a different texture.
• The material you are using may
have poor hot strength and you
may need to select a different one.
• Excessive shrinkage in the
extruded sheet.
• Draw ratio pretty large, in
excess of 3 to 1.
• Select a tighter texture.
• Change the processing technique
for forming the part.
Sheet won’t fit into clamp
frame.
• Sheet not flat. • Place a weight on the bowed up
area along the clamp frame.
• Preheat sheet to remove stress.
Flow lines on part. • Nerve in the plastic sheet. • Rerun the sheet.
• Chatter due to sloppy chain
drive on the extruder.
• Run material on a good direct drive
extruder.
• Select a deeper texture.
• Melt index of resin erratic. • Blend resin more thoroughly.
• Die lines on the back of the
sheet.
• Rerun sheet.
• Run sheet from the oven at a lower
temperature.
• Select a deeper texture.
Blotchy look on the texture
side of amorphous materials.
• Excessive heat, especially
on PVC containing
materials.
• Cut down the forming temperature
heat.
• Select a better texture. Some hair
cell textures will do this in PVC
containing materials.
• High oven shrinkage. • Check shrinkage and keep within
acceptable limits.
Blotchy look on the texture
side of olefin materials.
• Poor mold contact. • Sandblast mold surface.
• Uneven cooling on the mold • Get a temperature-controlled mold.
• Check cooling lines for blockages.
TROUBLE-SHOOTING GUIDE
Description of Problem Possible Causes Possible Corrective Action
90
Inconsistent part. • Uneven heat on plastic
sheet.
• Check for air drafts in the heating
oven.
• Check the sheet for a variation in
gauge.
• Check for power output variations.
• Bad regrind in plastic sheet. • Do an IR or a Brabender test to
confirm compound consistency.
• Part too difficult for the
forming technique being
used.
• Change to a technique that is
suitable.
Warped parts. • Parts are cooling unevenly. • Use temperature controlled tooling.
• Check temperature controlled
tooling for water flow blockages.
• Check the material distribution on
the mold. Is the proper forming
technique being used?
• Check if the plastic sheet is being
pulled tightly against the mold.
Very important in forming the
olefins.
• Check cooling fans for proper
placement.
• Check for plugged vacuum holes.
• Mold too cold. • Preheat the mold.
• Clamp frames too cold. • Preheat the clamp frames. This is
especially important when forming
the olefins.
• Excessive gauge variation
on the finished part.
• Change forming technique to get
better material distribution.
• Insert screens in the oven to shade
out thinning areas.
• Gauge on flat sheet may be all over
the lot. Check various areas of the
sheet for gauge differences.
• Check for hot spots in the oven.
Do the thin spots occur on the
same spot consistently?
• Demolding temperature too
hot.
• Increase cooling cycle.
• Decrease mold temperature.
• Get more cooling fans cooling the
part.
• Overheated sheet. Material • Cut back on oven c
y
cle time or
TROUBLE-SHOOTING GUIDE
Description of Problem Possible Causes Possible Corrective Action
91
sagging too much. heat.
• Poor mold design. • Add a moat if you are dealing with
the olefins.
• Check for plugged vacuum holes.
• Add more vacuum holes.
• Use an alternate forming technique.
• Sandblast the mold in the case of
olefins.
• • Check mold for flexing during the
vacuum cycle.
• Poor part design. • Avoid large flat areas. Crown the
part if possible.
• Put in ribs or cosmetic designs in
the flat areas.
• Avoid severe draw ratios.
Poor detail on part. • Sheet too cold. • Increase heating time in oven.
• Increase heating element
temperature.
• Check oven for consistency.
• Check oven for drafts.
• Insufficient vacuum. • Check for leaks in the vacuum
system.
• Check to see if the system delivers
enough vacuum.
• Check to see if the mold is leaking
vacuum and/or sealing properly.
• Check to see if some vacuum holes
are clogged.
• Check to see if you have enough
vacuum holes.
• Check for the proper location of
the vacuum holes and are they the
proper size.
• Cold clamping frame. • Preheat the clamping frame to get a
better seal.
• Incorrect forming technique. • Change forming technique to best
suit the geometry of the part.
• Em
p
lo
y
a
p
lu
g
assist to
g
et better
TROUBLE-SHOOTING GUIDE
Description of Problem Possible Causes Possible Corrective Action
92
material distribution and vacuum
seal.
• Hot strength of material too
great.
• Select a material with less hot
strength.
• Use pressure-forming technique to
make the part.
• Plastic too thick in area with
poor detail.
• Use a different forming technique
to distribute the material better.
• Heat the area with the thick plastic
hotter.
Poor surface finish on part. • Mold surface too rough. • Polish mold surface to a smoother
finish.
• Sandblast the mold surface.
• Chill marks. • Get temperature controlled tool.
• Run current mold hotter.
• Change forming technique to
eliminate chill marks. Adjust
predraw depth.
• Draft angle too severe. • Add more draft to the part.
• Mold surface creates too
much drag.
• Polish mold in selected areas.
• Apply mold release sparingly in
selective areas.
• Air entrapment between the
mold and formed part.
• Add more vacuum holes to the
affected area.
• Sandblast mold surface.
• Dirty sheet. • Clean sheet with isopropyl alcohol
or deionizing airgun.
• Dirty mold. • Clean mold off with airgun or
mechanical means.
• Dirt and debris in the
atmosphere.
• Put in filtering system.
• Clean up the thermoforming area
thoroughly.
• Isolate the thermoforming area.
• Contaminated sheet. • Wipe sheet off before putting it in
the thermoformer.
• Separate sheet out that has
contaminates imbedded into it.
• Voids. • Cull out affected sheets where
possible.
• Scratched surface on sheet. • Interleaf sheet. Handle sheet
carefully.
TROUBLE-SHOOTING GUIDE
Description of Problem Possible Causes Possible Corrective Action
93
• Avoid dragging the corner of the
sheet across the surface of the
textured side.
• Streaks. • Examine what you are cleaning the
sheet with before putting it into the
thermoformer.
• Undispersed pigment in the sheet.
• Poor mixing during extrusion.
Rerun the material.
• Dirty embossing roll during the
extrusion process. Clean the
texture roll.
• Dust and dirt in the
atmosphere.
• Keep the thermoforming area
clean. Put in a filter system if
necessary.
Chill marks. • Mold temperature too low.
Material freezes onto the
mold when it touches it.
• Increase the mold temperature.
• The radius on the part is too
small.
• Redesign the part to accommodate
a larger radius.
• Wrong forming technique is
being used.
• Change the forming technique to
an appropriate one.
• Insufficient draft angle on
the part.
• Increase the draft angle.
• Plug temperature too low. • Increase the plug temperature.
• Cover the plug with an insulative
material.
• Use an insulating material to make
the plug.
• Sheet too hot. • Cut down the oven temperature.
• Reduce the heating cycle.
Dimples on mold side of parts. • Vacuum holes too large. • Decrease vacuum-hole size.
• Sheet too hot. • Reduce the heating cycle or cut
down the oven temperature.
• Dirt or debris on the mold
surfaces.
• Clean the mold frequently during
the forming operation.
• Vacuum rate is too high. • Cut down the vacuum volume.
Color loss or stress whitening
or blushing.
• Sheet too cold. • Heat sheet to a higher temperature
before forming.
• Sheet too hot. • Cut back on heating cycle to
prevent discoloration.
TROUBLE-SHOOTING GUIDE
Description of Problem Possible Causes Possible Corrective Action
94
• Reduce the temperature of the
heaters to prevent surface
scorching.
• Reduce the distance the heaters are
in relation to the sheet being
heated.
• Part too thin. • Increase the thickness of the sheet.
• Change the forming technique to
improve the part thickness.
• Shade the oven or turn down the
element temperatures in the area
the part is thinning.
• Mold too cold. • Increase mold temperature.
• Poor mold design. • Change draft angles.
• Increase radii.
• Change mold geometry to reduce
the draw ratio.
Poor material distribution
and/or excessive thinning in
specific areas.
• Uneven heating of the sheet. • Check the heaters to see if they are
set properly.
• Check for faulty heaters.
• Check for drafts or air currents in
the oven.
• Shade oven if element zoning is
not possible.
• Check to see if the elements are too
close to the plastic.
• Excessive gauge variation in
the sheet.
• Check the gauge of the sheet.
• Cold mold. • Increase the mold temperature.
• Check the mold for plugged water
lines.
• Excessive sag. • Cut down sheet temperature.
• Use zone heating to cut down
temperature in the center of the
sheet.
TROUBLE-SHOOTING GUIDE
Description of Problem Possible Causes Possible Corrective Action
95
Shiny streaks on part. • Sheet too hot in certain
spots.
• Control the heat in the hot zone of
the sheet by cutting down the
element temperature in the specific
area.
• Increase the distance between the
heater and the sheet.
• Screen the entire oven to dissipate
the heat more evenly.
• Check the unformed plastic sheet
for shiny spots.
Thin corners on the formed
part.
• Sheet too thin. • Use heavier gauged sheet.
• Poor material distribution. • Reduce sheet forming temperature.
• Change forming technique to get
better sheet distribution.
• Change from female to male mold.
• Sheet temperature too high
at the corners.
• Use screening or control the
temperature of the heating zones.
Excessive shrinkage after part
is removed from the mold.
• Inadequate cooling. • Increase cooling cycle time.
• Reduce the mold temperature.
• Employ better cooling fans.
• Place cooling fans in more logistic
places.
• Use cooling fixtures.
Shrink marks on formed part. • Poor seal edge on the mold. • Repair or improve the seal edge.
• Put in a moat on the mold.
• Mold surface too smooth. • Put as sandblast finish on the mold.
• Inadequate vacuum. • Check mold and vacuum system
for leaks.
• Increase vacuum capacity.
• Check for plugged vacuum holes.
• Add vacuum holes or increase the
size as appropriate.
Difficult to remove part off
the mold.
• Insufficient draft on a male
mold.
• Increase draft.
• Remove the part from the mold as
hot as possible without warping it.
• Male mold temperature too
cold.
• Increase the mold temperature to
keep the part from cooling too
much.
• Mold surface too rough for
the draft angle.
• Smooth out the mold in the areas
that are locking on.
TROUBLE-SHOOTING GUIDE
Description of Problem Possible Causes Possible Corrective Action
96
• Use mold release in areas that are
locking on.
• Air ejection pressure too low
or not long enough.
• Increase or extend air ejection
pressure.
• Add more vacuum holes in
strategic places.
• Wrong mold material used
for the required draft angle.
• Change to the proper mold
material.
• Use an appropriate mold release.
• Undercuts on mold too
severe.
• Reduce the size of the undercuts.
• Increase the air eject pressure.
• Remove the part from the mold
earlier in the cooling cycle.
• Put the mold on a hinged frame.
• Put removable parts on the mold
that come off when the part is
being removed from the mold.
• Use mold release where
appropriate.
Loss of vacuum seal. • Seal edge on the mold is
bad.
• Repair seal edge on the mold.
• Material not holding in the
clamp frames.
• Repair clamp frames or put pins in
them to grip better.
• Clamp frames too cold. • Heat clamp frames up before
running parts.
• Clamp frames not adjusted
properly or not coming up
through the seal edge of the
mold enough.
• Adjust the clamp frame properly.
Sheet tears during forming. • Poor mold design. • Consider changing the mold
geometry.
• Change the forming technique.
• Increase the radii on the part.
• Plastic sheet too hot before
forming.
• Cut down heating cycle.
• Cut down heater temperatures,
especially in specific areas.
• Check for hot spots on sheet.
• Thinner gauges, sheet too
cold.
• Increase heating time.
• Check sheet for uniform
temperature.
TROUBLE-SHOOTING GUIDE
Description of Problem Possible Causes Possible Corrective Action
97
• Poor material distribution. • Check the sheet for uneven
thickness.
• Check for uneven heating.
Plastic sheet sticks to the plug. • Plug temperature is too hot. • Decrease the plug temperature.
• Cover the plug with an insulative
material.
• Use mold release on the plug.
• Wrong material is being
used for the plug.
• Change the material to an
acceptable material.
• Cover the plug with an insulative
material.
Excessive sheet sag. • Sheet heated too hot. • Decrease cycle time.
• Decrease heater temperature.
• Poor hot strength on the
plastic material.
• Select a different material.
• Sheet area too large in
relationship to the depth of
draw.
• Use screening or shading to reduce
the heat in the center of the sheet.
• Change forming techniques.
Sag levels vary from sheet to
sheet.
• Sheet temperature varying. • Check for drafts in the oven.
• Check for power variations.
• Melt index of the plastic is erratic.
• Improper use of regrind. • Avoid mixing regrind with various
melt indexes.
• Avoid using regrind that has little
rheological life left.
• Control the quality of the regrind.
Billow height or depth is
varying.
• Sheet temperature is uneven. • Check oven for drafts.
• Check heating elements for power
variations.
• Check heating elements for proper
operation.
• Screen the oven to control
temperatures in given areas of the
sheet.
• Vacuum or air leaks in the
billow box or seal edge.
• Check the seal in the billow box.
• Air pressure or vacuum
volume too great for the size
of billow box.
• Reduce the vacuum volume or air
pressure to cut down the sensitivity
of the billow. (Widen the
processing window)
• Put in a sag eye in the billow box.
TROUBLE-SHOOTING GUIDE
Description of Problem Possible Causes Possible Corrective Action
98
Sheet whitening. • Sheet too cold. • Increase heating time.
• Increase heating element
temperature.
• Sheet stretched beyond the
yield point of the plastic.
• Change the forming technique.
• Redesign the part.
Part cracks during service life. • Part too thin in specific
areas.
• Increase sheet thickness.
• Use plug assists to distribute
material more efficiently.
• Fill in the thin areas in the back of
the part with epoxy resins.
• Consider changing forming
technique.
• Poor part design. • Consider changing part design.
• Increase the radii on the sharp areas
of the part.
• Part formed too cold and is
not stress relieved.
• Increase forming temperature of
the part.
• Part not assembled properly
or fastened to other
structures improperly.
• Check assembly technique to see if
it commensurate with good
assembly practices.
• Poor selection of materials. • Check to see if the physical
properties of the material selected
are adequate for the part produced.
Parts are brittle. • Improper cooling
temperature on the mold.
• Check to see if the mold is too
cold. Increase mold temperature.
• Check to see if the cooling on the
mold is too abrupt, that is,
excessive spray misting.
• Plastic heated too hot too
quickly.
• Check for charring of the surface
of the plastic and turn down the
heating element temperature.
• Mold lubricant incompatible
with the plastic being used.
• Change mold lubricant.
• Part cleaned with a harmful
chemical during packaging.
• Check cleaning agents you are
using.
TROUBLE-SHOOTING GUIDE
Description of Problem Possible Causes Possible Corrective Action
99
Flat surface of a part not flat. • Flat surface of the mold not
properly reinforced. Oil
canning during the vacuum
cycle.
• Check the mold for rigidity and
durability.
Furrows or lines in the part. • Die lines in the plastic. • Rerun the plastic sheet.
• Form the plastic at a cooler
temperature.
Plastic tears during heating or
forming.
• Poor hot strength in the
plastic.
• Select a more appropriate plastic.
• Plastic is partially burnt
during the extrusion
operation.
• Test the material to see if the
viscosity is OK. Rerun with good
material if necessary.
• High orientation in the
sheet.
• Rerun with the proper orientation.
• Mixed regrind in the sheet. • Use only regrind that is compatible
with the virgin part of the sheet.
• Use good quality regrind.
• Grain texture too deep for
the thickness of the sheet
being used.
• Select a texture that will not
separate during the heating cycle.

Other manuals for CS071AE

6

Other Honeywell Air Conditioner manuals
Honeywell CL15AE Operating manual

Honeywell

Honeywell CL15AE Operating manual

Honeywell TC50PEU Guide

Honeywell

Honeywell TC50PEU Guide

Honeywell MF08CESWW User manual

Honeywell

Honeywell MF08CESWW User manual

Honeywell CHL30XC User manual

Honeywell

Honeywell CHL30XC User manual

Honeywell C060Pm User manual

Honeywell

Honeywell C060Pm User manual

Honeywell HG Series User manual

Honeywell

Honeywell HG Series User manual

Honeywell CS10XE Series User manual

Honeywell

Honeywell CS10XE Series User manual

Honeywell CS071AE User manual

Honeywell

Honeywell CS071AE User manual

Honeywell CL48PM User manual

Honeywell

Honeywell CL48PM User manual

Honeywell CL25AE User manual

Honeywell

Honeywell CL25AE User manual

Honeywell CL25AE User manual

Honeywell

Honeywell CL25AE User manual

Honeywell CL60PM Series User manual

Honeywell

Honeywell CL60PM Series User manual

Honeywell CS10XE Series User manual

Honeywell

Honeywell CS10XE Series User manual

Honeywell CS10XE Series User manual

Honeywell

Honeywell CS10XE Series User manual

Honeywell AMH-10000E User manual

Honeywell

Honeywell AMH-10000E User manual

Honeywell ES800 User manual

Honeywell

Honeywell ES800 User manual
Honeywell HJ0HESWK7 User manual

Honeywell

Honeywell HJ0HESWK7 User manual

Honeywell CO70PE User manual

Honeywell

Honeywell CO70PE User manual

Honeywell MM14CHCS User manual

Honeywell

Honeywell MM14CHCS User manual

Honeywell ES800 User manual

Honeywell

Honeywell ES800 User manual

Honeywell MN10CESWW User manual

Honeywell

Honeywell MN10CESWW User manual

Honeywell CS10XE Series User manual

Honeywell

Honeywell CS10XE Series User manual

Honeywell MN10CCS User manual

Honeywell

Honeywell MN10CCS User manual

Honeywell CL25AE User manual

Honeywell

Honeywell CL25AE User manual

Popular Air Conditioner manuals by other brands

Mitsubishi Electric Mr.Slim MSZ-A24NA operating instructions

Mitsubishi Electric

Mitsubishi Electric Mr.Slim MSZ-A24NA operating instructions

Daikin R32 Split Series installation manual

Daikin

Daikin R32 Split Series installation manual

Frigidaire FAK103J1V4 owner's guide

Frigidaire

Frigidaire FAK103J1V4 owner's guide

Daikin FTKS50EV1B Operation manual

Daikin

Daikin FTKS50EV1B Operation manual

Haier HDU-42HT03/H Operating & installation manual

Haier

Haier HDU-42HT03/H Operating & installation manual

Carrier 38MHRBC12AA1 installation instructions

Carrier

Carrier 38MHRBC12AA1 installation instructions

Daikin Super Multi Plus E-Series CTXG50EV1BW user manual

Daikin

Daikin Super Multi Plus E-Series CTXG50EV1BW user manual

Dometic MCS T6 operating manual

Dometic

Dometic MCS T6 operating manual

Fujitsu ASTA30LFC Service manual

Fujitsu

Fujitsu ASTA30LFC Service manual

Hitachi RAK-18QXD Service manual

Hitachi

Hitachi RAK-18QXD Service manual

Carrier 42TOVG010 owner's manual

Carrier

Carrier 42TOVG010 owner's manual

Midea PD series manual

Midea

Midea PD series manual

Kaden KSI R32 owner's manual

Kaden

Kaden KSI R32 owner's manual

Beko BEP 09C user manual

Beko

Beko BEP 09C user manual

Heiko JZ026-B1 installation manual

Heiko

Heiko JZ026-B1 installation manual

Dimplex DCES09 manual

Dimplex

Dimplex DCES09 manual

Samsung AS07P2GE/XCH Owner's instructions

Samsung

Samsung AS07P2GE/XCH Owner's instructions

LG LS243HLV3 Engineering manual

LG

LG LS243HLV3 Engineering manual

manuals.online logo
manuals.online logoBrands
  • About & Mission
  • Contact us
  • Privacy Policy
  • Terms and Conditions

Copyright 2025 Manuals.Online. All Rights Reserved.