Hoover TIF2700 User manual


1 - GB
Parts Descripon
1Soleplate
2Air Outlet
3Spray Nozzle
4Water Fill Cover
5Front Cover
6Boost Buon
7Steam Control
8Spray Buon
9So Touch
10 Lamp Cover
11 Swivel
12 Water Tank
13 Temperature Dial
14 Self Clean
15 Fan Switch
16 Fan Frame
17 Fan Grid
18 Back Plate With Fan
19 Back Plate Without Fan
1
2
3
4
9
10
11
5
6
7
8
13
12
14
15
16
17
18
19
*
* Certain Models Only

2 - GB
Introducon
Dear customer,
First of all, we would like to congratulate you for purchasing this Hoover iron and to
thank you for the condence you have in Hoover brand.
This appliance has been manufactured with great care, respecng all of our quality
criteria and has been tested several mes. We hope its use will full your expectaons.
We are strongly convinced that it will make your ironing much faster and beer.
Before using your new Hoover appliance, please read carefully this user’s manual. If
you need further informaon or if you encounter any trouble which are not noced in
this manual, please contact the aer-sales service or your standard dealer.
Important Safety Instrucons
Read this user manual carefully before you rst use and save it for future reference.
This appliance can be used by children
aged from 8 years and above and
persons with reduced physical, sensory
or mental capabilies or lack of
experience and knowledge if they have
been given supervision or instrucon
concerning use of the appliance in a
safe way and understand the hazards
involved. Children shall not play with
the appliance. Cleaning and user
maintenance shall not be made by
children without supervision.

3 - GB
Important Safety Instrucons
• This product has been designed
for domesc use only. In case of any
commercial use, inappropriate use or
failure to comply with the instrucons, the
manufacturer is not responsible and the
guarantee will not apply.
• Before connecng your appliance, check
if the mains voltage is the same as the
voltage indicated on your appliance and
that the power outlet is connected to the
earth.
• Ensure before each use that the electric
cord or any other important part is not
damaged.
• Keep the iron and its cord out of reach
of children less than 8 years of age when it
is energized or cooling down.
• Never direct the steam towards persons or
animals. Never direct the steam jet towards
any other electrical or/and electronic
appliances.
• The iron is not to be used if it has been
dropped, if there are visible signs of
damage or if it is leaking.
• If the appliance shows evidence of
breakdown, malfuncon, leakages. Please
make sure it is checked by an authorized
Service Centre to avoid any danger.
• Always make sure the appliance is
switched o, unplugged and cooled down
before doing any maintenance work.

4 - GB
• The iron must not be le unaended
while it is connected to the supply mains
and before it has cooled down.
• Do not unplug the appliance by pulling
on the cord or on the appliance.
• Never immerse the iron, the stand, the
cable or the plugs in water. Never hold
them under the water tap.
• The soleplate of the iron can become
extremely hot and may cause burns if
touched. Never touch the electric cords
with the soleplate.
• If the supply cord is damaged, it must
be replaced by the manufacturer, service
agent or similarly qualied persons in
order to avoid a hazard.
• When placing the iron on its heel,
ensure that the surface on which the heel
is placed is stable.
• The plug must be removed from the
socket-outlet before the water reservoir is
lled with water.
• The surfaces with are liable to get
hot during use.
• To have a electronic copy of the
instrucon manual contact the aer sales
service in guarantee card.
• The iron must be used and rested on a
stable surface.
Important Safety Instrucons

5 - GB
Chapter 1: Preparaon for Use
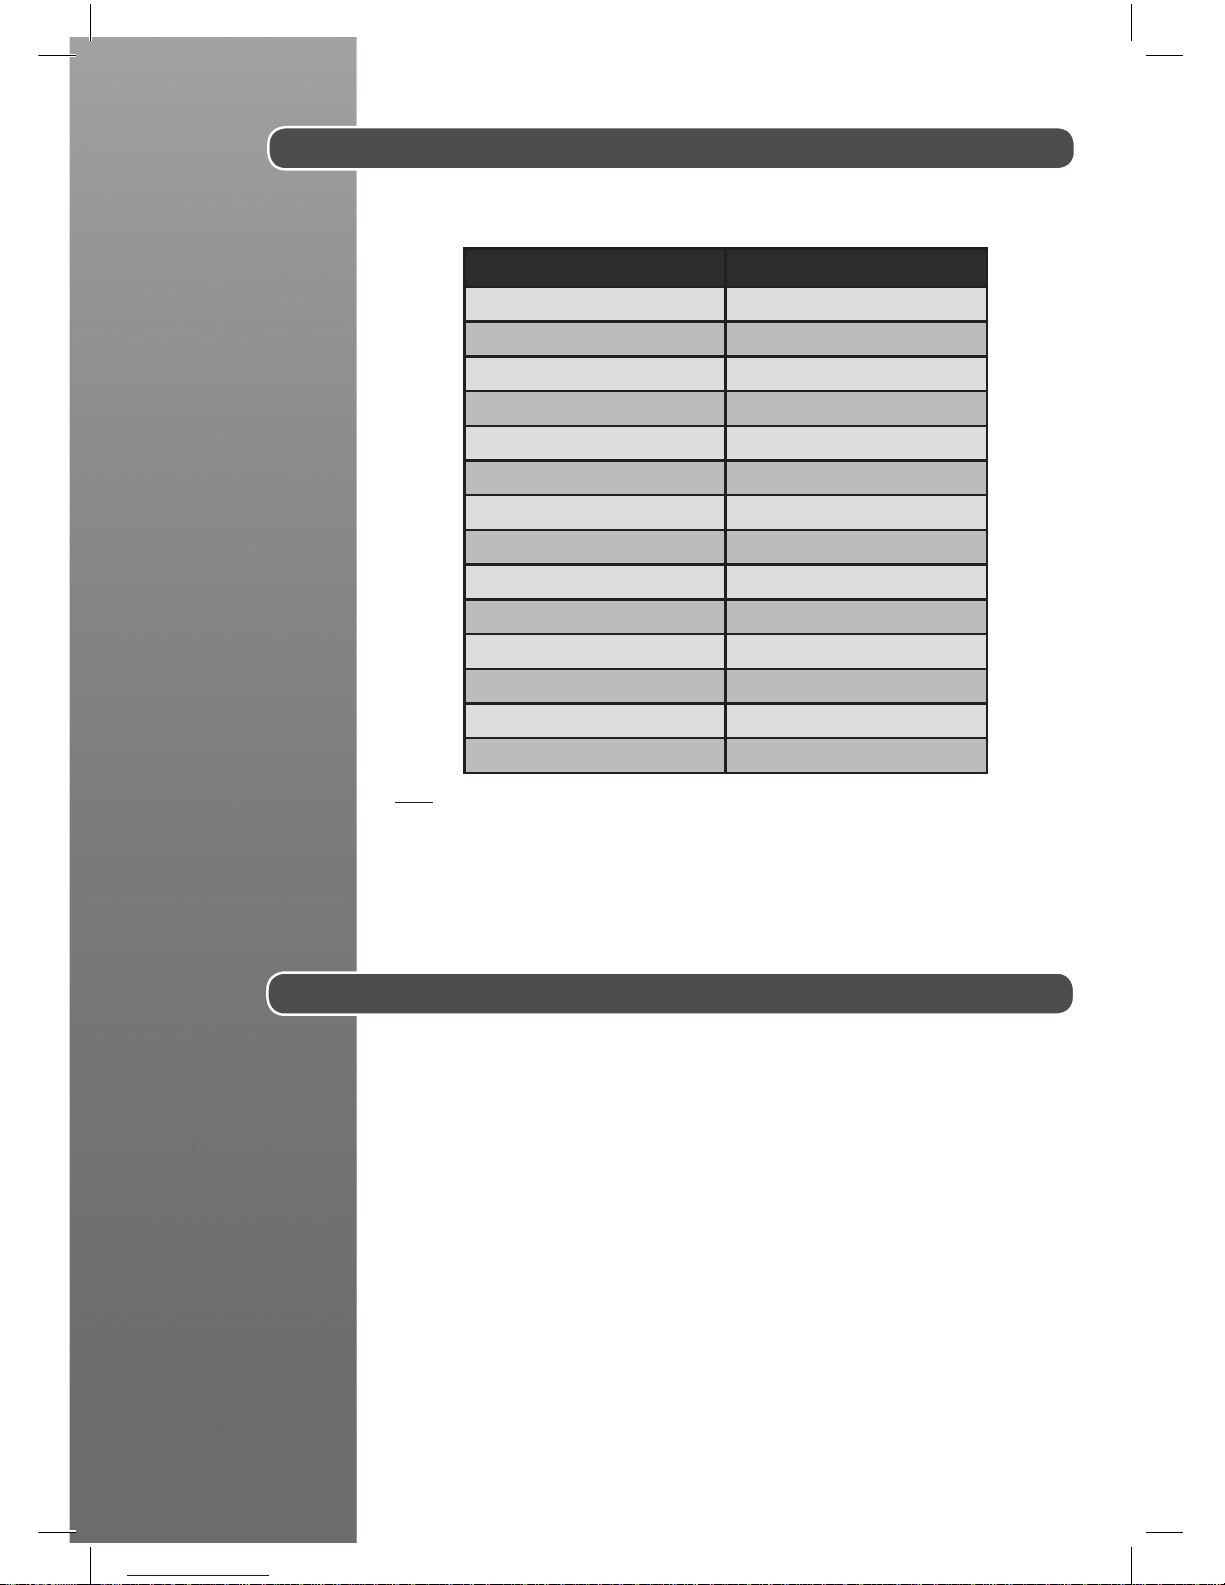
Chapter 1.1 : What Kind of Water May be Used?
Chapter 1.2 : Filling the Water Tank
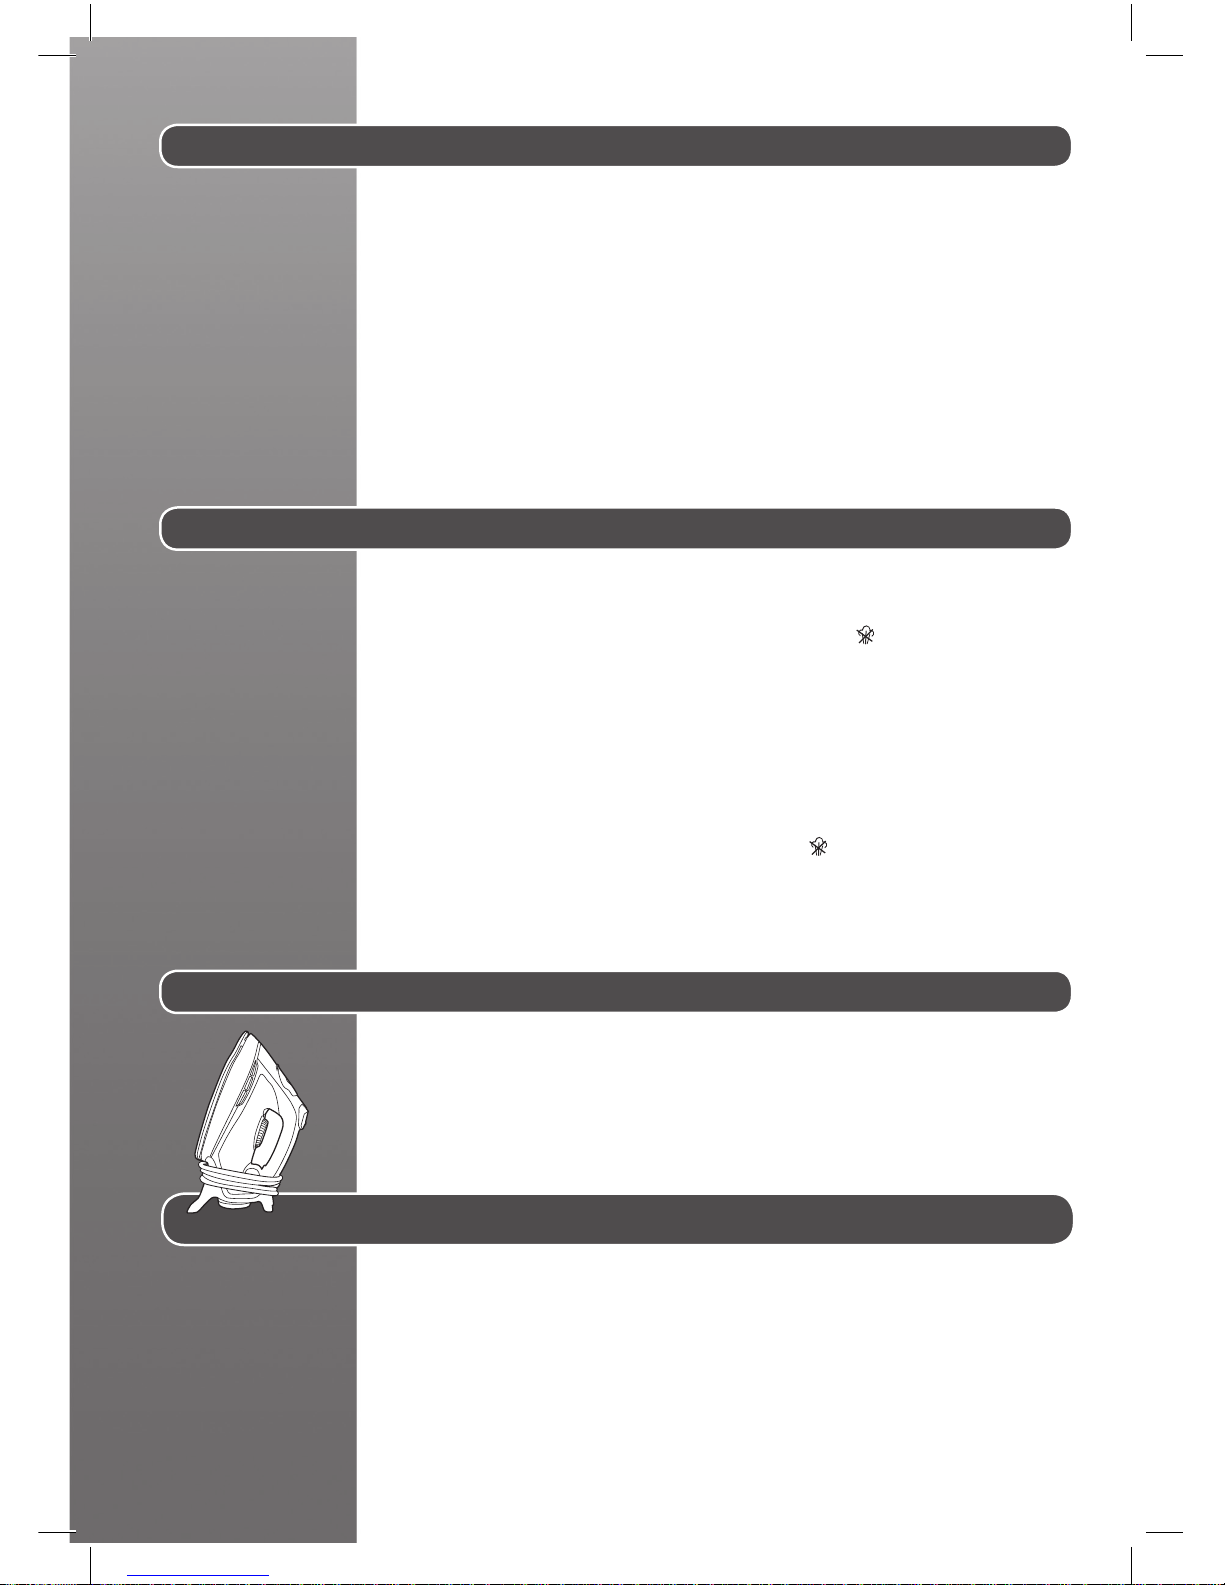
Place the iron on a stable and level surface, for example on the hard part of an ironing
board or on a heat-resistant surface.
The Hoover iron has been designed to be used with tap water only.
There is no need to use dislled or pure dislled water.
Nevertheless, in case you live in a hard water area, you can mix 50% of dislled water
with 50% of tap water.
Do not use any other kind of water or do not add any other contents to water tank as
it can damage your appliance.
Remove the mains plug from the wall socket before lling the iron.
Set the steam buon to posion “0” or “ ” and open the water ll cover.
Please ll your iron with normal tap water before using for the rst me.
Use the water beaker supplied to ll clean tap water into water tank unl “MAX”
lling level.
Push the water ll cover rmly to close and dry any spilt water around the enclosure
of the appliance, do not overll.
WARNING: Do not add vinegar, hot water, perfume, or any other kind of chemical
agents or any other contents in the water tank. It could damage the steam generator
and shorten its life.
Chapter 2: Using Your Iron
Connect the appliance with the mains cord to an earthed socket and switch the
power on. Stand the iron in the vercal posion, turn the temperature dial to your
desired seng, the iron will make an alarm sound and the power light on the handle
will start ashing in an Amber colour.
Move your iron in one complete moon from the vercal posion to horizontal
returning to the vercal posion, on compleon of this movement the light on the
handle will illuminate Red and the soleplate will begin heang.
When the red light switches o, your appliance is ready for use.
N.B
1) The rst me you use your appliance you may nd some dust and smell of fumes ,
this is quite normal and they will quickly disappear.
2) Your Iron is ed with a number of features for Safe use and these can be noted
by the colour of light being illuminated on the handle:
a) Amber light , this illuminates when the Iron is inially switched on and requires
to be moved as described above .
b) Red light , this illuminates when the Iron is in the heang mode and will turn o
aer it has reached the set temperature.
c) Green light , this illuminate when the iron has been in the Staonary posion for
more than 30 secs and the power to the heang element has been cut o unl the
iron movement is started again.
1
2

6 - GB
Chapter 2.2 - Ironing
Dry Ironing
For dry ironing, turn the steam control knob to “0”or “ ” . This will cut o the steam
ow if water is in the water tank.
Turn the temperature control knob to select the desired fabric/temperature seng.
The indicator power light will illuminate, ensure the iron is on a smooth and stable
surface vercally.
Aer the indicator power light goes out, you can begin to iron.
Steam Ironing
As indicated on the temperature control and the table on the rear of the iron, steam-
ironing is only possible at higher ironing temperatures (between “●●” to “MAX”).
Ensure that there is enough water in the water tank.
Stand the iron on its end; Insert the mains plug into the wall socket.
Set the temperature control knob at the required posion within the steam area.
Aer the indicator power light has gone out and has come on again, you may start
ironing.
ATTENTION: Never direct the steam towards people. Burns or serious injury may occur.
Cooling Feature *
Turn on the fan by pushing FAN SWITCH to cool the handle and user environment.
Push again to turn it o.
Select the temperature of the soleplate by turning the dial on the iron to the desired posion.
Wait a few moments unl the temperature indicator is o.
It will indicate to you that the soleplate has reached the requested temperature.
While ironing, the temperature dial indicator may turn on and o, the temperature
adjusts without interrupng your ironing.
Help
To know the best suitable temperature for each texle, check the laundry care label
of the arcle to be ironed. Please note that during use, the temperature light goes on
from me to me. It signies that the iron is heang up to the set temperature.
If a fabric is made with various kinds of bres always select the soleplate temperature
to suit the most delicate one .
If you select a lower temperature while ironing, wait unl the iron has cooled down to
the set temperature before you connue ironing.
If the temperature is too low, some drops of water could escape from the soleplate.
Please raise up the temperature above the 2 dots (••) to avoid this issue.
Chapter 2.1: Regulang the Soleplate Temperature
* Certain Models Only

7 - GB
Chapter 2.4 - Shot of Steam
Ensure that there is enough water in the water tank.
When the temperature control knob is set to steam seng (between “●●” to “MAX”)
strong steam can be used.
Press the steam boost buon, the soleplate will emit a strong ow of steam.
NOTE
Only use the steam boost buon when the steam iron has reached the steam or
maximum temperature.
Do not press the steam boost buon more than 3 mes repeatedly. For opmum
steam output , leave an interval of at least 5 seconds between pressing the steam
boost buon.
The steam boost buon feature can be used with Dry or Steam ironing as desired.
ATTENTION: Never direct the steam towards people. Burns or serious injury may occur.
Help
When steam ironing clothes on which shiny patches may occur, we recommend you to set
the soleplate temperature to a lower temperature or to iron the garment on the reverse.
Start with the fabrics that need to be ironed at a lower temperature (•) and nish with
those that needed to be ironed at the higher temperature (•••/Max).
Texle Soleplate T°C
Jeans Max
Coon •••
Linen Max
Starched Clothes •••
Velvet/Alcantara ••
Wool ••
Silk ••
Cashmere ••
Rayon ••
Polyester •
Nylon •
Acrylic •
Lycra •
Polyamid •
To obtain the best results, it is important to set the correct temperature of the soleplate.
Chapter 2.3 - How to Choose the Correct Soleplate Temperature

8 - GB
Chapter 2.5 - Spraying
Chapter 2.6 - Vercal Shot Of Steam
Ensure there is enough water in the water tank.
Press the spray boost buon to produce a ne spray of water from the nozzle and
connue ironing.
NOTE: Do not spray silk.
When the temperature control knob is set to a steam seng (between “●●” to
“MAX”) vercal steam can be used.
Simply hold the iron vercally, posioned in front with a slight distance from the item
to be steamed, and press the steam boost buon.
ATTENTION: Never direct the steam towards people. Burns or serious injury may occur.
NOTE: This is especially useful for geng wrinkles out of hanging clothes, curtains,
wall hangings etc.
Chapter 2.8 - Automac An-Drip Funcon
Your iron has an an-drip funcon. The iron automacally stops generang steam
when the temperature is too low to prevent water from dripping out of the soleplate.
NOTE: When using the Steam funcon, your appliance may stop generang steam for
several seconds, this is normal.
Chapter 2.7 - Automac An-Calc Funcon
Your iron contains an an-calc cartridge to reduce scale deposits. This considerably
prolongs the operaonal life of your iron.
The an-calc cartridge is an integral part of the water tank and does not need to be replaced.
Chapter 2.9 - Self-Clean Funcon
Use the self clean funcon once every two weeks. If the water in your area is very
hard, the self clean funcon should be used more frequently.
Make sure the iron is unplugged.
Set the steam control knob to OFF posion.
Fill the water tank to the maximum level.
Put the plug in the wall socket.
Select the maximum ironing temperature.
Unplug the iron when the temperature power light has gone out.
Hold the iron over the sink, press and hold the self clean buon and gently shake the
iron to and fro.
Release the self clean buon aer 5-10seconds.
Repeat the self clean process if the iron sll contains a lot of impuries.
NOTE
Steam and boiling water will come out of the soleplate, impuries and akes(if any)will
be ushed out.
ATTENTION: Keep hands and body away from hot water.
Do not push and hold the self clean buon while ironing.

9 - GB
Chapter 3: Maintenance and Cleaning
Chapter 2-10 Auto Shut o funcon
Chapter 4: Storage
To prevent any risk of burns, all maintenance and cleaning operaons should only be
carried out when the unplugged appliance has cooled down for at least 2 hours.
Before cleaning, set the steam control knob to the “0” or “ ”, unplug the iron from
wall socket, and allow the appliance to completely cool down, and then clean with a
damp cloth, do not immerse the unit into water or other liquids.
Clean and empty the water tank aer every use.
If ironing clothes with high temperature, which is not recommended on the garment
table, this will cause burns to your clothes and residue le on the soleplate of the unit,
it is recommended that you iron over an old cloth to remove any residue from the
soleplate.
Aer use, set the steam control knob to the “0” or “ ”, disconnect the unit from
mains socket, empty remaining water from water tank and then store the iron aer it
has been completely cooled down.
Never use scouring pads, abrasive or chemical cleaners, or solvents
Empty the water tank.
Coil the power cord on the back plate.
Put the iron in the upright posion on it’s heel.
Wait at least 30 minutes allowing the sole plate to cool down.
Then you can take away your appliance in order to store it safely and easily.
Important Informaon
Hoover spares and Consumables
Always replace parts with genuine Hoover spares. These are available from your local
Hoover dealer or direct from Hoover. When ordering spare parts, always check your
model number.
Hoover Service
Should you require service at any me, please contact your local Hoover Service Oce.
Please see all the contact details below.
a. The auto-shut-o funcon automacally switches o the iron if it has not been
moved aer 30 secs in horizontal posion or aer 8 mins in vercal posion.
b. The power light starts ashing to indicate that the iron has been switched o by
the auto-shut-o funcon.
c. To let the iron heat up again:
1. Move your iron in one complete moon from the vercal posion to horizontal
returning to the vercal posion
2. if the temperature of the soleplate has dropp
ed below the seng ironing
temperature, the power light will turn on, please waing unl it goes out before you
start ironing.
3. If the power light does not turn on aer you move the iron, the soleplate sll has
the right temperature and the iron is ready to use.

10 - GB
Safety
Hoo ver believes that independent approval is the best way of demonstrang safety
in design and manufacture.
All Hoover irons have been manufactured in compliance of all safety regulaons
and approved by the most qualied independent approval cercaon bodies.
ISO 9001
Hoover’s factories have been independently assessed for quality. Our products are
made using a quality system which meets the requirements of ISO 9001
The Environment
The symbol on this appliance indicates that this appliance may not be
treated as household waste. Instead it must be handed over to the
applicable collecon point for the recycling of electrical and electronic
equipment. Disposal must be carried out in accordance with local
environmental regulaons for waste disposal. For more detailed
informaon about treatment, recovery and recycling of this appliance,
please contact your local city oce, your household and waste disposal service or
the shop where you purchased the appliance.
This product complies with the European Direcves 2006/95/EC,
2004/108/EC and 2011/65/EC.
HOOVER Limited, Pentrebach, Merthyr Tydl, Mid Glamorgan, CF48 4TU, UK
Your Guarantee
The guarantee condions for this appliance are as dened by our representave in
the country in which it is sold. Details regarding these condions can be obtained
from the dealer from whom the appliance was purchased. The bill of sale or receipt
must be produced when making any claim under the terms of this guarantee.
Subject to change without noce.

Printed in P.R.C.
PART No. 48014702/02
®
Table of contents
Other Hoover Iron manuals

Hoover
Hoover IronSpeed IS31 -M1 User manual

Hoover
Hoover TIF2600 User manual

Hoover
Hoover IronSpeed SFD4101/1 User manual

Hoover
Hoover PRB2500B User manual

Hoover
Hoover IRONSPEED SRD 4110 User manual

Hoover
Hoover Ironspeed SRD 4106 User manual

Hoover
Hoover PRB2500 User manual

Hoover
Hoover PMP 2400 User manual

Hoover
Hoover TINF2600 User manual

Hoover
Hoover IRONjet User manual