2
Instruction
Contents and assembly
Please read through the entire user manual before you start assembling and deciding where to put your
infrared heater. Read the instructions carefully to make sure that the infrared heater is installed, used and
maintained correctly, as described in these instructions. Keep the user manual for future reference.
Package contents
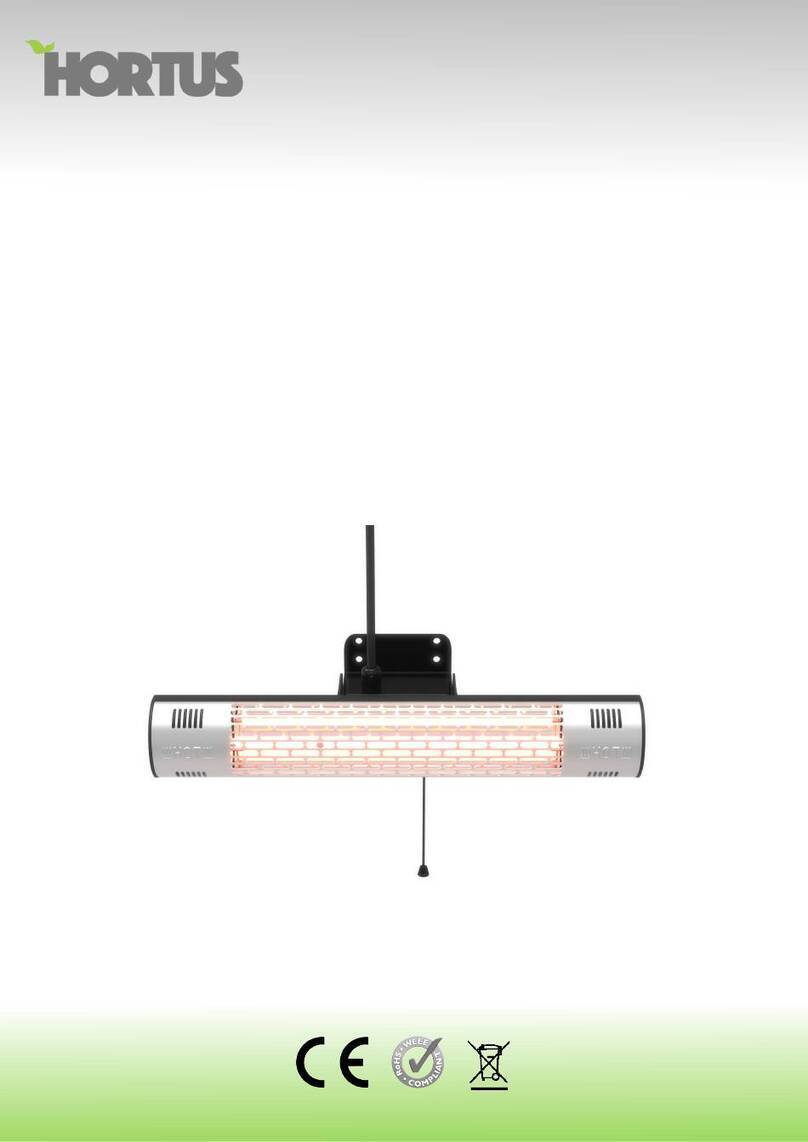
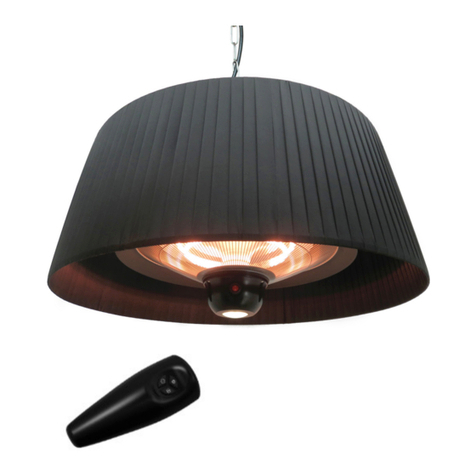
1 pc. heater1.
1 pc. universal bracket2.
1 pc. rubber plate3.
2 pc. adjustment screws4.
2 pc. wing screws5.
2 pc. metal tubes6.
2 pc. nylon washers7.
Assembly
The back of the brackets is pliable and exible to make it easy to install the heater. Look at the following 1.
pages when deciding where to put your heater.
When you have selected the location and the universal bracket you are going to use, adapt the2.
rubber plate to the universal bracket by cutting it to size and then putting it on the inside of the universal
bracket. Make sure that you do not cover any of the holes that you need to use for the wing nuts. This
prevents damage and rust, and also ensures that the heater is rmly attached to the tube/beam. See
gure 1.
Attach the universal bracket to the infrared heater using the adjustment screws. See gure 1.3.
You can then hang the infrared heater on the tube/beam that youhave chosen.4.
Angle the infrared heater so that the distance between the infrared heater and the surrounding5.
surfaces/objects is at least 10cm from every direction. You angle the infrared heater using the
adjustment screws by turning the entire universal bracket with the infrared heater. See gures 2 and 3.
You can bend the back of the universal bracket around the tube/beam, attaching it securely using the6.
wing screws. When you angle the heater, make sure that the wing screws are tightened securely to x
the angle. Put the nylon washers between the wing screw and the universal bracket to prevent rust. See
gure 1.
Connect the power cable to a grounded 230 V power socket. We recommend using a ground fault7.
circuit interrupter.
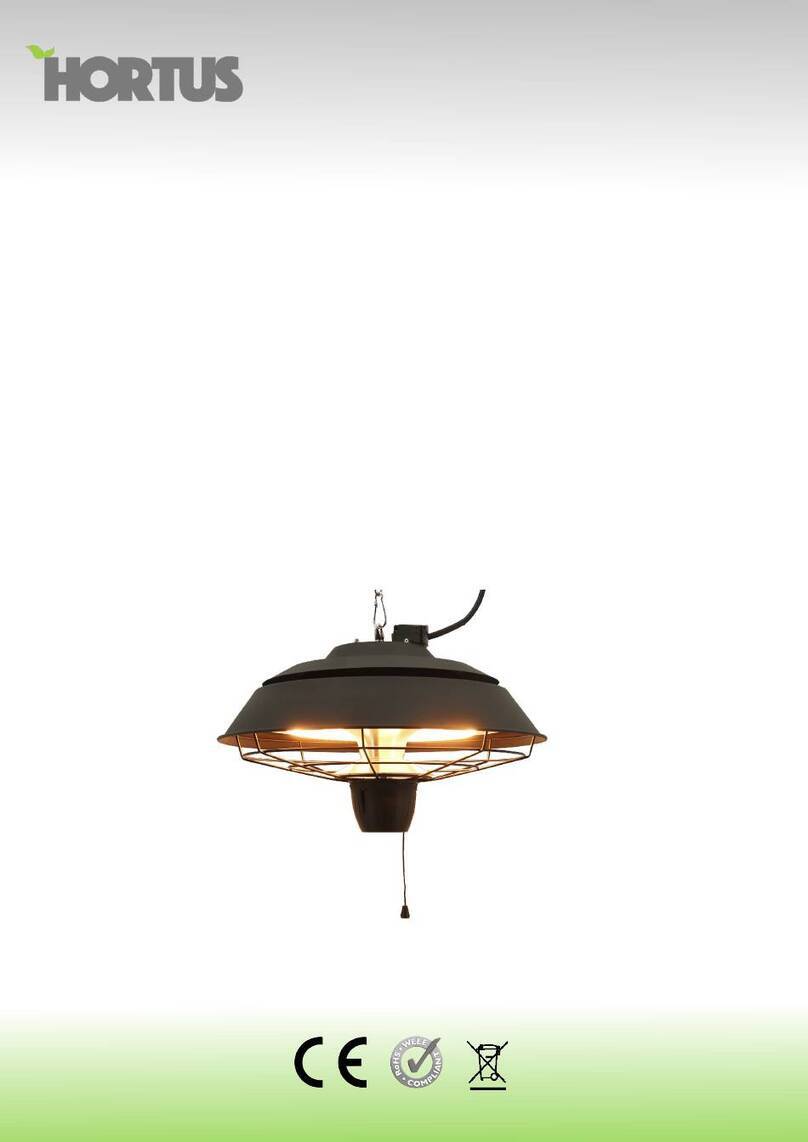
Pull the cord to switch the infrared heater on and off. See gure 4.8.
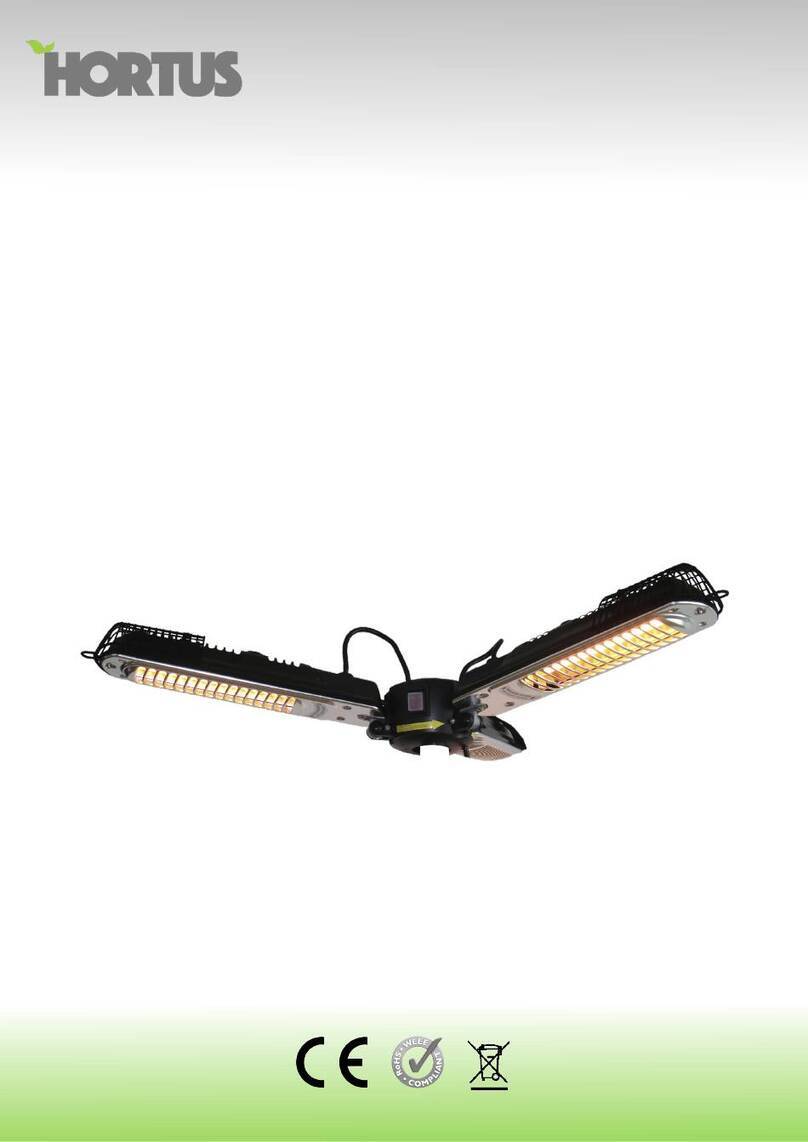
If the infrared heater be mounted on the wall, you must put the 2st metal tubes into universal bracket9.
rst, see the instruction in gure 1; if hang on the tubes or beams up ,do not use the 2st metal tubes,
see the instruction in gure 3.
GB
Model no. NS-900FW
Art. No. 211-353
Power source 230V AC ~ 50 Hz
Consumption 600/1200W
Protection class IPX4
12
Contents and assembly
Please read through the entire user manual before you start assembling and
deciding where to put your infrared heater. Read the instructions carefully to
make sure that the infrared heater is installed, used and maintained correct-
ly, as described in these instructions. Keep the user manual for future refe-
rence.
Package contents
•1 st. Infrared heater
•1 st. Universal bracket
•1 st. Rubber plate
•2 st. Adjustment screws
•2 st. 8ing screws
•2 st. .FUBMUVCT
• st. Nylon washers
Assembly
1. The back of the brackets is pliable and flexible to make it easy to
install the heater. Look at the following pages when deciding where to
put your heater.
2. When you have selected the location and the universal bracket you
are going to use, adapt the rubber plate to the universal bracket by
cutting it to size and then putting it on the inside of the universal
bracket. Make sure that you do not cover any of the holes that you
need to use for the wing nuts. This prevents damage and rust, and
also ensures that the heater is firmly attached to the tube/beam. See
figure 1.
3. Attach the universal bracket to the infrared heater using the adjust-
ment screws. See figure 1.
4. You can then hang the infrared heater on the tube/beam that you
have chosen.
1
2 3
4
5
6
7
13
ENGLISH
Contents and assembly
5. Angle the infrared heater so that the distance between the infrared
heater and the surrounding surfaces/objects is at least 10cm from
every direction. You angle the infrared heater using the adjustment
screws by turning the entire universal bracket with the infrared hea-
ter. See figures 2 and 3.
6. You can bend the back of the universal bracket around the tube/
beam, attaching it securely using the wing screws. When you angle
the heater, make sure that the wing screws are tightened securely
to fix the angle. Put the nylon washers between the wing screw and
the universal bracket to prevent rust. SeF figure 1.
7. Connect the power cable to a grounded 230 V power socket. We
recommend using a ground fault circuit interrupter.
8. Pull the cord to switch the infrared heater on and o. See figure 4.
.*GUIFJOGSBSFEIFBUFSCFNPVOUFEPOUIFXBMMZPVNVTUQVUUIFTU
NFUBMUVCFTJOUPVOJWFSTBMCSBDLFUGJSTUTFFUIFJOTUSVDUJPOJOGJHVSF
JGIBOHPOUIFUVCFTPSCFBNTVQEPOPUVTFUIFTUNFUBMUVCFTTFF
UIFJOTUSVDUJPOJOGJHVSFBOE
1RWH0HWDOWXEHRQO\EHXVHGLIKHDWHU
PRXQWHGRQWKHZDOOGRQWXVHLWZKHQKDQJ
RQWKHWXEHVRUEHDPVXS
)LJ
1
2
3
4
5
6
7
1
min.
10 cm
2
6Tent/awning
Fig. 1 Fig. 2 Fig. 3 Fig. 4
14
How to Use
This infrared heater is intended for outdoor use. The universal bracket
enables you to put the infrared heater in, for example, a pavilion, awning
or party tent. You can attach the infrared heater to tubes or beams up to a
maximum of 4 cm. Choose the universal bracket depending on where you
want to put the heater. You need to put the infrared heater at least 10 cm
away from other objects. Note that the back and top of the infrared heater
will also get hot.
Suggestions on where to
put your infrared heater
Party tents and gazebos:
•When you put your infrared heater in a party tent, you have to make
sure that it is not directly against the edge of the party tent’s canopy.
The infrared heater should either hang down under the edge of the
party tent’s canopy, or you can angle the infrared heater at a distance
of at least 10 cm from the edge of the party tent’s canopy using the
universal bracket. Make sure that you tighten the wing screws securely
in the universal bracket to ensure that the infrared heater is stable. See
figure 5.
Warning! When deciding
where to put your infrared
heater, make sure there is
plenty of space for the
thermal radiation area.
Wall mounting
