Montering // Installation // Asennus
1
2
3
4
5
DA/EN/SE
NO/FI
6
13
Montering // Installation // Asennus
DA/EN/SE
NO/FI
211-372
1
2
3
4
5
6
Children of less than 3 years should be kept away unless
continuously supervised.
Children aged from 3 years and less than 8 years shall only
switch on/off the appliance provided that it has been placed
or installed in its intended normal operating position and
they have been given supervision or instruction concerning
use of the appliance in a safe way and understand the
hazards involved. Children aged from 3 years and less than 8
years shall not plug in, regulate and clean the appliance or
perform user maintenance.
CAUTION —Some parts of this product can become very hot
and cause burns. Particular attention has to be given where
children and vulnerable people are present.
This appliance can be used by children aged from 8 years and
above and persons with reduced physical, sensory or mental
capabilities or lack of experience and knowledge if they have
been given supervision or instruction concerning use of the
appliance in a safe way and understand the hazards involved.
Children shall not play with the appliance. Cleaning and user
maintenance shall not be made by children without supervision
When the power supply cord is damaged, it must be replaced
by authorized agent or other professional people to avoid
danger.
Do not position immediately above or below an electrical socket.
WARNING: This heater is not equipped with a device to control
the room temperature. Do not use this heater in small rooms
when they are occupied by persons not capable of leaving the
room on their own, unless constant supervision is provided.
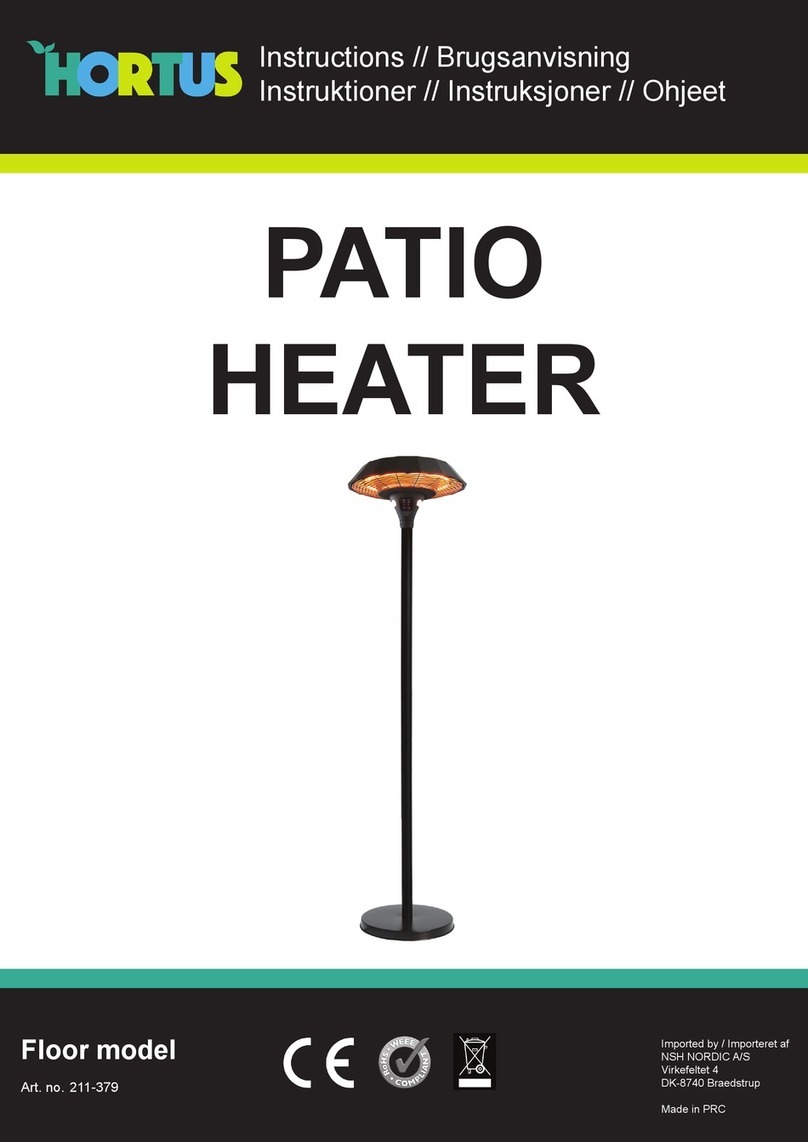
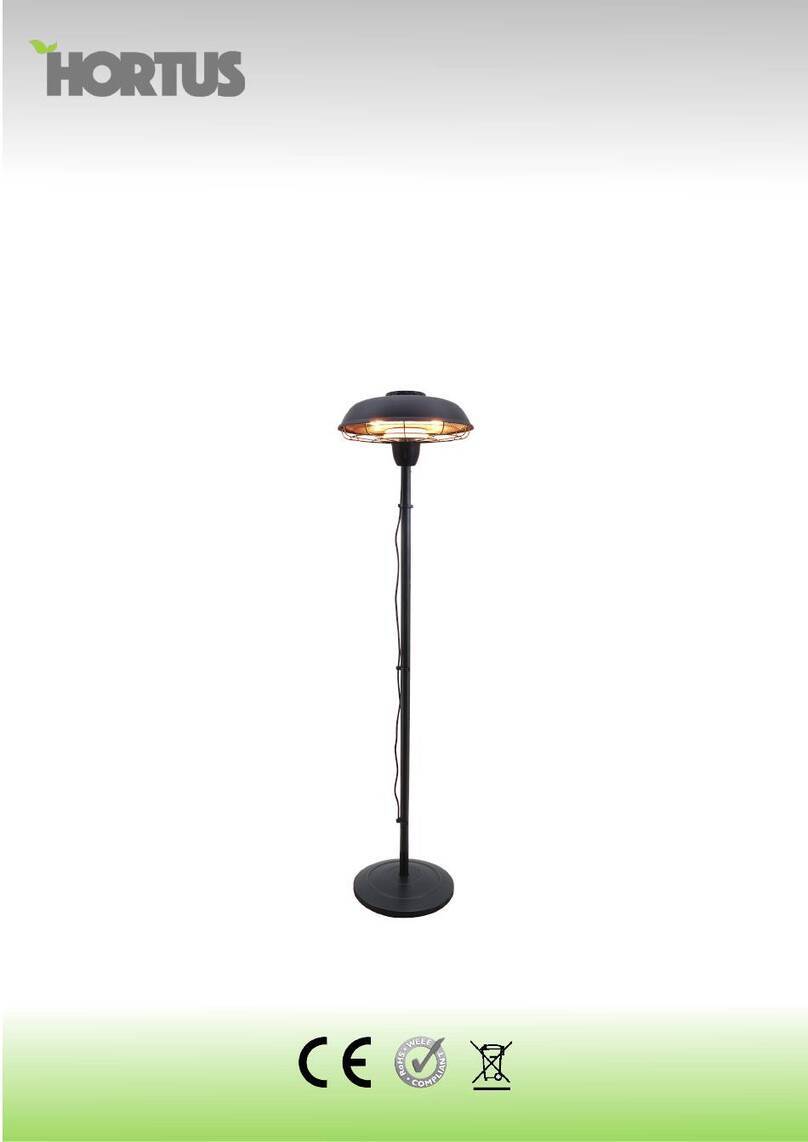
Assembling Process
Step 1: Fix the Bottom Tube to the base using 3pcs M6*50 bolts.
Step 2: Place the Decoration Cover onto the Bottom Tube.
Step 3: Feed the Power Cord through the Base and the Bottom Tube,
and pull through around 2m of cable.
Step 4: Connect the middle tube with bottom tube by screwing them
together.
Step 5: Connect the top tube with middle tube by screwing them together.
Bottom Tube.
Step 6: Place the power cord plug through base, bottom pole, middle pole
and top pole. Connect the power cord plug to the socket in the heater
head.
Step 7: Push the Heater Head onto the Top Tube and fix in position using
the 2x8mm screws.
Step 8: Raise or retract the top pole to the desired height. And fix it with
the middle pole by firmly screwing the fixation knob.
Step 9: Fix the power cord on the rubber base by using two M4X30 and
two M4x50 screws.
Kun 211-372
Only 211-372
Endast 211-372
Bare 211-372
Vain 211-372
Kun 211-372
Only 211-372
Endast 211-372
Bare 211-372
Vain 211-372