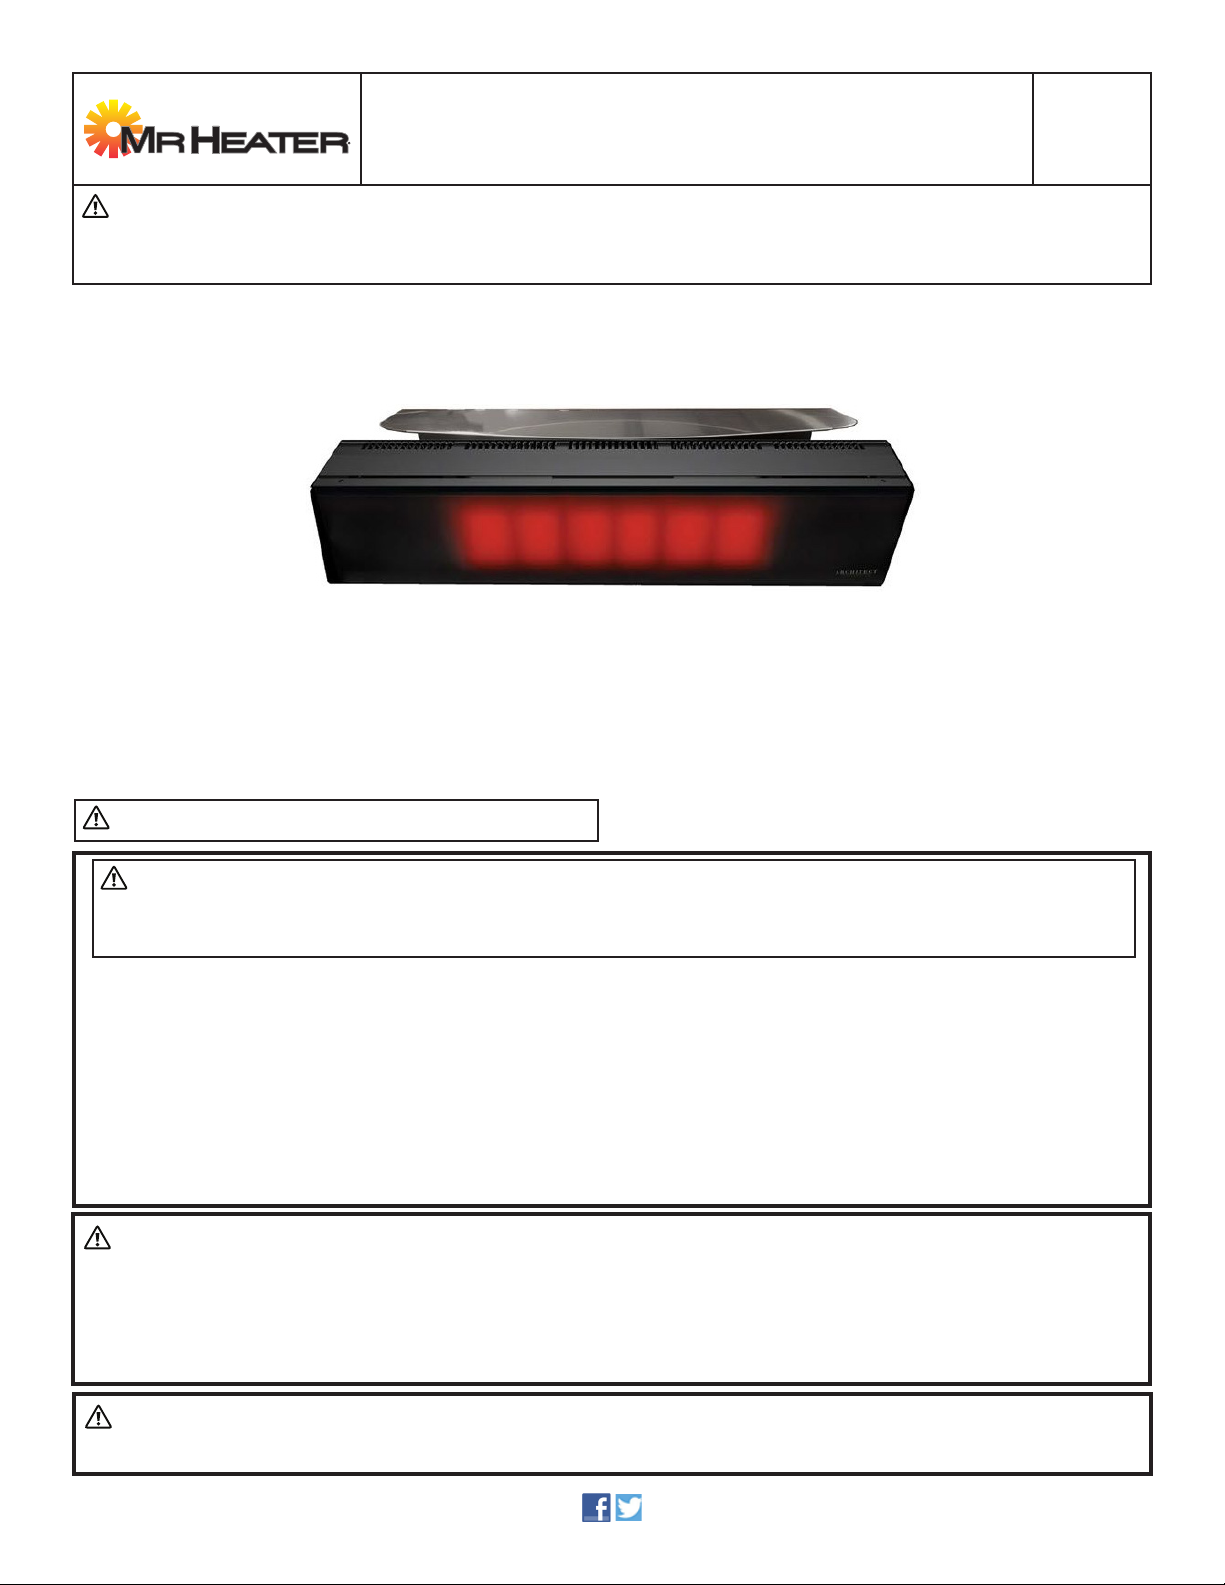
Outdoor Patio Heater 3
APPLICATIONS
This is not
COMMERCIAL/INDUSTRIAL
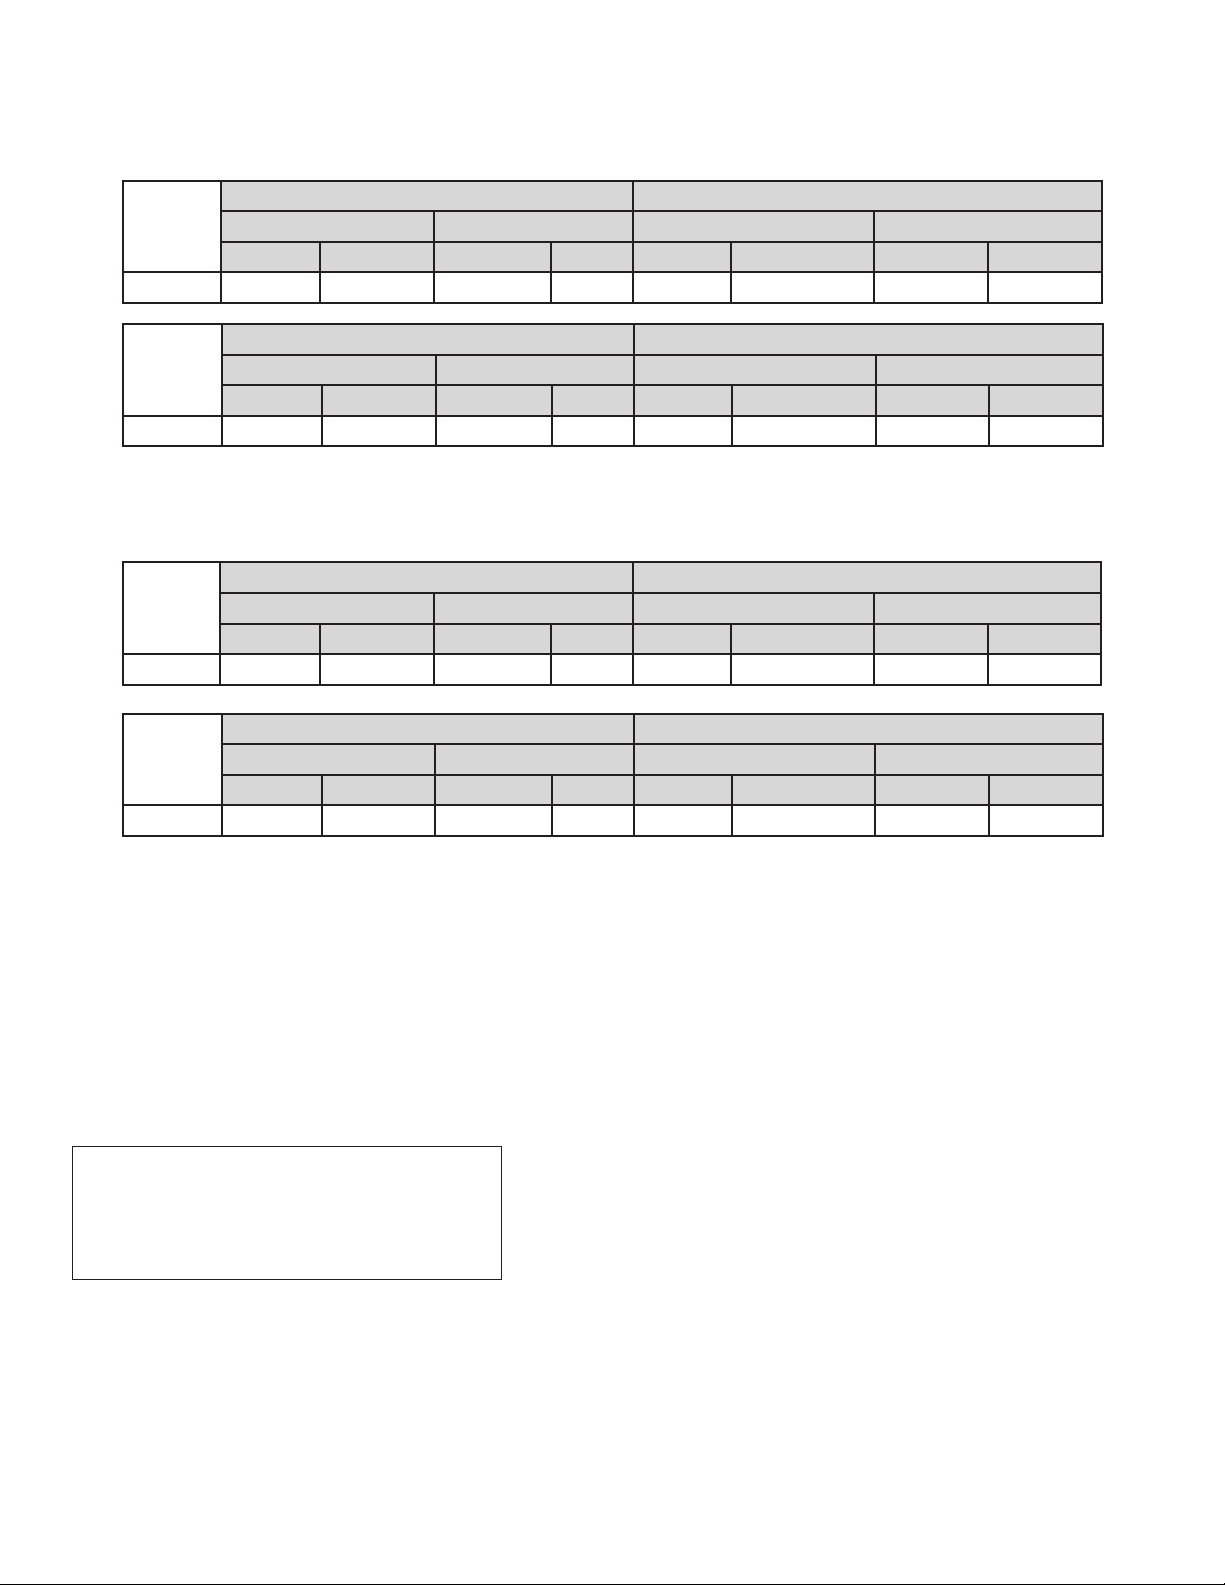
CLEARANCES TO COMBUSTIBLES
Combustible items:
Moving objects:
Cranes
Table 3
Hazards:
WARNING: For maximum safety the building must be
evaluated for hazards before installing the heater system.
contaminated environment
the same space as the heater.
NOTICE:
STANDARDS, CERTIFICATIONS, AND
GOVERNMENT REGULATIONS
Public Garages:
Aircraft Hangars:
High Altitude:
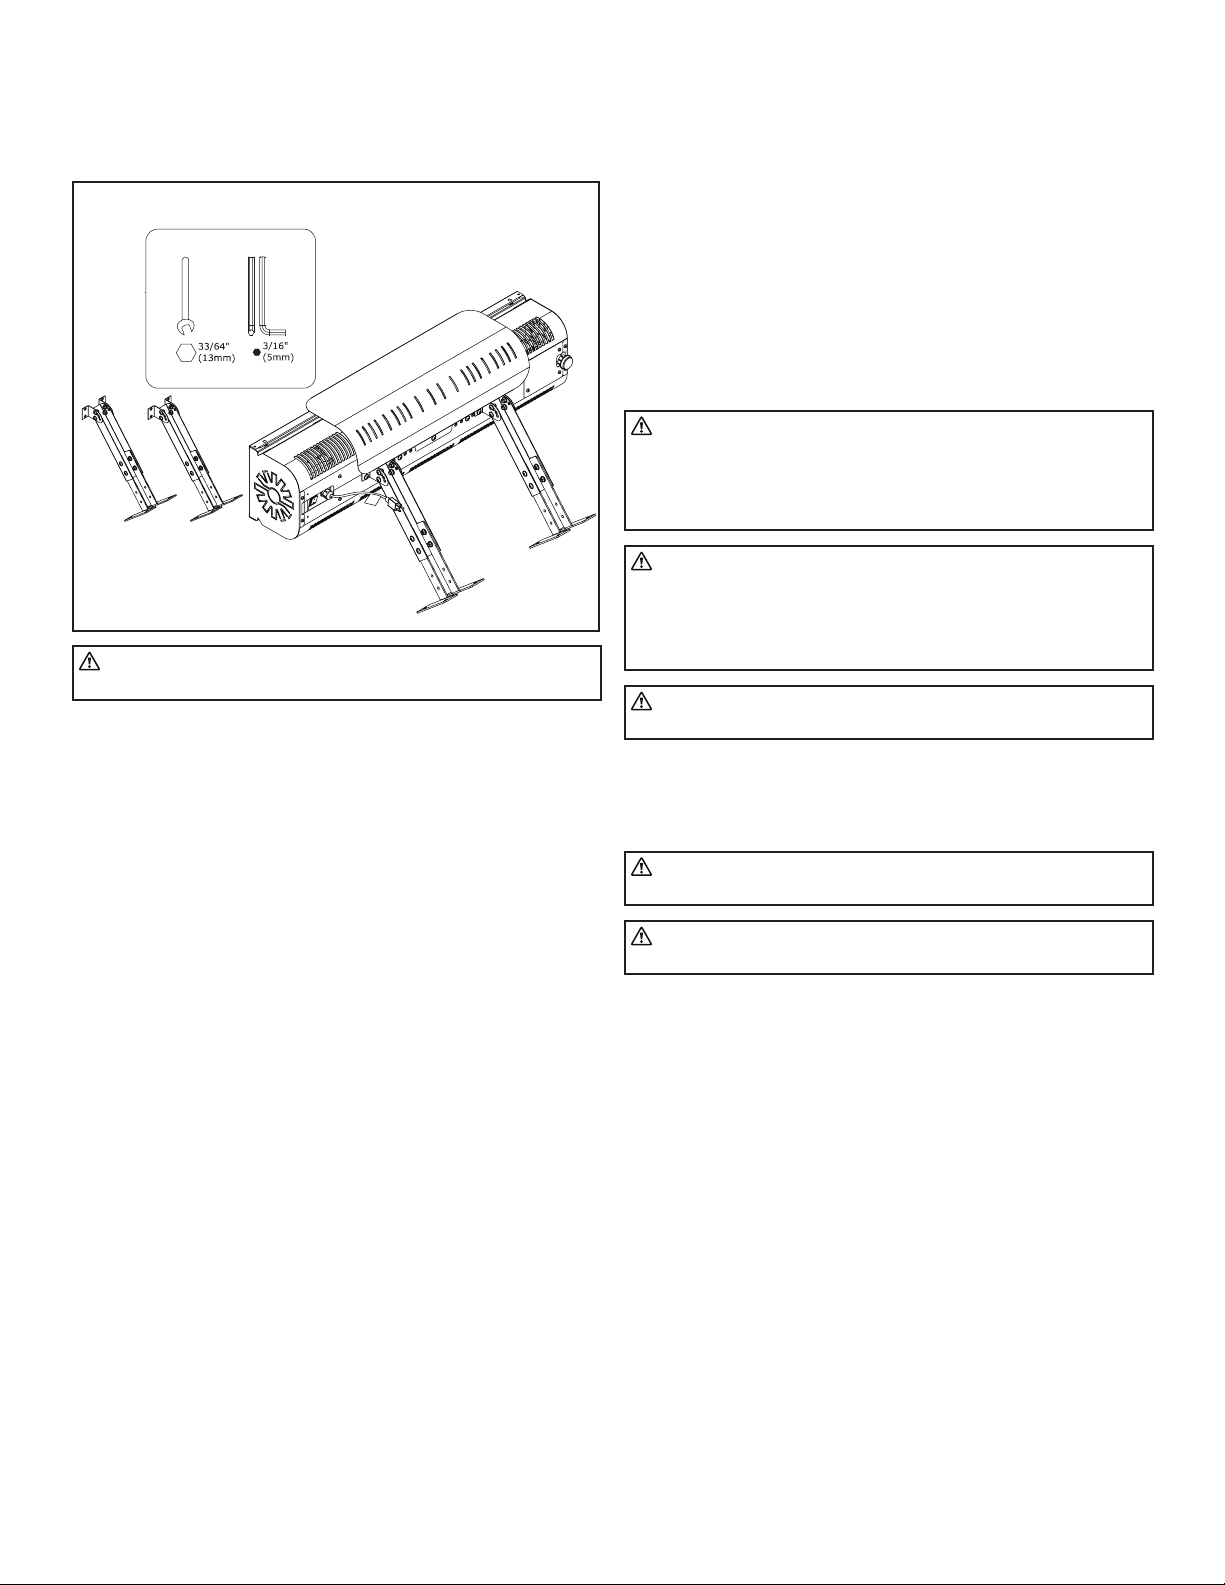
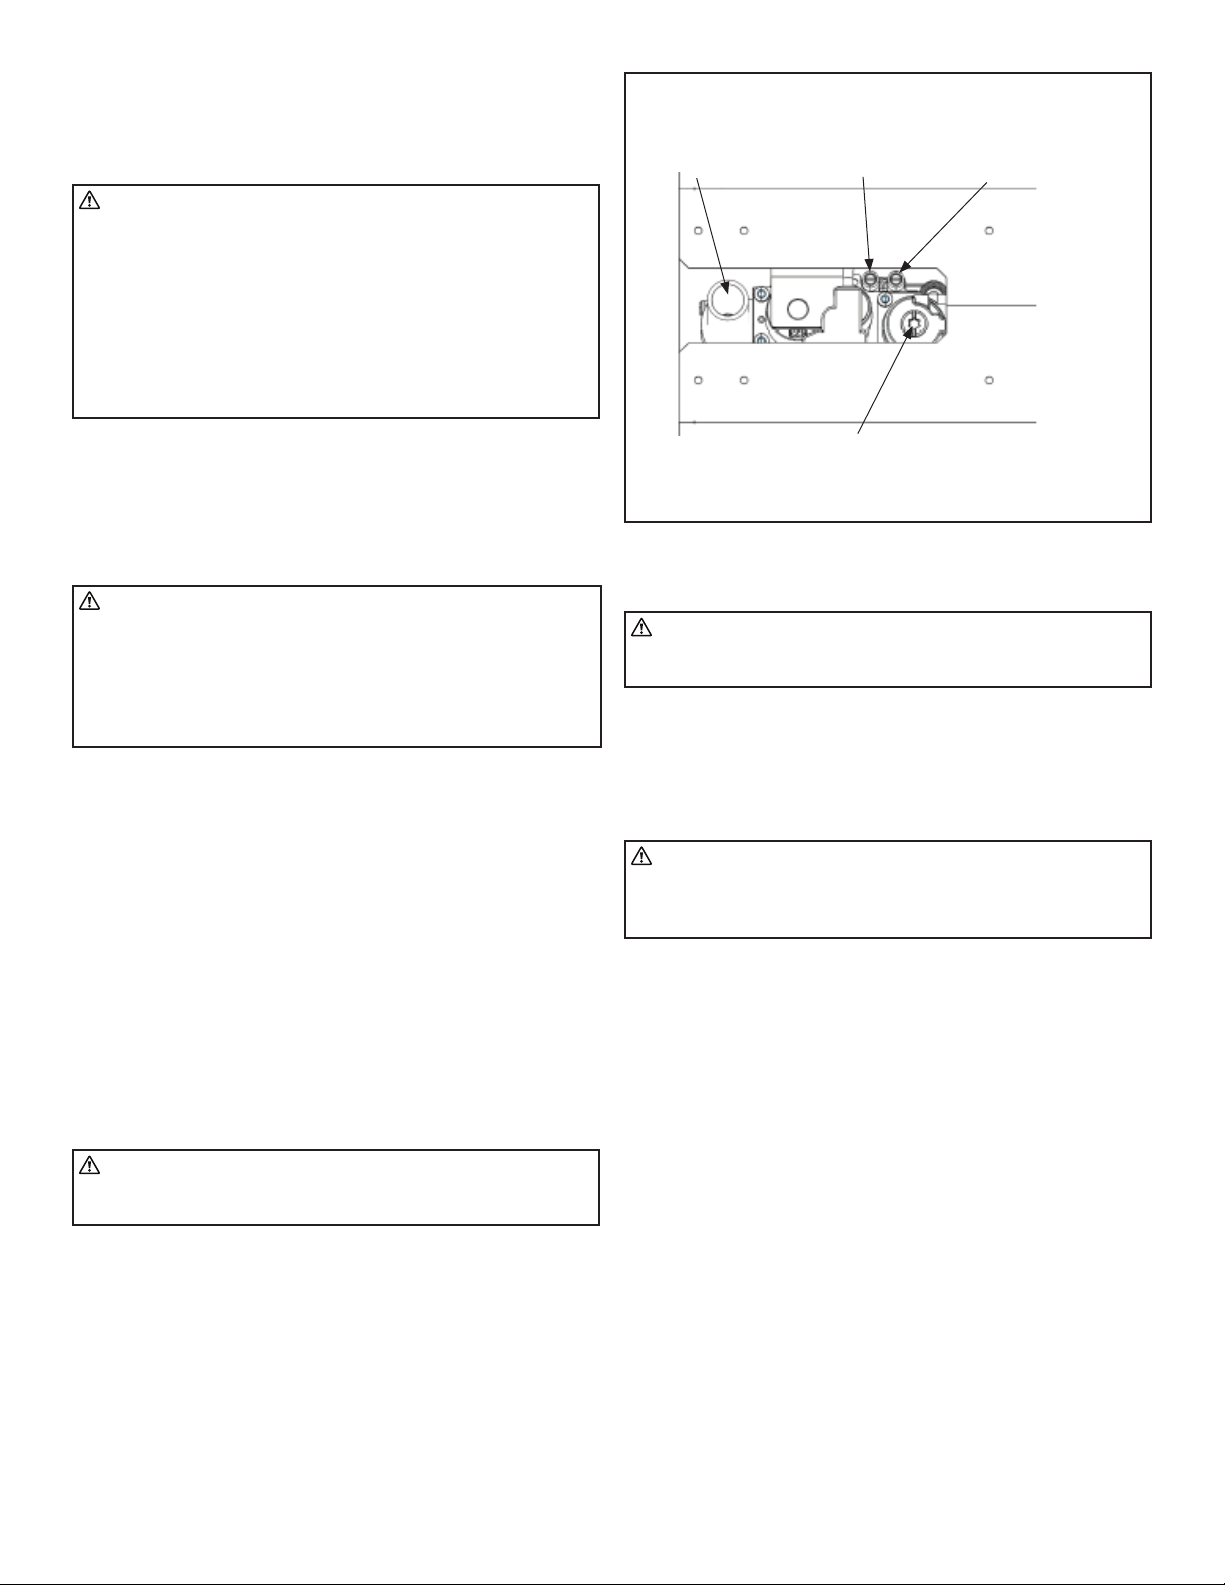
Gas Connection:
WARNING: An approved connector, suitable for the
environment of equipment usage, is required. Visible
or excessive swaying, flexing, and vibration of the gas
connections must be avoided to prevent failure.
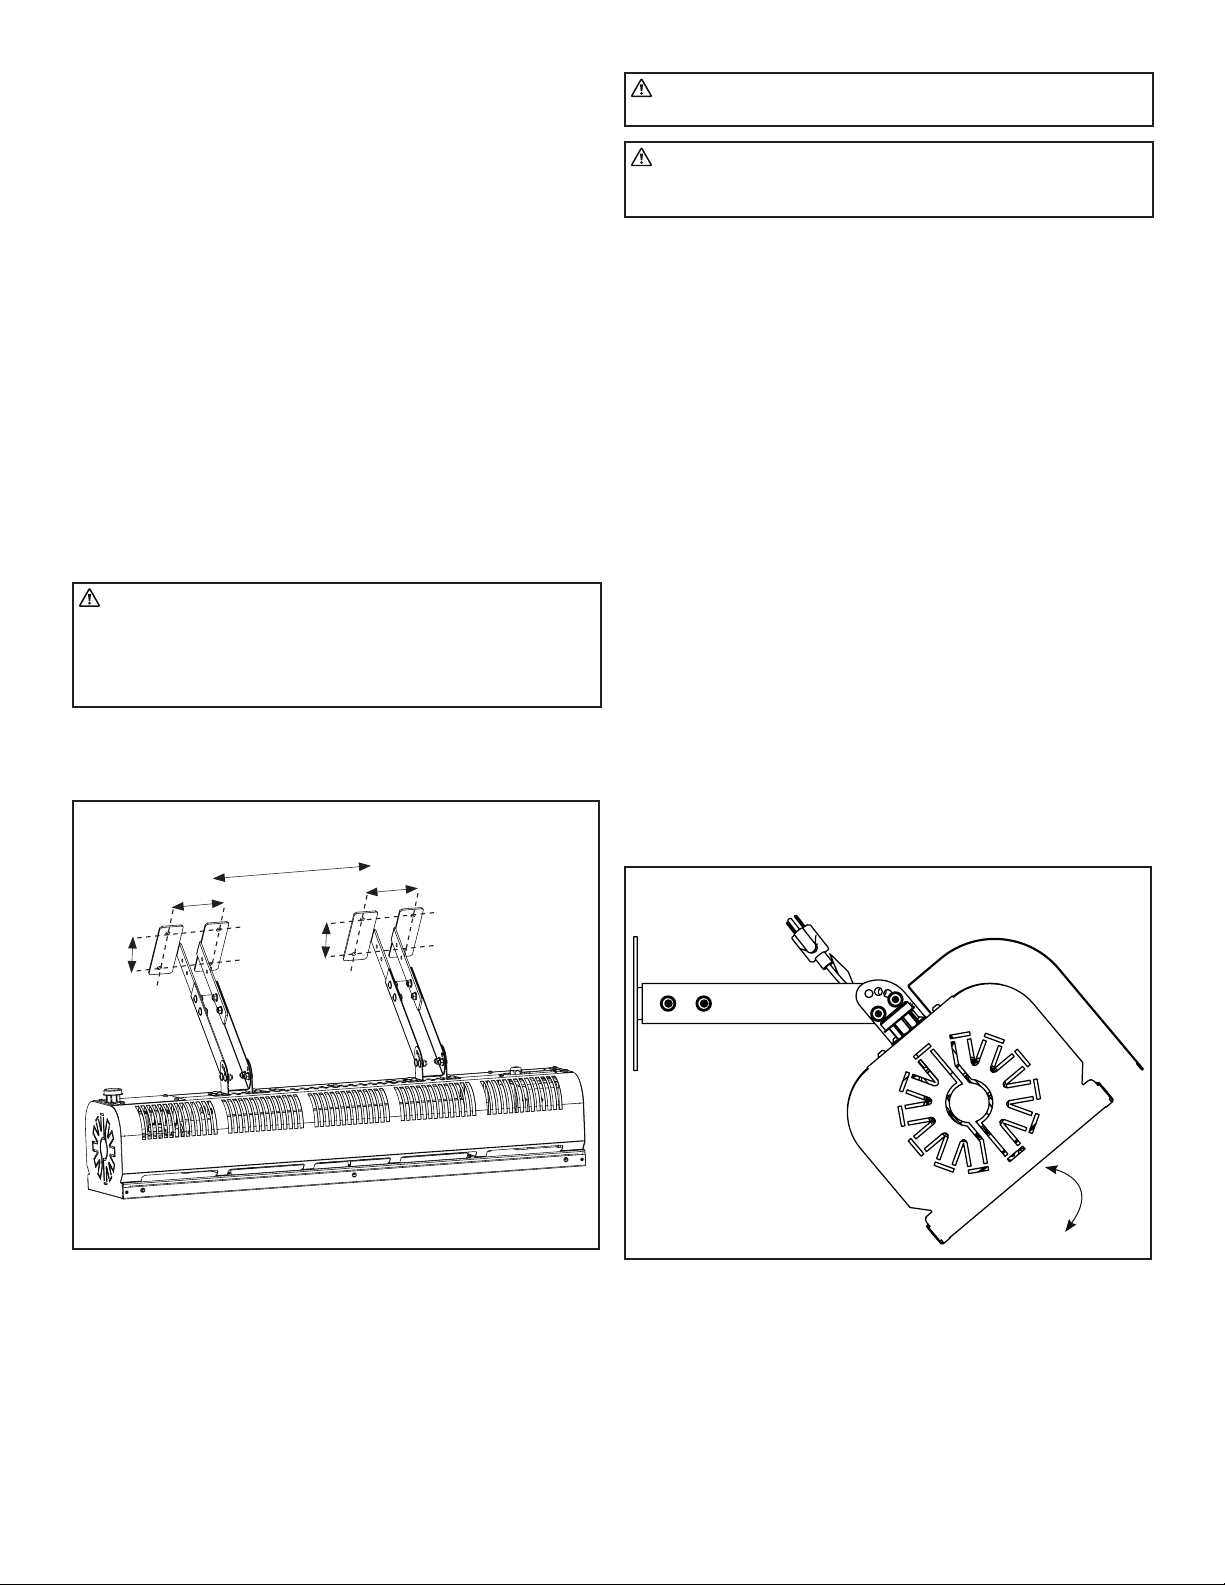
Neither the gas pipe nor the connector shall be placed in the
flue discharge area or in direct contact with infrared rays. In
no case shall the gas supply support or bear weight of the
heater.
heater.