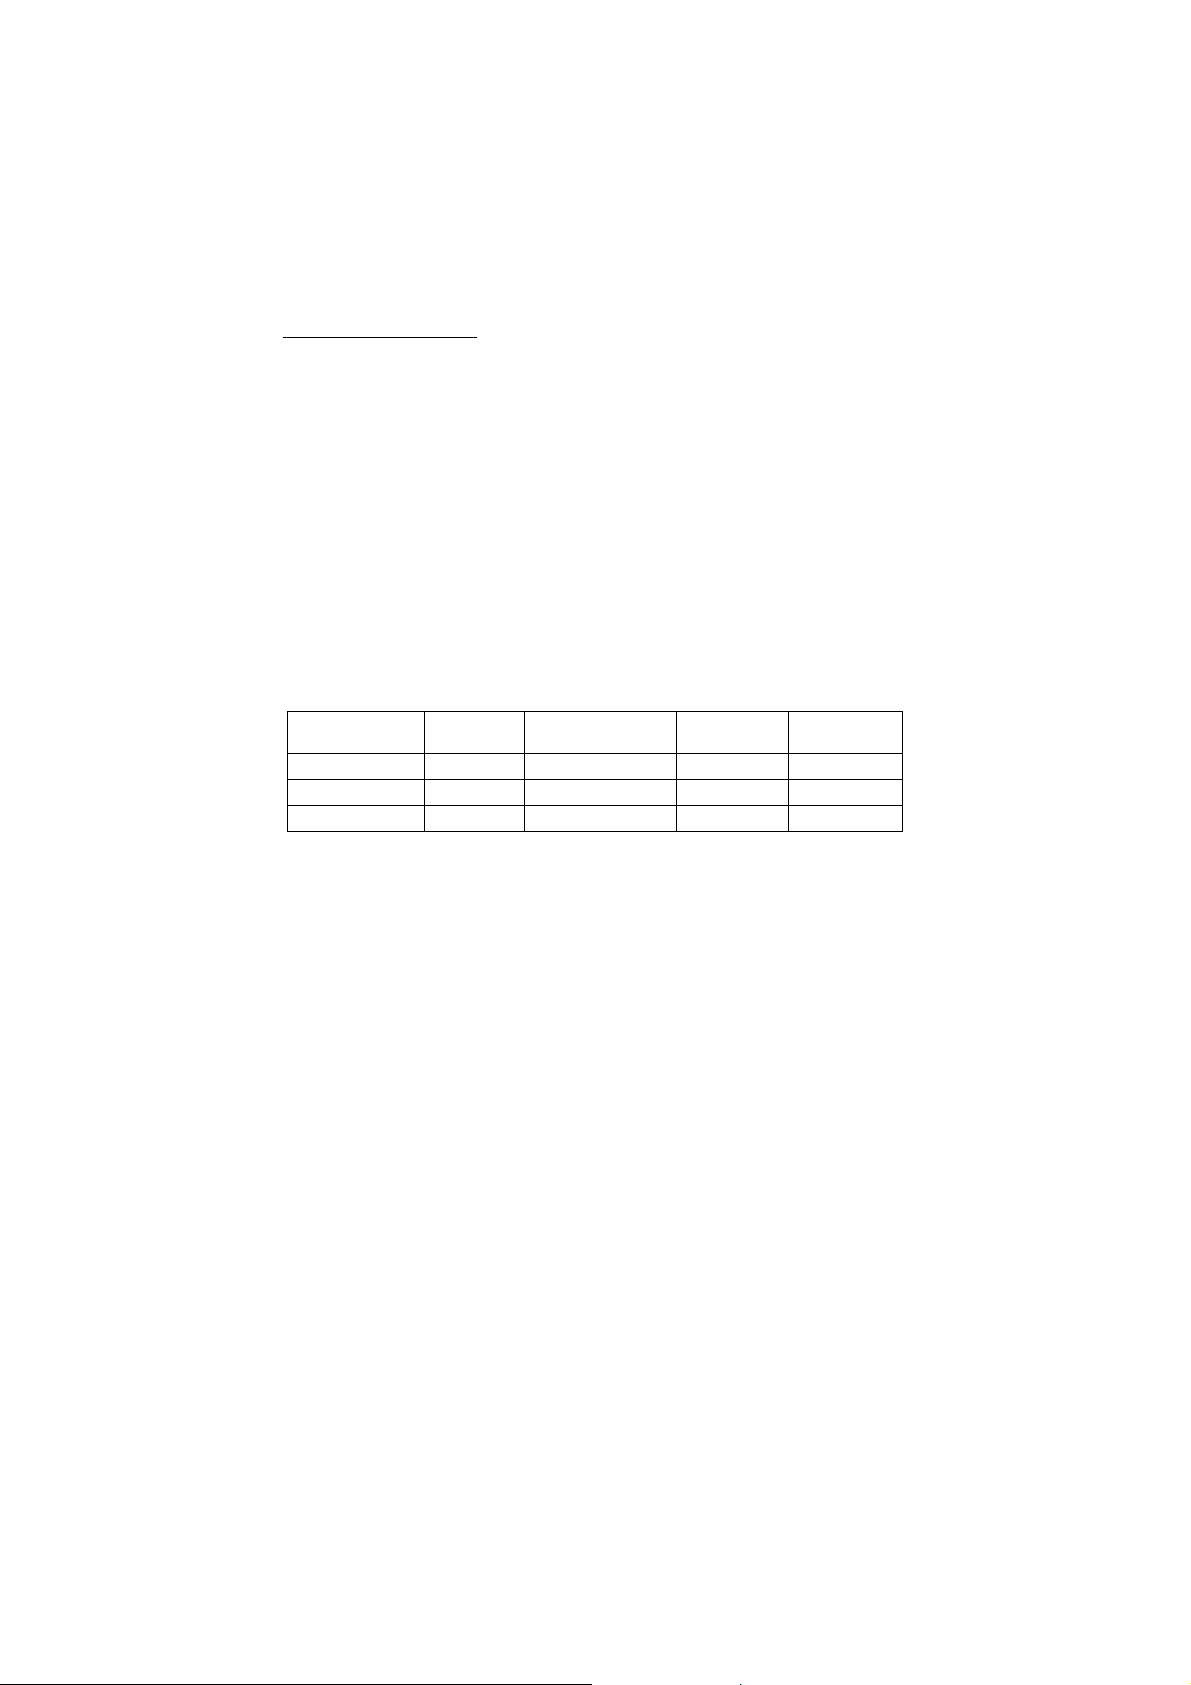
EHP-1000O / EHP-1500O / EHP-1800O
•CAUTION: To prevent overheating, do not cover
the heater.
•Never immerse the appliance in water or other
liquids.
•Keep a minimum distance of one meter from
flammable objects such as curtains, textiles etc.
•Do not clean the unit with abrasive chemicals.
•Do not place sharp metal objects or your fingers
into the unit to prevent damage and reduce the
risk of electric shock.
•Do not use accessories other than those
supplied or recommended by the manufacturer.
This can be dangerous and may damage the
device.
•Never repair the unit yourself. Otherwise you will
lose the benefit of the guarantee. Like any
electrical appliance, it must be repaired by a
qualified person. If the power cable is damaged,
it must be replaced by the manufacturer, his
service agent or similarly qualified person in
order to avoid danger.
•A repair involving the opening of the radiator can
be made by the manufacturer or its distribution