manuals.online logo
Brands
  1. Home
  2. •
  3. Brands
  4. •
  5. Household Essentials
  6. •
  7. Indoor Furnishing
  8. •
  9. Household Essentials 18415-1 User manual

Household Essentials 18415-1 User manual

18415-1 (white)
18420-1 (wood grain)
Instruction Manual
For video instructions visit
https://youtu.be/gCz6-InOW3E
or scan code below.
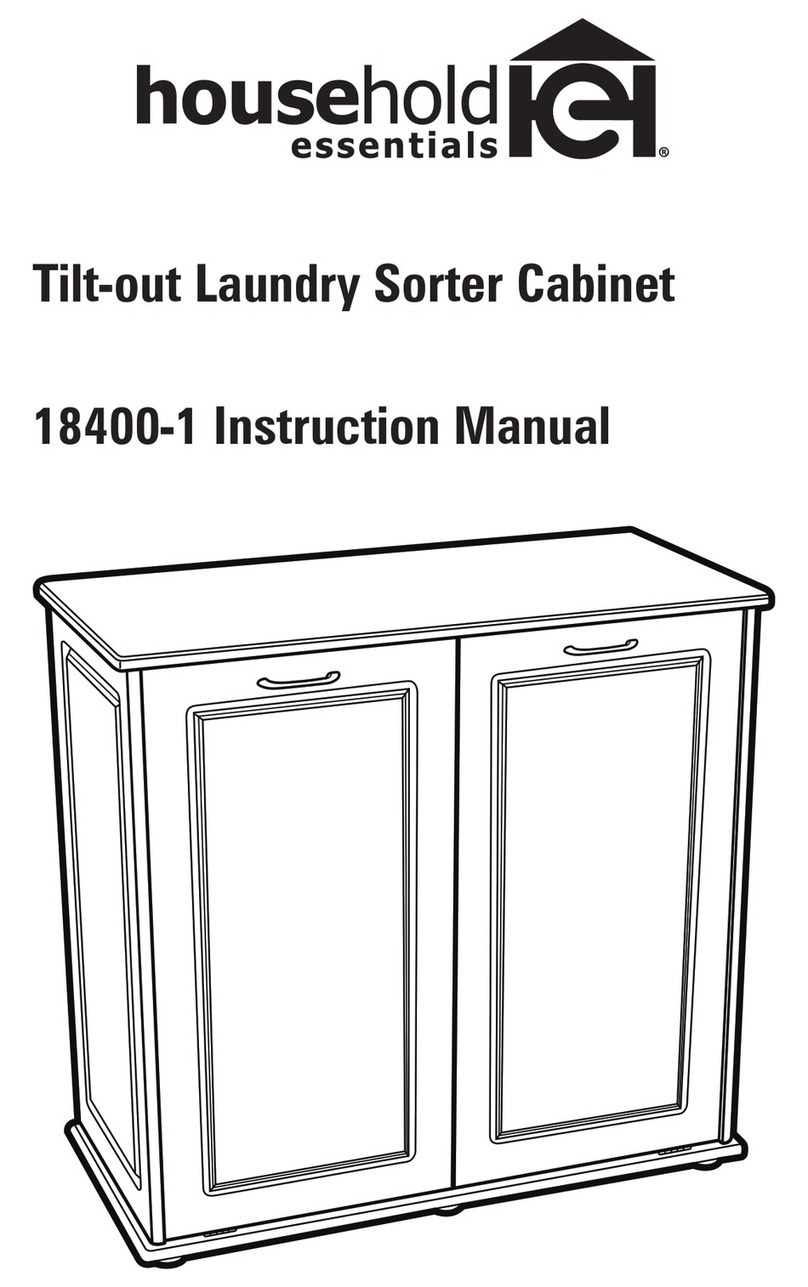
Tilt-out Laundry Sorter Cabinet
2
Part B-L
Please read the entire instruction booklet prior to assembling your
Tilt-out Laundry Sorter Cabinet. Check the parts and tools list below to ensure you have
everything to properly install your laundry sorter. If you are missing parts please do not
return to place of purchase, call Household Essentials® at 800.922.5524/314.428.5657
and we will expedite replacement parts.
NOTE:
In order to prevent damage during assembly, it is recommended to assemble with at least
2 people and on a padded surface. The use of a Power Tool When Securing Screws is not
recommended.
For more information on the Tilt-out Laundry Sorter Cabinet
and its accessories, visit our website www.HHEstore.com.
L R
Part B-R
Part C
Part D
B (L-R) - 2 pieces
Cabinet Side Panel
B-Left -
1 piece
B-Right -
1 piece
A (L-R) - 2 pieces
Limit Box
TIP KIT
A-Left -
1 piece
A-Right -
1 piece
C - 1 piece
Bottom Panel
D - 2 pieces
Back Panel
Install through the hole of the upper back
panel to secure the unit to the wall.
3
Part F
Part E
E - 1 piece
Horizontal Front Bar
G - 1 piece
Top Panel
I - 2 pieces
Front Panel
K - 4 pieces
Bag Handle
M - 14 pieces
Screw
F - 1 piece
Vertical Front Bar
H - 4 pieces
Hinge
J - 2 pieces
Bag Holders
L - 2 pieces
Bag
N - 4 pieces
Feet
4
1. Install left limit box (A-Left) onto left side frame (B-Left) and slide in to lock.
Repeat on right side.
2. Attach bottom panel (C) to side panels (B-Left and B-Right) by sliding into place.
Press down to lock.
NOTE: Bottom panel (C) brackets should be on bottom, and on same side as limit boxes.
B - (Right)
B - (Left)
C
A - (Left) A - (Right)
B - (Left) B - (Right)
Parts Needed:
A (R-L)
B (R-L)
Parts Needed:
C
5
3. Attach back panels (D) to side panels (B-Left and B-Right) and bottom panel (C)
with screws (M). Screw in cabinet feet (N). Adjust feet later if not level.
4. Assemble front bar by sliding horizontal front bar (E) into vertical front bar (F) to lock into place.
B - (Left)
D
D
N
N
N
N
M
MM
M
M
M
M
M
M
C
E
F
Parts Needed:
E
F
Parts Needed:
D
M
N
6
5. Slide attached front bar (Step 4) into side panels (B-Left and B-Right)
and bottom panel (C) to lock into place.
6. Attach top panel (G) to side panels (B-Left and B-Right) by sliding to lock into place.
Then attach the top of back panel (D) to top panel (G) using screws (M).
Helpful Hint: Carefully flip
cabinet over to continue.
B - (Right)
G
E
F
B - (Left)
G
M
M
M
M
Parts Needed:
G
M
B - (Left)
E
F
C
D
D
B - (Right)
7
J
J
I
8. Stand unit up. Place bag hangers into
bags. Place bags inside unit,
resting hangers on the bag holders.
Adjust feet if not level.
7. Attach hinges (H) to front
panels (I) by inserting into
designated hole. Push in to lock.
Attach bag holders (J) to front
panels (I) by sliding into place.
Once hinges (H) and bag holder
(J) are attached to front panel
(I), push completed front panel
(I) into hinge location on bottom
panel (C) to lock. Repeat this
step for the other side.
H
I
H
I
I
C
H
I
K
L
Parts Needed:
K
L
Parts Needed:
H
I
J
7/7/20
Attach the unit to the wall with the Tipping Restraint Kit
hardware. Follow the instructions printed on restraint kit’s
bag to install.
Serious or fatal crushing injuries can occur from
furniture’s tipping over. To help prevent tipping:
•Avoid climbing on or hanging on product .
•Unless specifically designed to accommodate, do not set
TVs or other heavy objects on top of this product.
•Place heaviest items in the lowest position possible.
•Secure product to the wall with tipping-restraint.
The use of tipping restraints may only reduce, not
eliminate, the risk of tipping over.
WARNING
©2020 HOUSEHOLD ESSENTIALS, LLC
Hazelwood, MO 63042
www.householdessential.com

This manual suits for next models

1

Other Household Essentials Indoor Furnishing manuals

Household Essentials 8079-1 User manual

Household Essentials

Household Essentials 8079-1 User manual

Household Essentials 18400-1 User manual

Household Essentials

Household Essentials 18400-1 User manual

Household Essentials 8119-1 User manual

Household Essentials

Household Essentials 8119-1 User manual

Household Essentials 18410-1 User manual

Household Essentials

Household Essentials 18410-1 User manual

Household Essentials 18411-1 User manual

Household Essentials

Household Essentials 18411-1 User manual

Household Essentials 8046-1 User manual

Household Essentials

Household Essentials 8046-1 User manual

Household Essentials 8018-1 User manual

Household Essentials

Household Essentials 8018-1 User manual

Household Essentials 8116-1 User manual

Household Essentials

Household Essentials 8116-1 User manual

Popular Indoor Furnishing manuals by other brands

Cooper Lighting Fail-Safe FWS Specification sheet

Cooper Lighting

Cooper Lighting Fail-Safe FWS Specification sheet

Argos Lucas 247/3965 Assembly instructions

Argos

Argos Lucas 247/3965 Assembly instructions

Next 901209 Assembly instructions

Next

Next 901209 Assembly instructions

RTA Techni Mobili RTA-S07 Assembly instructions

RTA

RTA Techni Mobili RTA-S07 Assembly instructions

Ameriwood HOME 3341335COM Instruction booklet

Ameriwood HOME

Ameriwood HOME 3341335COM Instruction booklet

Kvik MDBS4810,040 Assembly manual

Kvik

Kvik MDBS4810,040 Assembly manual

Argos Rattan 752/6965 Assembly instructions

Argos

Argos Rattan 752/6965 Assembly instructions

Moen Glass Shelf YB9290 Technical specifications

Moen

Moen Glass Shelf YB9290 Technical specifications

Jahnke CIRCO 18CC5 manual

Jahnke

Jahnke CIRCO 18CC5 manual

Framery Q Working with PAL installation instructions

Framery

Framery Q Working with PAL installation instructions

Better Bathrooms Roxbi BeBa 27636 user manual

Better Bathrooms

Better Bathrooms Roxbi BeBa 27636 user manual

Mercury Row RS-MTCU4-1BK Product instructions

Mercury Row

Mercury Row RS-MTCU4-1BK Product instructions

Whittier Wood 3506AFGACa Assembly instructions

Whittier Wood

Whittier Wood 3506AFGACa Assembly instructions

Fresca KINGSTON FVN2260 installation guide

Fresca

Fresca KINGSTON FVN2260 installation guide

Branco BMU 28 Assembly instructions

Branco

Branco BMU 28 Assembly instructions

Premium Poly Patios Breezesta DH-0700 Assembly

Premium Poly Patios

Premium Poly Patios Breezesta DH-0700 Assembly

sweeek. LORENS R IRACSCA manual

sweeek.

sweeek. LORENS R IRACSCA manual

BUT BEA 4894223218542 Assembly instructions

BUT

BUT BEA 4894223218542 Assembly instructions

manuals.online logo
manuals.online logoBrands
  • About & Mission
  • Contact us
  • Privacy Policy
  • Terms and Conditions

Copyright 2025 Manuals.Online. All Rights Reserved.