manuals.online logo
Brands
  1. Home
  2. •
  3. Brands
  4. •
  5. Howdens
  6. •
  7. Indoor Furnishing
  8. •
  9. Howdens SWPLE1 User manual

Howdens SWPLE1 User manual

Important Notes:
Shaker Wall Panelling SWPLE1
Components supplied (per pack)
Installation
Fix the anchor point section to the wall using adhesive.
This can be positioned in a corner of the room, door opening or centre
of the wall (for symmetrical layout). If the run is less than 2m in length
always start from the wall.
Note: Anchor point must be straight/level.
x5 Wall Panel - 800 x 441mm x1 End Stile - 800 x 100mm
Corner of room start point application shown
Anchor Section
Adhesive
Strip
Panel Back
Adhesive
*supplied separately
Skirting
Board*
Architrave/Dado*
Shaker Panelling
(800mm)
1
3
Mark the height of the panel from the lowest
point. Place the first panel against the wall aligning
with the anchor section to ensure square and level.
2
Fit all panelling to the wall.
HD715081
Ensure packaging is disposed of in a safe
environmentally friendly way.
Remove packaging and place panels in the room intended
for panelling 48hrs before installation.
Ensure walls are clean, smooth and level with any
loose wall paper or paint removed.
We recommend panels are cut as required during the installation process
to ensure an accurate fit.
Panelling is supplied primed and can be finished in paint
following the manufacturers guidelines. Lightly sand as required.
Panelling is splash-proof but must not be submerged
or subjected to constant running water.
Remove the panel and apply adhesive to the back of the panel.
Peel backing from adhesive strip and fit the panel to the wall.
Note: Alternatively panels can be pinned in position.
Position and join the panels together preparing
each panel as required. Press firmly to the wall.
Note: Ensure sections are fully located.
4
x1 Anchor - 500 x 45mm
Once shaker panelling is fitted, fit architrave/dado rail
onto the top edge.
Note: Shaker panels are 12mm in thickness. This may mean they will stand proud of skirting/architrave.
To overcome this issue, skirting/architrave can be packed out away from the wall.
Alternatively, chamfer the joining edge of the wall panel.
Architrave/Dado mitred
before fitting
Cut panelling around plug sockets
measuring the appropriate hole. Face
plates should be removed and surface
mounted.
Note: Electrical supply should be
turned off before removing face plate.
9
10
5 6
7 8
HD715081
Each pack of shaker wall panelling is supplied with an end stile.
‘X’
Measure the distance between the cross rail on the last panel
fitted and the wall/end of the run.
Fit the cut-down panel to the wall and then fit the end stile.
Note: The end stile will require packing out by 6mm (spare
anchor points can be used for this).
Note: One end stile is supplied per pack of 5 panels. If the
room layout dictates that additional ends stiles are required,
these can be cut from spare panels.
To finish a corner (internal or external angle), decorators
caulk can be used to fill the joint. Alternatively, use a
quadrant or corner profiles to finish.
Note: On an external angle, the
panelling edge will protrude the wall
by 6mm to enable the external angle
to be created.
Shaker wall panelling can be painted.
Follow the paint manufacturers guidelines
for paint application.
Note: Lightly sand the panel and wipe
clean before painting.
Decorators caulk can be used to fill any
slight gaps in the joints caused by the
contours of the wall.
Internal angle
2mm
Chamfer
6mm
Packing
End
Stile
Cut the panel to the width required making sure 100mm is
deducted from the measurement ‘X’ for the end stile.
Note: Add a 2mm chamfer to the end of the top/bottom rail on
the cut panel to create a ‘V’ groove.
(‘X’ - 100mm)
Quadrant profile
MOD0081/92/0710
External angle
Corner profile
MOD0083/0712
6mm
Packer
required
6mm
Brush or Roller
Paint

Other Howdens Indoor Furnishing manuals

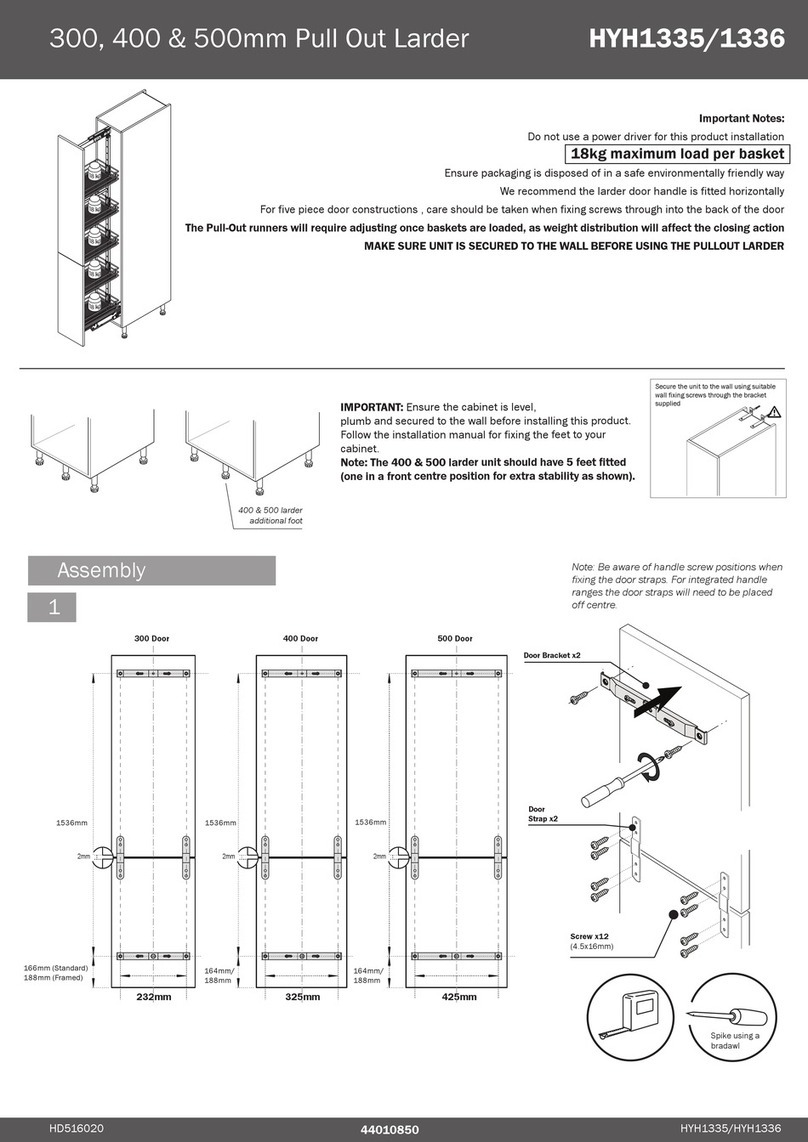
Howdens HYH1335 User manual

Howdens

Howdens HYH1335 User manual

Howdens RKLENBUOH User manual

Howdens

Howdens RKLENBUOH User manual

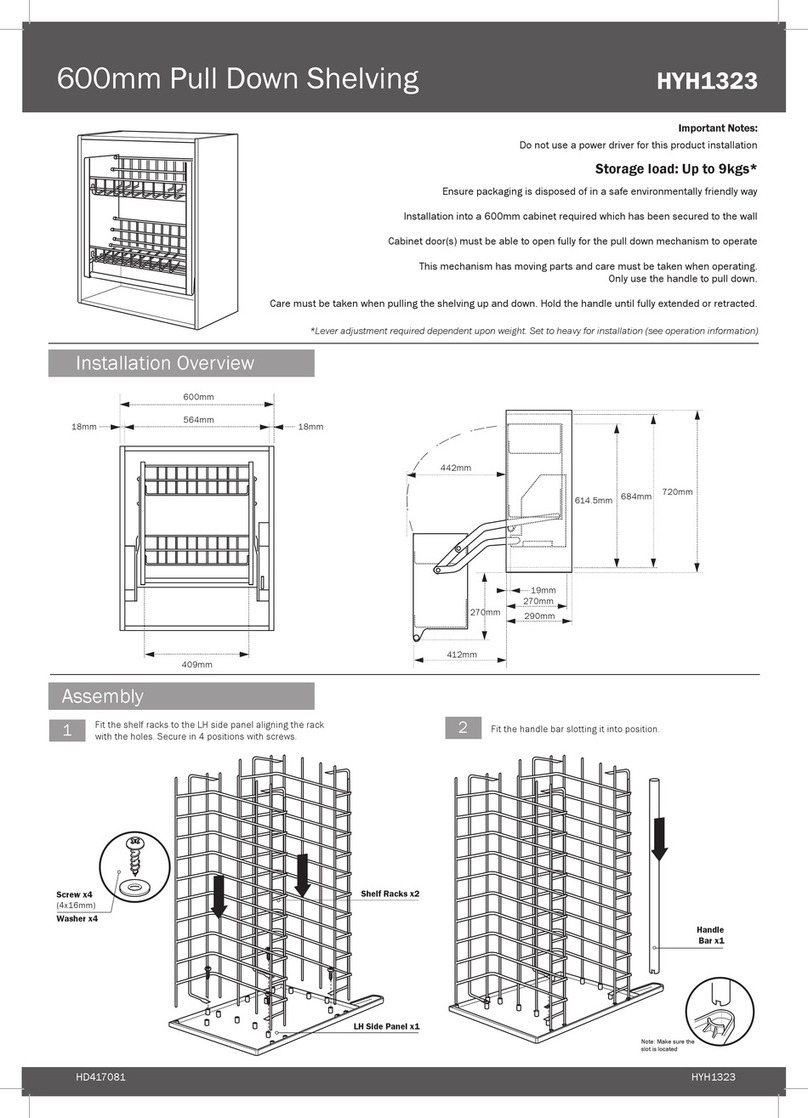
Howdens HYH1323 User manual

Howdens

Howdens HYH1323 User manual

Howdens 931 User manual

Howdens

Howdens 931 User manual

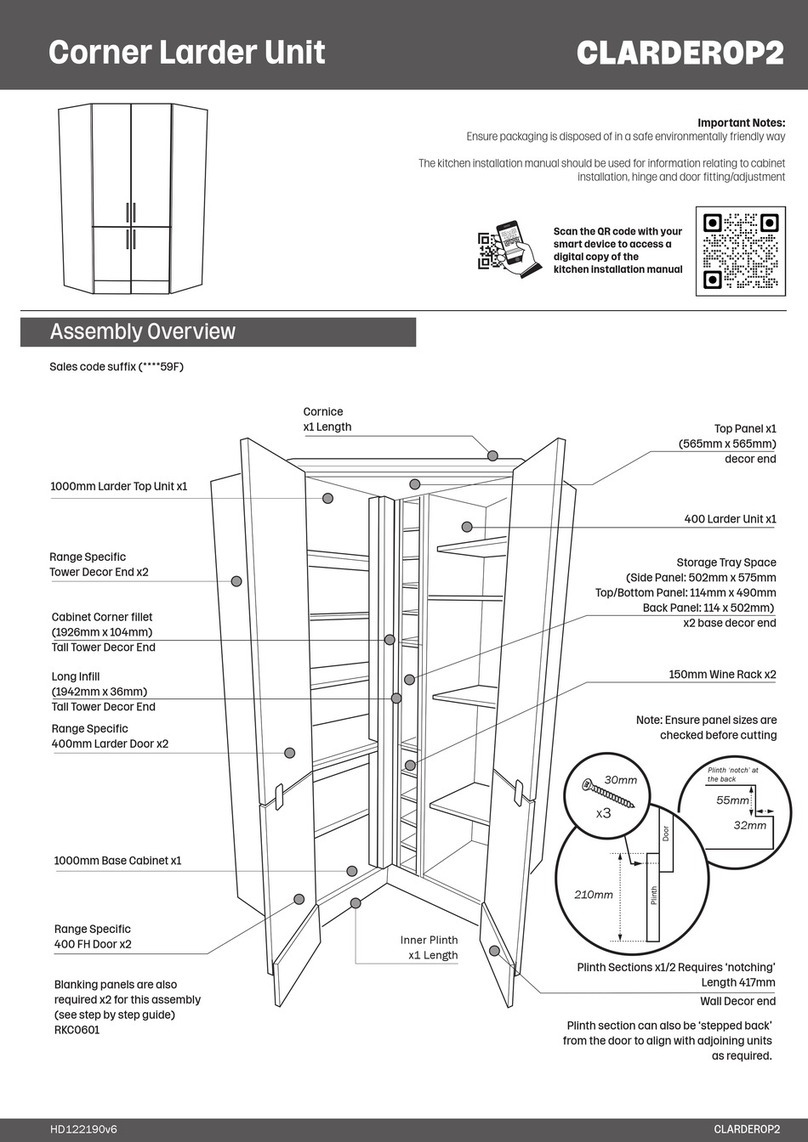
Howdens CLARDEROP2 User manual

Howdens

Howdens CLARDEROP2 User manual

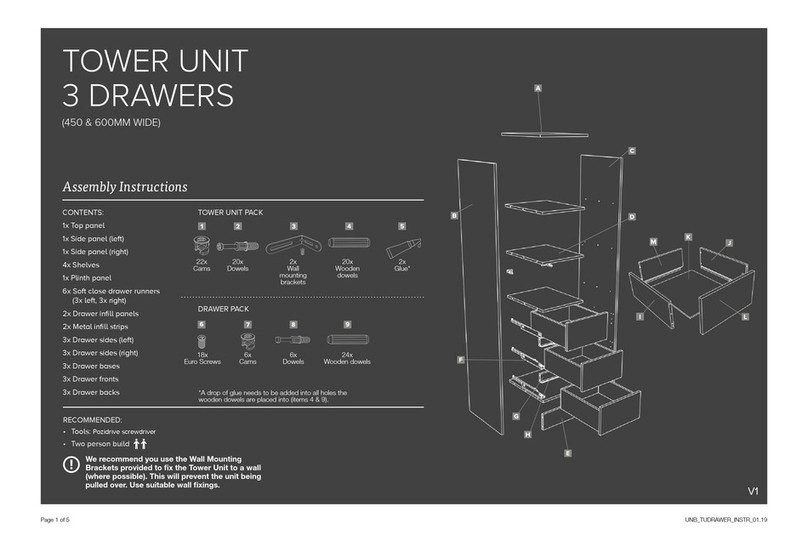
Howdens TOWER UNIT 3 DRAWERS User manual

Howdens

Howdens TOWER UNIT 3 DRAWERS User manual

Howdens 98-TD7 User manual

Howdens

Howdens 98-TD7 User manual

Popular Indoor Furnishing manuals by other brands

Regency LWMS3015 Assembly instructions

Regency

Regency LWMS3015 Assembly instructions

Furniture of America CM7751C Assembly instructions

Furniture of America

Furniture of America CM7751C Assembly instructions

Safavieh Furniture Estella CNS5731 manual

Safavieh Furniture

Safavieh Furniture Estella CNS5731 manual

PLACES OF STYLE Ovalfuss Assembly instruction

PLACES OF STYLE

PLACES OF STYLE Ovalfuss Assembly instruction

Trasman 1138 Bo1 Assembly manual

Trasman

Trasman 1138 Bo1 Assembly manual

Costway JV10856 manual

Costway

Costway JV10856 manual

moss DESIGN Caisson Credenza Assembly instructions

moss DESIGN

moss DESIGN Caisson Credenza Assembly instructions

Aquaglide FULL DECK 15.0 owner's manual

Aquaglide

Aquaglide FULL DECK 15.0 owner's manual

AREBOS AR-HE-SW30 user manual

AREBOS

AREBOS AR-HE-SW30 user manual

Till-Hilft Fulda 87005.330 Assembly instructions

Till-Hilft

Till-Hilft Fulda 87005.330 Assembly instructions

Twoey Outside 2010 quick start guide

Twoey Outside

Twoey Outside 2010 quick start guide

Hettich Easys 200 operating instructions

Hettich

Hettich Easys 200 operating instructions

The bedboss RELAX 404 Series owner's manual

The bedboss

The bedboss RELAX 404 Series owner's manual

Oeseder Möbelindustrie Bern 991 720 Assembly instructions

Oeseder Möbelindustrie

Oeseder Möbelindustrie Bern 991 720 Assembly instructions

Costway HW68469 user manual

Costway

Costway HW68469 user manual

Next ALIX A27743 Assembly instructions

Next

Next ALIX A27743 Assembly instructions

BROSA Hans Assembly guide

BROSA

BROSA Hans Assembly guide

Prodigg MINIKA PBA015T-FUR installation manual

Prodigg

Prodigg MINIKA PBA015T-FUR installation manual

manuals.online logo
manuals.online logoBrands
  • About & Mission
  • Contact us
  • Privacy Policy
  • Terms and Conditions

Copyright 2025 Manuals.Online. All Rights Reserved.