Hoya MW10 HIKARI User manual

HOYA MW 10
Instruction Manual
TAIS コード:01815-000001
2020model 2021model
We illustrate after two pages by the photograph of 2020 models.
2021 models only vary in the design of the head mount.
The basically function explanation is the same.
Please make sure to read this manual before using the product.

2
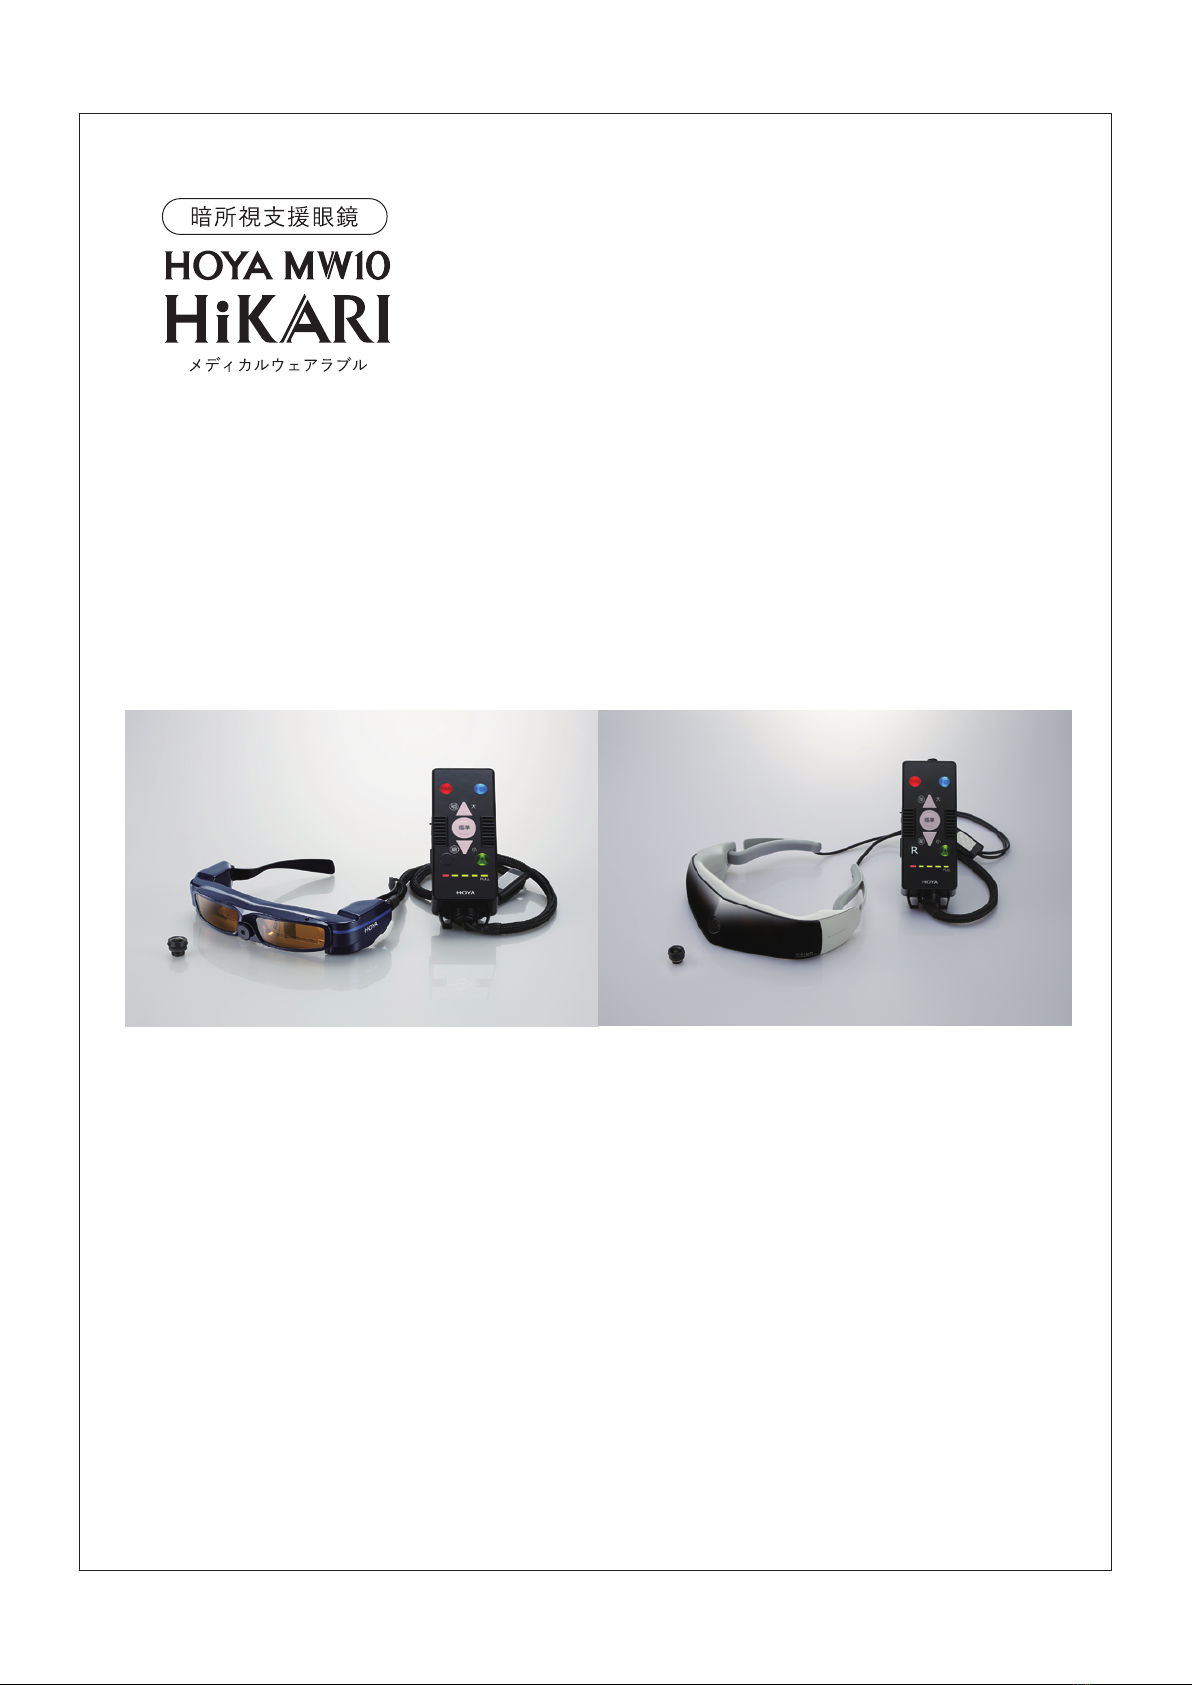
MW10 is a scotopic vision eyeglass-type wearable device, developed to aid the vision
in low-light places. It amplifies light in dim places and shows an image as a bright pic-
ture.
By using MW10, wearers can see objects brightly, even in dark places. Because of
the device’ s characteristics, however, there are limitations: the viewing experience
may differ from when seeing things directly with the eye. Please pay full attention to
ensuring safety when using the device.
1. Operation of the controller
It is dangerous to operate the device while you are moving from one place to anoth-
er, so stop and stand still before operating. We recommend that you place the con-
troller inside a pocket or a bag, and keep your hands free while you move.
2. Characteristics of the visual field
You may experience narrowing of the visual field when you wear MW10. Be especial-
ly careful if you go down the staircase, for example. Conversely, if you use a wide-an-
gle camera lens, the visual field may become wider. Please pay attention since a sense
of distance differs sharply from when not wearing the device.
3. Images captured by a camera, and real images
MW10 lets you see images shot with a camera, and real images shown through a
see-through display. You can see images shot with a camera in dark places, and you
can also see real images shown through a see-through display in bright places. Even
if you are in the dark, illuminants such as traffic signals and vehicle headlights can be
seen as real images shown from a see-through display.
4.Time lags
Images shot with MW10’ s camera are shown with a slight time lag. Make sure to
move more slowly than usual, keeping in mind that you are not seeing the images
instantly as they appear while you move.
5. Precautions when using MW10
When using the device, remember to take a rest regularly from time to time. Using
MW10 for extended periods may cause eye strain. If a feeling of fatigue and/or dis-
comfort persists even though you take a rest, discontinue use.
Introduction

3
Items included in the package
④Carryingcase
⑤Carryingpouch(usedwhenwearingthedevice)
⑥Lensstoragecase
⑦Eyeglassholderstrap
⑧Eyewearcloth
①Headset ②Controller (with built-in battery)
*①and ②are integrated as a unit.
③Lens kit (standard camera lens and wide-angled camera lens)
①②
③
④
⑤
⑥
⑦
⑧

4
Headset
Controller
DC power jack cap
DC power jack for charging
*Not for use Operation button
LED indicator
Camera
Temple
Nose Pad
Outer Lens
Name of each part

5
Types of camera lens
Standard camera lens (captures real images in the same size/magnification)
The camera lens is exchangeable, and comes in two types.
Please use the type to suit your purpose.
The length differs for each type.
It may be helpful to remember that the shorter lens is
“standard,” and the longer lens is “wide-angle.”
Wide-Angle
Standard
Wide-angle camera lens (captures images covering a wider range)
The real image and the displayed image can be seen in almost the same size
and magnification, so it is easy to grasp a sense of distance with this type of a
camera lens.
(The visual field becomes narrower than with wide-angle lens.)
1
2
A camera lens that captures images covering a broad range. Since the size of
the monitor screen remains unchanged, the image feels smaller than the one
shown with a standard camera lens (same size/magnification), and the sense of
distance feels greater. Because of this, however, the lens can capture images
covering a wider range.
Horizontal angle 27 degrees (maximum)
Horizontal angle 142 degrees (maximum)

6
*There is a risk that the camera lenses may slip and fall from your hands when exchanging them.
To avoid this, do it on the table.
*Exchange the camera lenses with the power turned off.
Exchanging the camera lens
(preparation before starting up the device)
1
The camera lens attached to MW10’ s headset is exchangeable. Remove
the already attached lens by rotating it in a counter-clockwise direction
(left) as seen from the front, as if turning a screw, and secure the new lens
in place by rotating it in a clockwise direction (right).
Use both fingers to hold the
middle of the headset.
Pick up the camera lens with your
fingers, turn it in a counter-clockwise
direction, and remove it.
When exchanging the camera
lens, be careful not to drop
each lens, and make sure not
to get the sensor dirty.
To replace with the new camera
lens, turn it in a clockwise direction,
and provisionally secure it in place,
slightly loosely. After starting up the
device, adjust the focus while
checking the monitor screen.
2
34

7
The functions of the Operation Button
Long press Short press
Power On ⇔Off
Display⇔Non-display
Standard ⇔ Wide-angle
When the button light is turned on
Returns to Standard
from any color tones
[Switching of color tones]
Standard Monochrome
High contrast
Brightness ⇔Display
magnification
Average ⇔ Spot
Black-white
reversal
[Switching of color tones]
Switching of
photometric modes
[Switching of display
adjustment items]
Switching of
the camera angle
Switching of
monitor screen display

8
LED indicator (residual battery quantity)
Blink
Insuciently charged
Full charged
4 hours (approx.)
Residual battery quantity
Residual battery time
How to read the LED indicator
*We recommend that, about once a month or so, you continue to use the battery
until it runs out, and charge it fully.
The LED indicator lights up when power is turned on, or while the
battery is being charged. The lighting or blinking of the LED lets you
confirm the residual battery quantity that can be used as a reference.
The battery lasts approximately for 4 hours. This may vary, depending
on the environment in which the device is used.
The battery deteriorates if used for long hours.
A little

9
1. Turn the power on
Power on
Using the device
Power Button (red)
Startup screen Camera-captured image
◆Operation Button
Press the Power Button for 3 seconds or more.
■If you turn the power on, the Power Button and the LED indicator either
blink or light up.
■If you turn the power on, the device starts up, and the startup screen is
displayed on the headset. Once the startup is completed, a camera-captured
image is displayed. Please wait about 1 minute until the startup is completed.

10
2. Wearing the device
In a bright, light place, hold the headset’ s temples with both
hands, and put on the device slowly from the front while fitting
it along the contour of your face.
■Be careful not to poke the eye or the face with the temple tip.
■Never apply excess force to the headset or open the temple outwards by
force, as this may cause the device to break.
Adjust the focus of the camera lens that had been provisionally
secured in place.
The camera lens that had been exchanged and provisionally
secured in place may be out of focus if it is not adjusted. Pick
up the camera lens with your fingers and, while turning it left
and right, finely adjust the focus.
1
2

11
Adjust the position of the headset to make sure that the images displayed can be
seen properly.
■With a standard camera lens Adjust the headset up and down so that an object
placed 1.5 meters ahead of your toes is displayed in its original size (equal
magnification) and can be seen easily. Hold the headset in place with an eyeglass
holder strap.
■While in a safe place, look at the camera-captured image displayed on the
monitor screen, get used to scotopic vision, then use the device. It is dangerous to
use the device before you have become fully accustomed to scotopic vision.
3

12
Real images (shown through a see-through display)
Camera-captured images
Real images (shown through a see-through display)
Camera-captured images
3. How images are seen on the monitor screen
◆Screen 1
If the battery’ s remaining power falls below 40%, a red bar is displayed
on the right-hand side of the camera-captured images, indicating that the
battery is running low.
◆Screen 2

13
4. Select the angle-of-view mode
Real images (shown through a see-through display)
Standard camera-captured images
Distortion is corrected, and a red triangle mark is displayed in four corners.
Images captured by
a wide-angle camera
(monitor screen)
■Display of images when a standard camera lens is used
■Display of images when a wide-angle camera lens is used
Distortion is corrected, and a red triangle mark is displayed in four corners.
When distortion has been corrected
When no corrections were made (distorted)
If you long press Button A , you can select the angle-of-view modes
(standard camera lens or wide-angle camera lens).
If you turn on the switch once again, you’ ll find that the camera is still
in the mode that was last selected. The mode does not switch
automatically, even if the camera lens is exchanged. In this case, re-select
the angle-of-view mode suited to the camera lens once again.

■Each time you press Button F briefly, the light is switched on and off.
14
Brightness level
F Button
Up Button (“明” brighter, “大” larger)
Down Button (“暗” darker, “小” smaller)
0.8
5.Adjust the brightness of the monitor screen
Confirm that Button F’s light is turned on.
■The level of brightness is displayed on the monitor screen.
( 0.1〜 1.0)
The displays on the monitor screen can be made brighter or darker. Please
adjust the brightness to suit your physical condition and the surrounding
environment.
It is dangerous if you change the brightness while you walk. Make sure to
stop walking, and change.
◆Operation button
1
2Adjust brightness by pressing the Up Button (brighter) or
Down Button (darker).

6.Change the monitor screen’s display magnification
F Button
Up Button (“明” brighter, “大” larger)
Standard Button (“標準“)
Down Button (“暗” darker, “小” smaller)
Refer to the next page
“Visual performance conversion table”
2.0
◆Operation button
The images displayed on the monitor screen can be enlarged or reduced.
Note, however, that the range of vision differs between a standard
camera lens and a wide-angle camera lens. So, even though the numerical
figures (magnification) are the same, the way the images are seen differs.
Please keep this difference in mind when you change the magnification.
To ensure safety, all change operations must be done while standing still.
15
1
2
3
Turn off Button F’s light.
■Each time you press Button F briefly, the light is switched on and off.
Change the magnification by pressing the Up Button
(larger) or Down Button (smaller).
■Magnification is displayed on the monitor screen.
If you want to return to the standard condition (initial setting),
press the Standard Button briefly.

16
Visual performance conversion table
0.5 X
0.6 X
0.7 X
0.8 X
0.9 X
1.0 X
1.1 X
1.2 X
1.3 X
1.4 X
1.5 X
1.6 X
2.0 X
2.5 X
3.0 X
3.4 X
3.6 X
3.8 X
4.0 X
4.2 X
4.4 X
4.6 X
4.8 X
5.0 X
6.0 X
7.0 X
8.0 X
9.0 X
27 deg
27 deg
27 deg
27 deg
27 deg
24 deg
22 deg
20 deg
19 deg
17 deg
16 deg
15 deg
12 deg
10 deg
8 deg
6 deg
5 deg
7 deg
7 deg
6 deg
6 deg
6 deg
5 deg
5 deg
4 deg
3 deg
3 deg
3 deg
2degrees
0.5
0.6
0.7
0.8
0.9
1.0
1.1
1.2
1.3
1.4
1.5
1.6
2.0
2.5
3.0
3.4
3.6
3.8
4.0
4.2
4.4
4.6
4.8
5.0
6.0
7.0
8.0
9.0
0.1 X
Wide-angle Camera Lens
Standard Camera Lens
0.12 X
0.14 X
0.16 X
0.18 X
0.2 X
0.22 X
0.24 X
0.26 X
0.28 X
0.3 X
0.32 X
0.4 X
0.5 X
0.6 X
0.68 X
0.72 X
0.76 X
0.8 X
0.84 X
0.88 X
0.92 X
0.96 X26 deg
1.0 X
1.2 X
1.4 X
1.6 X
1.8 X14 deg
16 deg
18 deg
21 deg
24 deg
27 deg
29 deg
30 deg
32 deg
34 deg
35 deg
38 deg
45 deg
56 deg
68 deg
80 deg
84 deg
94 deg
97 deg
106 deg
115 deg
126 deg
142 deg
142 deg
142 deg
142 deg
142 deg
8 deg
Horizontal
maximum
142 degrees
15 deg (max)
Horizontal
maximum
27 degrees
*Condition: 1.5 meters ahead
*Magnification differs, depending on the camera. The numerical figures are for reference only.
The numerical figures displayed on the screen are common to both lens types. (dig=degrees)
Magnification Horizontal
scale viewing angle
Magnification
scale
Horizontal
viewing angle
Vertical viewing angle
(0.56 times the horizontal
viewing angle)
Vertical viewing angle
(0.56 times the horizontal
viewing angle)
80 deg (max)
71 deg
13 deg

■The image displayed on the monitor screen switches from color to monochrome.
The display changes, each time you press the Standard Button for 2 seconds or more.
17
*If you press the Standard Button briefly, the display returns to Standard (color) from any color tones.
7.Change the tone of color (support function)
Standard Button
Press the Standard Button ”標準“ for 2 seconds or more, then release.
You can change the color tone of the display image.
◆Operation Button
Standard (color) Monochrome (single color)
High contrast
(white and yellow are
highlighted) Black-white reversal (single color)

18
8. Adjust the way the images are seen
( “adjustment of the photometric mode” )
“Adjustment of the photometric mode” is a function that adjusts an object’ s
quantity of light and makes corrections to realize optimal vision. By pressing
Button A briefly, you can select the way things are seen from two different
modes.
(Example)
An image shown on the screen
(Example)
Inside a room with a fluorescent light turned on
By pressing Button A briefly, you can switch to either the Average mode or Spot mode.
(Example)
An image shown on the screen
(Example)
Inside a room with a fluorescent light turned on
Average Mode=A mode to make the overall brightness above a set level
An “S” mark is displayed in the center of the screen for 2 seconds.
An “A” mark is displayed in the center of the screen for 2 seconds.
Spot Mode=A mode that adjusts the brightness of the middle of the screen to
make it easier to see

■The Power Button starts to blink, and the display of the monitor screen is switched to
“non-display.”
Each time you press the Power Button briefly, you can switch between display and
non-display.
When the power is turned on, push the Power Button (red) briefly.
19
Power Button (red)
Real image
(shown through
a see-through display)
A camera-captured
image
(monitor screen)
9.Turn off the display of the monitor screen
( “non-display” )
When you are in a light, bright place, please use the device by turning
off the display.
◆Operation Button
Display Non-display

(Power goes down)
(Shutting down)
Power Button (red)
10. Turn off power
◆Operation Button
Press the Power Button until the light goes off (about 15 seconds).
■The exit screen is displayed, and the power goes off after approximately 15 seconds.
20
■When the power is turned off, the lights of the Power Button and the LED indicator go out.
電源を切る
シャットダウン中
Manufactured by Vixion Inc.
2-14-2 Takadanobaba, Shinjuku Ku, Tokyo Japan 169-0075
Table of contents