HP Dv7-2040us - Pavilion Entertainment - Core 2 Quad... User manual

Multimedia
User Guide

© Copyright 2009 Hewlett-Packard
Development Company, L.P.
Microsoft and Windows are U.S. registered
trademarks of Microsoft Corporation.
The information contained herein is subject
to change without notice. The only
warranties for HP products and services are
set forth in the express warranty statements
accompanying such products and services.
Nothing herein should be construed as
constituting an additional warranty. HP shall
not be liable for technical or editorial errors
or omissions contained herein.
First Edition: February 2009
Document Part Number: 512512-001
Product notice
This user guide describes features that are
common to most models. Some features
may not be available on your computer.

Table of contents
1 Multimedia features
Identifying your multimedia components .............................................................................................. 1
Adjusting the volume ............................................................................................................................ 3
Using the media activity functions ........................................................................................................ 4
Using the media activity buttons .......................................................................................... 4
Previous/rewind button ........................................................................................ 4
Play/pause button ............................................................................................... 4
Next/fast forward button ...................................................................................... 5
Stop button .......................................................................................................... 5
Using the media activity hotkeys ......................................................................................... 5
2 Multimedia software
Using HP MediaSmart software ........................................................................................................... 7
Using other preinstalled multimedia software ....................................................................................... 8
Installing multimedia software from a disc ............................................................................................ 9
3 Audio
Connecting external audio devices .................................................................................................... 10
Checking your audio functions ........................................................................................................... 10
4 Video
Connecting an external monitor or projector ...................................................................................... 12
Connecting an HDMI device ............................................................................................................... 12
Configuring the audio using HDMI ..................................................................................... 13
Determining the type of graphics card installed in your computer .................... 13
Setting HDMI as the default audio playback device .......................................... 13
5 Optical drive
Identifying the installed optical drive ................................................................................................... 15
Using optical discs .............................................................................................................................. 15
Selecting the right disc (CDs, DVDs, and BDs) .................................................................................. 16
CD-R discs ......................................................................................................................... 16
CD-RW discs ..................................................................................................................... 16
iii

DVD±R discs ..................................................................................................................... 17
DVD±RW discs .................................................................................................................. 17
LightScribe DVD+R discs .................................................................................................. 17
Blu-ray Discs (BD) ............................................................................................................. 17
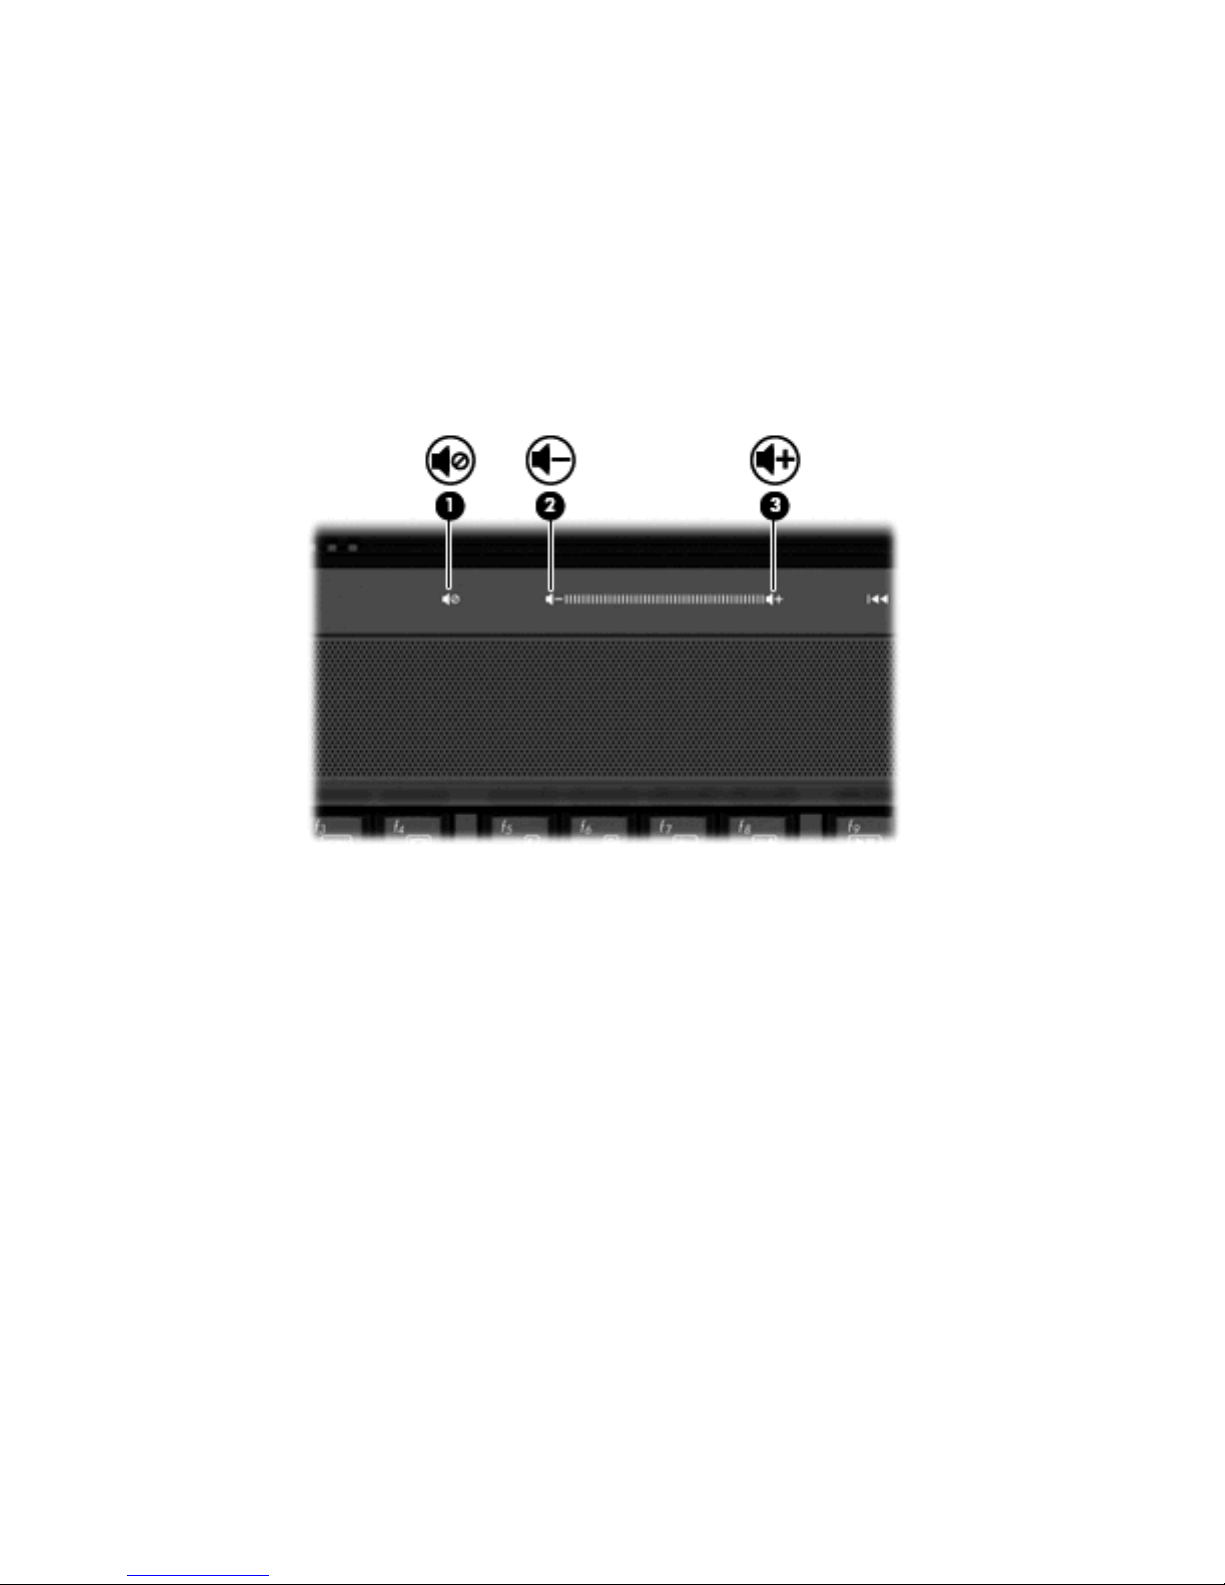
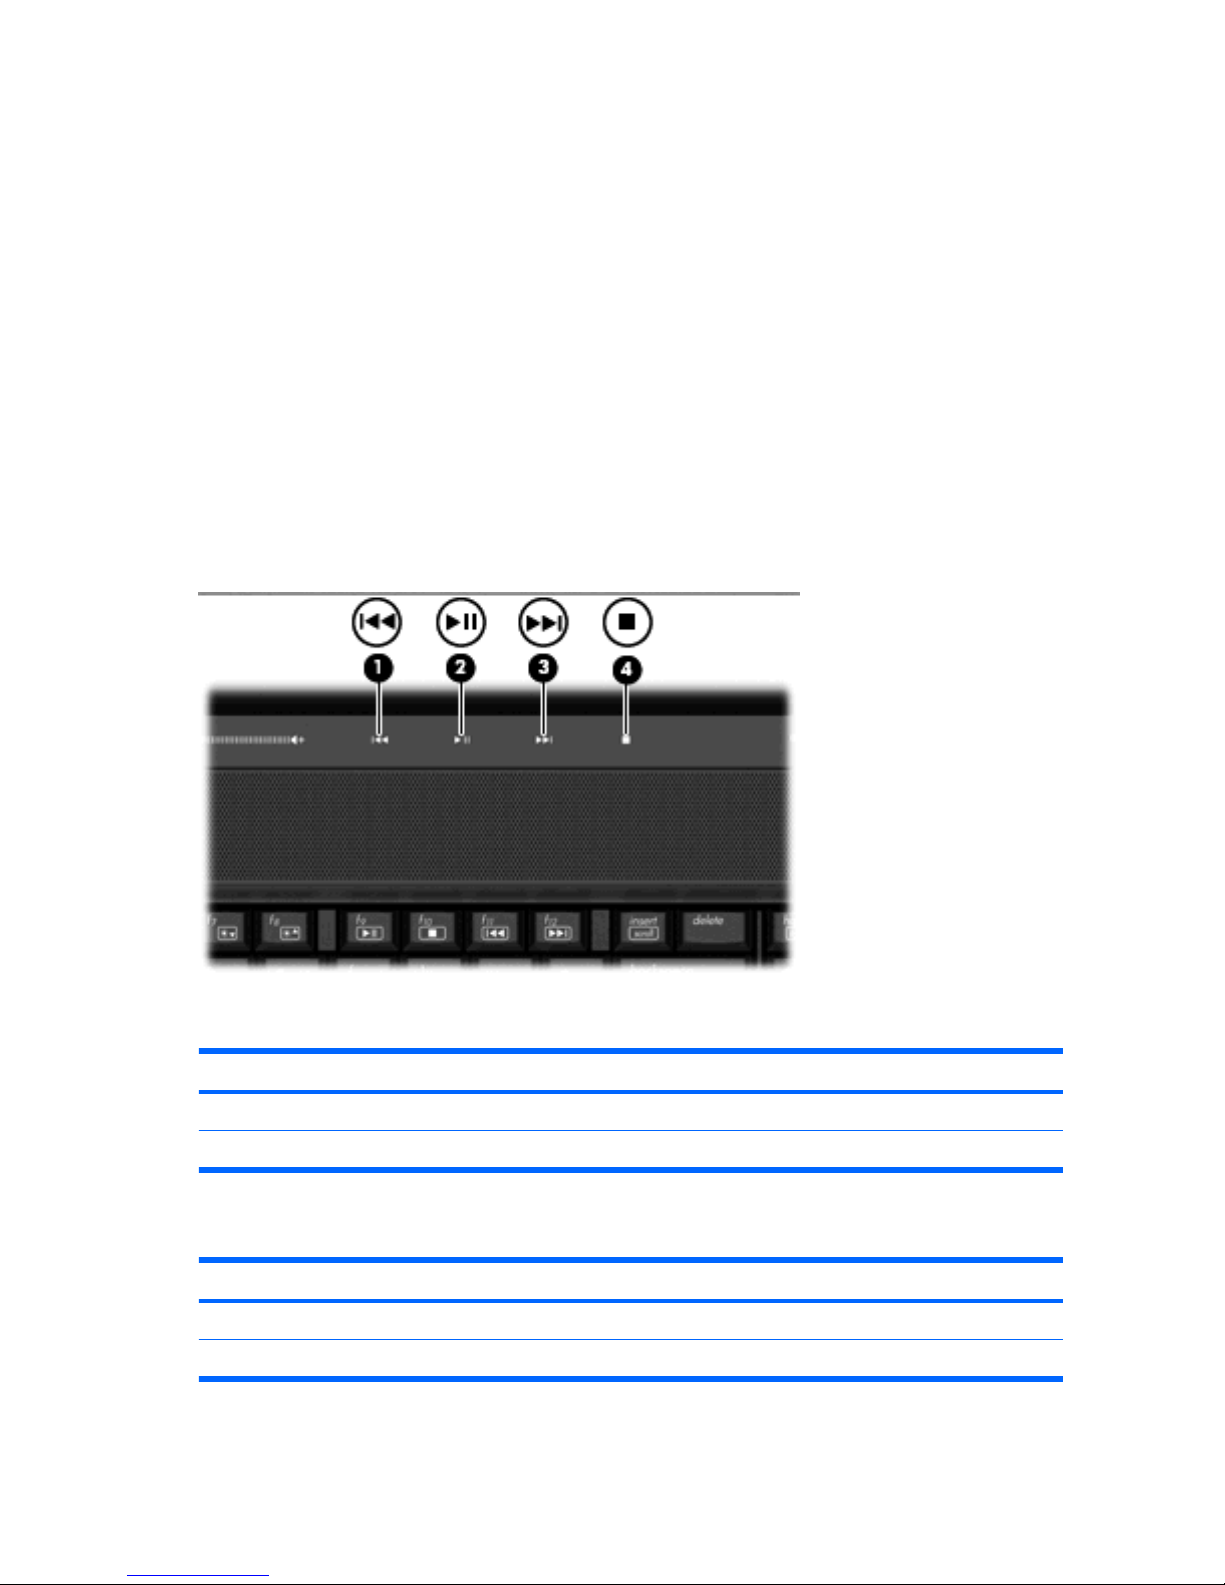
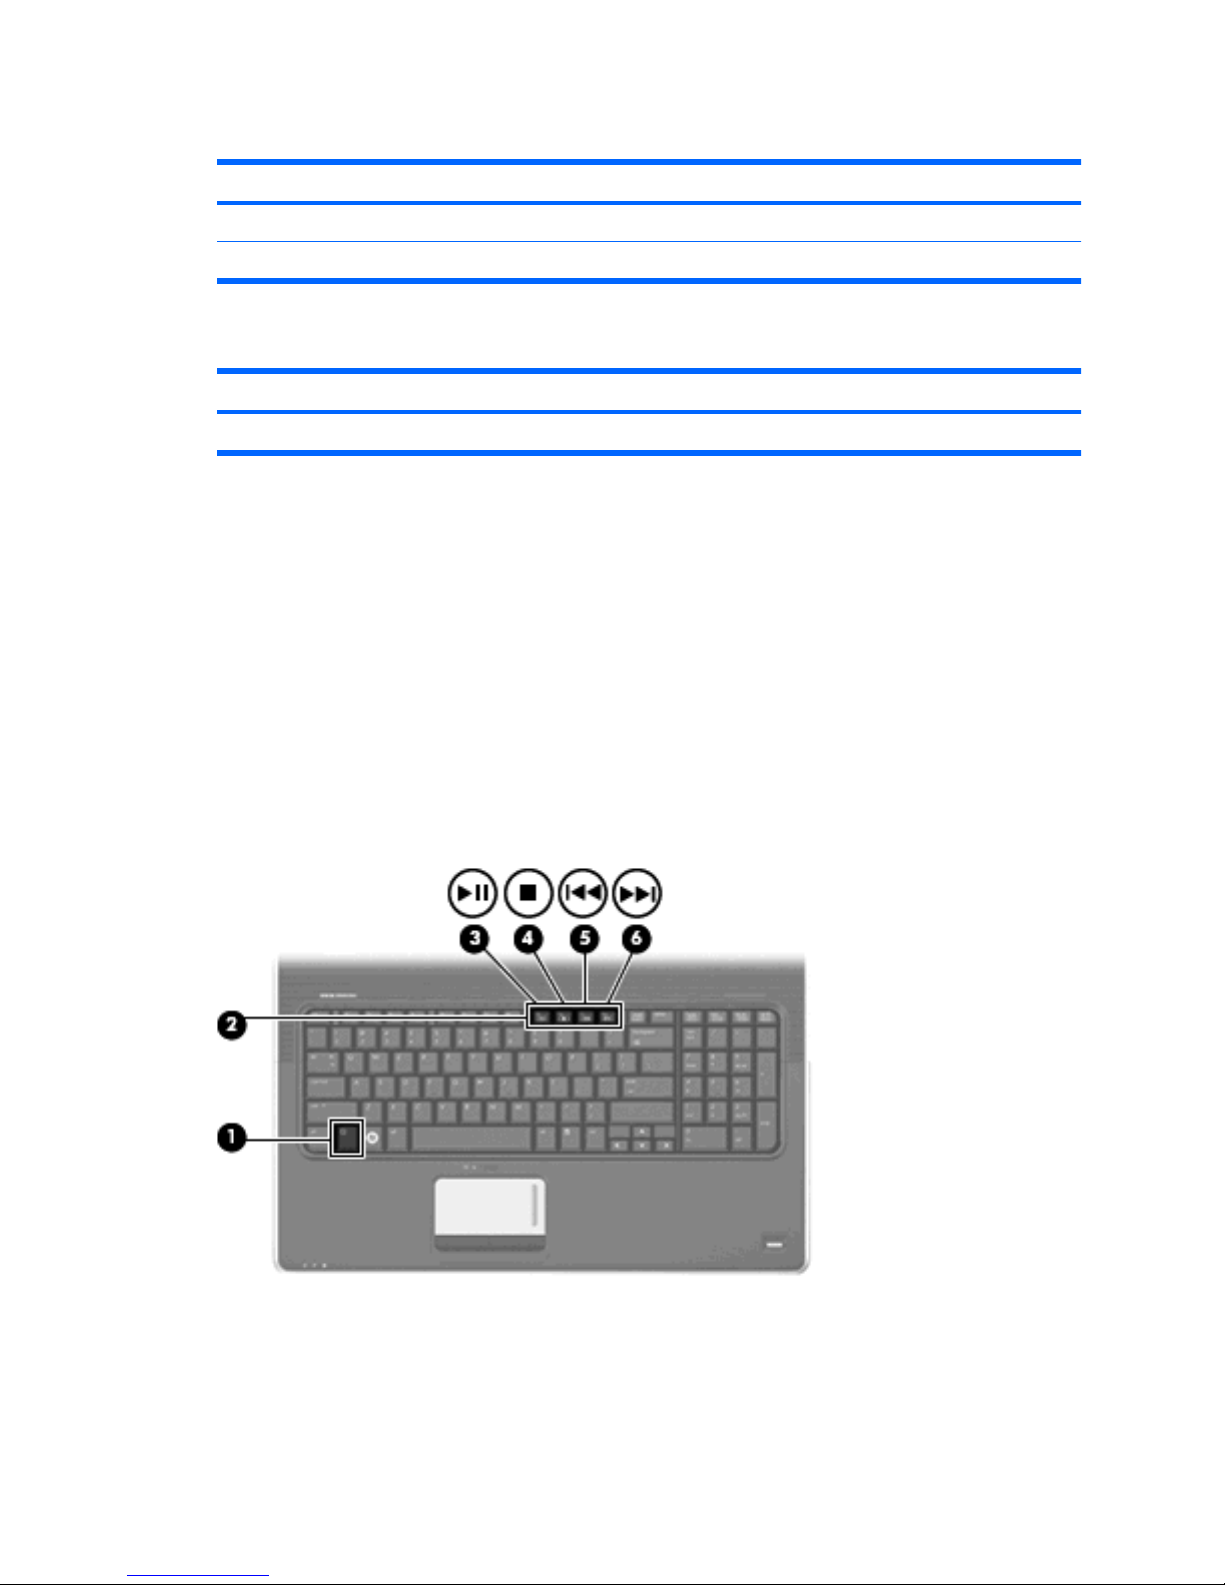
Playing music ..................................................................................................................................... 17
Watching a movie ............................................................................................................................... 18
Changing DVD region settings ........................................................................................................... 19
Creating (burning) a CD or DVD ........................................................................................................ 20
Removing a CD, DVD, or BD ............................................................................................................. 21
6 Webcam
7 Troubleshooting
The optical disc tray does not open for removal of a CD, a DVD, or a BD ......................................... 23
The computer does not detect the CD, DVD, or BD drive .................................................................. 24
A CD, DVD, or BD does not play ........................................................................................................ 24
A CD, DVD, or BD does not play automatically .................................................................................. 25
A DVD or BD movie stops, skips, or plays erratically ......................................................................... 25
A DVD or BD movie is not visible on an external display ................................................................... 25
The process of burning a CD or DVD does not begin, or it stops before completion ......................... 26
A DVD or BD playing in Windows Media Player produces no sound or display ................................ 26
A device driver must be reinstalled .................................................................................................... 26
Obtaining the latest HP device drivers ............................................................................... 27
Obtaining the latest Windows device drivers ..................................................................... 27
Index ................................................................................................................................................................... 29
iv

1 Multimedia features
Your computer includes multimedia features that allow you to listen to music, watch movies, and view
pictures. Your computer may include the following multimedia components:
●Optical drive for playing audio and video discs
●Integrated speakers for listening to music
●Integrated microphone for recording your own audio
●Integrated webcam that allows you to capture and share video
●Preinstalled multimedia software that allows you to play and manage your music, movies, and
pictures
●Multimedia buttons and hotkeys that provide fast access to multimedia tasks
NOTE: Your computer may not include all of the components listed.
The following sections explain how to identify and use the multimedia components included with your
computer.
Identifying your multimedia components
The following illustration and table describe the multimedia features of the computer.
Identifying your multimedia components 1

Component Description
(1) Internal digital dual array microphones (2) Record sound.
(2) Webcam light Turns on when video software accesses the webcam.
(3) Webcam Records audio and video and captures still photographs.
(4) Speakers (2) Produce sound.
(5) Audio-out (headphone) jacks (2) Produce sound when connected to optional powered stereo
speakers, headphones, earbuds, a headset, or television audio.
WARNING! To reduce the risk of personal injury, adjust the
volume before putting on headphones, earbuds, or a headset. For
additional safety information, refer to the Regulatory, Safety and
Environmental Notices.
NOTE: When a device is connected to the headphone jack, the
computer speakers are disabled.
(6) Audio-in (microphone) jack Connects an optional computer headset microphone, stereo array
microphone, or monaural microphone.
(7) Volume mute button Mutes and restores speaker sound.
(8) Volume scroll zone Adjusts speaker volume. Slide your finger to the left to decrease
volume and to the right to increase volume. You can also tap the
minus (-) sign on the scroll zone to decrease volume, or tap the
plus (+) sign on the scroll zone to increase volume.
2 Chapter 1 Multimedia features

Adjusting the volume
You can adjust the volume using the following controls:
●Computer volume buttons:
◦To mute or restore volume, press the mute button (1).
◦To decrease volume, slide your finger across the volume scroll zone from right to left, or press
the volume down button (2).
◦To increase volume, slide your finger across the volume scroll zone from left to right, or press
the volume up button (3).
●Windows® volume control:
a. Click the Volume icon in the notification area, at the far right of the taskbar.
b. Increase or decrease the volume by moving the slider up or down. Click the Mute icon to mute
the volume.
– or –
a. Right-click the Volume icon in the notification area, and then click Open Volume Mixer.
b. In the Master Volume column, increase or decrease the volume by moving the Volume slider
up or down. You can also mute the volume by clicking the Mute icon.
If the Volume icon is not displayed in the notification area, follow these steps to add it:
a. Right-click in the notification area, and then click Properties.
b. Click the Notification Area tab.
c. Under System icons, select the Volume check box.
d. Click OK.
●Program volume control:
Adjusting the volume 3

Volume can also be adjusted within some programs.
Using the media activity functions
The media activity buttons and the media activity hotkeys control the play of a disc that is inserted into
the optical drive.
Using the media activity buttons
The following illustration and tables describe the functions of the media activity buttons when a disc is
inserted in the optical drive.
●Previous/rewind button (1)
●Play/pause button (2)
●Next/fast forward button (3)
●Stop button (4)
Previous/rewind button
Disc status Button Function
Playing Previous/rewind button Plays a previous track or chapter.
Playing fn + previous/rewind button Rewinds the playback.
Play/pause button
Disc status Button Function
Not playing Play/pause button Plays the disc.
Playing Play/pause button Pauses the playback.
4 Chapter 1 Multimedia features

Next/fast forward button
Disc status Button Function
Playing Next/fast forward button Plays the next track or chapter.
Playing fn + next/fast forward button Fast forwards the playback.
Stop button
Disc status Button Function
Playing Stop button Stops the playback.
Using the media activity hotkeys
A media activity hotkey is a combination of the fn key (1) and a function key (2).
●When an audio CD or a DVD is not playing, press fn+f9 (3) to play the disc.
●When an audio CD or a DVD is playing, use the following hotkeys:
◦To pause or resume playing the disc, press fn+f9 (3).
◦To stop the disc, press fn+f10 (4).
◦To play the previous track of an audio CD or the previous chapter of a DVD, press fn+f11
(5).
◦To play the next track of an audio CD or the next chapter of a DVD, press fn+f12 (6).
Using the media activity functions 5

2 Multimedia software
Your computer includes preinstalled multimedia software that allows you to play music, watch movies,
and view pictures. The following sections provide details about HP MediaSmart and other preinstalled
multimedia software.
6 Chapter 2 Multimedia software

Using HP MediaSmart software
HP MediaSmart turns your computer into a mobile entertainment center. With MediaSmart, you can
enjoy music and DVD and BD movies. You can also view Internet TV and live TV, and manage and edit
your photo collections.
NOTE: You can use an integrated TV tuner (select models only) or an optional external TV tuner
(purchased separately) to watch, record, and pause live TV on the computer.
MediaSmart includes the following features:
●Internet TV—With an Internet connection, play classic oldies, choose from a range of TV shows
and channels, and watch the HP-TV channel streamed in full-screen.
●Photo and video upload support, for example:
◦Upload your MediaSmart photos to Internet photo storage sites, such as Snapfish.
◦Upload your home videos (for example, fun videos created with the integrated webcam) to
YouTube.
●Pandora Internet radio (North America only)—Listen to music selected just for you, streamed from
the Internet.
▲To start MediaSmart, double-click the MediaSmart icon on the desktop of the computer.
For more information on using MediaSmart, select Start >Help and Support, and then type
MediaSmart in the search box.
Using HP MediaSmart software 7

Using other preinstalled multimedia software
To locate other preinstalled multimedia software:
▲Select Start >All Programs, and then open the multimedia program you want to use. For example,
if you want to use Windows Media Player to play an audio CD, click Windows Media Player.
NOTE: Some programs may be located in subfolders.
8 Chapter 2 Multimedia software

Installing multimedia software from a disc
To install any multimedia software from a CD or DVD, follow these steps:
1. Insert the disc into the optical drive.
2. When the installation wizard opens, follow the on-screen instructions.
3. Restart the computer if you are prompted to do so.
NOTE: For details about using software included with the computer, refer to the software
manufacturer’s instructions, which may be provided with the software, on disc, or on the manufacturer’s
Web site.
Installing multimedia software from a disc 9

3Audio
Your computer enables you to use a variety of audio features:
●Play music using your computer speakers and/or connected external speakers
●Record sound using the internal microphone or connect an external microphone
●Download music from the Internet
●Create multimedia presentations using audio and images
●Transmit sound and images with instant messaging programs
●Stream radio programs (select models only) or receive FM radio signals
●Create or “burn” audio CDs
Connecting external audio devices
WARNING! To reduce the risk of personal injury, adjust the volume before putting on headphones,
earbuds, or a headset. For additional safety information, refer to the Regulatory, Safety and
Environmental Notices.
To connect external devices such as external speakers, headphone, or a microphone, refer to the
information provided with the device. For best results, remember the following tips:
●Be sure that the device cable is securely connected to the correct jack on your computer. (Cable
connectors are normally color-coded to match the corresponding jacks on the computer.)
●Be sure that you install any drivers required by the external device.
NOTE: A driver is a required program that acts like a translator between the device and the
programs that use the device.
Checking your audio functions
To check the system sound on your computer, follow these steps:
1. Select Start >Control Panel.
2. Click Hardware and Sound.
3. Click Sound.
4. When the Sound window opens, click the Sounds tab. Under Program, select any sound event,
such as a beep or alarm, and click the Test button.
10 Chapter 3 Audio

You should hear sound through the speakers or through connected headphones.
To check the record functions of the computer, follow these steps:
1. Select Start >All Programs >Accessories >Sound Recorder.
2. Click Start Recording and speak into the microphone. Save the file to your desktop.
3. Open Windows Media Player or MediaSmart and play back the sound.
NOTE: For best results when recording, speak directly into the microphone and record sound in a
setting free of background noise.
▲To confirm or change the audio settings on your computer, right-click the Sound icon on the
taskbar, or select Start >Control Panel >Hardware and Sound >Sound icon.
Checking your audio functions 11

4Video
Your computer enables you to use a variety of video features:
●Watch movies
●Play games over the Internet
●Edit pictures and video to create presentations
●Connect external video devices
Connecting an external monitor or projector
The external monitor port connects an external display device such as an external monitor or a projector
to the computer.
▲To connect a display device, connect the device cable to the external monitor port.
NOTE: If a properly connected external display device does not display an image, press fn+f4 to
transfer the image to the device. Repeatedly pressing fn+f4 alternates the screen image between the
computer display and the device.
Connecting an HDMI device
The computer includes an HDMI (High Definition Multimedia Interface) port. The HDMI port connects
the computer to an optional video or audio device, such as a high-definition television, or any compatible
digital or audio component.
12 Chapter 4 Video

The computer can support one HDMI device connected to the HDMI port, while simultaneously
supporting an image on the computer display or any other supported external display.
NOTE: To transmit video signals through the HDMI port, you need an HDMI cable (purchased
separately), available from most electronic retailers.
To connect a video or audio device to the HDMI port:
1. Connect one end of the HDMI cable to the HDMI port on the computer.
2. Connect the other end of the cable to the video device, according to the device manufacturer’s
instructions.
3. Press fn+f4 on the computer to switch the image between the display devices connected to the
computer.
Configuring the audio using HDMI
For best results, connect an audio or video device, such as a high-definition TV, to the HDMI port on
your computer, and use MediaSmart as your media program.
You must also determine what type of graphics card is installed in your computer, and then configure
the default audio playback device according to that graphics card.
Determining the type of graphics card installed in your computer
▲Check the label on the computer keyboard.
– or –
1. Select Start >Computer >System properties.
2. In the left pane, click Device Manager, and then click the plus (+) sign next to Display
adapters.
Setting HDMI as the default audio playback device
1. Select Start >Control Panel >Hardware and Sound >Sound icon.
2. Click the Playback tab, click Digital Output Device (HDMI), and then click Set Default.
Connecting an HDMI device 13

3. Click OK.
4. Start MediaSmart (or restart it if it is already running).
14 Chapter 4 Video

5 Optical drive
Your computer may include an optical drive that expands the functionality of the computer. Identify what
kind of device is installed in your computer to see its capabilities. The optical drive allows you to read
data discs, play music, and watch movies. If your computer includes a Blu-ray Disc ROM Drive, then
you can also watch high-definition video from disc.
Identifying the installed optical drive
▲Select Start >Computer.
You will see a list of all the devices installed in your computer, including your optical drive. You may
have one of the following types of drives:
●LightScribe DVD±RW/R and CD-RW Combo drive with Double-Layer (DL) support
●Blu-ray Disc ROM Drive with LightScribe/SuperMulti DVD±R/RW Double Layer (DL) support
●Blu-ray Disc ROM Drive with SuperMulti DVD±R/RW Double Layer (DL) support
NOTE: Some of the drives listed above may not be supported by your computer.
Using optical discs
An optical drive, such as a DVD-ROM drive, supports optical discs (CDs and DVDs). These discs store
information, such as music, photos, and movies. DVDs have a higher storage capacity than CDs.
Your optical drive can read standard CD and DVD discs. If your optical drive is a Blu-ray Disc ROM
Drive, it can also read Blu-ray Discs.
NOTE: Some of the optical drives listed may not be supported by your computer. The listed drives are
not necessarily all of the supported optical drives.
Some optical drives can also write to optical discs as described in the following table.
Optical drive type Write to CD-RW Write to DVD±RW/R Write to DVD+RW DL Write label to
LightScribe CD or DVD
±RW/R
SuperMulti LightScribe
DVD±RW and CD-RW
Combo with DL
support
Yes Yes Yes Yes
Blu-ray Disc ROM with
LightScribe/SuperMulti
Yes Yes Yes Yes
Identifying the installed optical drive 15

Optical drive type Write to CD-RW Write to DVD±RW/R Write to DVD+RW DL Write label to
LightScribe CD or DVD
±RW/R
DVD±R/RW with DL
support
Blu-ray Disc ROM with
SuperMulti DVD±R/
RW with DL support
Yes Yes Yes No
CAUTION: To prevent possible audio and video degradation, loss of information, or loss of audio or
video playback functionality, do not initiate Sleep or Hibernation while reading or writing to a CD or DVD.
Selecting the right disc (CDs, DVDs, and BDs)
An optical drive supports optical discs (CDs, DVDs, and BDs). CDs, used to store digital data, are also
used for commercial audio recordings and are convenient for your personal storage needs. DVDs and
BDs are used primarily for movies, software, and data backup purposes. DVDs and BDs are the same
form factor as CDs but have a much higher storage capacity.
NOTE: The optical drive on your computer may not support all the types of optical discs discussed in
this section.
CD-R discs
CD-R (write-once) discs are widely used for creating a permanent copy of data that can be shared as
needed. Typical uses include the following:
●Distributing large presentations
●Sharing scanned and digital photos, video clips, and written data
●Making your own music CDs
●Keeping permanent archives of computer files and scanned home records
●Offloading files from your hard drive to free up disk space
After data is recorded, it cannot be erased or written over.
CD-RW discs
Use a CD-RW disc (a rewritable version of a CD) to store large projects that must be updated frequently.
Typical uses include the following:
●Developing and maintaining large documents and project files
●Transporting work files
●Making weekly backups of hard drive files
●Updating photos, video, audio, and data continuously
16 Chapter 5 Optical drive
Other manuals for Dv7-2040us - Pavilion Entertainment - Core 2 Quad...
4
This manual suits for next models
4
Table of contents
Other HP Laptop manuals

HP
HP Pavilion dv6760ea User manual

HP
HP Nx9420 - Compaq Business Notebook User instructions

HP
HP Dv4-1431us - Pavilion Entertainment - Core 2 Duo 2.1... User manual

HP
HP nx9100 - Notebook PC Installation instructions

HP
HP 2230s - Compaq Business Notebook Manual

HP
HP ZBook Studio x360 G5 Manual

HP
HP ZBook 15u G3 Manual

HP
HP 2230s - Compaq Business Notebook User manual

HP
HP Modem and Local Area Network User manual

HP
HP Mini 210-1010 Manual