Tips:
1. If “Error” is displayed on the screen during use, please check the ERROR
CODES and troubleshoot.
2. If the red warning light flashes frequently, it means that there is an error in
the chicken door. Please press the menu button to wake up the screen to
view the error code.
3. If you use the control mode “TIMER-TIMER”, you can wait to verify
whether the auto function is correct.
4. The "LIGHT-LIGHT" control mode can be tested by covering the light
sensor with an opaque material (such as a black cap). After a few seconds,
the door starts going down. Once the door is close to the bottom, remove the
cap and the door will return to the top.
If you disconnect and reconnect the power, the controller will stay in sleep
mode for 30 mins unless you press and go through the settings.
6 7 8
Light operation
Light operation allows users to set when the door will automatically
open and close. The lumen ranges from 0 to 23. The lower the
lumen value is, the weaker the intensity of light will be.
Press (the menu button) to enter setup menu interface.
OPEN LUMEN: 15
CURRENT LUM: 23
Adjust the numerical value of
lumen when the door should
open.
Press the ▲ / ▼ to adjust
numerical values (15-23).
CLOSE LUMEN: 10
CURRENT LUM: 23
Adjust the numerical value of
lumen when the door should
close.
Press the ▲ / ▼to adjust
numerical values (0-14).
05
PROTECT LEVEL
Allow users to adjust protec-
tion levels (0-8 OFF).
Press the ▲ / ▼to select levels.
The larger the number
is, the higher the force level
can be.
Press the button
to save the interface and
settings.
09 46
SAVE AND EXIT
Error 3
Error 4
Work
Time Out
Motor
Error!
1.The low battery
causes the door to
open slowly.
Use the new batteries, then
adjust the current time and
save the settings.
2.During the door
opening, the gear
jams causing the
door to open slowly.
3.Obstacles on the
track cause the door
to open slowly.
Check whether there are obst-
acles in the track. If necessary,
add lubricating oil or grease to
the track. Finally, press the
button to clear the error.
4.The door's top or
bottom magnet has
fallen off.
Pull out the front panel and rein-
stall the magnet, and then press
the button after the install-
ation is complete. Please cont-
act us if the magnet is missing.
The motor is
abnormal.
1.Check if the motor lead is
broken or the plug is not insert-
ed. Reconnect the motor leads
or plug.
2.If the error still occurs after
troubleshooting, please send
the device for repairs.
Make sure that the gear is not
blocked by any objects.
Finally, press the button to
clear the error.
Error code
Error 1
Error 2
Panel
out!
Open
Blocked
Close
Blocked
1.Front
panel
Check if the front panel is
installed correctly. If not,
please install it and fix the
4 screws on the both sides.
2.The position
sensor does not
sense the mag-
net on the door.
3.The door's top
magnet has
fallen off.
Pull out the front panel to let the
door falls to the bottom and
ensure that there is no foreign
matter at the bottom of the door,
then push the panel back and
screws it.
Install the magnet and contact
us if it is missing.
4.The internal
position sensor
has failed.
If the error still occurs after
"1,2,3", please send the device
for repairs.
5.PCB board is
faulty.
Door blocked
when opening.
If the error still occurs after
"1,2,3", please send the device
for repairs.
Door blocked
when closing.
The door's top
magnet has
fallen off.
Reason Solution
1.Check if there are obstacles at
the bottom of the door.
2.Check whether there are
obstacles in the track.
3.If no obstacles, please add
lubricating oil or grease to the track.
4.Increase the protection level.
Finally, press the button to
clear the error.
1.Check whether the gear is
jammed by the wooden board.
2.Check whether there are obst-
acles in the track.
3.If no obstacles, please add
lubricating oil or grease to the track.
Finally, press the button to
clear the error.
Please install the magnet,then
press the button to clear the
error. Please contact us if the
magnet is missing.
Display
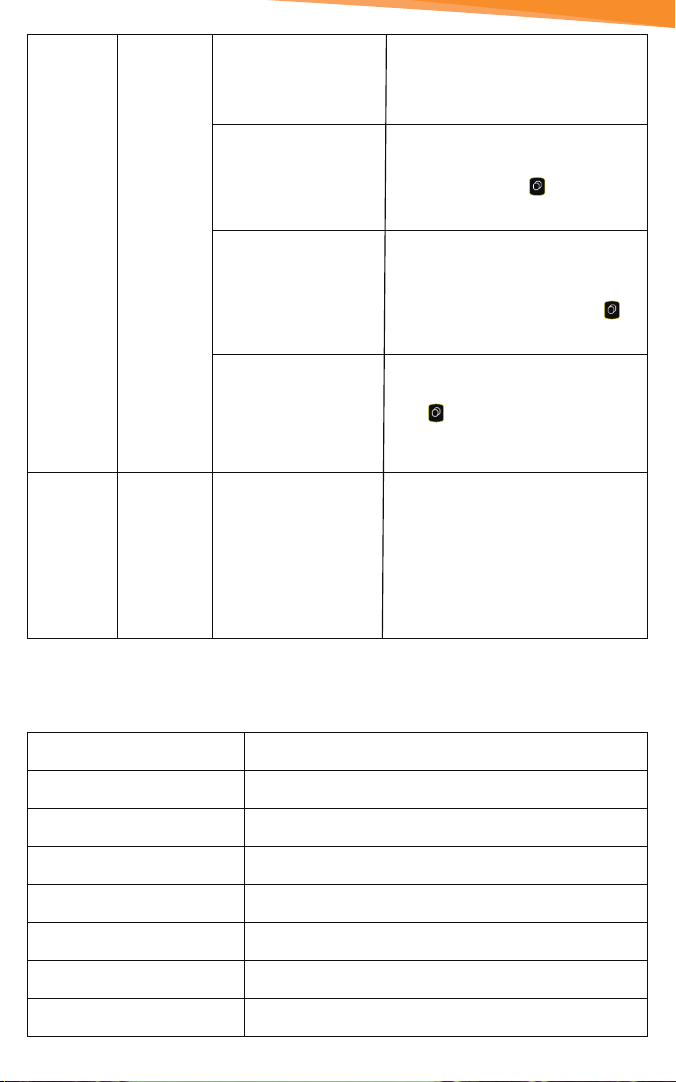
Part G Product Parameter
Product name
Working mode
Lid material
Door material
Product size
Power supply
Supply voltage
Warranty
Automatic chicken coop door
Light sensitive & timer
ABS
Aluminum & galvanized steel
31 x 42 x 30cm
4pcs AA battery / 6V battery
6 V
2 years
Part F Trouble Shooting
CHICKEN COOP OPENER
AD006 USER MANUAL