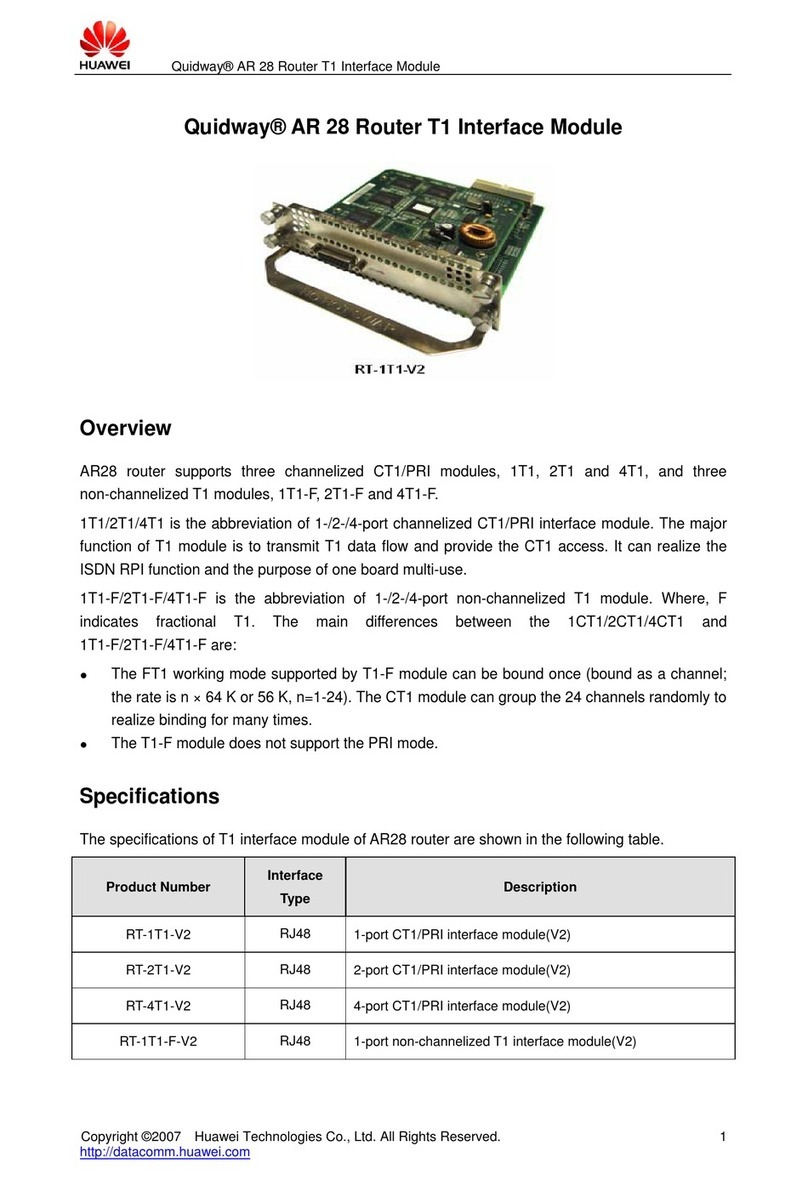
Huawei RRU3203 User manual
Other Huawei Network Hardware manuals
Huawei
Huawei FusionModule1000A40 ICT Solution Operating manual
Huawei
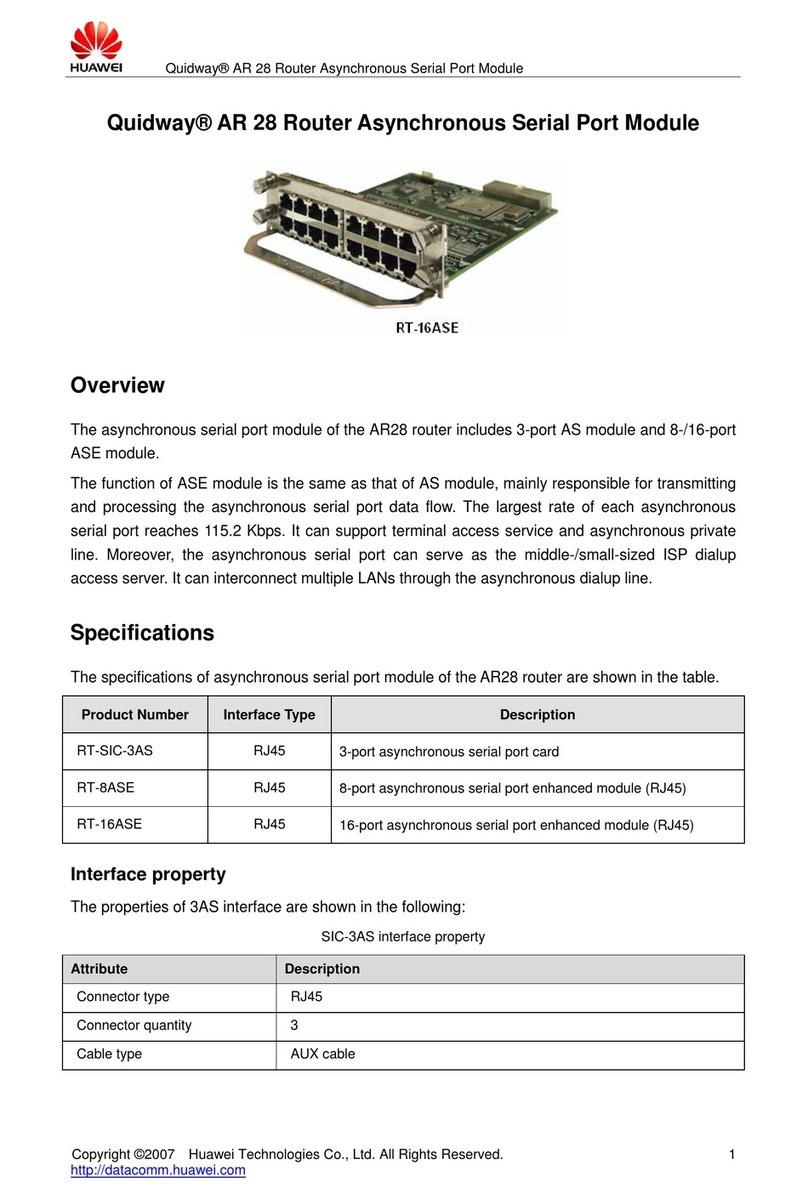
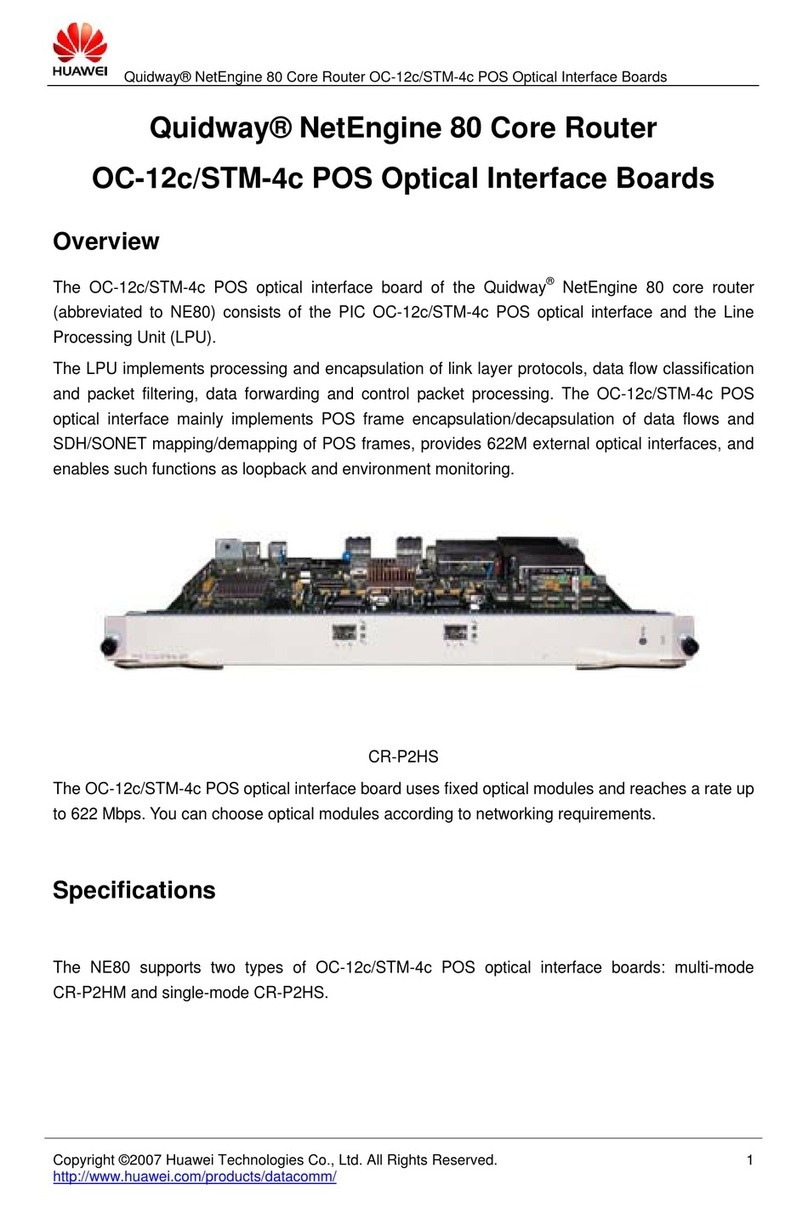
Huawei RT-16ASE User manual
Huawei
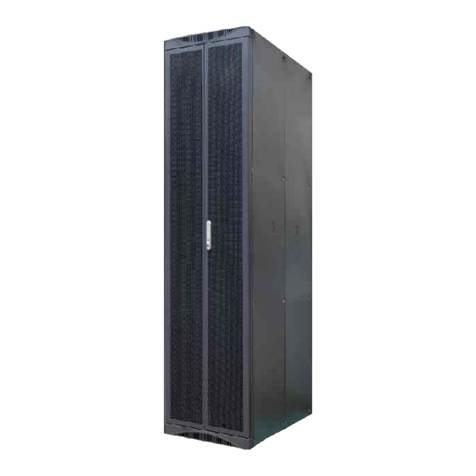
Huawei CR-P2HM User manual
Huawei
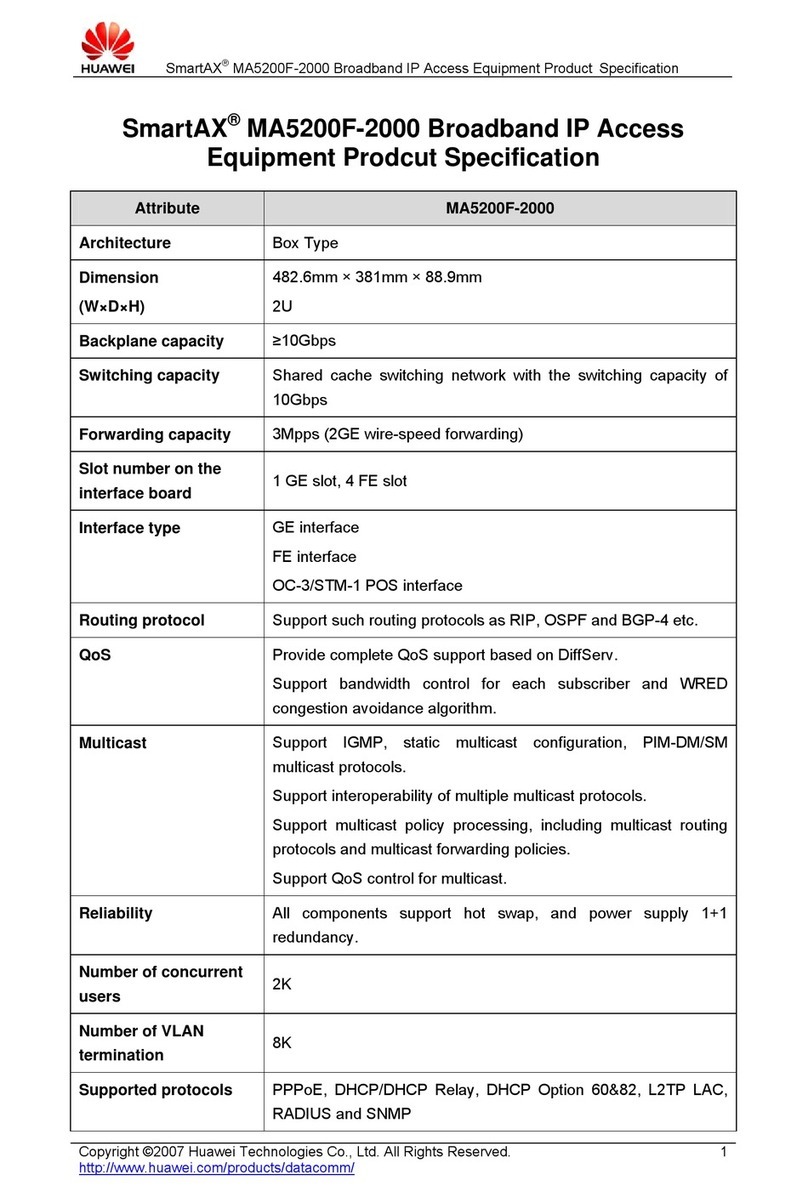
Huawei eSight V200R003C00 Manual
Huawei
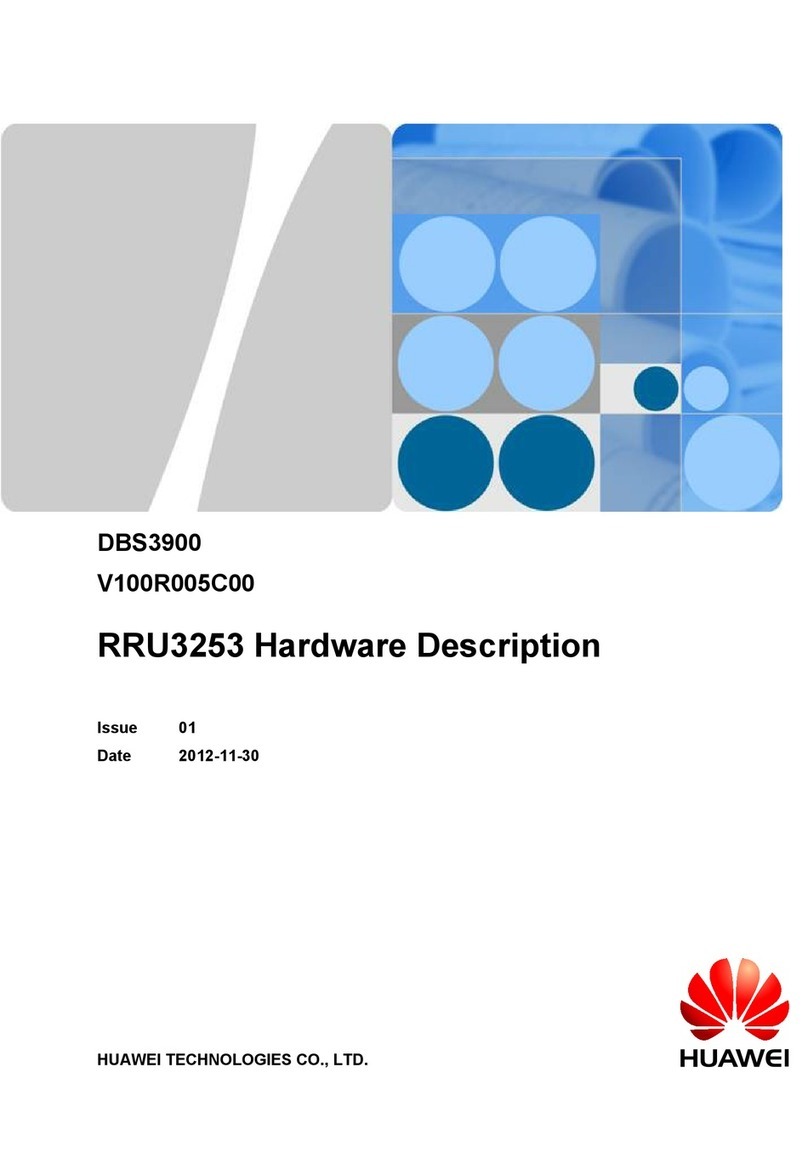
Huawei MA5200F-2000 User manual
Huawei
Huawei Airbridge DBS3900 Guide

Huawei
Huawei OceanStor S5600 User manual
Huawei
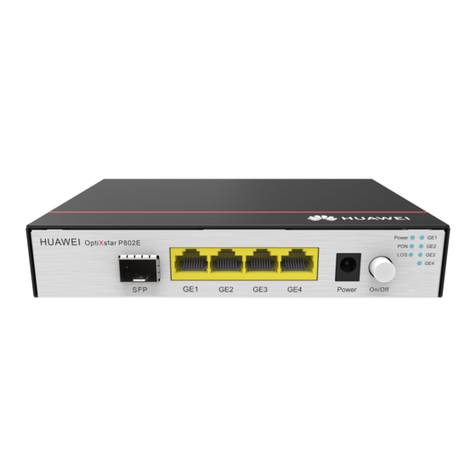
Huawei OptiXstar P802E User manual

Huawei
Huawei IDS2000 Dual-Row Aisle Containment User manual
Huawei
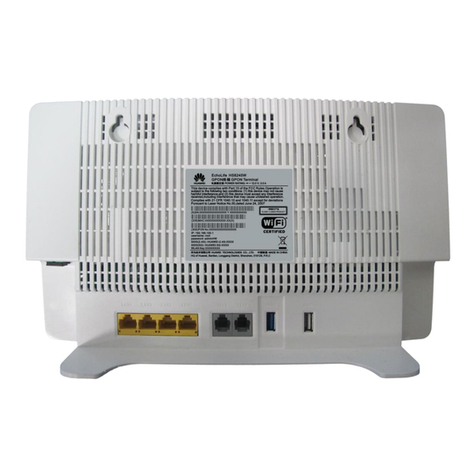
Huawei EchoLife HS8245W1 User manual
Huawei
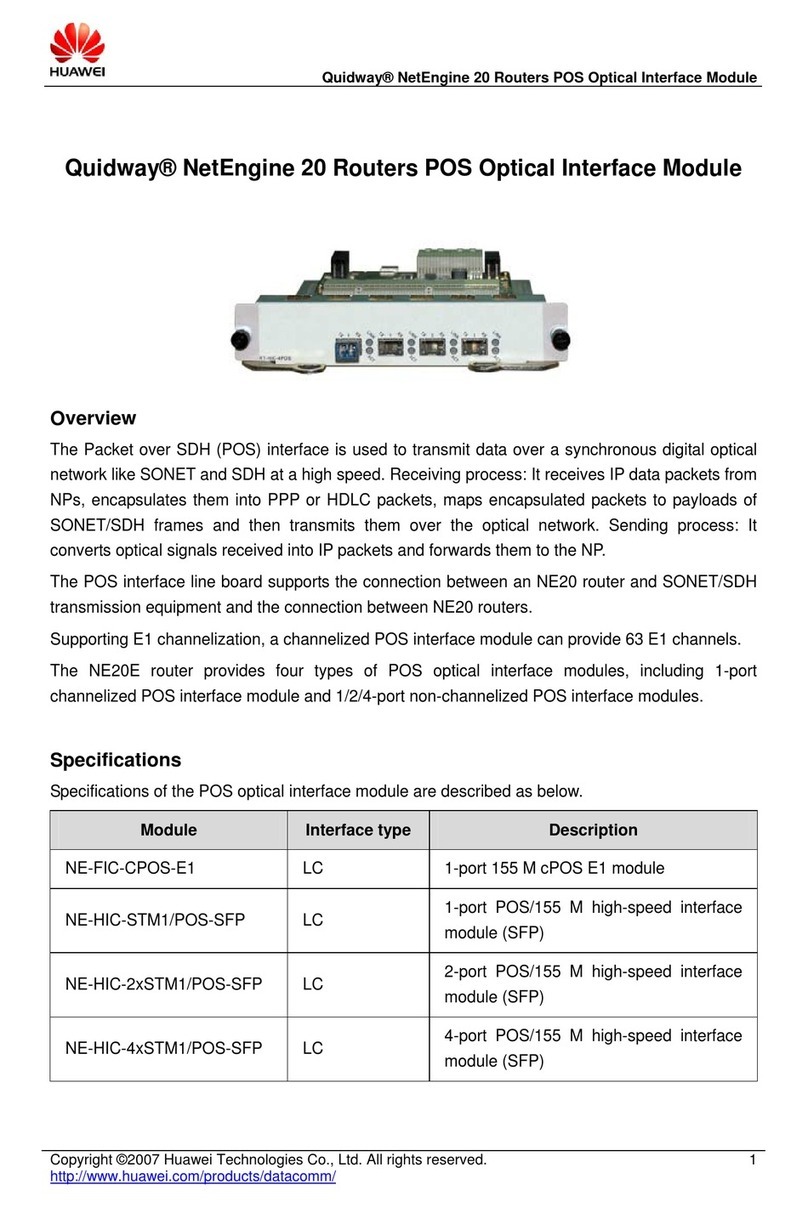
Huawei NE-HIC-2xSTM1/POS-SFP User manual

Huawei
Huawei FusionModule2000-S User manual
Huawei
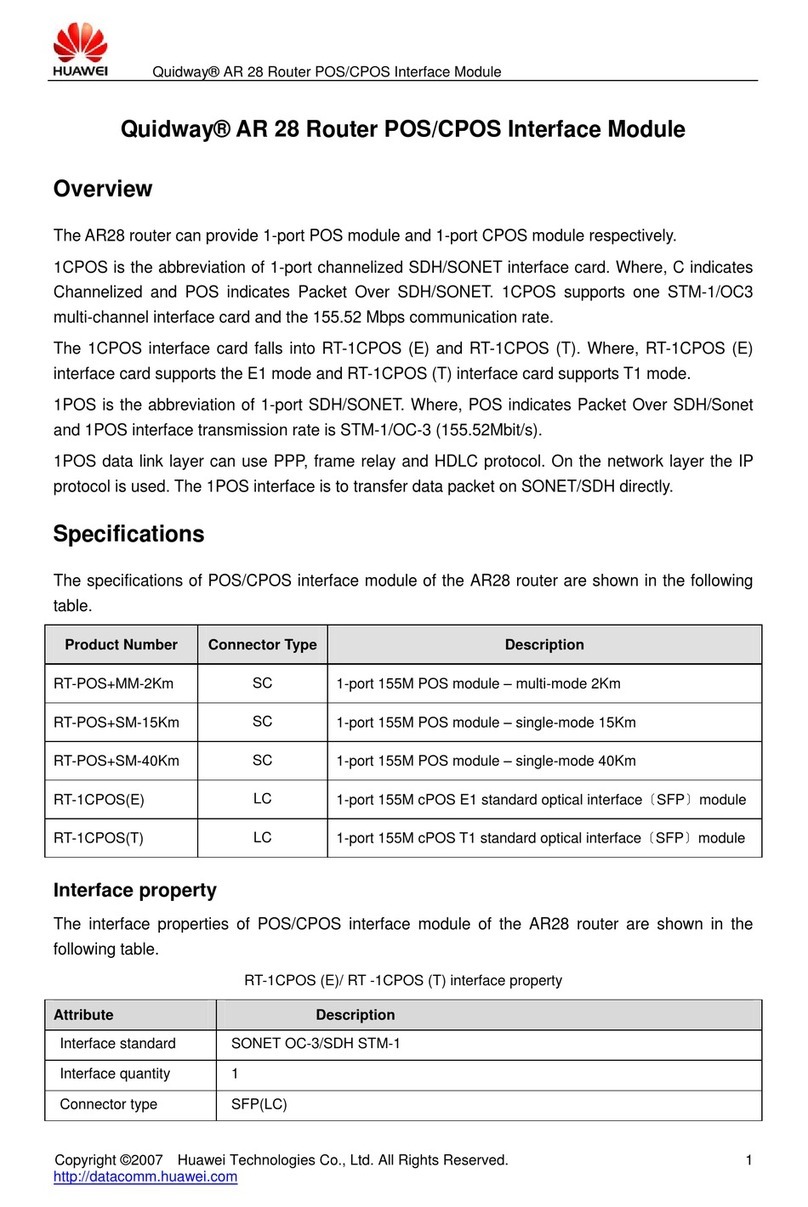
Huawei RT-1CPOS User manual
Huawei
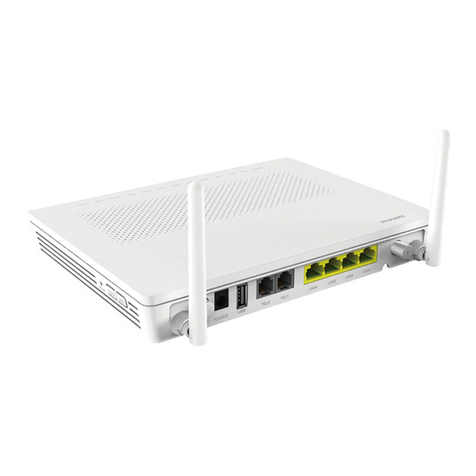
Huawei EchoLife HG8247H Operator's manual
Huawei
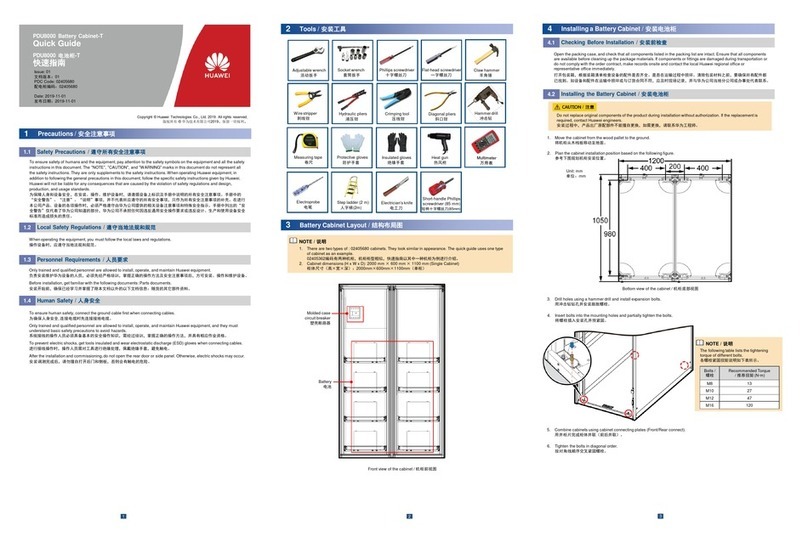
Huawei PDU8000 Series User manual
Huawei
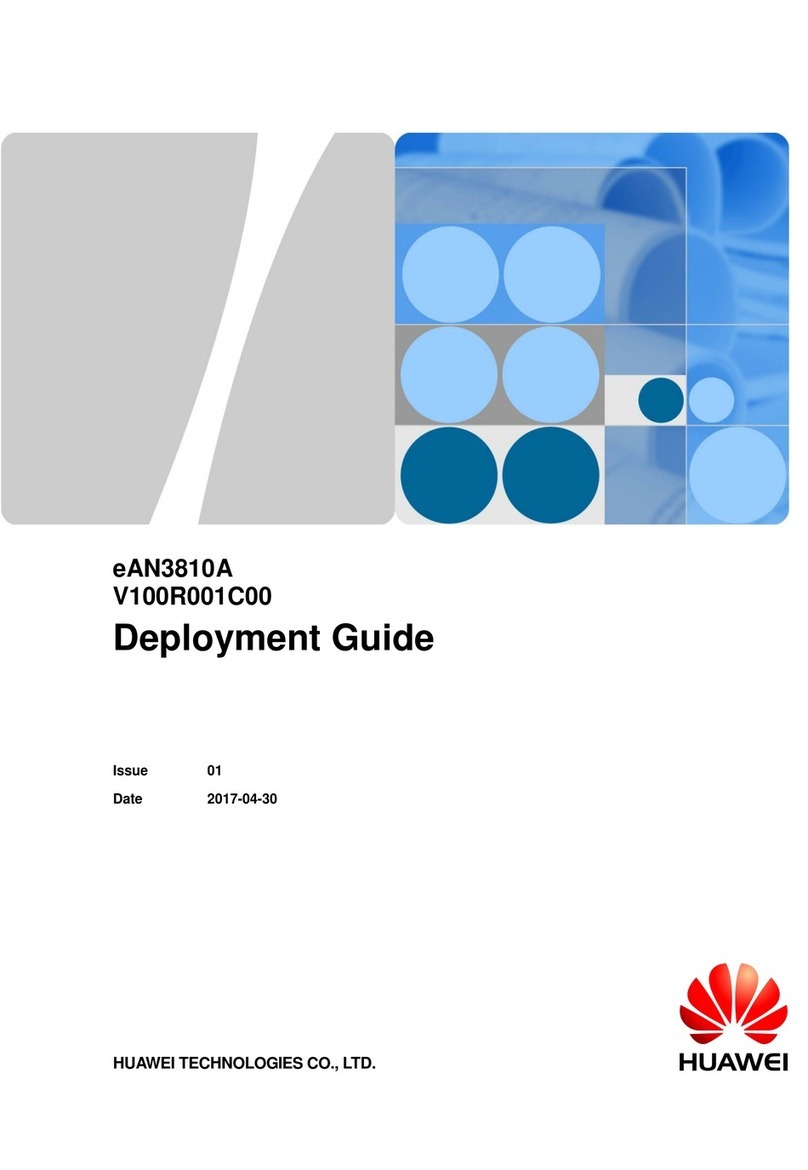
Huawei eAN3810A Quick reference guide
Huawei
Huawei OptiXstar S890H User manual

Huawei
Huawei XMC-1 ODU User manual
Huawei
Huawei RT-1E1 User manual

Huawei
Huawei FusionModule 500 User manual
Popular Network Hardware manuals by other brands

Matrix Switch Corporation
Matrix Switch Corporation MSC-HD161DEL product manual

B&B Electronics
B&B Electronics ZXT9-IO-222R2 product manual

Yudor
Yudor YDS-16 user manual

D-Link
D-Link ShareCenter DNS-320L datasheet

Samsung
Samsung ES1642dc Hardware user manual

Honeywell Home
Honeywell Home LTEM-PV Installation and setup guide
