System Mode
This device offers 3 easy-to-operate modes: “Preview”, “Browse”
and “Menu ”.
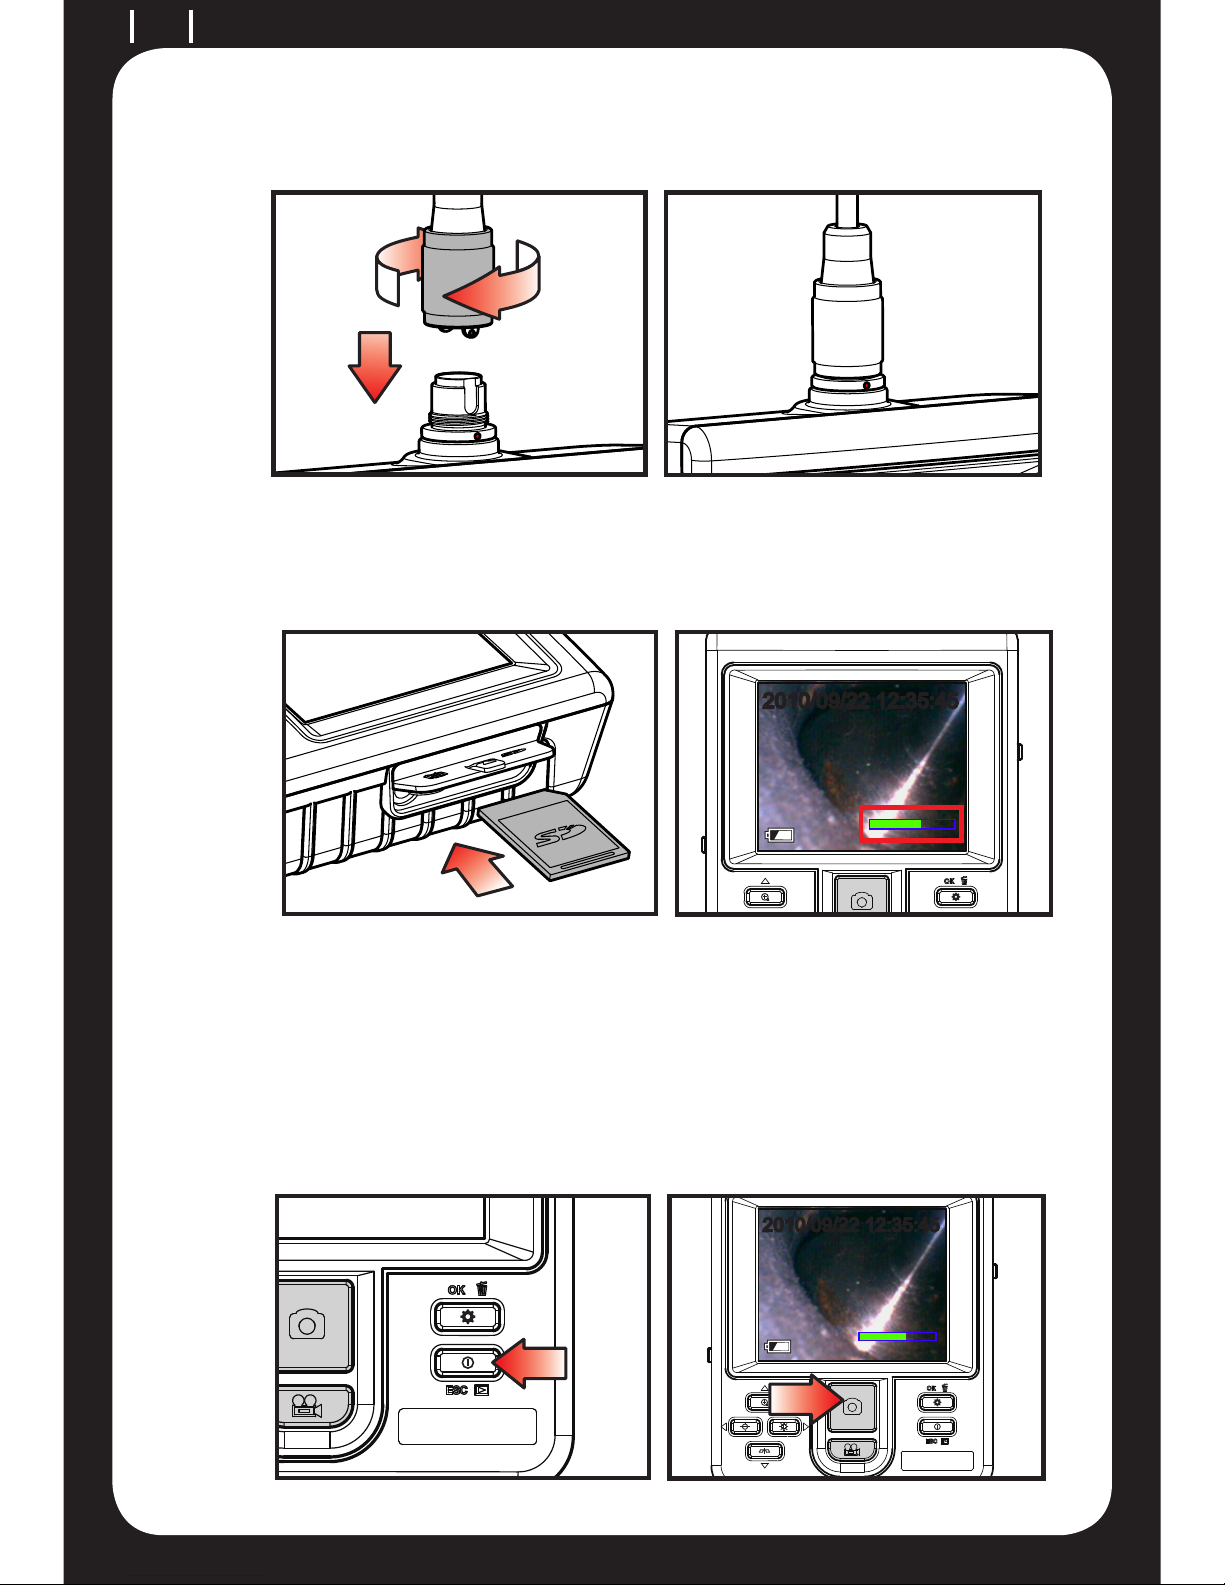
-Preview: Once the device turns ON, “Preview” mode is activated.
Images received by the device are shown on the screen real-time.
Under the “Preview” mode, the user may retrieve pictures or record.
-Browse: Under “Browse” mode, the user may view recorded
pictures and video and conduct basic le management.
-Menu: Under “Menu” mode, the user may change device settings.
Note: Under the “Menu” mode, the system will automatically return
to the “Preview”mode if no action is made.
Multifunction Key
Key Preview Browse Menu
Increase brightness Right N/A
Decrease brightness Left N/A
Enter “Menu” mode Delete Execute confirm
instruction
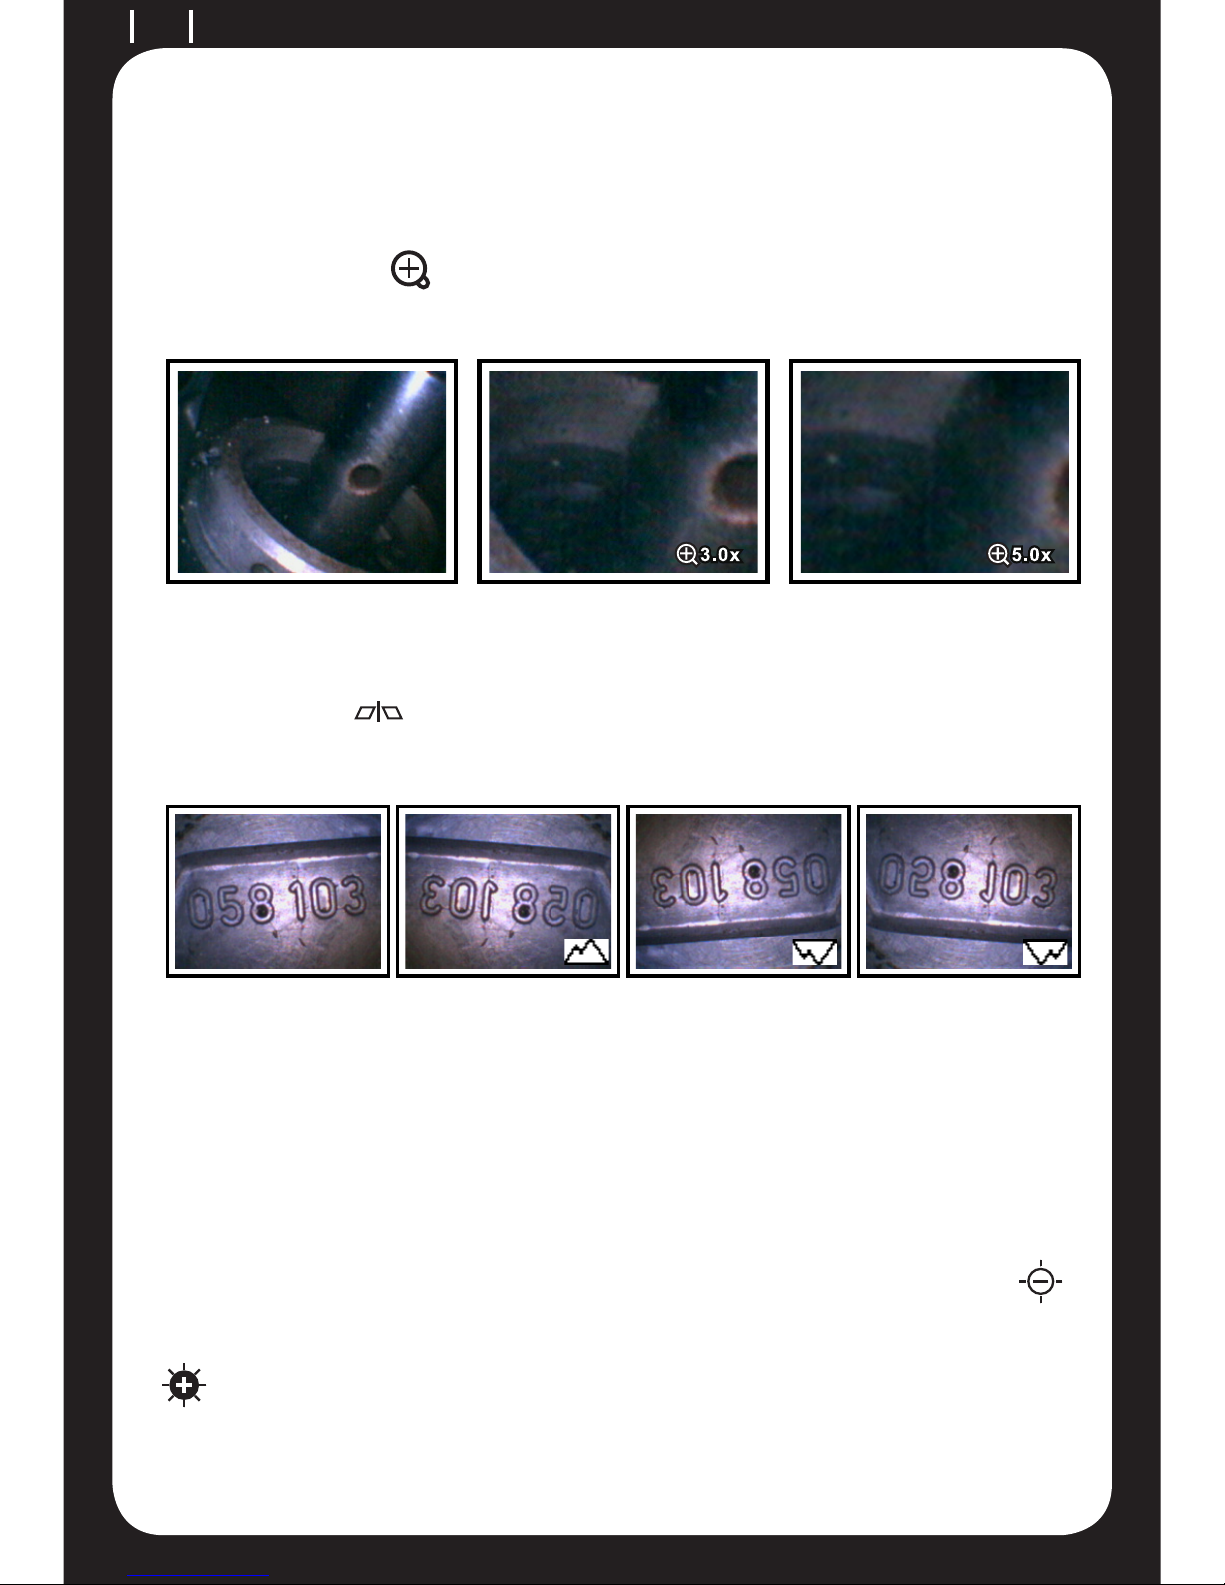
Zoom-in Up Up
Mirror Down Down
Enter “Browse” mode Return to “Preview”
mode
Return to “Preview”
mode
Snapshot Play lm / Pause N/A
Record video N/A N/A