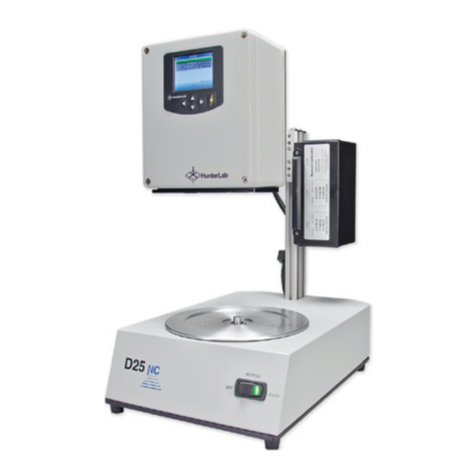
SETTING UP THE INSTRUMENT
STANDARDIZATION
1. Congure UV Mode: The UV mode is
shown in the status bar. To change the
mode, click the UV Button and select a UV
mode. Then click APPLY.
2. Initiate Standardization: Press the
Standardization Button on the status bar.
The port plate size and UV mode is shown
in the standardization dialog. To change
the port plate, place the new port plate
on Agera and click BACK to update the
port plate information.
3. Read Black Glass: Place the Agera black
glass at the sensor port and press READ.
4. Read White Tile: Remove the black glass
and place the Agera white tile at the port.
Press READ to continue.
1. Prepare Sample: Place the sample
at the port. The Quick View icon on
the toolbar can be used to assist in
positioning your sample.
1. Create a New Workspace: Press
Workspace > New Workspace and enter
a Name for this Workspace.
A new job will be opened together with
this new Workspace.
CREATE A WORKSPACE FOR
YOUR APPLICATION
For more detailed instructions on using the instrument, please refer to the Agera®User’s Manual.
Visit support.hunterlab.com for more information on maintenance, operation and repair of your instrumentation.
A
B
READING SAMPLES
D
C
1. Unpack your Box: Place the Agera®on the
bench. Retain the packaging in case of
instrument return to HunterLab.
2. Connect to the Power: Insert the power
supply into the back of the instrument and
connect the other end to an electrical
outlet.
2. Congure the New Workspace:
A Workspace is a measurement template
for a series of sample readings. With this
new Workspace open, the following can
be changed and saved:
To change measurement scales, select
Workspace > Color Scales. This congures
the desired color scales, indices, and
differences.
To change measurement procedure,
select Workspace > Read Options.
To add tolerances, select Workspace >
Standards & Tolerances.
To select the view screens, go to
Workspace > Views. To congure each
view screen, click View Options
in the toolbar.
3. Turn Power On: Using the rocker switch on
the back side, turn the power on. Once
inside the Essentials software, the Color
Data Table (CDT) is automatically
displayed.
Note: The default setting for Agera is a port up
position. If port forward is needed, go to
Workspace Menu > Preferences and check
Reverse Screen Orientation, click Apply.
Then cycle power on the Agera to implement
the new screen orientation.
3. Start a New Job: A job is a place to store
sample and standard readings. To start a
new job for this product, press Workspace
button on status bar to load this congured
workspace into a new job. To open an
existing job, press JOB button on the status
bar.
5. Standardization Complete: Remove the
Agera White Tile and click OK.
Standardization is updated and reported
in the bottom status bar along with UV
Mode and Port Plate Size.
A60-1018-921 ver. 1.0
2. Read Samples: Use the Read
Measurement icon to read samples.
If Image Viewer is enabled, the camera
preview dialog will be prompted before
color measurement. Click CAPTURE to
save the image and CONTINUE to
measure color. To view the sample image
in CDT and/or EZ view, please select
View Options > Image View.
3. Output Data: Select the Jobs icon from the
upper right corner. Under Jobs, data can
be saved, sent to a printer, emailed
to the network or exported to a ash drive.
Quick View icon
Note: Agera supports multiple modes allowing
for switching among different valid modes
after standardization.
Note: Quick View does not save the image. If you
want to save the image for each
measurement, please enable Image Viewer
under Workspace > Read Options.
Note: Agera includes a built-in 60-degree gloss
meter, located right below the sample port
plate, that provides measurements in
conformance with ASTM D523. Gloss is
automatically measured with each sample
and standard measurement. To show
Gloss value, please select Gloss index in
Workspace > Color Scales > Indices.
Note: The active workspace name is displayed
in the status bar on the lower right corner.
Note: Orient the tiles by aligning the white line to
the line on the port plate.
Job icon
Read Measurement icon
Workspace icon
View Option icon
