manuals.online logo
Brands
  1. Home
  2. •
  3. Brands
  4. •
  5. Husky
  6. •
  7. Storage
  8. •
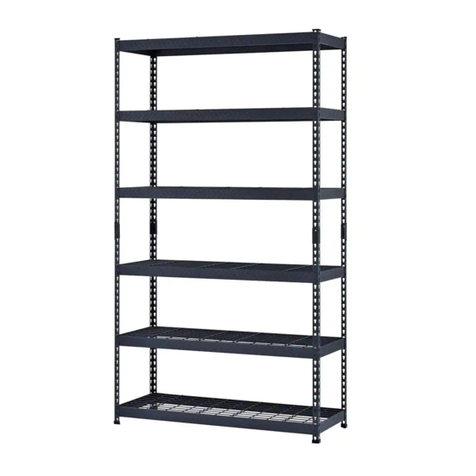
  9. Husky MR482478W5-R User manual

Husky MR482478W5-R User manual

This manual suits for next models

1

Other Husky Storage manuals

Husky MRTP481886W6B User manual

Husky

Husky MRTP481886W6B User manual

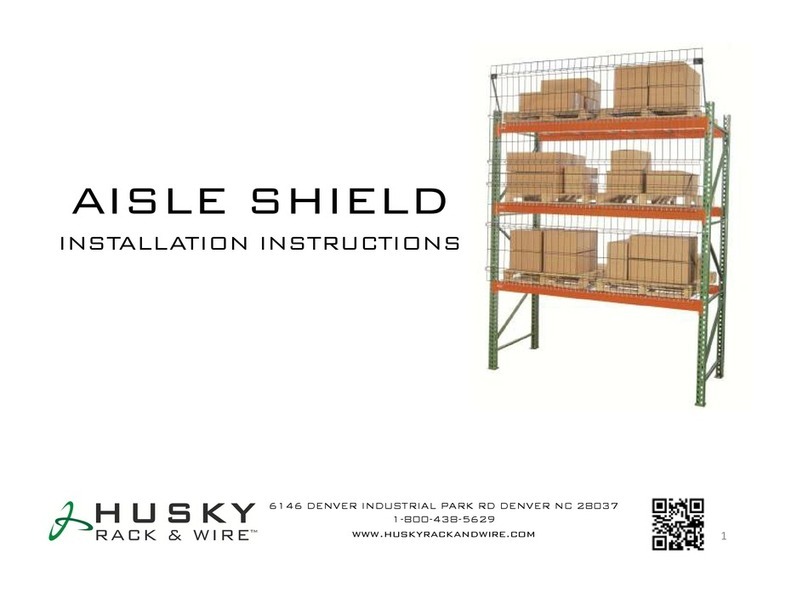
Husky AISLE SHIELD User manual

Husky

Husky AISLE SHIELD User manual

Husky HBR652454W3 User manual

Husky

Husky HBR652454W3 User manual

Husky G3002T-US User manual

Husky

Husky G3002T-US User manual

Husky HOTC5623BB2S User manual

Husky

Husky HOTC5623BB2S User manual

Husky GS05403-1D User manual

Husky

Husky GS05403-1D User manual

Husky 1000 000 000 User manual

Husky

Husky 1000 000 000 User manual

Husky HOTC4116B12S User manual

Husky

Husky HOTC4116B12S User manual

Husky H46MWC9XD-TL User manual

Husky

Husky H46MWC9XD-TL User manual

Popular Storage manuals by other brands

IBM 40/80 GB HH DLTVS user guide

IBM

IBM 40/80 GB HH DLTVS user guide

Synology DiskStation DS716+II Quick installation guide

Synology

Synology DiskStation DS716+II Quick installation guide

Vantec NexStar-HX4 user manual

Vantec

Vantec NexStar-HX4 user manual

LaCie Christofle Galet datasheet

LaCie

LaCie Christofle Galet datasheet

LaCie Rugged Thunderbolt user manual

LaCie

LaCie Rugged Thunderbolt user manual

OCZ IBIS datasheet

OCZ

OCZ IBIS datasheet

Transcend JetFlash 110 Brochure & specs

Transcend

Transcend JetFlash 110 Brochure & specs

QNAP TS 32PXU Series user guide

QNAP

QNAP TS 32PXU Series user guide

LaCie RUGGED RAID user manual

LaCie

LaCie RUGGED RAID user manual

Freecom CLS DOCK Quick install guide

Freecom

Freecom CLS DOCK Quick install guide

PNY Attache P-FD64MBATT3 install guide

PNY

PNY Attache P-FD64MBATT3 install guide

OWC Mercury Elite Pro Dual mini Assembly manual

OWC

OWC Mercury Elite Pro Dual mini Assembly manual

OLT 6x6 Maximizer Assembly manual

OLT

OLT 6x6 Maximizer Assembly manual

Transcend JetFlash 160 Specifications

Transcend

Transcend JetFlash 160 Specifications

Thunderbolt 600 user manual

Thunderbolt

Thunderbolt 600 user manual

Intel RAID High Availability user guide

Intel

Intel RAID High Availability user guide

LaCie 12big Thunderbolt 3 Quick install guide

LaCie

LaCie 12big Thunderbolt 3 Quick install guide

Spectra Logic T-Series Spectra T50e quick start guide

Spectra Logic

Spectra Logic T-Series Spectra T50e quick start guide

manuals.online logo
manuals.online logoBrands
  • About & Mission
  • Contact us
  • Privacy Policy
  • Terms and Conditions

Copyright 2025 Manuals.Online. All Rights Reserved.

Unidaddealmacenamientode5estantesparaserviciopesado
Thisunitshouldbeplacedonalevelsurface.Failuretodosocanresultinpoorproductperformanceorcreateapossiblesafetyhazard.DONOTCLIMB,
STANDorUSETHISUNITASALADDER.TOPREVENTTIPPING,ALWAYSSECURETOAWALLWITHSUITABLEFASTENERS,NOTINCLUDED.CAUTION:CONTAINS
SMALLPARTS,KEEPCHILDRENAWAYDURINGINSTALLATION.Usetwoormorepeopletoassembleandmovetheunittoavoidinjury.Donotusethisunitfor
anythingotherthanthemanufacturer’sintendedpurpose.Usecarewhenworkingwithmetalparts,wearglovesforprotection.Donotexceed1000lbsper
shelfofevenlydistributedweight.Alwaysstorelarger,heavieritemsonthebottomlevelsandsmalllighteritemsontheupperlevels.Periodicallyinspectthe
unittoensurebeamsareproperlyseatedinpostslots.Failuretofollowtheseguidelinescanresultinpropertydamageorpersonalinjuries.Keepthismanual
forfuturereference.
Estaunidaddebecolocarseenunasuperficienivelada.Delocontrario,puedeprovocarunrendimientodelproductodeficienteocrearunposibleriesgodeseguridad.NOESCALAR,SOPORTAROUTILIZARESTAUNIDAD
COMOESCALERA.PARAEVITARVUELCO,SIEMPRESEGURARAUNAPAREDOPISOCONSUJETADORESADECUADOS(NOINCLUIDOS).PRECAUCIÓN:contienepiezaspequeñas,mantenganiñoslejosdurantelainstala‐
ción.Usedosomáspersonasparaarmarymoverelunidadparaevitarlesiones.Elnousarestaunidadparaotrofinquenoseaelprevistoporelfabricante.Tengacuidadoaltrabajarconpartesdemetal,useguantes
parasuprotección.Noexceda453kgporniveldepesodistribuidouniformemente.Siemprealmaceneartículosmásgrandesypesadosenlosnivelesinferioresyartículospequeñosmásligerosenlosnivelessuperiores.
Periódicamenteinspeccioneelrackparaasegurarsedequelasvigasesténcorrectamenteasentadasyquelosclipsesténbienconectados.Noseguirestospuntospuedeocasionardañosalapropiedadolesionesperso‐
nales.Guardeestemanualparareferenciafutura.
WarrantyGarantía
ContentsContenido
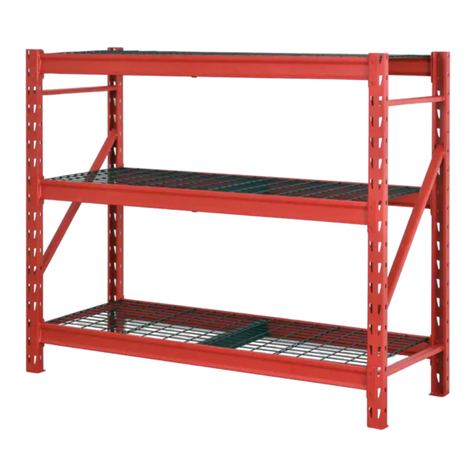
48"Wx24"Dx78"H
122cmAnchox61cmProfundox198cmAlto
5‐ShelfHeavyDutyStorageUnit
ImportantInformationInformaciónimportante
C x10
#TRBM48HD‐R
Beam
viga
F x10
#MR‐WIRECLIP‐10
SupportHook
Ganchodesoporte
G x4
#CPOUT‐R
PostCoupler
Posteacoplador
E x5
#2448W‐BLK
WireShelf
Estantedealambre
B x8
#URPS39‐R
Post
poste
A x4
#FP‐HP
PostFoot
piedeposte
H x4
#RL‐PC‐B1.4
PostCap
Tapadeposte
D x10
#TRBR24‐R
Brace
abrazadera
GUARANTEEDFOREVER.IfyourHuskytoolorstorageuniteverfailsbringitbackandwewillreplaceitforfree.Thisfullwarrantygivesyouspecificrights
whichvaryfromstatetostate.Ifthisproductisdefectivecontactthemanufacturerforrepairorreplacementparts.
GARANTIZADOPARASIEMPRE.SialgunavezfallasuherramientaounidaddealmacenamientoHusky,devuélvalaylareemplazaremosdeformagratuita.Estagarantíacompletaleotorgaderechosespecíficosquevarían
deestadoaestado.Siesteproductoesdefectuoso,comuníqueseconelfabricantepararepararoreemplazarpiezas.
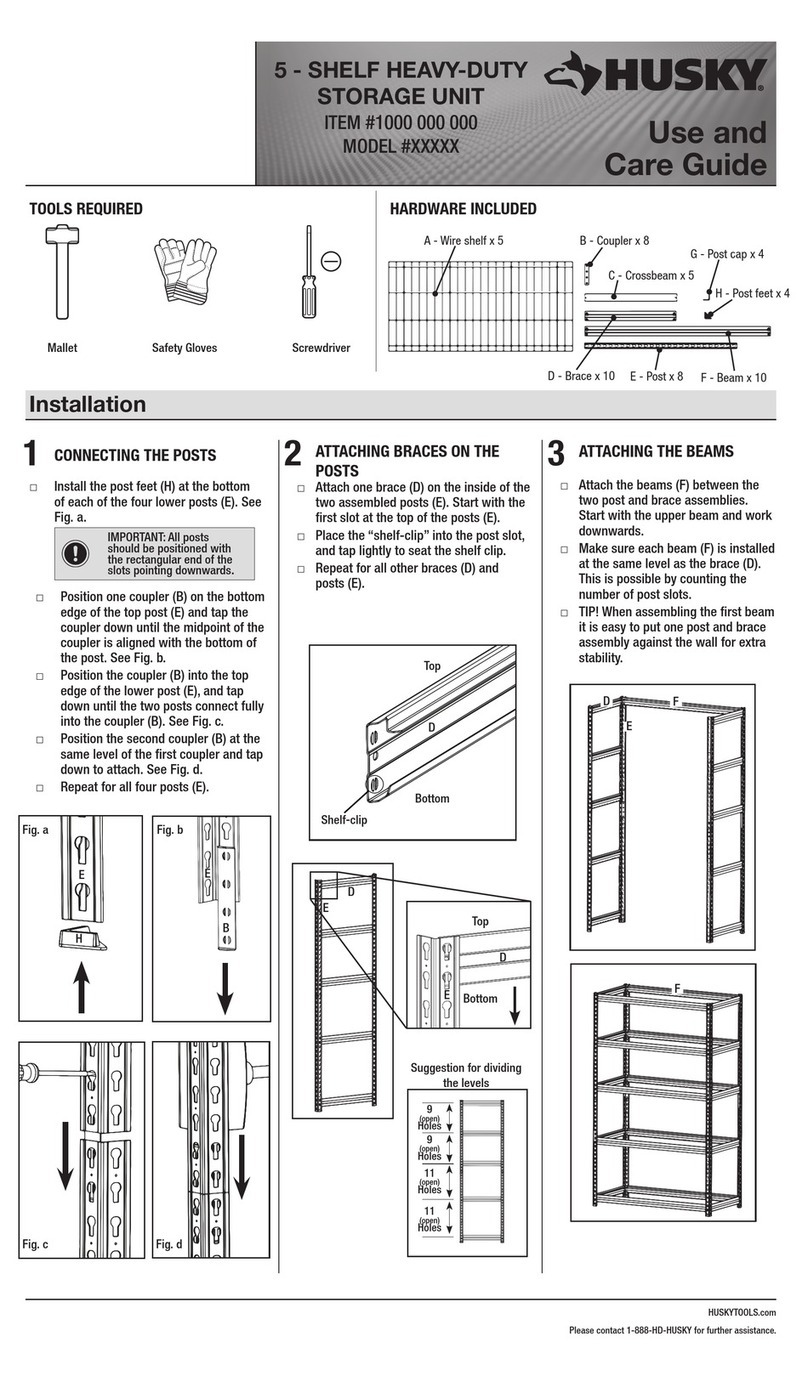
Beforebeginningassembly,readthroughtheinstructionsandmakesureallpartsarepresent.
Assemblyofthisunitisdonebyfittingtherivetsofthebeams(C)andbraces(D)intothekeyhole
slotsoftheposts(B)(see1‐a).Beams(C)mustbeinstalledwiththelongerledgeontopandthe
shorterledgeatthebottom.Braces(D)mustbeinstalledwithledgeontop(see1‐b).Thebottom
shelfassemblyshouldbeinstalledintothesecondkeyholeslotsatthebottomofpostsandthe
topshelfassemblyshouldbeinstalledintothefirstkeyholeslotsatthetopofposts.Arubber
malletmaybeusedtotapdownonthetopofbeamsandbracestoproperlyseattherivetsinto
thenarrowendofthekeyholeslot(see1‐c).Avisualinspectionshouldbemadetoensurethat
therivetsareproperlyengagedintothekeyholeslot.Otheroption:canbeassembledhorizontally
astwoindividual39”highshelvingunits.Oneunitwillhave3shelvesandtheotherwillhave2
shelves(see1‐d).Ifchoosingthisoption,followassemblysteps2,3,and4repeatinguntilallshelf
levelsarecompletedforbothunits.PartsA,GandHwillnotbeusedforthissetup.
Antesdecomenzarelmontaje,leerlasinstruccionesyasegúresedequetodaslaspartesesténpresentes.Elmontajedeestaunidadse
realizamediantelacolocacióndelosremachesdelasvigas(C)yabrazaderas(D)enlasranurasdelosposte(B)(ver1‐a).Lasvigas(C)
debeninstalarseconelbordemáslargoenlapartesuperioryelbordemáscortoenlaparteinferior.Laabrazadera(D)debeinstalarse
conelbordelargoenlapartesuperior(ver1‐b).Elensamblajedelestanteinferiordebeinstalarseenlassegundasranurasdebocallave
delospostesinferioresyelensamblajedelestantesuperiordebeinstalarseenlasprimerasranurasdebocallavedelospostessuperi‐
ores.Unmazodecauchopuedenserutilizadosenlapartesuperiordelasvigasytirantesparaasentarcorrectamentelosremachesen
laranuracónicadelpuesto(ver1‐c).Sedeberealizarunainspecciónvisualparaasegurarsedequelosremachesesténinstalados
correctamenteenlaranura.Otraopción:Sepuedemontarhorizontalmentecomodosunidadesdeestanteríaindividualesde39".Una
unidadtendrá3estantesylaotratendrá2estantes(ver1‐d).Sieligeestaopción,sigalospasosdemontaje2,3y4repitiendohasta
quesecompletentodoslosnivelesdeestanteríaparaambasunidades.LaspartesA,GyHnoseusaránparaestaconfiguración.
Pre‐InstallationPre‐instalación
Itemsyoumightfindhelpful(notincluded):rubbermallet,gloves,wallanchors
Artículosquepuedenserútiles(noincluidos):mazodegoma,guantes,anclajesdepared
1-a
Narrow
endof
keyhole
slotsface
down
Beam/Brace
viga/abrazadera
Extremo
angostode
lasranuras
delposte
estáabajoRivets
remache
1-d
1-c
Rivetsshouldbeproperly
seatedintothenarrowend
ofthekeyholeslots.
Losremaches
debenestar
correctamente
asentadosen
elextremo
angostodela
ranurasde
ojodela
cerradura.
1-b
Brace(D)
ledgemust
beontop.
Insideview
Beamshorterledgeonbottom.
Beam(C)
longerledge
mustbeon
top.
Elbordemás
largodelhaz(C)
debeestarenla
partesuperior.
Elbordemáscortodelavigaestáenla
parteinferior.
Elbordede
Brace(D)debe
estarenlaparte
superior.
Item#:
1004171297


Model/Modelo#’s:
MR482478W5‐R
E
Questions,problems,damageormissingparts?ContactHusky’spartneredmanufacturerforassistance:
Preguntas,problemas,dañosopartesfaltantes?PóngaseencontactoconelfabricanteasociadodeHuskyparaobtenerayuda:
Chat:www.edsal.com/chatorwww.edsal.com/contact
Email:supp[email protected]m
Phone:773‐475‐3131
Toobtainreplacementpartspleaseprovide:ModelNumber,PartNumber&Description,LocationPurchased,andDatePurchased
Paraobtenerpiezasderepuesto,proporcione:númerodemodelo,númerodepiezaydescripción,lugaryfechadecompra.
Manufacturer:
EdsalManufacturingCompany
Chicago,IL60609
AssembledinU.S.A.usingglobalcomponents
EnsambladoenlosEE.UU.Concomponentesglobales

USPatents&PatentsPending
No:D808,199
PatentesypatentespendientesdeEE.UU. 

Rev:C020819
Telefono:773‐475‐3131
Correoelectrónico:support@edsal.com
1 2
3 4
A&B(x4)C&D
Assembly Ensamblaje MR482478W5-R
E&F(x2)
B
A
B
C
D
D
5 G&B(x4)
G
B
Repeatsteps2&3to
assemblethenextlevel
7 H
H
B
B
A
Repitalospasos2y3paramontarel
siguientenivel
H
B
B
G
F
AttachthetopofHookoverthe
wiredeck.Pushthebeamslightly
inwardtoengageifneeded.
C
D
G
B
B
6
InsertHook(F)intothe
holelocatedincenterof
beam’sbottomledge.
Insidesideview
Vistalateralinterior
Hookcorrectlyengaged
intobeamandonwire.
Repeatforotherside.
Insidesideview
Vistalateralinterior
Insidesideview
Vistalateralinterior
Elganchoestáconectado
correctamentealavigayla
rejilladealambre.Repitaen
elotrolado.
Securetowall
(hardwarenotincluded)
Asegurelaunidadalapared(hardwarenoincluido)
Repeatsteps2&3toassemble
thenextthreeshelflevels
Repitalospasos2y3paraensamblarlospróximostres
nivelesdelestante
Coloquelapartesuperiordelgancho
enlarejilladealambre.Esposibleque
tengaqueempujarlavigaligeramente
haciadentroparaenganchar.
Inserteelgancho(F)enel
orificioubicadoenelcentro
delbordeinferiordelaviga.
F