Husqvarna PP 440 HF User manual

HUSQVARNA CONSTRUCTION PRODUCTS
GB ES DE FR
Operator’s manual
Please read the operator’s manual carefully and make sure
you understand the instructions before using the machine.
Manual de
FR
GB
ES
DE
instrucciones
Lea detenidamente el manual de instrucciones y asegúrese
de entender su contenido antes de utilizar la máquina.
Bedienungsanweisung
Lesen Sie die Bedienungsanweisung sorgfältig durch und
machen Sie sich mit dem Inhalt vertraut, bevor Sie das
Gerät benutzen.
Manuel d’utilisation
Lire attentivement et bien assimiler le manuel d’utilisation
avant d’utiliser la machine.
PP 440 HF

2 – English
KEY TO SYMBOLS
Symbols on the machine:
WARNING! The machine can be a
dangerous tool if used incorrectly or
carelessly, which can cause serious or
fatal injury to the operator or others.
Please read the operator’s manual
carefully and make sure you understand
the instructions before using the machine.
Always wear:
• Approved protective helmet
• Approved hearing protection
• Protective goggles or a visor
• Breathing mask
This product is in accordance with
applicable EC directives.
WARNING! High current.
Environmental marking. Symbols on the
product or its packaging indicate that this
product cannot be handled as domestic
waste. It must instead be submitted to an
appropriate recycling station for the recovery
of electrical and electronic equipment.
By ensuring that this product is taken care of
correctly, you can help to counteract the
potential negative impact on the environment and people that
can otherwise result through the incorrect waste
management of this product.
For more detailed information about recycling this product,
contact your municipality, your domestic waste service or the
shop from where you purchased the product.
Symbols in the operator’s manual:
Inspection and/or maintenance should be
carried out with the motor switched off and
the plug disconnected.
Always wear approved protective gloves.
Regular cleaning is required.
Visual check.
Protective goggles or a visor must be worn.

English – 3
CONTENTS
Contents
KEY TO SYMBOLS
Symbols on the machine: ............................................. 2
Symbols in the operator’s manual: ............................... 2
CONTENTS
Contents ...................................................................... 3
WHAT IS WHAT?
What is what on the power unit? .................................. 4
SAFETY INSTRUCTIONS
Steps before using a new power unit ........................... 5
Personal protective equipment ..................................... 5
Machine′s safety equipment ........................................ 6
General safety precautions .......................................... 7
General working instructions ....................................... 7
PRESENTATION
PP 440 HF ................................................................... 8
ASSEMBLY
Assembling/Installing equipment ................................. 9
SETTINGS AND ADJUSTMENTS
Start menu ................................................................... 10
Operations menu ......................................................... 10
STARTING AND STOPPING
Before starting ............................................................. 11
Starting ........................................................................ 11
Stopping ....................................................................... 12
After work is completed ............................................... 12
MAINTENANCE
Service ......................................................................... 13
Daily maintenance ....................................................... 13
TECHNICAL DATA
PP 440 HF ................................................................... 14
EC-declaration of conformity ........................................ 15

4 – English
WHAT IS WHAT?
What is what on the power unit?
1 Power unit
2 Handle
3 Electrical socket
4 Main switch
5 Cable connection
6 Emergency stop
7 Canbus port
8 Power indicator
9 Water connector, out
10 Water connector, in
11 Remote control
12 Start button
13 Blade rotation and start water coolant
14 Travel feed
15 Depth feed
16 Canbus cable
17 Power lead
18 Water hose
19 Single phase socket - Only 5-pin machines
20 Earth-fault circuit breaker - Only 5-pin machines
21 Operator′s manual

English – 5
SAFETY INSTRUCTIONS
Steps before using a new power unit
• Please read the operator’s manual carefully and make
sure you understand the instructions before using the
machine.
• This machine is only intended for use together with a
Husqvarna WS 440 HF. All other use is forbidden.
• Read through the manual supplied with the wall saw
before starting to use the hydraulic unit.
• The machine can cause serious personal injury. Read the
safety instructions carefully. Learn how to use the
machine.
Always use common sense
It is not possible to cover every conceivable situation you can
face. Always exercise care and use your common sense.
Avoid all situations which you consider to be beyond your
capability. If you still feel uncertain about operating
procedures after reading these instructions, you should
consult an expert before continuing.
Do not hesitate to contact your dealer if you have any more
questions about the use of the machine.We will willingly be of
service and provide you with advice as well as help you to use
your machine both efficiently and safely.
Let your Husqvarna dealer regularly check the machine and
make essential adjustments and repairs.
All information and all data in the Operator’s Manual were
applicable at the time the Operator’s Manual was sent to print.
Personal protective equipment
• Protective helmet
• Hearing protection
• Protective goggles or a visor
• Breathing mask
• Heavy-duty, firm grip gloves.
• Tight-fitting, heavy-duty and comfortable clothing that
permits full freedom of movement.
• Boots with steel toe-caps and non-slip sole.
• Always have a first aid kit nearby.
!
WARNING! Under no circumstances should
you modify the original design of the
machine without approval from the
manufacturer. Always use original spare
parts. Unauthorised modifications and/or
accessories may lead to serious injury or
death to the user or others.
!
WARNING! You must use approved personal
protective equipment whenever you use the
machine. Personal protective equipment
cannot eliminate the risk of injury but it will
reduce the degree of injury if an accident
does happen. Ask your dealer for help in
choosing the right equipment.

6 – English
SAFETY INSTRUCTIONS
Machine′′′′s safety equipment
This section describes the machine′s safety equipment, its
purpose, and how checks and maintenance should be carried
out to ensure that it operates correctly. See the ”What is
what?” section to locate where this equipment is positioned
on your machine.
Start button
The start button must be pushed and held to be able to start
the blade rotation.This in order to prevent unintended starting
of the blade rotation.
Checking the start button
• Turn the knob for blade rotation without pushing and
holding the start button.
The blade rotation must not start.
• Push and hold the start button and turn the knob for blade
rotation.
Now the blade rotation shall start.
Emergency stop and stop button
The power unit is equipped with an emergency stop and the
remote control with a stop button. These are used to be able
to quickly shut down the power unit.
Check the emergency stop and stop
button
• Start the blade rotation.
• Push the emergency stop on the power unit and check
that the blade rotation stops. Check the stop button on the
remote control in the same way.
Main switch
The main switch is used to switch the electricity supply to the
power unit on and off. The main switch must be in the "0"-
position when the incoming cable is connected.
Checking the main power switch
• Turn the main switch to the "0"-position.
• Try to start the saw.
The saw must not start.
!
WARNING! Never use a machine with faulty
safety equipment.The machine’s safety
equipment must be checked and maintained
as described in this section. If your machine
fails any of these checks contact your
service agent to get it repaired.
IMPORTANT! All servicing and repair work on the machine
requires special training. This is especially true of the
machine′s safety equipment. If your machine fails any of the
checks described below you must contact your service
agent.When you buy any of our products we guarantee the
availability of professional repairs and service. If the retailer
who sells your machine is not a servicing dealer, ask him for
the address of your nearest service agent.

English – 7
SAFETY INSTRUCTIONS
General safety precautions
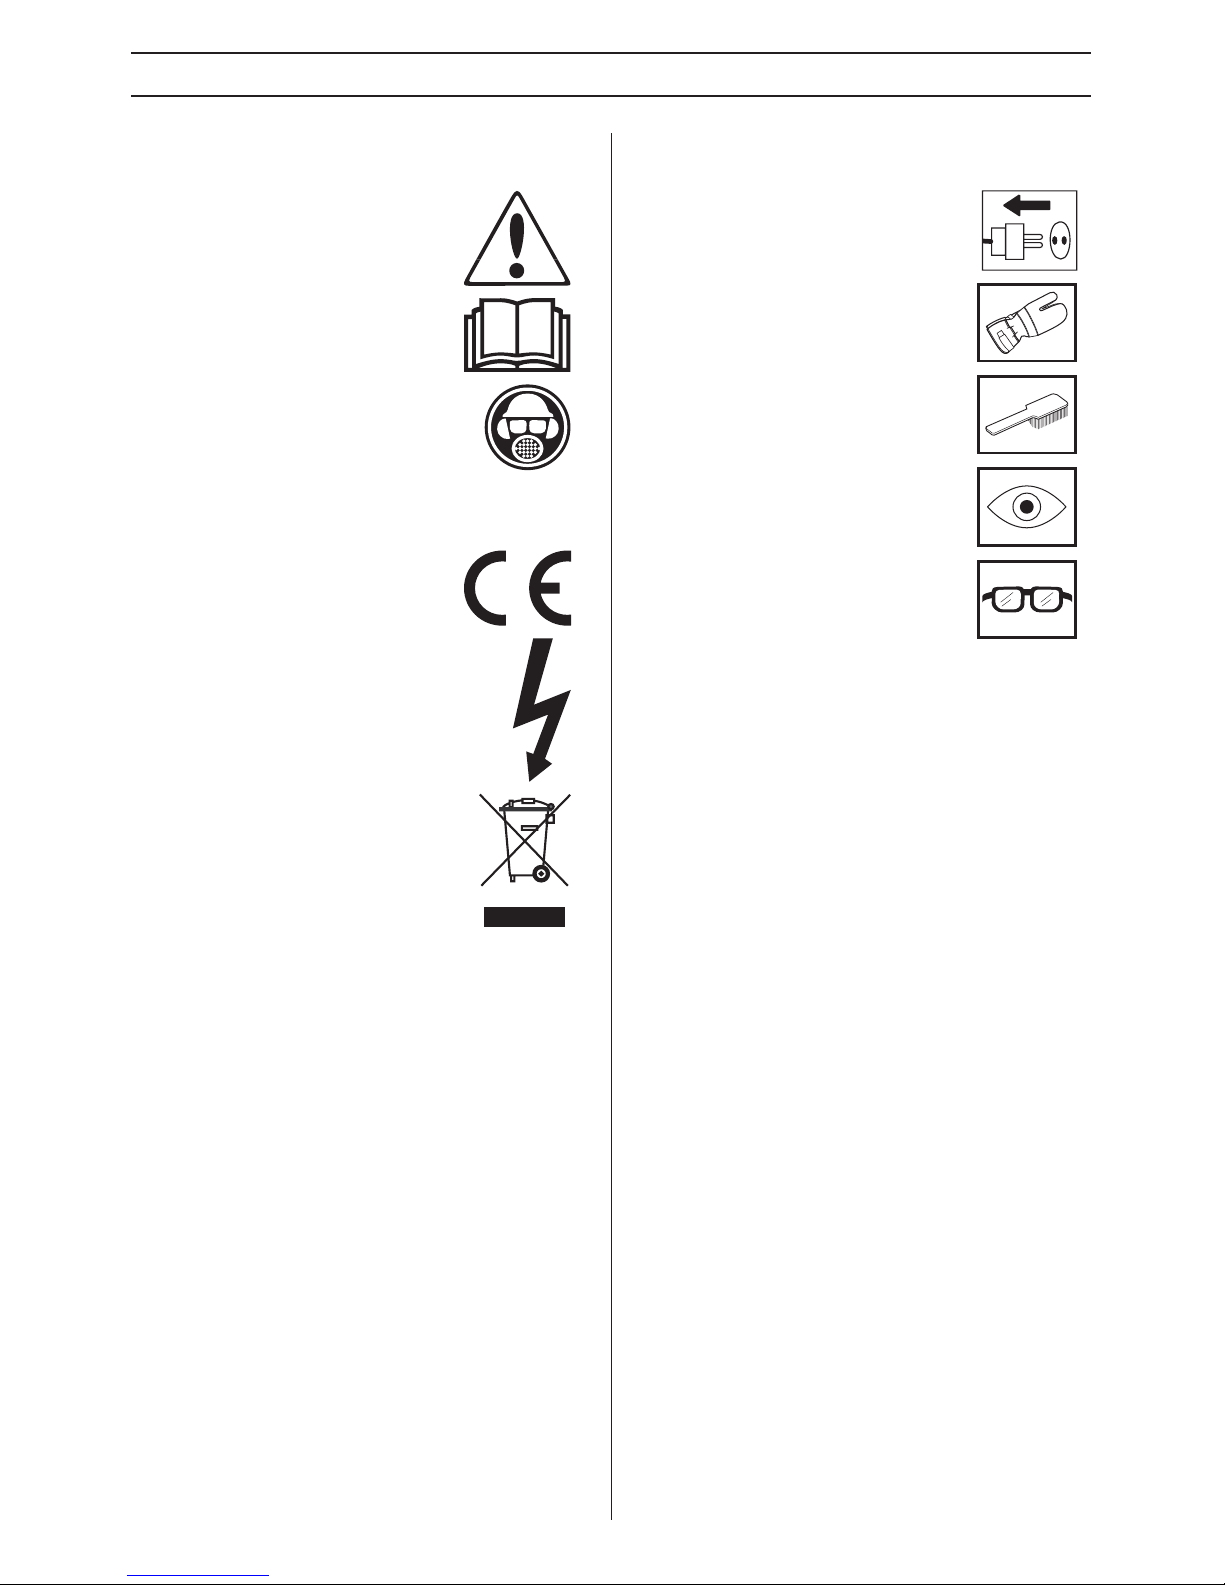
Do not use the machine without first reading and
understanding the contents of this Operator’s Manual.
• Never use the machine if you are tired, if you have drunk
alcohol, or if you are taking medication that could affect
your vision, your judgement or your co-ordination.
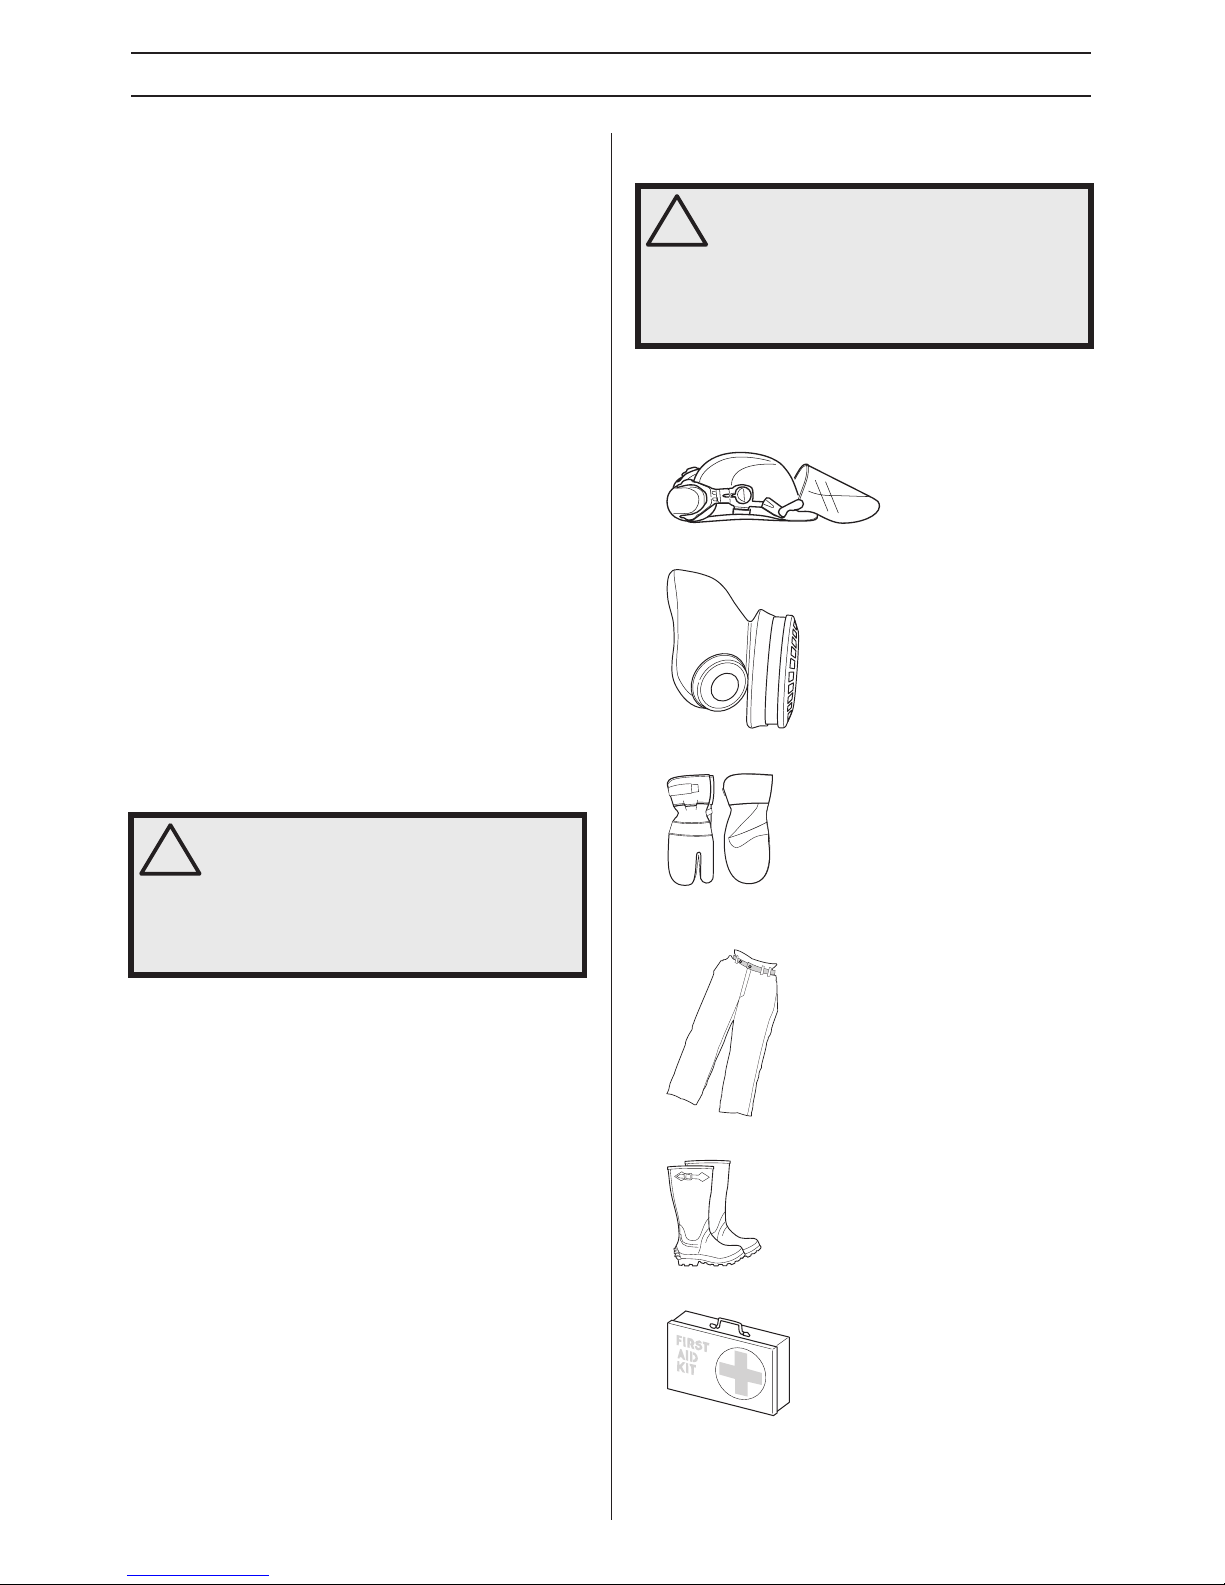
• Wear personal protective equipment. See instructions
under the heading Personal protective equipment.
• Never carry the machine by holding the cable and never
pull the plug by pulling the cable.
• Keep all cables away of water, oil and sharp edges. Make
sure the cable is not pinched in doors, fences or the like.
It can cause the object to become live.
• Check that the cables are intact and in good condition.
• Never use the machine if any cable is damaged, but hand
it in to an authorized service workshop for repair.
• The machine should be connected to an earthed outlet
socket.
• Check that the mains voltage corresponds with that stated
on the rating plate on the machine.
• Keep all parts in good working order and ensure that all
fixtures are properly tightened.
• Never use a machine that is faulty. Carry out the checks,
maintenance and service instructions described in this
manual. Some maintenance and service measures must
be carried out by trained and qualified specialists. See
instructions under the heading Maintenance.
• Do not modify safety equipment. Check regularly that they
function as they should.The machine must not be run with
defective or disassembled safety equipment.
• Never allow anyone else to use the machine without first
ensuring that they have understood the contents of the
operator’s manual.
• People and animals can distract you causing you to lose
control of the machine. For this reason, always remain
concentrated and focused on the task.
• Be careful as clothing, long hair, and jewellery can get
caught in moving parts.
• Observe care when lifting. You are handling heavy parts,
which implies the risk of pinch injuries or other injuries.
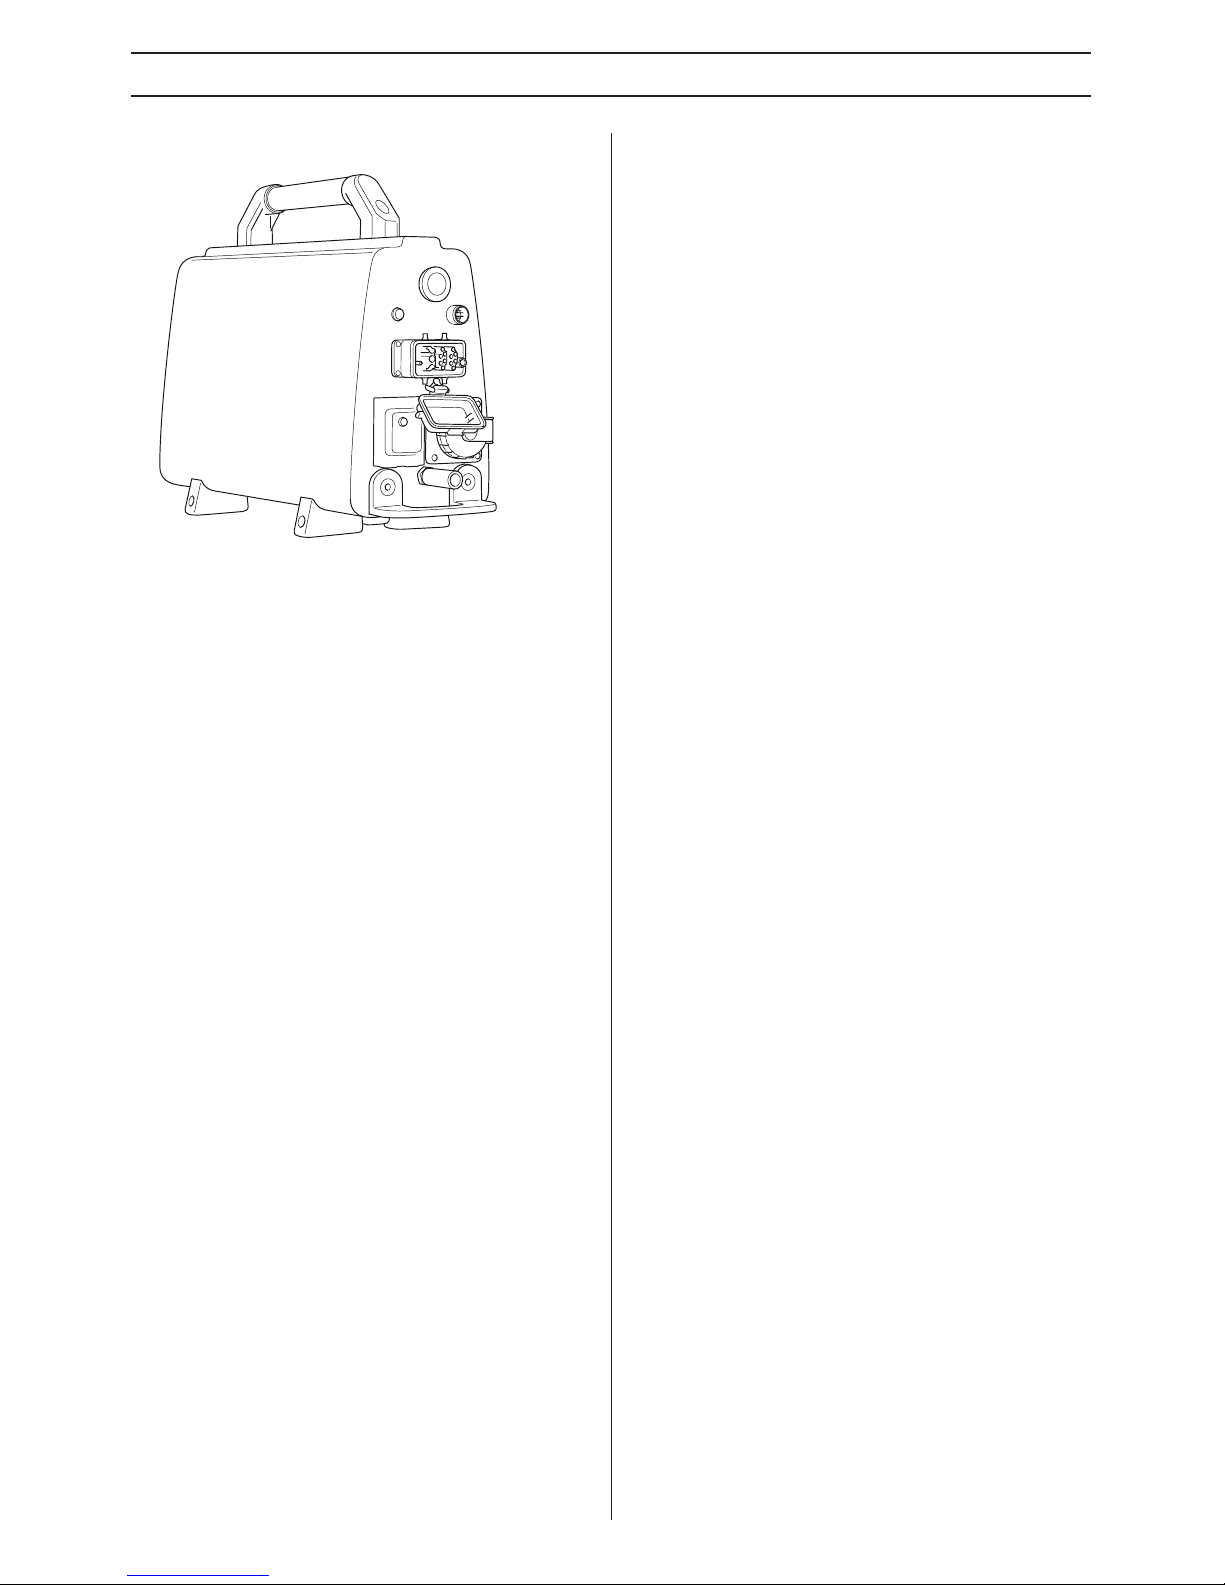
Transport and storage
• Always switch of the power unit and pull out the electric
cable before moving the equipment.
• Store the equipment in a lockable area so that it is out of
reach of children and unauthorised persons.
• If there is a risk of freezing, the machine must be drained
of any remaining water coolant.
• Use the cases provided to store the equipment.
General working instructions
• All operators shall be trained in the use of the machine.
The owner is responsible for ensuring that the operators
receive training.
• Check that all couplings, connections and cables are
intact and free from dirt.
• Check that all cables and the water supply are correctly
connected to the machine before starting it.
• Never pull out the power cable without first switching off
the power unit and waiting for the engine to come to a
complete halt.
• If an emergency situation should arise anyway, push the
red emergency stop button on the power unit or the stop
button on the remote control.
• Always check and mark out where gas pipes are routed.
Cutting close to gas pipes always entails danger. Make
sure that sparks are not caused when cutting in view of
the risk of explosion. Remain concentrated and focused
on the task. Carelessness can result in serious personal
injury or death.
• Make sure that no pipes or electrical cables are routed in
the area to be cut.
• Check that electrical cables within the working area are
not live.
• Never leave the machine unsupervised with the engine
running.
• Always saw in a manner that permits easy access to the
emergency stop.
• Make sure that there is always another person close at
hand when you use the machines, so that you can call for
help if an accident should occur.
• Do not use the machine in bad weather, such as dense
fog, rain, strong wind, intense cold, etc. Working in bad
weather is tiring and can lead to dangerous conditions,
e.g. slippery surfaces.
• Ensure that the working area is sufficiently illuminated to
create a safe working environment.
• Always ensure you have a safe and stable working
position.
• Observe care when lifting. You are handling heavy parts,
which implies the risk of pinch injuries or other injuries.
!
WARNING! There is always a risk of shocks
from electrically powered machines. Avoid
unfavourable weather conditions and body
contact with lightning conductors and metal
objects. Always follow the instructions in the
Operator’s manual to avoid damage.
!
WARNING! This section describes basic
safety directions for using the machine.This
information is never a substitute for
professional skills and experience. If you get
into a situation where you feel unsafe, stop
and seek expert advice. Contact your dealer,
service agent or an experienced power
cutter user. Do not attempt any task that you
feel unsure of!

8 – English
PRESENTATION
PP 440 HF
It is our wish that you will be satisfied with your product and
that it will be your companion for a long time. Think of this
operator′s manual as a valuable document. By following its′
content (using, service, maintenance etc) the life span and
the second-hand value of the machine can be extended. If
you will sell this machine, make sure that the buyer will get the
operator′s manual.
A purchase of one of our products gives you access to
professional help with repairs and services. If the retailer who
sells your machine is not one of our authorised dealers, ask
him for the address of your nearest service workshop.
Husqvarna Construction Products has a policy of continuous
product development.Husqvarna reserves the right to modify
the design and appearance of products without prior notice
and without further obligation introduce design modifications.
General
•PP 440 is a power unit specially developed to be used with
the electric wall saw WS 440 HF.
• It has a compact design and weighs just 18 kg.
• Use 32 A for a 400 V system for full power.
• The power unit is connected to the saw with only one
power lead.
• Equipped with a 230 V power outlet and a terminal for
Canbus-cable.
• Equipped with an electric water valve which is controlled
from the remote control.
• Through the remote control the operator receives
information on power output, can measure the time and
other things about the sawing process.The remote control
also allows free movement around the workplace.
PP 440 HF is supplied with the following
equipment:
• 1 x power unit
• 1 x remote control
• 1 x power lead
• 1 x Canbus cable
• 1 x water hose
• Transport boxes for smooth transport.

English – 9
ASSEMBLY
Assembling/Installing equipment
When the machine has been transported to a suitable site, it
should be connected:
• Turn the main switch to the "0"-position.
• Connect the incoming power cable (380-480 V, 32 A
European connector). Power units equipped with a single
phase socket (230 V) must also have a neutral wire.
To be able to use full power output, the power unit must be
connected to a 32 A fuse. With a 16 A or 25 A fuse the
power output is lower so as not to overload the fuse. This
is selected when starting up the power unit.
• Connect the water hose to the incoming water connector.
The power unit is equipped with an electric water valve,
which is closed when the power pack is activated. When
the power pack is without electricity, the valve is open to
be able to drain water coolant if there is a risk of freezing.
• Connect the supplied power lead and water hose from the
power unit to the saw unit.
• Connect the remote control using the supplied Canbus
cable. Tighten the cable connector screws by hand.

10 – English
SETTINGS AND ADJUSTMENTS
Start menu
The start menu is displayed every time the voltage to the
power unit is switched on. In this menu the user must select
the fuse.
The remote control display shows "SELECT FUSE".
If the available fuse is 32 A, confirm this by pressing the
membrane key marked OK”. If no 32 A fuse is available, you
can select 25 or 16 A instead by pushing the arrow down.The
display now shows "SELECT FUSE" 25 A or 16 A. Press OK
to confirm the selection.
The display now shows "Husqvarna PP-440 HF PRESS
START".
Operations menu
As long as the power unit has voltage but the blade rotation
stands still, the display shows "Husqvarna PP-440 HF
PRESS START".
Before starting, all controls must be turned to zero position. If
this is not done, a message in the display will prompt this
when the start button is pushed. "TURN OFF TRAVEL
FEEDING" or "TURN OFF DEPTH FEEDING" or "TURN OFF
BLADE".
When the blade rotation is started, ”XX RPM/ B.YY mm ZZ%
RPM” is displayed, where XX represents the number of
revolutions, B stands for blade, YY represents the
recommended blade size and ZZ the power output in percent
of max. output.
By navigating with the arrow keys, the following settings can
be reached:
• Water coolant
• Select language
• Id power unit
• Time
• Total machine time
• Rotation direction
Water coolant
Turn the water coolant on or off by pressing OK.
Select language
Using this sub-menu you can set the language you wish to
use on the display.
Scroll using the arrow keys until the required language is
shown. Confirm with OK”.
Id power unit
The display shows the identity number for the power unit.
Time
The function is used to measure the amount of time a job
takes. The time is counted from when the saw starts working.
Select:
• ON, to enable.
• OFF, to disable.
• RESET TIME, to reset.
Browse with the arrow keys and confirm with "OK".
Total machine time
Here the total operation time of the power unit is shown. The
time is shown in hours and minutes (hhhh:mm).
Rotation direction
Here you can set the rotation direction of the blade. Select
standard or backwards by pressing "OK".

English – 11
STARTING AND STOPPING
Before starting
Before starting the saw, check that:
• The incoming electrical cable has been connected to a
fuse rated at least 16 A.
• The power lead is connected to the saw unit.
• The 32 A, 25 A or 16 A power setting is chosen.
• All controls on the remote control have been set to zero
position. If this is not done, a message in the display will
prompt this when the start button is pushed.
• Enclose the area to be cut so that unauthorised persons
can not be injured or disturb the operator.
Starting
• Check that the emergency stop button on the power unit
and the stop button on the remote control are not pressed
by turning the them clockwise.
• Turn the main switch to "1"-position.
• The power unit is activated and this is shown by the
indicator light shining.
The water valve in the power unit is now closed.This valve
opens again when the blade rotation is started.
• The remote control display shows "SELECT FUSE".
If the available fuse is 32 A, confirm this by pressing the
membrane key marked OK”.
• If no 32 A fuse is available, you can select 25 or 16 A
instead by pushing the arrow down. The display now
shows "SELECT FUSE" 25 A or 16 A.
With a 25 A fuse you can use approx. 70% of the full
output. With 16 A you can use approx. 50% of full output.
The function is intended to obtain as high output as
possible without overloading the fuse.
The power output in percent is shown on the display
during sawing.
• Press OK to confirm the selection.
• The display now shows "Husqvarna PP-440 HF PRESS
START".
IMPORTANT! A higher speed than the recommended
speed can result in personal injury and damage to the
equipment.
ON

12 – English
STARTING AND STOPPING
•On the saw unit WS 440 HF, the blade's rotation direction
is adjustable.
Press "arrow up" on the remote control unit’s membrane
key to select the direction. The display shows "BLADE
ROTATION? STANDARD" or "BLADE ROTATION?
REVERSE".To change the current selection, press "OK".
This must only be done when the blade is not moving.
• Start the blade rotation by pushing and holding the green
start button while turning the control for rotation direction
clockwise. When the blade rotation has started, you can
release the start button.Turn the control to the desired
position. The number of revolutions is shown on the
display.
• For more information on blade rotation and suitable
blades for various revolution speeds, see table in technical
specifications.
• The water cooling starts automatically when the blade
starts to rotate. The water flow is adjusted with the ball
valve at the incoming water connector on the power unit.
• Start the depth feeding of the blade by turning the depth
feeding control in the desired direction.
• Start the saw unit's travel feed by turning the travel feed
control in the desired direction.
• Read through the manual supplied with the wall saw for
further instructions in sawing technique.
Stopping
• To switch off the blade rotation, turn the blade rotation
control anti-clockwise back to its zero position. Also turn
the depth feeding and travel feeding controls to their zero
positions.
• Turn the main switch on the power unit to "0"-position.
After work is completed
Dismantling the equipment
•Disconnect the incoming power lead and incoming water
hose.
• Disconnect the power lead and water hose between the
power unit and the saw unit.
• If there is a risk of freezing, the machine must be drained
of any remaining water coolant.
Cleaning
Make sure to keep the connectors and pins clean. Clean with
a rag or brush.
Do not use a high pressure washer to clean the power unit.

English – 13
MAINTENANCE
Service
After 100 hours of operation, the message "Time for servicing" is displayed. The entire equipment shall then be taken to an
authorized Husqvarna dealer for servicing.
Error messages
In case of any defects, an error message appears on the display. Follow the directions supplied or contact an authorized dealer.
Daily maintenance
Regularly check:
• Any abnormal noises.
• Make sure to keep the connectors and pins clean. Clean with a rag or brush.
• Do not use a high pressure washer to clean the power unit.
IMPORTANT! All types of repairs may only be carried out by
authorised repairmen. This is so that the operators are not
exposed to great risks.
Error message Cause Steps
MOTOR OVERHEATED Water coolant lacking/insufficient to saw
motor.
Check that the water coolant flows to the
saw motor and that it is max. 25ºC and
min 3.5 l/min.
POWER OVERHEATED Water coolant lacking/insufficient to
power unit.
Check that the water coolant flows to the
power unit and that it is max 25°C and min
3.5 l/min.
LOW VOLTAGE Low voltage supply to the power unit.
Check the voltage during operation.
Check that all three phases exist. Check
that incoming cables have sufficient
cross-sectional area.
HIGH VOLTAGE High voltage to the power unit.
Check the voltage during operation.This
message is shown mainly when using a
generator as power source.
OVER CURRENT Over current to saw motor
Check that the power lead is fitted
correctly and that it is not damaged. The
message can appear in case of a loose
contact.
H SENSOR TRAVEL Fault on HAL-sensor card for travel feed Take the equipment to an authorized
service shop.
H SENSOR DEPTH Fault on HAL-sensor card for depth
feeding
Take the equipment to an authorized
service shop.
NO CONTACT CHECK
CAN-CABLE
No contact between power unit and
remote control Replace the Canbus-cable.

14 – English
TECHNICAL DATA
PP 440 HF
Dimensions
Blade
Max. peripheral speed, m/s
*Recommended blade size.
Max. output, kW 15
Rated current, A 32
Input voltage, V 380-480 V, 50-60 Hz
Output voltage, V 340 V, 0-500 Hz
Sec. output voltage, V 24 V, 0-1500 Hz
Power supply 3P+PE (4-pin) / 3P+N+PE (5-pin)
1x230V one phase outlet Only 5-pin machines
Weight, kg 18
Max cooling water temperature at 3,5 l/min, ºC 25
Max cooling water pressure, bar 7
600 mm 700 mm 800 mm*900 mm 1000 mm* 1200 mm*
600 rpm 19 22 25 28 31 38
700 rpm 22 26 29 33 37 44
800 rpm 25 29 33 38 42 50
900 rpm 28 33 38 42 47 57
1000 rpm 31 37 42 47 52 63
1100 rpm 35 40 46 52 58 69
1200 rpm 38 44 50 57 63 75

English – 15
TECHNICAL DATA
EC-declaration of conformity
Husqvarna Construction Products, SE-433 81 Gothenburg, Sweden, tel: +46-31-949000, declares under sole responsibility that
the power unit Husqvarna PP 440 HF from 2008’s serial numbers and onwards (the year is clearly stated in plain text on the type
plate with subsequent serial number) is in conformity with the requirements of the COUNCIL’S DIRECTIVES:
• of June 22, 1998 ”relating to machinery” 98/37/EC, annex IIA.
• of December 15, 2004 ”relating to electromagnetic compatibility” 2004/108/EC.
• of December 12, 2006 ”relating to electrical equipment” 2006/95/EC.
The following standards have been applied:
SS-EN 60204-1, EN 61000-6-2:2005, EN 61000-6-4:2001.
The supplied power unit conforms to the example that underwent EC type examination.
Göteborg January 5, 2008
Christer Carlberg
Managing Director

www.husqvarnacp.com
1151108-20
2008-02-20
´®z+S*r¶0E¨
´®z+S*r¶0E¨
Other manuals for PP 440 HF
2
Table of contents
Popular Welding System manuals by other brands

KT INDUSTRIES
KT INDUSTRIES 17V TIG TORCH user manual

Lincoln Electric
Lincoln Electric Fleet 400 Operator's manual

Miller
Miller Spectrum 875 Auto-Line owner's manual

ALDI
ALDI WORKZONE TITANIUM+ PLASMA 35 instruction manual

ESAB
ESAB Caddy Arc 201i instruction manual

Thermal Arc
Thermal Arc 201 TS Service manual