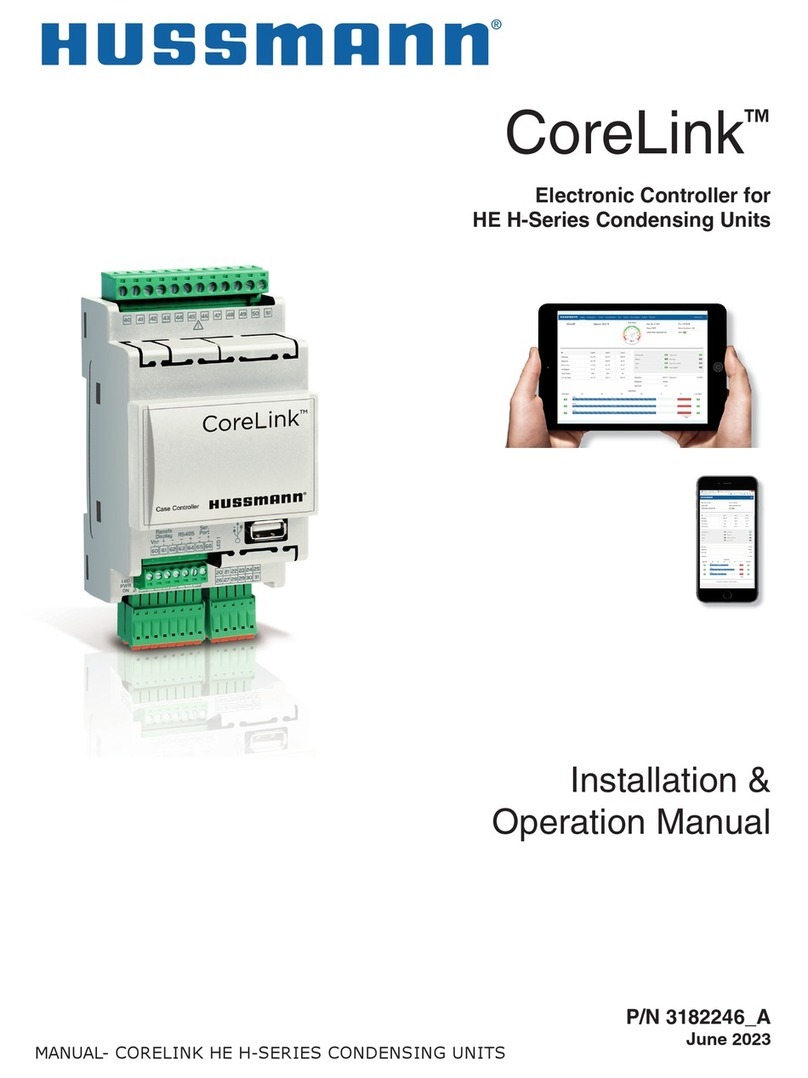
Hussmann CoreLink User manual

Operation Manual
P/N 3106386_B
July 2020
Spanish 3106387_A
IMPORTANT
Keep with controller for
future reference!
CoreLink
™
Display Manual
MANUAL- I/O CORELINK CASE CONTROLLER DISPLAY

P/N 3106386_BU.S. & Canada 1-800-922-1919 • Mexico 1-800-890-2900 • WWW.HUSSMANN.COM
2
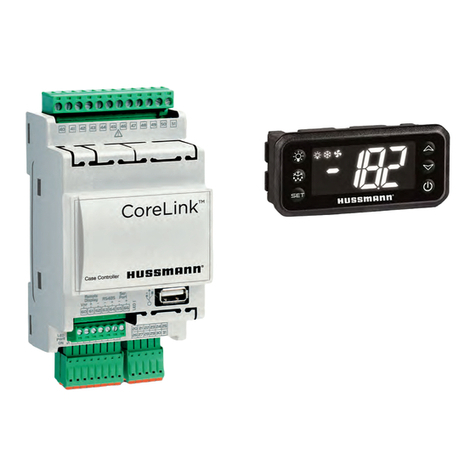
CoreLink Display
Key Display Features Include:
• Exit button
• Up/Down arrows for navigation
• Case light on/off button
• Various helpful status indicators during
normal refrigeration
• Dedicated Set/Enter button
• Built-in alarm for notifications
Power Up Sequence
First time power up displays: noL
noL Indicates “no communication”
between the display and
CoreLink
noL Displays until the CoreLink
starts to communicate with
the display a few seconds after
power up.
Once communication is established between
the display and CoreLink, the display will
run a self test and then display the firmware
version. The display will next show the default
display after the reboot process completes.
Default Display
Shown below is the default display view.
After boot up and successful connection to
the CoreLink, the display will show case
temperature and system status on the lefthand
side.
Refrigeration
Status Icon Fan Status Icon
Light Status
Icon
Light
Button
Defrost Status
Icon
Set/Enter
Button
Alarm Status Icon
Up/Down
Arrows
Exit

CoreLink™Case Display
P/N 3106386_B 3
HUSSMANN CORPORATION • BRIDGETON, MO 63044-2483 U.S.A.
Menu Options and Navigation
1. Display Menu
The Display Menu is used to read sensor
values.
Menus are navigated with the UP/DOWN
arrow buttons.
Use the arrow to scroll through the
three main top-level menus: the Display
Menu (dIS), Override Menu (Or) and
Configuration Menu (CFG).
Press the SET button to access the Display
Menu when dIS is shown. Press SET again
to show the sensor value. Default menu
option is Discharge air 1 temperature
display.
2. Override Menu
The Override Menu is used to turn on/off
digital outputs, start/stop defrost cycles and to
reboot the controller.
Select this menu by pressing SET when OR
is displayed. Use arrow to scroll to 2
and press SET to enter configuration. First
override menu displayed will be Fans (FAn).
Use arrows to select other parameters.
• Press arrows to scroll through Override
Menu options.
• Press SET to view parameter of selected
option.
• Press and hold SET for 5 seconds to edit
the new override parameter value.
• Use arrows to enter a new override
parameter value. Press SET to accept
value.
• New value will flash once accepted
• Press SET to exit Override Menu
OVERRIDE PARAMETERS
Press UP arrow and SET button
at same time to exit any menu and
return to previous menu.

P/N 3106386_BU.S. & Canada 1-800-922-1919 • Mexico 1-800-890-2900 • WWW.HUSSMANN.COM
4
3. Conguration Menu
The Configuration Menu is used to modify
setpoints and set the BACnet address.
Use the arrow buttons to navigate to the
main top-level Configuration Menu.
Select this menu by pressing SET when CFG
is displayed. Use arrow to scroll to 1
and press SET to enter configuration. First
config. menu displayed will be Discharge air
setpoint 1 (SP1). Use arrows to select other
parameters.
• Press arrows to scroll through
Configuration Menu options.
• Press SET to view configuration of selected
option.
• Press and hold SET for 5 seconds to edit
the new parameter value.
• Use arrows to enter a new parameter
value. Press SET to accept value.
• A new value will flash once accepted.
• Press SET to exit Parameter Menu.
CoreLink Display Usage Examples
How to change a setpoint:
From the Hussmann display, superheat and refrigeration setpoints can be set.
1. If not at the main top-level menu, press together repeatedly until reaching the main
top-level menu.
2. Press the arrow until Configuration (CFG)is displayed and press SET.
3. Use arrow to enter1, then press SET to enter the Configuration Menu.
4. Press arrows to scroll until desired parameter is shown.
5. Press SET to view the parameter setpoint.
6. Press and hold SET for 5 seconds (setpoint will flash on the screen when this step is complete).
7. Use the arrows to select the new setpoint.
8. Press SET when the displayed setpoint is correct. The number will flash on the screen if this
step was done correctly.
Press UP arrow and SET button
at same time to exit any menu and
return to previous menu.

CoreLink™Case Display
P/N 3106386_B 5
HUSSMANN CORPORATION • BRIDGETON, MO 63044-2483 U.S.A.
1. If not at the main menu, press repeatedly until reaching the main top-level menu.
2. Press the up arrow to select the Override Menu (Or).
3. Press SET with Or displayed.
4. Use arrows until the number 2is shown, and then press SET.
5. Use the arrows until Defrost start (1n1) is shown on the display.
6. Press SET to show the current override status.
7. Press and hold SET for 5 seconds to enter Defrost Edit Mode, you will now be able to enter an
override code (the current value will flash when this step is complete).
8. Use the arrows until 1is displayed (1means the selected output will be turned on).
9. Press SET with 1displayed to accept the new value. The number on the display will flash
when done correctly. The Defrost Status Icon will now appear on the display main menu as
the case enters a defrost.
Use the same method above to turn on/off any of the other outputs available in the Override Menu.
How to stop a defrost:
To stop a defrost and return the case to refrigeration mode, repeat steps 1-9 above, but select the
menu at Step 5 to send a Defrost Stop (dtr) command to the CoreLink.
How to start a defrost:
The digital outputs of the CoreLink can be
controlled directly from the display. The display
can be used to override the options listed in
the table.
Defrost Status Icon
OVERRIDE PARAMETERS

P/N 3106386_BU.S. & Canada 1-800-922-1919 • Mexico 1-800-890-2900 • WWW.HUSSMANN.COM
6
How to set a network address:
From the display, you can view and change the connected CoreLink’s Modbus and BACnet
addresses.
1. If not at the main menu, press together repeatedly until reaching the main top-level
menu.
2. Press the arrow to select the Configuration Menu (CFG).
3. Use arrows to select 1and press SET to enter the Configuration Menu (CFG).
Modbus
4. Press arrows until Add is shown, then press SET to view the current Modbus address
setting.
5. To change the Modbus address, press and hold SET for 5 seconds to enter the network
address edit mode.
6. Use the arrows to enter a new address and press SET to save the new address
(The new address will flash on the screen when this step is complete).
BACnet
7. To edit the CoreLink’s BACnet address, repeat Steps 4, 5, and 6, but select bAc from the
menu at Step 4.
How to reboot the controller
From the display, you can reboot the controller with a simultaneously two button push
1. If not at the default display, press to navigate to default display
2. Press the light and exit button simultaneously for 5 seconds
3. The display will immediately show 0
4. Controller will reboot, view controller yellow status LED to confirm reboot sequence
5. Display will show default display
6. Display will automatically reboot, then show default display again
7. Reboot complete
Other manuals for CoreLink
4
Table of contents
Other Hussmann Controllers manuals