LIGHT KIT 121481 REV. C 2
ASSEMBLY:
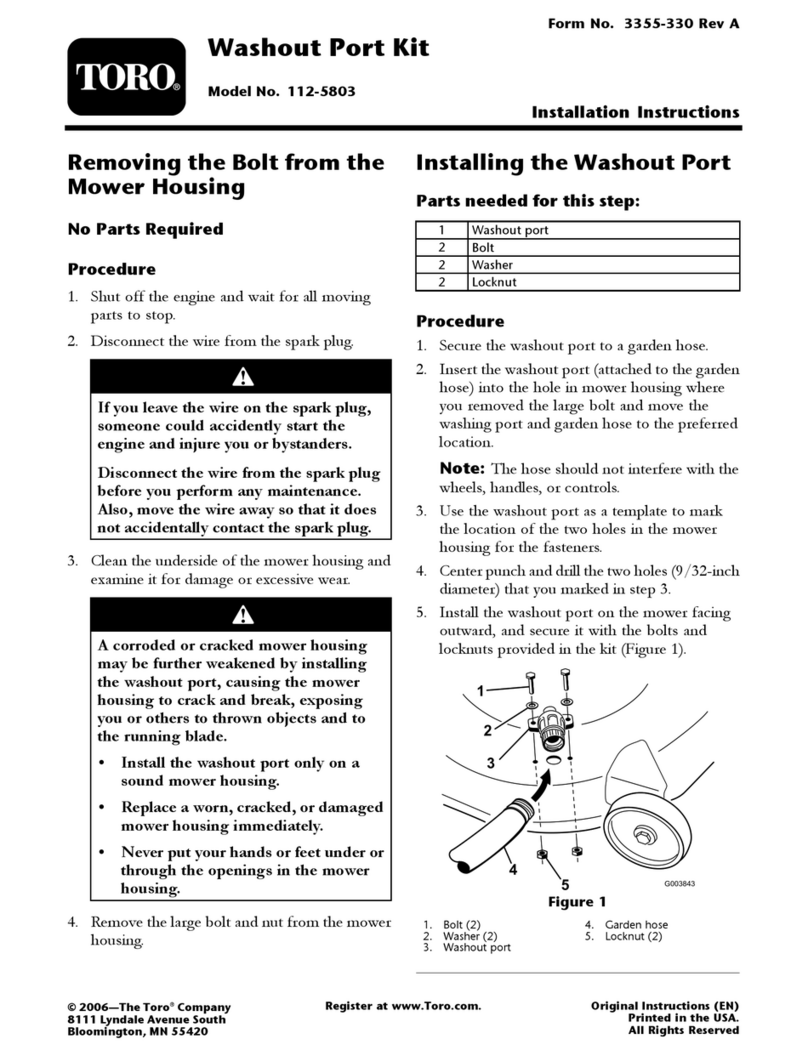
1. Park the mower on a solid, level surface; set the park brakes; shut-off the engine; and
remove the ignition key. (Disconnect the negative battery cable.)
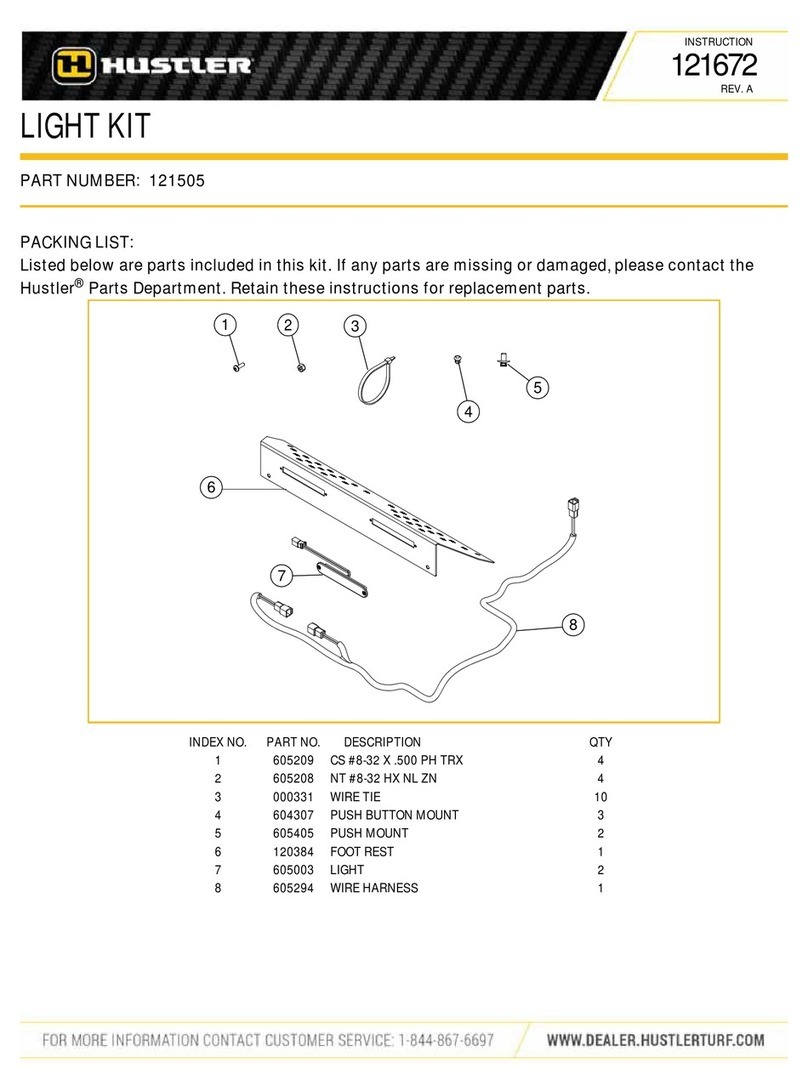
2. Insert the headlights into the headlight mount. FIG. 1
3. Attach the light harness to the headlights.
4. Insert push button mounts into the mounting holes located in the headlight mount.
FIG. 2
5. Remove the existing front panel and place the headlight mount between the panel
and the mower frame as shown. FIG. 1
6. Insert the push button mounts into the mounting holes located in the mower frame
and headlight mount. FIG. 3
NOTE: Make sure to insert the push button mounts in from the outside of the frame. The
light harness should be secured on the inside of the mower frame.
7. Route the light harness along the inside of the right side mower frame. FIG. 3
8. Remove the right fender.
9. Locate the switch slot on the underneath side of the instrument panel. Using a sharp
knife, cut the decal so that the switch can be inserted into the slot. FIG. 4 & FIG. 5
10. Make sure that the “ON” position of the switch is facing forward and snap the switch
into the slot. FIG. 6
11. Attach the light harness’ two female connectors to the switch. FIG. 7
12. Locate the auxiliary connector on the mower harness. Remove the connector plug
from the auxiliary connector and plug the pigtail from the light harness into the auxil-
iary connector. FIG. 8 & FIG. 9
13. Insert a wire tie through the two slots located in the instrument panel and secure the
light harness to the instrument panel. FIG. 10
14. Secure the light harness along the inside of the right side mower frame using the wire
ties and push button mounts as shown. FIG. 2 & FIG. 3
15. Re-attach the right fender.
Use extreme caution if it becomes necessary to operate the unit, transporting or mowing, after dark or in low light
situations. Only operate in open areas where there are no overhead obstructions; i.e. guide wires, tree branches,
low overhangs, etc. Operate only in areas where the operator is thoroughly familiar with the terrain and any poten-
tial hazards. The lights are designed to illuminate forward and down and will not illuminate to the side or upward.
WARNING
