Normal operation
"Press and hold" means press and hold for more than
two seconds, short press means press and hold for less
than 0.5 seconds.
•
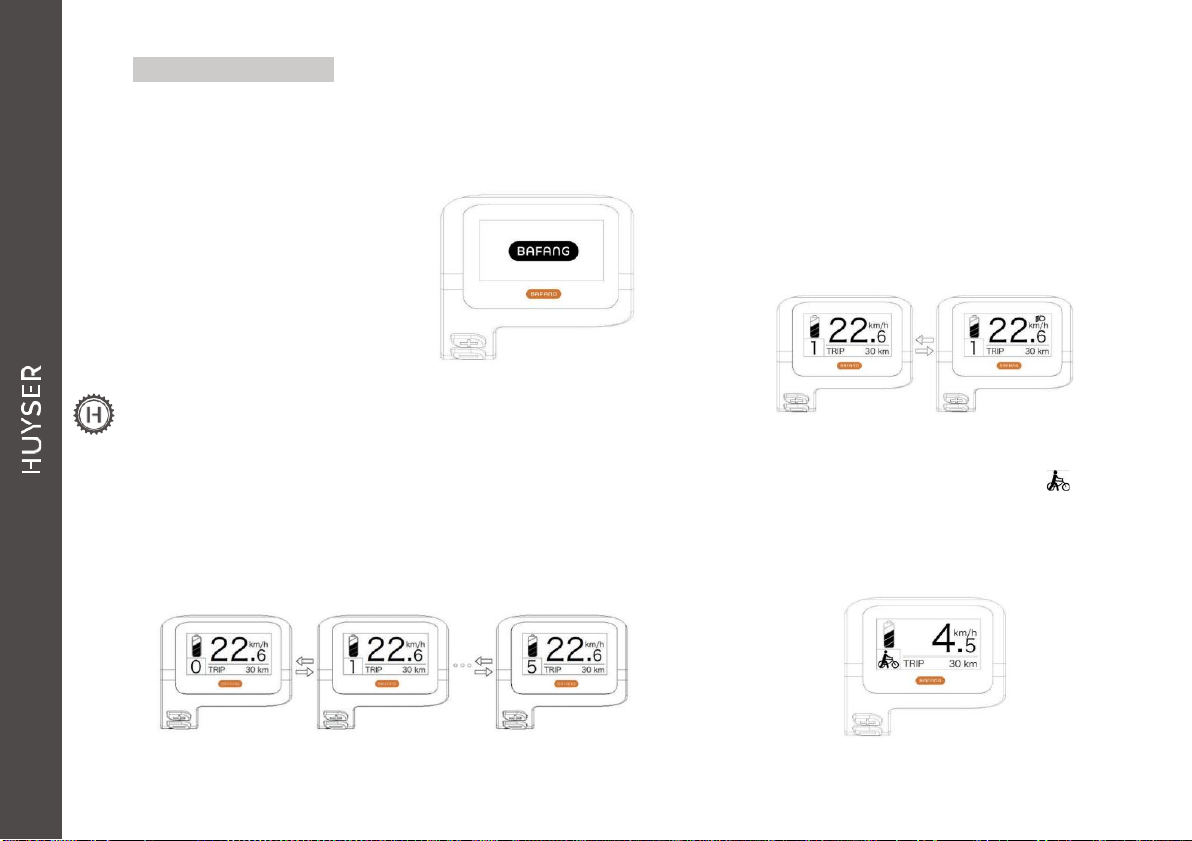
ON/OFF
Press and hold the on/off
button, and the display will
begin to work. Pressing and
holding the on/off button again
turns it off. If the power
off, the display consumes no
power from the battery because
the leakage current is less than 1
uA.
•
Select assistance level
After startup, short press the plus key or the minus
key to set the assistance level and the output
power of the motor. Level 0 means no assistance. Level 1 is
the lowest level and level 5 the highest. When the display is
turned on, the default level is 1.
•
Headlight/rear light switch
Switching on the lights: keep the “+” button pressed, this
will switch on the backlight of the display and the headlight,
the display will show the icon of the headlight. To switch off
the light: press and hold the “+” button again, this will
switch off the backlight of the display and the headlight, and
the icon for the headlight will disappear.
•
The pedal assistance mode
Hold the “-” button, the display will show the icon and
the E-bike will enter the pedal assistance mode, release
the “-” button and the icon will disappear from the display,
and the E-bike will exit the pedal assistance mode