HYBRID BIKES M18 Speedmaster User manual
Hybrid E Bike - Owner’s Manual
Proudly designed in New Zealand

1 | Page
Welcome to the Hybrid E Bike Community
Thank you very much for purchasing one of our Hybrid E Bikes. We
hope you enjoy riding it as much as we do.
Hybrid Bikes is a New Zealand owned company which specialises in the
manufacture of carbon fibre E bikes, offering outstanding strength and
performance to all our customers.
Our Hybrid Bikes dealership network is designed to look after you in the
best possible way, so you can be fully satisfied with your purchase.
If you ever feel you are not being looked after, please let me know.
Kind regards
Frank Witowski
Managing Director
frank@hybridbikes.co.nz
027 544 3213
Manual updated as of July 2022.

2 | Page
Contents
Packaging ....................................................................................... 3
Hybrid E Bike Models..................................................................... 4
Maintenance Tips .......................................................................... 7
Specifications ................................................................................. 8
Controller Display and Control ...................................................... 9
Battery Instructions ..................................................................... 23
Warranty...................................................................................... 24
Service Record: ............................................................................ 27
Registration Form: ....................................................................... 28
3 | Page
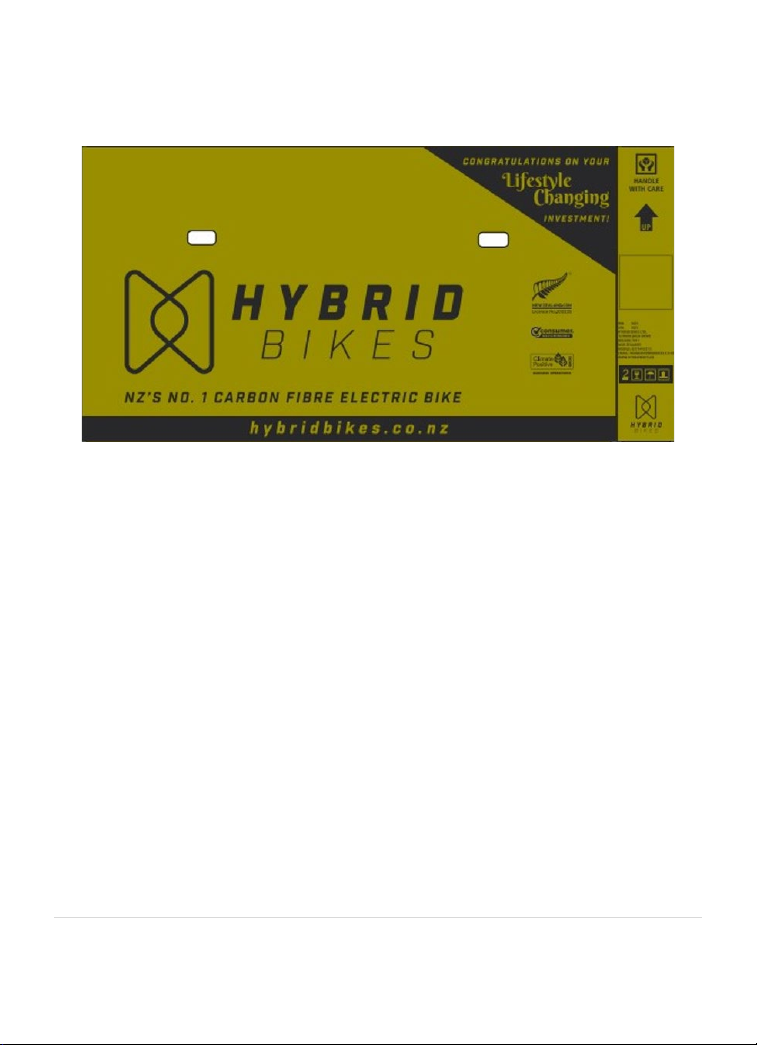
Packaging
NOTE: Your Hybrid E Bike will come fully assembled when you purchase
it directly from us or from one of our Hybrid E Bike dealerships.
Contents of box:
•E Bike
•Battery
•Battery Charger
•Display Controller
•Instruction Manual
4 | Page
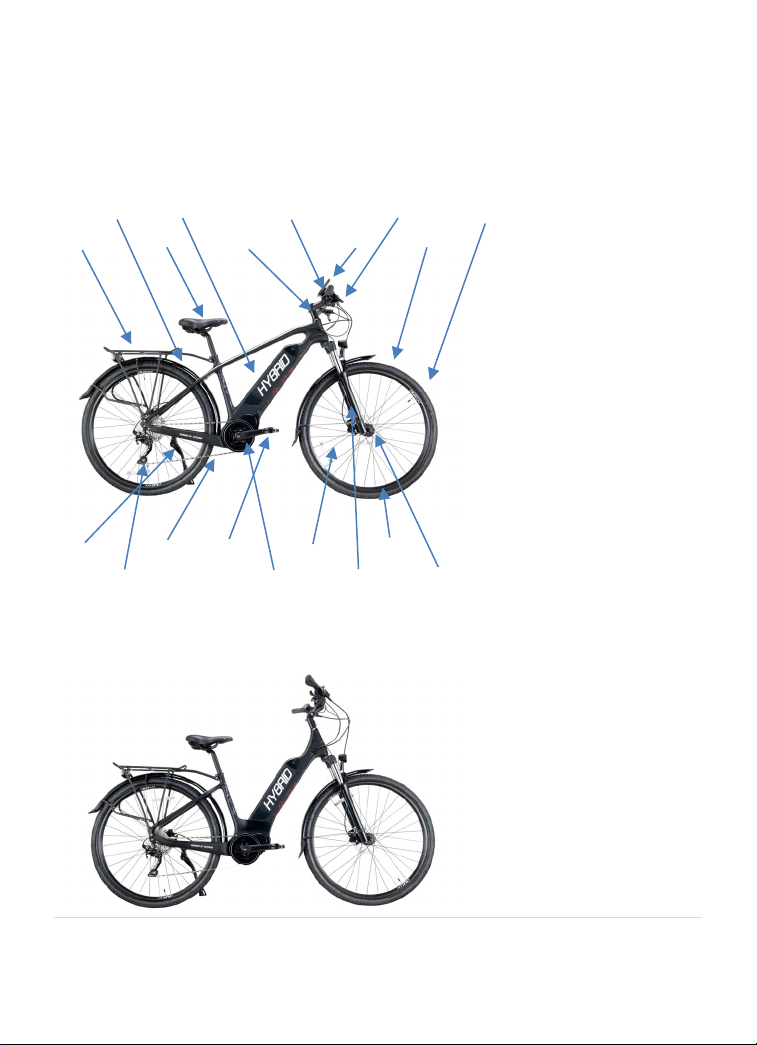
Hybrid E Bike Models
M18 Speedmaster
Fender Battery Handlebar Brake Lever Tyre
Carrier Seat Fork Stem Display Wheel
Stand Chain Pedals Spokes Rim
Derailleur Crank Set Fork Disc Brake
F18 Cruiser
5 | Page
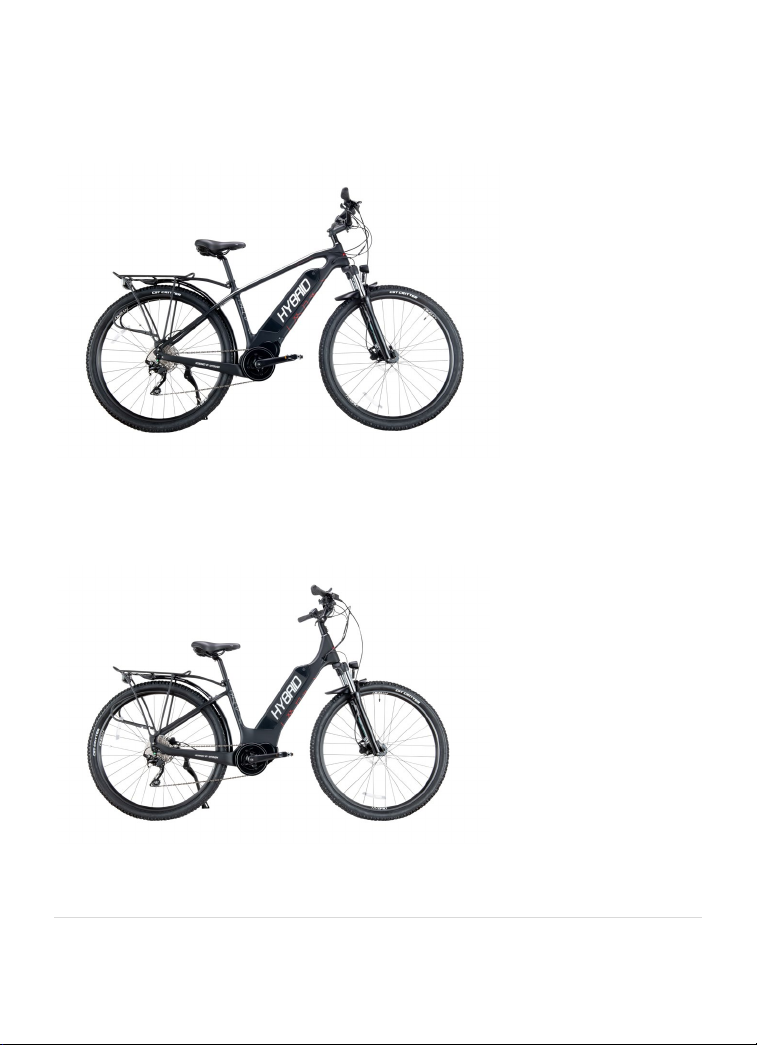
M18 Sport Elite Special
F18 Cruise Elite Special

6 | Page
M18 Sport Elite
F18 Cruise Elite

7 | Page
Maintenance Tips
The maintenance schedule is based on the average E Bike usage. Your
Hybrid E Bike should have its first service after 250km to ensure you are
riding safely and efficiently.
Further inspections should then be carried out every 6 – 8 months or
around every 1,000km. If these services are missed it may void the
warranty of your Hybrid E Bike.
Lubrication:
We recommend lubrication of your derailleur pivot points and
derailleur pulleys every 6 weeks, using the correct oil recommended by
your Hybrid E Bike dealer.
We recommend you should lubricate the chain, gears and brake lever
pivots every 12 weeks using the correct oil recommended by your
Hybrid E Bike dealer.
Cleaning of your Hybrid E Bike:
It is recommended you use soapy water to clean your Hybrid E Bike
using a cloth. It is NOT recommended to use the garden hose and point
it straight onto the battery or any other electrical components. Hybrid E
Bikes are designed to be used in the rain but the battery or any other
electrical components should not be immersed in water.
8 | Page
The battery should only be cleaned with a damp cloth and dried
afterwards to avoid the risk of getting water into the connecting points.
Note: If the Hybrid E Bike is exposed to salty conditions it will need to
be serviced and maintained more regularly.
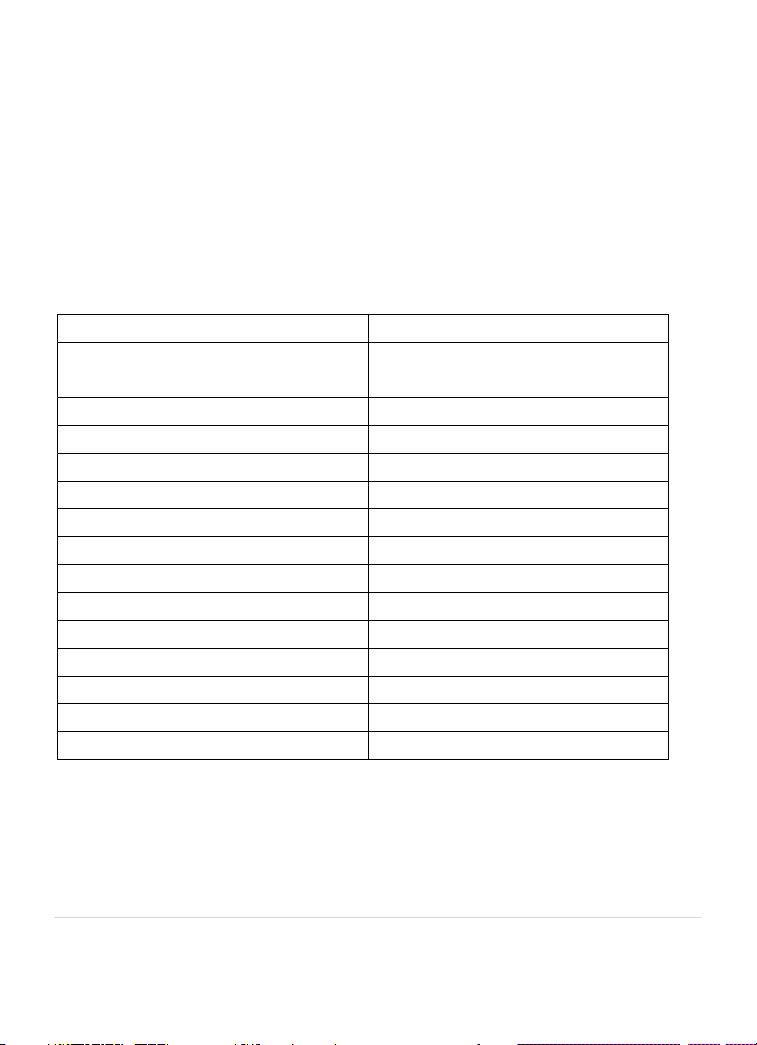
Specifications
Specifications
Parameters
Model
Hybrid all M18/F18/M22/F22
models
Frame
Carbon fibre
Packaging box size
1475*860*300mm
Weight (M18/F18)
22.8kg
Weight (M22/F22)
23.9kg
Speed support
45km/h (adjustable)
Max. load
180kg
Voltage
AC 100-240V
Charging time
4.5 hours
Power
300 watt
Max.km
100km
Battery (M18/F18)
36 Volt/14ah/504W/h
Battery (M22/F22)
36 Volt/20ah/720W/h
Recommended Tire Pressure
30 – 40 PSI

9 | Page
Controller Display and Control
1.1 Specifications and Parameters of the Display
• 36V / 43V / 48V Power Supply
• Rated Current: 10 mA
• Maximum Operating Current: 30 mA
• Power-off Leakage Current: <1uA
• Operating Current Supplied to the Controller: 50 mA
• Operation Temperature: -18 - 60%
• Storage Temperature: -30 - 70%
• Waterproof Grade: IP65
• Storage Humidity: 30% - 70%
1.2 Appearance and Dimensions
1.2.1 Materials and Dimensions
The shell is made of PC. The liquid crystal display is made of hardened
PMMA.
This manual suits for next models
5
Table of contents


