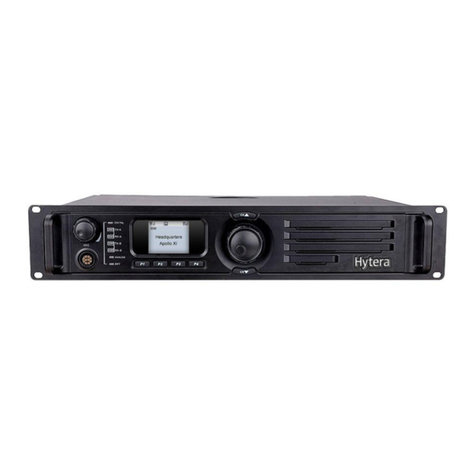
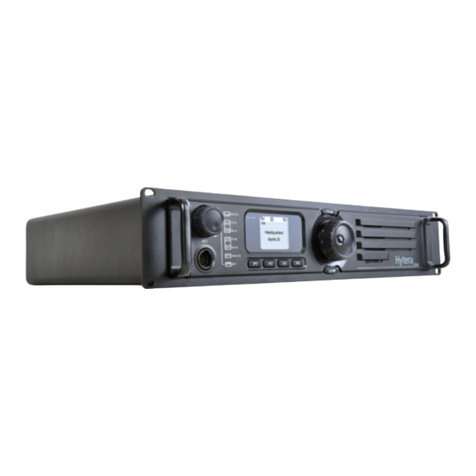
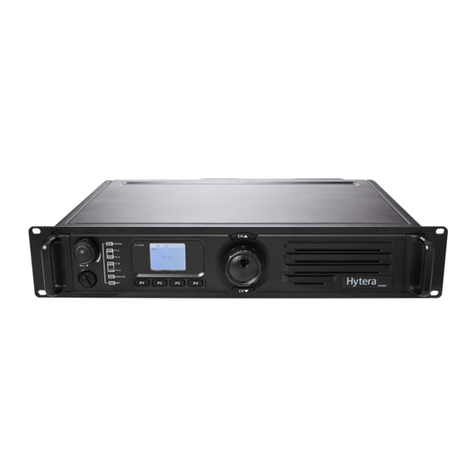
Hytera DMR Installation and operating instructions

DMR Conventional Repeater
Application Notes
Repeater Backup

Copyright Information
Hytera is the trademark or registered trademark of Hytera Communications Corporation Limited (the
Company) in the People's Republic of China (PRC) and/or other countries or areas. The Company
retains the ownership of its trademarks and product names. All other trademarks and/or product
names that may be used in this manual are properties of their respective owners.
The product described in this manual may include the Company's computer programs stored in
memory or other media. Laws in PRC and/or other countries or areas protect the exclusive rights of
the Company with respect to its computer programs. The purchase of this product shall not be deemed
to grant, either directly or by implication, any rights to the purchaser regarding the Company's
computer programs. The Company's computer programs may not be copied, modified, distributed,
decompiled, or reverse-engineered in any manner without the prior written consent of the Company.
Disclaimer
The Company endeavors to achieve the accuracy and completeness of this manual, but no warranty
of accuracy or reliability is given. All the specifications and designs are subject to change without
notice due to continuous technology development. No part of this manual may be copied, modified,
translated, or distributed in any manner without the prior written consent of the Company.
We do not guarantee, for any particular purpose, the accuracy, validity, timeliness, legitimacy or
completeness of the Third Party products and contents involved in this manual.
If you have any suggestions or would like to receive more information, please visit our website at:
http://www.hytera.com.

Repeater Backup Application Notes Contents
i
Contents
Documentation Information...................................................................................................................1
1. Overview .............................................................................................................................................2
1.1 Definition.........................................................................................................................................2
1.2 Applicable Repeater........................................................................................................................2
1.3 Principle ..........................................................................................................................................2
1.4 Restriction.......................................................................................................................................3
1.5 Version............................................................................................................................................3
2. Reference ............................................................................................................................................4
3. Requirements .....................................................................................................................................5
4. Connection and Configuration..........................................................................................................6
4.1 Configuration Tools.........................................................................................................................6
4.2 Configuring the Repeater................................................................................................................6
4.3 Connecting the Repeater ................................................................................................................8
A Abbreviations ....................................................................................................................................10

Repeater Backup Application Notes Documentation Information
1
Documentation Information
This section describes the conventions and revision history of this document.
Conventions
Icon Conventions
Icon Description
Tip Indicates information that can help you make better use of your product.
Note Indicates references that can further describe the related topics.
Caution Indicates situations that could cause data loss or equipment damage.
Warning Indicates situations that could cause minor personal injury.
Danger Indicates situations that could cause major personal injury or even death.
Notation Conventions
Item Description
" "
The quotation marks enclose the name of a software interface element. For
example, click "OK".
Bold
The text in boldface denotes the name of a hardware button. For example, press the
PTT key.
->
The symbol directs you to access a multi-level menu. For example, to select "New"
from the "File" menu, we will describe it as follows: "File -> New".
Revision History
Version Date Description
R1.1 11- 2016 Modify the second and third item in Restriction.
R1.0 11- 2016 Initial release.

Overview
Repeater Backup Application Notes
2
1. Overview
1.1 Definition
The Repeater Backup feature is a mechanism that guarantees the smooth operation of the repeater in
the event of a breakdown. The two repeaters are deployed in the system. When one repeater in
normal operation (Work Repeater) fails, the other available repeater in backup state (Backup Repeater)
will automatically take over the repeating function.
1.2 Applicable Repeater
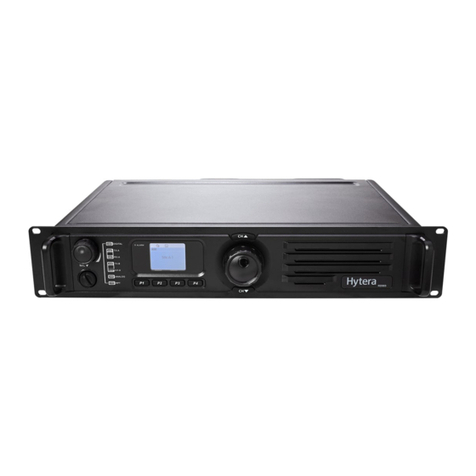
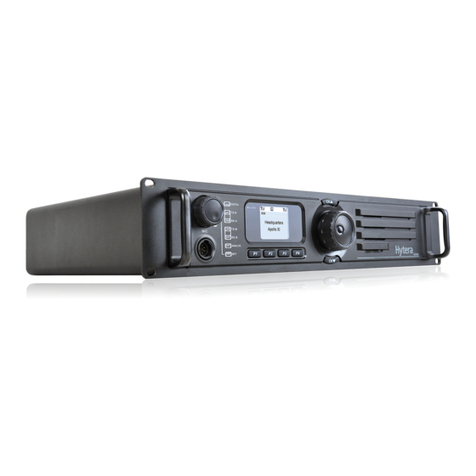
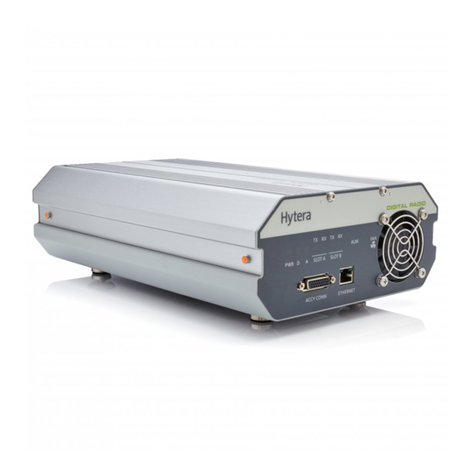
This feature is available for DMR digital repeater and XPT repeater, including RD62X, RD96X, RD98X,
and RD98XS.
1.3 Principle
The work repeater and backup repeater are connected using a backup cable, as shown below.
When the work repeater operates properly, it outputs low level through Pin 3.This low level is routed
to Pin 12 of the backup repeater through the backup cable, making the backup repeater enter backup
state. In this case, the backup repeater is automatically disabled except for detecting the status of the
work repeater through the backup cable.

Repeater Backup Application Notes Overview
3
At this time, the backup repeater with LCD display (RD98X or RD98XS) shows an information box
indicating the repeater backup status, and the backup repeater without LCD display (RD96X or
RD62X) does not give any indications.
In case of breakdown, the work repeater outputs high level through Pin 3 and triggers a major or
minor alarm; finally it is automatically disabled. This high level is routed to Pin 12 of the backup
repeater through the backup cable, making the backup repeater exit backup state and act as the
work repeater.
In case of an alarm, the repeater cannot perform any functions. In this case, the repeater with LCD
display shows the alarm icon and its alarm indicator glows; for the repeater without LCD display,
only the alarm indicator glows. In case of network malfunction, the repeater cannot perform any
functions. In this case, the repeater with LCD display shows , but its alarm indicator does not
glow; the repeater without LCD display does not give any alerts.
If the original work repeater returns to proper operation, it will serve as the new work repeater.
Accordingly, the other repeater enters backup state.
1.4 Restriction
The features of the repeater vary from models and firmware version. To ensure smooth switching, it
is recommended that you use two same repeaters as the work repeater and the backup repeater
respectively. Consult our salesperson for more information.
For the work repeater which has remotely upgraded to support the backup feature, you need to
upgrade its bootloader to the corresponding version manually before remote upgrade again.
The backup repeater is unavailable for remote upgrade.
In case of RX unlock alarm, TX unlock alarm, over temperature alarm or over/low voltage alarm, the
work repeater automatically shifts to be the backup repeater.
With "Network Abnormal Backup Enable" checked in the CPS, the work repeater also automatically
shifts to be the backup repeater in case of abnormal network connection.
In case of other alarms (such as VSWR alarm and low forward power alarm), the work repeater does
not shift to be the backup repeater.
1.5 Version
This feature is available for the repeater with firmware version of R8.0.
Reference
Repeater Backup Application Notes
4
2. Reference
Applicable CPS help
Applicable application notes

Repeater Backup Application Notes Requirements
5
3. Requirements
Repeaters (such as RD98X, etc.)
For information about repeaters, refer to the product catalog provided by us or contact your
supplier.
Backup cable.
This document takes RD98XS as an example to describe how to configure and connect the repeater.

Connection and Configuration
Repeater Backup Application Notes
6
4. Connection and Configuration
4.1 Configuration Tools
DMR CPS V8.0 (V8.00.09.007)or later must be prepared properly.
4.2 Configuring the Repeater
This section describes the configurations which must be made on both the work repeater and backup
repeater.
Step 1 Rename the work repeater and the backup repeater.
To easily distinguish the work repeater from the backup one, it is recommended that you
rename them with two different aliases. When the repeater enters backup state or serves as
the backup repeater, it cannot connect to the network, with only the status of the work
repeater appeared on the RDAC/XNMS interface. Thus, distinct names can help the network
administrator quickly check if any failure occurs
To rename the repeater, go to "Common -> Setting" in the CPS, as shown below.
Step 2 Configure the repeater backup feature.
Go to "Conventional/XPT Trunking -> General Setting -> Accessories" in the CPS.

Repeater Backup Application Notes Connection and Configuration
7
The following table lists the configurable parameters:
Parameter Description
Repeater Backup
This parameter allows you to set whether to enable the
repeater backup feature.
Network Abnormal
Backup Enable
This parameter allows you to set whether the work repeater
is automatically disabled and whether the backup repeater
shifts to be the work repeater in case of the work repeater
disconnection from the network properly. It is recommended
that you select this parameter if the repeater needs to
connect to the IP network. Otherwise, deselect this
parameter.
If the "Repeater Backup" option is selected, the "Active Level" and "Feature" of Pin 3 are
automatically set to "High" and "Major & Minor Alarm" respectively, and the "Active Level"
and "Feature" of Pin 12 are automatically set to "Low" and "Repeater Backup" respectively.
You cannot change the above settings for Pin 3 and Pin 12.
Step 3 Configure basic parameters.
To ensure smooth switching, the configuration (including the IP address and relevant network
parameters) of the work repeater must be the same as that of the backup repeater.
Also, any modification made to the work repeater must be performed on the backup repeater
manually.
As the work repeater shares the IP address with the backup repeater, it is a normal
phenomenon that IP address confrontation will arise before these two repeaters being
connected through the backup cable.

Connection and Configuration
Repeater Backup Application Notes
8
4.3 Connecting the Repeater
Step 1 Connect the repeater to other equipments such as combiner, divider, duplexer, and antenna, as
shown below.
Step 2 Connect the work repeater to the backup repeater using the backup cable.
Connect one end of the backup cable marked by "Hytera" to the pin of the work repeater, and
the other end of the cable to the pin of the backup repeater.

Repeater Backup Application Notes Connection and Configuration
9
The repeater connected to the end of the cable marked by "Hytera" automatically serves as
the work repeater, and the other repeater as the backup repeater. The IP address
confrontation alert will disappear after these two repeaters are connected through the backup
cable.
With this feature enabled, if the work repeater fails to operate properly, the backup repeater will
automatically take over the repeater function. When the alias of "backup repeater" appears in the
RDAC/XNMS interface, it indicates that the work repeater fails. In this case, you need to fix the work
repeater immediately.

Abbreviations
Repeater Backup Application Notes
10
A Abbreviations
Abbreviation Full Name
CPS Customer Programming Software
DMR Digital Mobile Radio
IP Internet Protocol
OTAP Over the Air Programming
RDAC Repeater Diagnostics and Control
XNMS Extended Network Management System

2016
Hytera Communications Corporation Limited.
Other manuals for DMR
5
Table of contents
Other Hytera Repeater manuals

Hytera
Hytera HR65X User manual

Hytera
Hytera HR106 Series User manual

Hytera
Hytera RD982i User manual

Hytera
Hytera RD98XS Mounting instructions

Hytera
Hytera HR106X User manual

Hytera
Hytera RD988 U5 User manual

Hytera
Hytera RD98XSVHFH User manual

Hytera
Hytera RD622i User manual

Hytera
Hytera H Series User manual

Hytera
Hytera RD98XSU2 User manual

Hytera
Hytera RD98X series User manual

Hytera
Hytera RD98XS User manual

Hytera
Hytera CHU-P0BA00 User manual

Hytera
Hytera RD962i User manual

Hytera
Hytera RD625 User manual

Hytera
Hytera RD98XSU User manual

Hytera
Hytera E-pole 100 User manual

Hytera
Hytera RD98XS User manual

Hytera
Hytera HR65X User manual

Hytera
Hytera DS-9300 User manual