manuals.online logo
Brands
  1. Home
  2. •
  3. Brands
  4. •
  5. Hytera
  6. •
  7. Repeater
  8. •
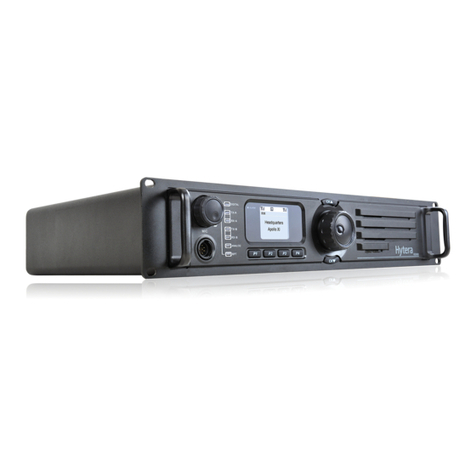
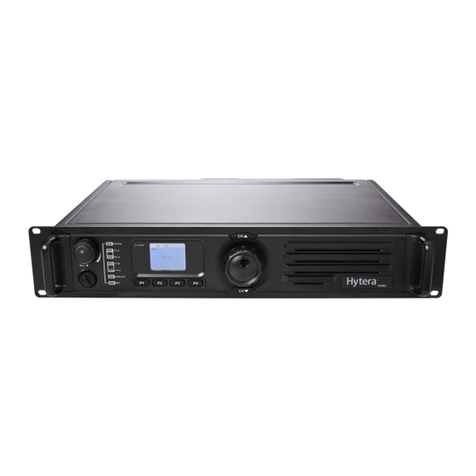
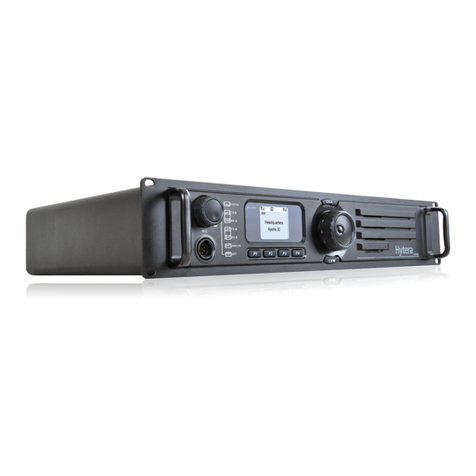
  9. Hytera HR106 Series User manual

Hytera HR106 Series User manual

06073207 190335437
5202010062391A
DIGITAL REPEATER
2020
Hytera Communications Corporation Limited.
Address: Hytera Tower,Hi-Tech Industrial Park North,9108#Beihuan Road,
Nanshan District,Shenzhen,People’s Republic of China
QUICK REFERENCE GUIDE
HR106X
1
Product Overview
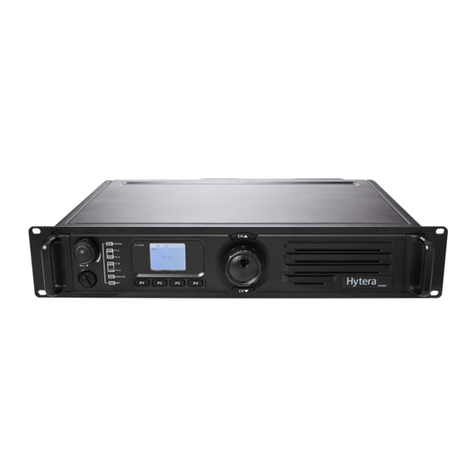
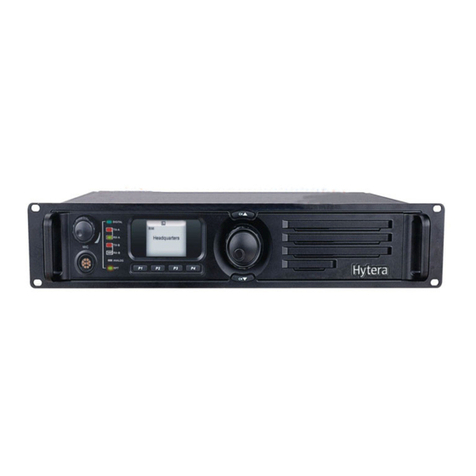
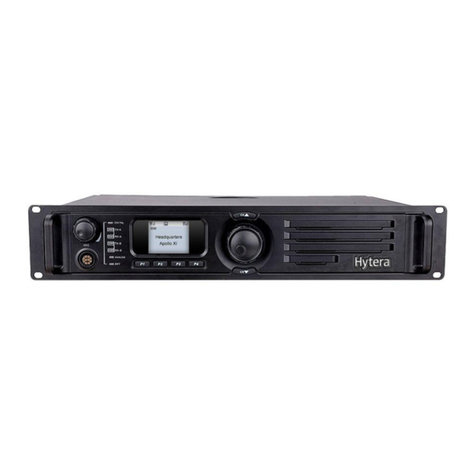
Front Panel
No. Part Name No. Part Name
1 Air Inlet for PA 8 Timeslot A RX Indicator
2 Volume/Channel + Key 9 Timeslot A TX Indicator
3 Volume/Channel – Key 10 Analog Mode Indicator
4Seven-segment Display 11 Digital Mode Indicator
5Alarm Indicator 12 Audio/Programming Interface
6 Timeslot B RX Indicator 13 Air Inlet for Power Supply
7 Timeslot B TX Indicator / /
Rear Panel
Basic Version
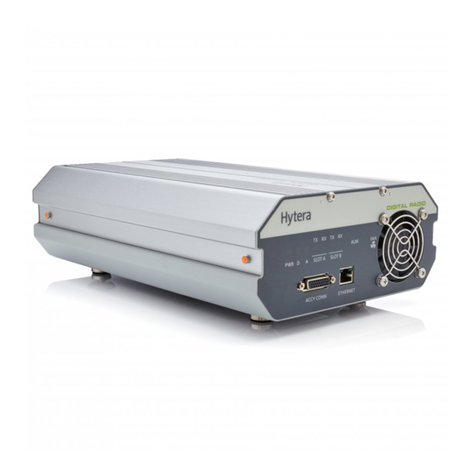
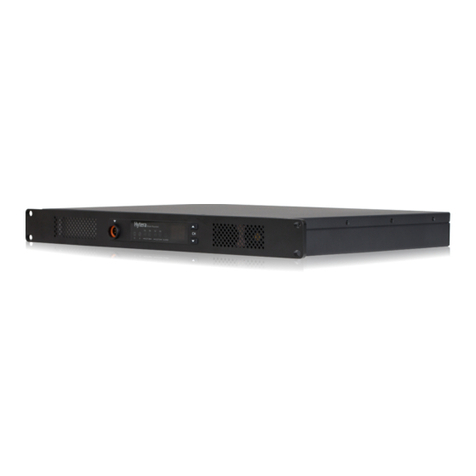
Blade Repeater
TX RX TX RX
D A SLOTA SLOTB ALARM
CH
Advanced Version
No. Part Name No. Part Name
1TX Antenna Connector 7USB Connector
2Monitor/Tuning Interface 8 DC Power Inlet
3Accessory Connector 9 AC Power Inlet
4RX Antenna Connector 10 AC Power Switch
5Ethernet Interface 1 11 Ground Screw
6Ethernet Interface 2 / /
NOTE
In routing mode, the Ethernet interface 1 and Ethernet interface 2 must serve as
LAN port and WAN port respectively.
No. Part Name No. Part Name
1TX Antenna Connector 6 DC Power Inlet
2Monitor/Tuning Interface 7 AC Power Inlet
3Accessory Connector 8 AC Power Switch
4RX Antenna Connector 9Ground Screw
5Ethernet Interface / /
2
Internal Parts
Basic Version
No. Part Name No. Part Name
1PA Module 5Wind Scooper
2Main Board 6Fan
3Network Board 7Control Panel
4 Power Supply Module 8 Float Charging Board
Advanced Version
No. Part Name No. Part Name
1PA Module 5Wind Scooper
2Main Board 6Fan
3Coprocessor 7Control Panel
4Power Supply Module 8Float Charging Board
Installation
To ensure optimum performance and reliability of the
repeater, read the following instructions carefully.
Installation Requirements
Environmental Conditions
The repeater must be installed in a dry and well-ventilated
place. The operating temperature ranges from –30°C to
+60°C, and the relative humidity is 95%.
Installation Site
The repeater can be installed in a rack, bracket, and cabinet,
or on a desk.
NOTE
For more information, refer to the Safety
Information Booklet.
Pre-installation Tasks
Preparing the Tools
●Phillips screwdriver
●T-10 torx screwdriver
●Spanner
●Anti-static gloves
●Multimeter
Checking the Power Supply
Before you install the repeater, make sure that the power
supply meets the following requirements:
●DC power voltage: 13.6±15% V
●AC power voltage: 100–240 V
Installation Procedure
To install the repeater, do as follows:
1. Wear the anti-static gloves.
2. Place the repeater to a proper location.
NOTE
If the repeater is installed in outdoor environments
with frequent thunderstorms, such as the top
of mountains or buildings, you must install an
external lightning protection module (optional) on
the network interface.
3. Connect the antenna, feed line, power cord and ground
cable to the repeater.
NOTE
●You must purchase the antenna and feed lines
separately.
●You must prepare a ground cable.
4. Ground the repeater through the ground screw located
on the rear panel.
Post-installation Check
To check whether the repeater works properly, do as follows:
1. Turn the repeater on.
2. Observe the LED indicators and the display in the front
panel.
●If the repeater works properly, the power supply
indicator on the oat charging board glows yellow
or blue, and the display shows the current channel.
●If not, the power supply indicator glows red, and
the display shows the alarm code.
NOTE
For details, see Checking the Status.
3
Basic Operations
Turning On or Off the Repeater
●If the repeater is connected to a DC power supply, press
the power switch on the DC power supply to turn on or
off the repeater.
After turn-on, if the power supply indicator turns red,
the repeater goes into locked status. You must switch off
the DC power supply for four seconds, and then switch
on the power supply again.
●If the repeater is connected to an AC power supply, press
the AC Power Switch in the rear panel to turn on or off
the repeater.
After turn-on, the power supply indicator turns yellow.
Changing the Channel
Press the Volume/Channel + or Volume/Channel – key to
change the channel.
The current channel number appears on the display of the
repeater.
Adjusting the Volume
1. Long press the Volume/Channel + key for ve seconds
to switch the repeater from channel mode to volume
mode.
2. Press the Volume/Channel + or Volume/Channel – key
to increase or decrease the volume.
If you do not have any operation for greater than five
seconds or if you long press the Volume/Channel + key
again within ve seconds, the repeater switches to channel
mode.
Checking the Status
Repeater
Indicator Description Repeater Status
Digital
Mode Blue The repeater is operating in
digital mode.
Analog
Mode Yellow The repeater is operating in
analog mode.
Alarm Red
The repeater is not working
properly, and the display
shows the alarm code.
Timeslot A
TX Red
●Analog mode: The
repeater is transmitting.
●Digital mode: The
repeater is transmitting
on timeslot A.
Timeslot A
RX Green
●Analog mode: The
repeater is receiving.
●Digital mode: The
repeater is receiving on
timeslot A.
Timeslot B
TX Red Digital mode: The repeater is
transmitting on timeslot B.
Timeslot B
RX Green Digital mode: The repeater is
receiving on timeslot B.
Network Interface
Indicator Description Repeater Status
Ethernet
Interface
LED 1
Flashing
The network interface
card is transmitting
data.
LED 2
Glowing
The data transmission
rate is 1000 Mbps/100
Mbps.
Off The data transmission
rate is 10 Mbps.
Power Supply
Indicator Description Repeater Status
Power Supply
(Visible through
the Air Inlet for
Power Supply)
Yel low The repeater is supplied
by an AC power.
Blue The repeater is supplied
by a DC power.
Red The repeater cannot be
turned on.
For details on more features and operations, please visit our
website at: http://www.hytera.com, or scan the QR code to
download the User Manual.

This manual suits for next models

4

Other Hytera Repeater manuals

Hytera RD985 User manual

Hytera

Hytera RD985 User manual

Hytera RD98XSVHFH User manual

Hytera

Hytera RD98XSVHFH User manual

Hytera RD98XS User manual

Hytera

Hytera RD98XS User manual

Hytera E-pole 100 User manual

Hytera

Hytera E-pole 100 User manual

Hytera HR106X User manual

Hytera

Hytera HR106X User manual

Hytera E-pack100 User manual

Hytera

Hytera E-pack100 User manual

Hytera RD988 U5 User manual

Hytera

Hytera RD988 U5 User manual

Hytera RD98X series User manual

Hytera

Hytera RD98X series User manual

Hytera RD62 series User manual

Hytera

Hytera RD62 series User manual

Hytera RD962i User manual

Hytera

Hytera RD962i User manual

Hytera RD98 Series User manual

Hytera

Hytera RD98 Series User manual

Hytera RD98XS User manual

Hytera

Hytera RD98XS User manual

Hytera RD980 Installation and operation manual

Hytera

Hytera RD980 Installation and operation manual

Hytera RD98XSi series User manual

Hytera

Hytera RD98XSi series User manual

Hytera DS-9300 User manual

Hytera

Hytera DS-9300 User manual

Hytera CHU-P0BA00 User manual

Hytera

Hytera CHU-P0BA00 User manual

Hytera RD625 User manual

Hytera

Hytera RD625 User manual

Hytera RD98X series User manual

Hytera

Hytera RD98X series User manual

Hytera RD620 User manual

Hytera

Hytera RD620 User manual

Hytera HR106X User manual

Hytera

Hytera HR106X User manual

Hytera RD98 Series User manual

Hytera

Hytera RD98 Series User manual

Hytera HR65X User manual

Hytera

Hytera HR65X User manual

Hytera RD98X series Assembly instructions

Hytera

Hytera RD98X series Assembly instructions

Hytera RD98X series Installation and operation manual

Hytera

Hytera RD98X series Installation and operation manual

Popular Repeater manuals by other brands

rock space RSD0607 quick start guide

rock space

rock space RSD0607 quick start guide

Uniden Force Preliminary service manual

Uniden

Uniden Force Preliminary service manual

IDS Xwave Operation guide

IDS

IDS Xwave Operation guide

Vertex Standard VXR-7000 operating manual

Vertex Standard

Vertex Standard VXR-7000 operating manual

Viking 242-2009-632 Service manual

Viking

Viking 242-2009-632 Service manual

foxunhd FX-EX39 operating instructions

foxunhd

foxunhd FX-EX39 operating instructions

Rielta CN-Repeater-AC installation guide

Rielta

Rielta CN-Repeater-AC installation guide

EnGenius ECB1221R quick start guide

EnGenius

EnGenius ECB1221R quick start guide

Harman AMX HPX-AV102-HDMI-R quick start guide

Harman

Harman AMX HPX-AV102-HDMI-R quick start guide

BelFone BF-TR8500 manual

BelFone

BelFone BF-TR8500 manual

HQ Power HQM407C user manual

HQ Power

HQ Power HQM407C user manual

Amplitec C23S Series user manual

Amplitec

Amplitec C23S Series user manual

Grace Industries T3 User information

Grace Industries

Grace Industries T3 User information

ADTRAN 239 T1 Installation and maintenance practice

ADTRAN

ADTRAN 239 T1 Installation and maintenance practice

PR 9106B manual

PR

PR 9106B manual

Panasonic KX-A407 Series installation manual

Panasonic

Panasonic KX-A407 Series installation manual

National Semiconductor DS91M125 user manual

National Semiconductor

National Semiconductor DS91M125 user manual

Cypress CH-108 Operation manual

Cypress

Cypress CH-108 Operation manual

manuals.online logo
manuals.online logoBrands
  • About & Mission
  • Contact us
  • Privacy Policy
  • Terms and Conditions

Copyright 2025 Manuals.Online. All Rights Reserved.