5
After starting the engine, check to make sure that the cutting attachment stops rotating when the
throttle is full released. If it continues to rotate even after the throttle has been fully released,
turn off the engine and take the unit to the dealer for repair.
If the unit starts to shake or vibrate, turn off the engine and check the whole unit. Do not use it
until the trouble has been properly corrected.
Keep all parts of your body away from rotating cutting attachment and hot surfaces.
Never touch the muffler, spark plug, or other metallic parts of the engine while the engine is in
operation or immediately after shutting down the engine. Doing so could result in serious burns
or electrical shock.
While the motor is still hot, keep the machine away from anything flammable, such as dry grass,
debris, leaves or excessive lubricant.
Before laying down the machine, make sure the engine is turned off and the cutting attachment
is completely stopped !
Never work alone!
Make sure you are within shouting distance or have visual or other kind of contact with another
person who will be able to provide first aid in an emergency situation.
Always be aware of your surroundings and stay alert for possible hazards that you may not hear
due to the noise of the machine
Never operate the pruner or hedge trimmer at an angle greater than 60° in order to reduce
the risk of being struck by falling objects during operation.
Avoid operating while people, especially children are nearby.
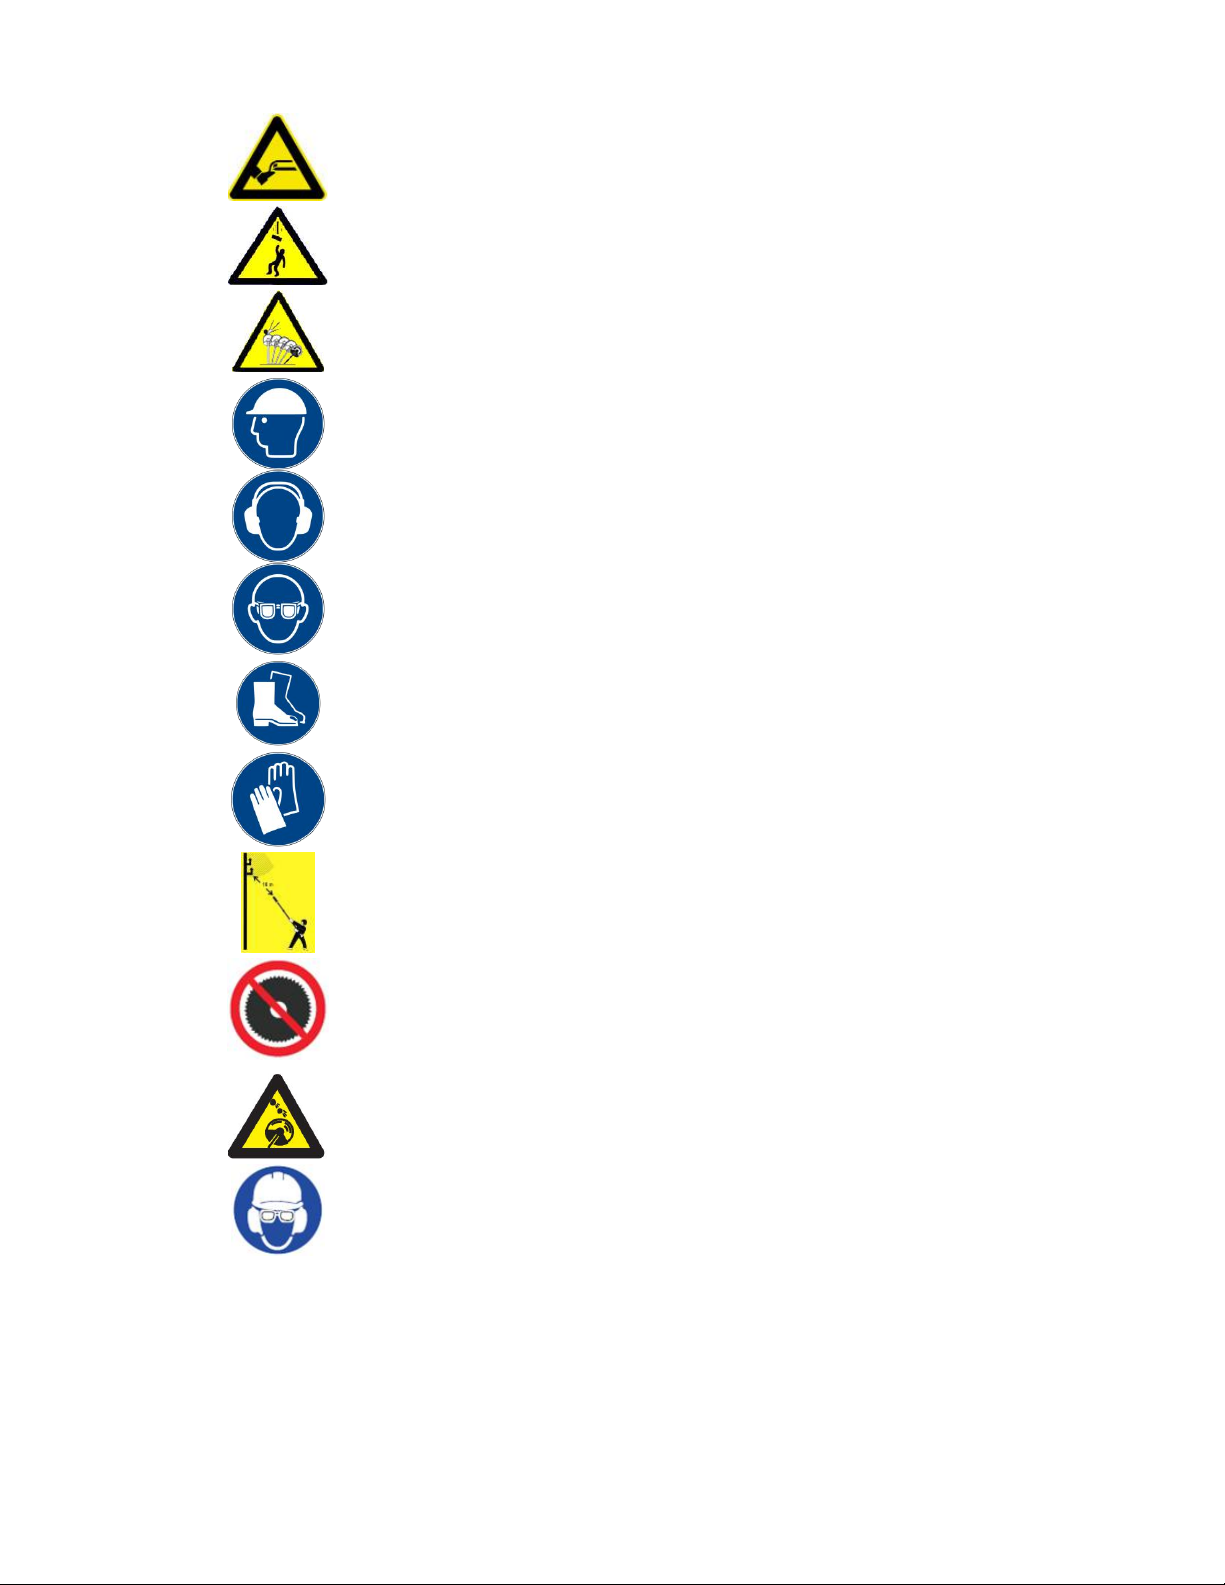
Always beware of the danger from overhead electric-power line, keep a safe distance at
least 10m from the power line.
Inspect the machine daily and before usebys and after a fall or other impact to identify any
significant damage or defect. Repair or repair the machine before reuse.
Remove branches in sections and avoid taking dangerous positions. Always stand with firm feet.
There is a risk of collision with branches or branches which, having hit the ground, can bounce.
When assembling, dismantling, maintenance and other stains, pay attention to the sharp
elements. Always wear protective gloves.
MAINTENANCE
In order to maintain your product in proper working order, perform the maintenance and
checking operations described in the manual at regular intervals.
Always be sure to turn off the engine before performing any maintenance or checking
procedures.
WARNING!
The metallic parts reach high temperatures immediately after stopping the engine
Use only original replacement parts. Only these spare parts are guaranteed to be designed and
suitable for use with this machine. Using other spare parts will void your warranty and may cause
danger to yourself and your surroundings.
In the event that any part must be replaced or any maintenance or repair work not described in
this manual must be performed, please contact our servicing dealer for assistance.
Under no circumstances should you ever take apart the product or alter it in any way. Doing so
might result in the product becoming damaged during operation or the product becoming unable
to operate properly.