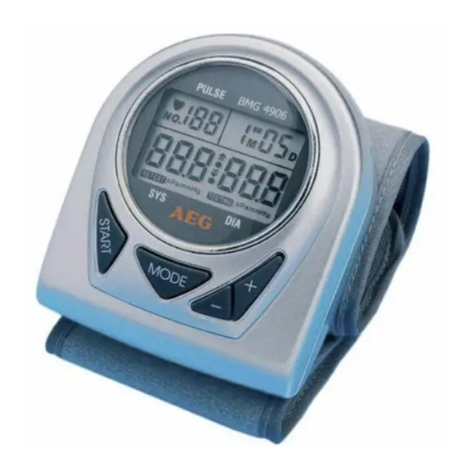
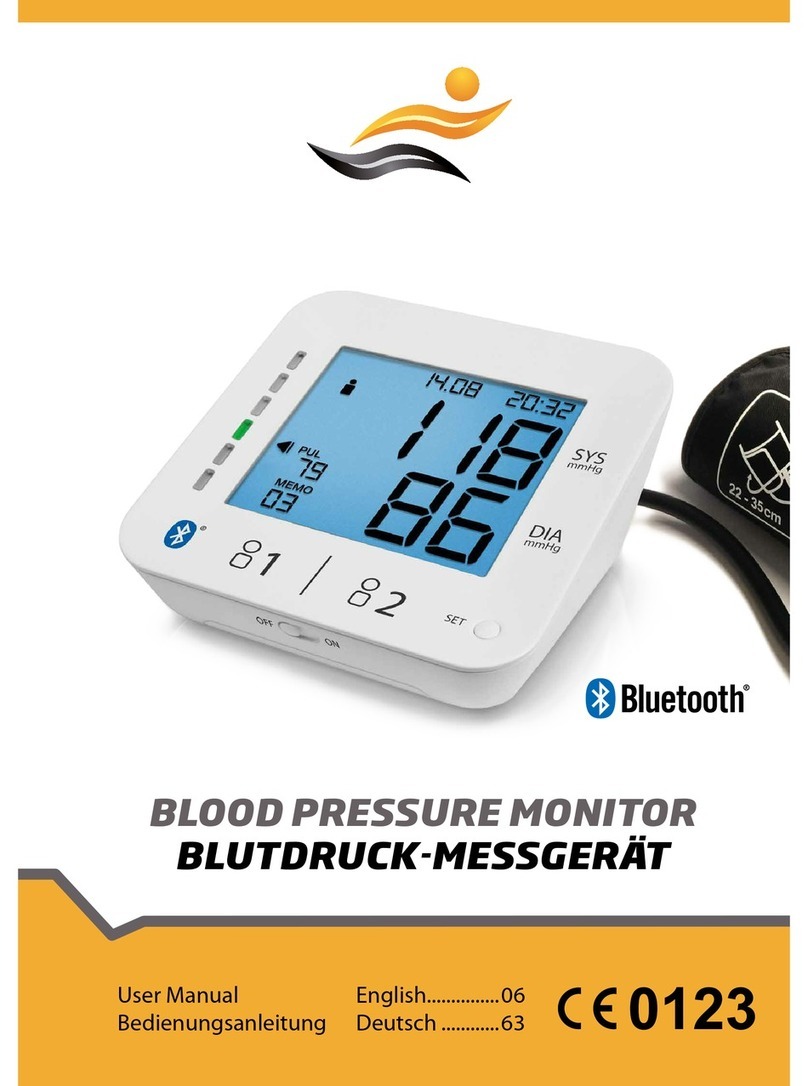
I-Michealth HL168JC User manual

I
In
ns
st
tr
ru
uc
ct
ti
io
on
n
M
Ma
an
nu
ua
al
l
Automatic
Wrist Blood Pressure Monitor
M
Mo
od
de
el
l
N
No
o.
.
H
HL
L1
16
68
8J
JC
C
1

Table of Contents
Medical Disclaimer……………………………………………………………………………03
Intended Use………………………………………………………………………………..…03
About Blood Pressure………………………………………………………………………04
Precautions…………………….…………………………………………………………………06
Device Overview……………………………………………………………………………….08
Symbol Definitions………………………………………………………………………….10
Installing Batteries………………………………………………………………………….11
Applying the Cuff…………………………………………………………………………….12
Positioning Guide………….………………………………………………………………….13
Measurement Procedure………….…………………………………………………….14
Memory Function………………………………………………………………………………16
Storage and Maintenance……………………………………………………………….17
Troubleshooting……………………………………………………………………………….18
Limited Warranty…………………………………………………………………………….19
Specifications………………………………………………………………………………….20
Note………………………………………………………………………………………….…….21
Appendix…………………………………………………………………………………….…….22
Blood Pressure Diary……………….……………………………………………….…….24
2

Medical Disclaimer
This manual and product are not meant as a substitute for advice
provided by your doctor.
You are not to use the information contained herein, or this product
for diagnosing or treating a health problem or prescribing any
medication. If you have or suspect that you have a medical problem,
promptly consult your healthcare provider.
Intended Use
This device uses the oscillometric method to automatically measure
systolic and diastolic blood pressure as well as heart rate.
The measurement position is at human being’s wrist.
All values can be read out in one LCD panel.
The device is designed for home use and recommended for use by
adults aged 18 years and older with wrist circumference ranging 135
~ 195 mm (5.3 ~ 7.7 inch).
3

About Blood Pressure
1. What is blood pressure?
Blood pressure is the measurement of the force of blood pushing
against the walls of the arteries. Arterial blood pressure is
constantly fluctuating during the course of the cardiac cycle. The
highest pressure in the cycle is called the systolic blood pressure,
and represents the pressure in the artery when the heart is beating.
The lowest pressure is the diastolic blood pressure, and represents
the pressure in the artery when the heart is at rest. Both the
systolic and the diastolic pressure are necessary for a physician to
evaluate the status of a patient's blood pressure.
Many factors such as physical activity, anxiety or the time of day,
can influence your blood pressure. Blood pressure is typically low
in the mornings and increases from the afternoon to the evening.
It is on average lower in the summer and higher in the winter.
2. Why is it useful to measure blood pressure
at home?
Having one's blood pressure measured by a doctor in a hospital or
a clinic, is often associated with a phenomenon called “White Coat
Hypertension” where the patient becomes nervous or anxious,
thus raising his blood pressure. There are also numerous other
factors that might cause your blood pressure to be raised at a
specific time of day. This is why medical practitioners recommend
home monitoring as it is important to get readings of blood
pressure during different times of the day to really get an idea of
your real blood pressure.
Medical practitioners generally recommend the “Rule of 3”, where
you are encouraged to take your blood pressure three times in a
row (at 1 minute interval), three times a day for three days. After
three days you can average all the results and this will give you an
accurate idea of what your blood pressure really is.
4

About Blood Pressure
A. WHO blood pressure
classifications:
Standards for assessment
of high or low blood pressure
without regard to age, have
been established by the
World Health Organization
(WHO), as shown in the
chart.
However this chart is not exact for classification of blood
pressure and it's intended to be used as a guide in
understanding non-invasive blood pressure measurements.
Please consult with your physician for proper diagnosis.
B. Variations in blood pressure:
Individual blood pressures vary greatly both on a daily and a
seasonal basis. These variations are even more pronounced in
hyper tense patients. Normally the blood pressure rises while at
work and is at its lowest during sleeping period.
(hyper tense: means a person who has high blood
pressure symptom.)
The graph below illustrated the
variations in blood pressure over a
whole day with measurement taken
every five minutes.
The thick line represents sleep. The
rise in blood pressure at 4 PM (A in
the graph) and 12 PM (B in the graph) correspond to an attack
of pain.
5

Precautions
*Do not use this manual and product as a substitute for advice,
diagnosing or treating a health problem or prescribing any
medication by your doctor. If you have a medical problem,
promptly consult your healthcare provider.
*Read the Instruction Manual thoroughly before measuring and
keep it at hand for your reference at any time.
*This device uses the oscillometric method to measure systolic and
diastolic blood pressure as well as your heart rate. It’s
recommended for use by people over the age of 18 and not to be
used on infant or children.
*The device is designed for home use and not suitable for clinical
use.
Do not take a measurement in a low (less than 50 ℉/10 ℃) and
high (more than 104 ℉/40 ℃) temperature, nor in a place outside
humidity ranges (15% ~ 90% R.H.), or you may get inaccurate
readings.
Wait 30 ~ 45 minutes before measurement if you’ve just consumed
caffeinated beverages or smoked cigarettes.
Rest at least 5 ~ 10 minutes before taking a measurement.
To allow your blood vessels to return to the condition prior to taking
the measurement, please wait at least 3 ~ 5 minutes in between
measurements. You may need to adjust the wait time according to
your personal physiological situation.
We recommend you using the same wrist (preferably the left wrist)
and measuring around the same time each day.
Sit down comfortably and place your elbow on the table with your
feet flat on the floor. Please do not cross your legs during
measurements.
Keep the device at heart level. Relax your hand with the palm facing
up.
Perform measurements in a quiet and relaxed environment at room
temperature.
Do not move or shake the device during a measurement. Please
keep quite and do not talk at the same time.
6

Precautions
Keep in mind that blood pressure naturally varies from time to time
through out the day and is affected by lots of different factors such
as stress, eating, smoking, alcohol consumption, medication, and
physical activity, etc.
Normally the blood pressure rises while at work and is at its lowest
during sleeping period.
Blood pressure measurements should be interpreted by a physician
or a trained health professional who is familiar with your medical
history. Using the unit and recording the results regularly for your
physician to interpret, you will keep your physician informed of the
continuing changes in your blood pressure.
If you have one of the circulatory problems as arteriosclerosis,
diabetes, liver disease, kidney disease, severe hypertension,
peripheral circulation….., please consult your healthcare
professional before using the device.
This product is not suitable for pregnant women.
Blood pressure measurements taken with this device are equivalent
to those obtained by a trained observer using the cuff / stethoscope
auscultation method and are within the accuracy limits prescribed
by the Standard of EN 1060-4.
*Attention
!
1. Do not use the device on infants, children, or those who cannot express their
own intention.
2. The device is equipped with sensitive electronic components. While measuring,
avoid strong electrical or electromagnetic fields, e.g. mobile phones,
microwave ovens, etc; or it may lead to temporary reading error or inaccuracy.
3. Over high frequency measurements may result in blood flow interference, which
is likely to cause uncomfortable sensations, such as partial subcutaneous
hemorrhage, or temporary numbness to your wrist. In general, these
symptoms should not last long. However, if you do not recover in time, please
seek your medical practitioners for help.
7

Device Overview
Part names and product components
LCD DISPLAY
WRIST
CUFF
START/STOP
BUTTON
AAA (1.5V) ALKALINE
BATTERY X 2
BUTTON
MEMORY
SET
BUTTON
MODE
BUTTON
STORAGE
CASE
Substitution of a component different from that supplied might result in measurement error.
*Caution!
8

Device Overview
Unit display
YEAR DATE
TIME
MINUTE
AFTERNOON
TIME
MEASURING
SYMBOL
SYSTOLIC
RATE
BLOOD
PRESSURE UNIT
LOW BATTERY
SYMBOL DIASTOLIC
RATE
ERROR SYMBOL
MEMORY
RECORD NUMBER HEART RATE
PULSE SYMBOL
9

Symbol Definitions
SYMBOLS Definitions
This symbol appears when the battery power is
excessively low or the polarity reverses.
Low Battery Symbol ÎWe suggest you replace all batteries with new ones,
and make sure the +/- polarities are properly positioned.
Once pulse is detected, the symbol flashes with each
pulse beat.
Pulse Symbol ÎOur suggestion:
Please do not talk or move during measurements.
This symbol appears while measuring.
Measuring Symbol ÎPlease keep quiet, and do not move or talk.
10

Installing Batteries
When the LOW BATTERY SYMBOL appears on the display, or
nothing appears on the display when the power is switched on, please
change the batteries.
Replace all the batteries with new ones and do not mix new and old
batteries. Do not mix alkaline, standard (carbon-zinc) or
rechargeable (cadmium) batteries either. It may shorten the battery
life or cause the device to malfunction.
Remove the battery cover and insert 2 AAA alkaline batteries into the
battery compartment as shown.
Make sure the polarities “+” and “–” ends are properly positioned.
*Attention
!
yBatteries are hazardous waste. Do not dispose of them together with the
household garbage. Please take the used batteries to the recycling
collection point according to your local regulations.
yKeep the battery away from small children in case they swallow it.
yTo prolong the battery life and prevent damage caused by leakage,
remove the batteries from the device if the device is not to be used for
a long period.
yMemories (if any) will not be deleted during battery replacement.
yAfter replacing the batteries, reset the date and time.
11

Applying the Cuff
Do not place the pressure cuff over a jacket
or sweater sleeve. Wrap the pressure cuff
around the bare wrist with the monitor
facing you.
Wrap the cuff snugly. Do not make it too tight.
Fold the remaining part of the cuff back out
of the way.
Leave approximately 0.4 inch (10 mm)
between the cuff and the bottom of your
hand palm.
0.4 inch (10 mm)
5.3 ~ 7.7 inch (135 ~ 195 mm)
*Note
!
yDo not use this device if your wrist has any wound or injury.
yDo not wrap the cuff around any body part other than your
wrist.
12

Positioning Guide
It is extremely important that the cuff be at the same height as the
heart.
Having the cuff higher or lower may cause
inaccurate results.
1. Sit down comfortably with your feet flat on the
floor.
2. Position the blood pressure monitor on your
wrist.
3. Place your elbow on the table and rest the
back of your hand on the device storage case
or other object
4. Rest your wrist on the armrest until it’s at the same height as your
heart.
5. Relax your hand and turn your palm upwards.
13

Measurement Procedure
Switching on the monitor
A. Switch on the monitor by pressing START/STOP
button.
B. All segments will appear on the screen for 3
seconds.
Setting date and time
A. Press MODE button ("MONTH" starts flashing).
Press SET button to set the current MONTH (1, 2, 3,………, 12).
B. Press MODE button ("DAY" starts flashing).
Press SET button to set the current DAY (1, 2, 3,………, 31).
C. Change HOUR(1, 2, 3,……..12P,1 P,…, 12) and MINUTE
(00,01,02,03,.....59) as described in Step B above, using MODE
button to adjust digits and SET button to confirm the entries.
Taking a measurement
A. Press SET button to switch from User 1, 2 or 3.
B. With the cuff wrapped around your wrist, press START/STOP
button to start measurement.
All display units appear on the screen for 3 seconds.
*Note
!
Do not inflate the cuff until it is wrapped around your wrist.
After all symbols disappear, the display will show “00”. The
monitor is “Ready to Measure” and will automatically inflate to
the level that is right for you.
14

Measurement Procedure
C. After the initial inflation of the cuff, the pressure will slowly
decrease. And when a pulse is detected, the PULSE SYMBOL
will start flashing.
*Note
!
yIf the cuff does not stop inflating, remove the cuff at once.
yTo stop measurement, you may press START/STOP button.
The cuff will deflate immediately after the button is pressed.
D. When the measurement is finished, the systolic pressure,
diastolic pressure, and heart rate will be displayed for 1 minute.
E. Device automatically shuts off if no other operation in 1 minute.
15

Memory Function
Storing data
After each measurement, the systolic and diastolic pressure, heart
rate with the time and date will be automatically stored.
The monitor features a 3 user memory capability. Each user holds
the last 30 measurements, replacing the oldest data with new one.
Recalling data
A. Press SET button to select User 1, 2 or 3.
B. Press MEMORY button to enter Memory Mode.
The first reading will be the average of all measurements.
C. Press MEMORY button again. The latest measurement will appear
with the recording date and time.
D. Press MEMORY button to read the following measurements in
sequence.
E. To stop reading the memories, press START/STOP button to switch
to Standby Mode.
Erasing data
A. Press SET button to select User 1, 2 or 3.
B. Press the MEMORY button to enter Memory Mode.
C. Press and hold MODE and SET buttons at the
same time, and the data for the selected user will
be erased automatically.
D. To confirm the data in the selected user has been
erased, press MEMORY button and no data should
appear.
Note: Once deleted, your data can NOT be restored.
16

Storage and Maintenance
General Use
Do not in any way twist the cuff.
Do not press START/STOP button if the cuff is not wrapped around
the wrist.
Do not drop the product and avoid any strong impacts.
Maintenance
Use a piece of cloth with water or mild cleansing agent to wipe the
device and dry it immediately with a dry cloth.
Do not use detergent or any strong chemicals to clean the device.
Use only a dry cloth to wipe the cuff.
Do not attempt to disassemble or change any parts of the monitor,
including wrist cuff, due to substitution of a component different
from that supplied might result in measurement error.
If any suggestion or service is requested, please consult your
service station.
Storage
If the device is not to be used for a long time, please remove the
batteries from the device (leaking of battery acid can cause the
device to malfunction).
Always store the unit in the storage case after use.
Do not place the device directly under sunlight, in high temperature,
or in humid or dusty places.
Do not store the device in extremely low (less than –4 /℉–20 )℃
and high (more than 158 /70 ) temperature℉℃ , nor in a place its
humidity exceeds 90% R.H.
17

Troubleshooting
SYMBOLS/SYMPT
OMS CONDITIONS/CAUSES INDICATION/C
ORRECTION
Worn-out batteries.
Replace them
with 2 new AAA
alkaline
batteries.
No power-on by
pressing
START/STOP
button. Battery polarities have been
positioned incorrectly.
Re-insert the
batteries in the
correct
positions.
Cuff has been placed
incorrectly.
Wrap the cuff
properly so that it
is positioned
correctly.
Did you talk or move during
measurement?
Error Symbol appears
when blood pressure
value displayed is
excessively low or high;
or the accurate blood
pressure could not be
obtained.
Shaking of the wrist with the cuff
on.
Measure a
g
ain.
Keep wrist steady
during
measurement.
Note: If "EP" appears on the display, just return the device to your local distributor or importer.
18

Limited Warranty
To ensure continued measurement precision, all digital blood
pressure monitors require recalibration regularly.
After 2 years from the manufacturing date, we recommend you have
your monitor recalibrated at the local distributor or importer.
Please contact your distributor/importer for the details about the
recalibration service and the charge of shipping and handling.
Please also note that this service does not cover damage caused by
misuse or abuse; accident; the attachment of any unauthorized
accessory; alteration to the product; improper installation;
unauthorized repairs or modifications; improper use of
electrical/power supply; loss of power; dropped product; malfunction
or damage of an operating part from failure to provide
manufacturer’s recommended maintenance; transportation damage;
theft; neglect; vandalism; or environmental conditions; loss of use
during the period the product is at a repair facility or otherwise
awaiting parts or repair; or any other conditions whatsoever that are
beyond the control of importers or distributors.
19

Specifications
Model number HL168JC
Measurement
method Oscillometric
Measurement
range
Pressure: 0 ~ 300 mmHg
Pulse: 40 ~ 199 beats/minute
Accuracy Pressure: ±3 mmHg
Pulse: ±5% Max.
Inflation Automatic inflation (air pump)
Deflation Automatic air release control valve
Display Liquid Crystal Display
Memory 90 memory total for 3 users
Unit dimensions 3.31 x 2.91 x 1.38 inch (L x W x H)
84 x 74 x 35.1 mm (L x W x H)
Unit weight 3.70 ± 0.17 oz (105 ± 5 g)
(Excluding cuff & batteries)
Cuff size 135 ~ 195 mm (5.3 ~ 7.7 inch)
Storage/
Transportation
environment
Temperature: -20 ~ 70°C (-4 ~ 158°F)
Humidity: ≤90% R.H.
Operation
environment
Temperature: 10 ~ 40°C (50 ~ 104°F)
Humidity: 15% ~ 90% R.H.
Power supply AAA (1.5V) alkaline battery x 2
Battery life Approx. 250 measurements
Power-saving Mode Device automatically shuts off if no further
operation in 1 minute.
Accessories Instruction manual, 2 AAA alkaline batteries,
Storage case
*The contents of this manual and the specifications of the device
covered by this manual are subject to change for improvement
without notice.
20
Table of contents
