manuals.online logo
Brands
  1. Home
  2. •
  3. Brands
  4. •
  5. I.SOUND
  6. •
  7. Other
  8. •
  9. I.SOUND DREAM TIME User manual

I.SOUND DREAM TIME User manual

dreamTIME
Package Contents:
• Main Speaker Unit
• Wireless Remote Control
• 3.5mm Audio Cable
• AC Adapter
• iPod® Spacer Brackets
• Instruction manual
Page 1 Page 2
Speaker P ort
Backu p B attery Compar tment
DC IN 12V
Jack
FM Antenna
Wi r e
Line In
Jack
STANDBY/SOURCE
PLAY/PAUSE
SNOOZE
Multi-fu nction D isplay
ALARM SELECT
ALARM 2
ALARM 1
SLEEP
NAP
CLOCK
TUNE/TRACK DOWN VOLUME UP
TUNE/TRACK UP
Removabl e Fitting Bracket
iPod Pin C onnector
Remote
Sensor
Wi ndo w
VOLUME DOWN
iPod 3Gen
10GB
iPod 3Gen 20GB
iPod 4Gen 20GB
iPod Photo 30GB
20 & 30gig
Bracke t
iPod 3Gen
15GB
iPod Video 60GB
Video
60gig
Brack et
Video
30gig
Bracke t
iPod Video 30GB iPod 3Gen 30GB All iPod mini iPod nano 1GB
iPod 3Gen 40GB iPod nano 2GB
iPod 4Gen 40GB iPod nano 4GB
iPod Photo
40GB
iPod Photo
60GB
Color
40 & 60gig
Brack et
mini
Brack et
nano
Brack et
A l ar m 1
In di cato r
Weekda y
In di cato r
Time/A l a rm /Radi o F r equ en cy I nd icato r
B A ND ico n
SLEEP icon
A l ar m 2
In di cato r
iPod i con NA P i con SNOOZE i co n
Multi-Function Display (Backlight)
Select the right fitting bracket for your iPod (see chart below).
Install iPod Removable Fitting Bracket
SNOOZE
PLAY/PA US E
MUTE
EQ
SLEEP
STANDBY/SOURCE
VOL UMEDOWN
VOLUME UP
TUNE/TR A CK DOWN
TUNE/TR A CKS UP
Remote Control Unit
Controls and Indicators
www.isound.net
The remote is compatible will all dockable iPod’s. A iPod must be connected the
dreamTIME’s dock to function properlay.
The dreamTIME includes several different iPod brackets. Always use the proper
bracket to insure your iPod is firmly seated on the dreamTIME dock.
Page 3 Page 4 PO Box 478
Torrance, CA 90508 Page 5
The remote’s battery is factory installed.
Open the battery compartment door and
remove the protective battery sheet
before use.
When the remote’s battery becomes
weak, replace the battery with a (TYPE
CR2032 3V Lithium Battery). When
installing the new battery make sure to
install the battery with the + side up.
Install/Replace Battery on the Remote Control
Install/Replace Back-up Battery of the dreamTIME
This unit uses a back-up system to provide conitinous clock
operation in the event of a power failure. If the Back-up Battery
has been installed and a power failure occurs or the AC cord is
accidentlly disconnected, the current time and alarm settings will
be temporarily maintained. Otherwise, you must reset the time and
alarm settings.
Installing Back-Up Batteries
1. Make sure the AC adapter is connected or you may lose all of
your current settings.
2. Open the battery compartment on the bottom of the unit.
3. Insert 2 “AA” batteries, check that the polarity(+& - ends of the
batteries) match the engraving inside the battery compartment.
4. Close the battery door.
5. DO NOT mix old and new batteries.
AC Power Supply Connection
1. Insert 2 “AA” batteries, check that the polarity(+ & - ends of
the batteries) match the engraving inside the battery compartment.
Functions
Power Unit On/Off
1. Press and hold STANDBY/SOURCE for about 2 seconds, the
unit will power up to the last played audio source.
2. To power “OFF” the dreamTIME \, hold STANDBY/SOURCE for
about 2 seconds.
AC Power Supply Connection
1. Insert 2 “AA” batteries, check that the polarity (+ & - ends of
the batteries) match the engraving inside the battery compartment.
Selecting Audio Source
1. With the dreamTIME powered on, press the STANDBY/SOURCE
button to toggle the different sources.
Adjusting the Volume
1. Press the volume up or volume down buttons. The LCD will the
volume level.
Mute Volume
1. On the wireless remote, press MUTE to silent the dreamTIME,
press MUTE again to resume the volume.
Equalizer
1. On the wireless remote, press EQ to toggle between the different
equalizer modes.
Setting Clock
1. Power “ON” the dreamTIME speaker.
2. Press and hold CLOCK for about 2 seconds, the LCD backlight
illuminates and the HOUR and MINUTES digits start to flash.
3. Press TUNE/TRACK up or down to set the HOUR, press VOLUME
up or DOWN to set the minutes.
4. Press CLOCK to confirm the HOUR/MINUTES, the digits will stop
flashing.
5. The WEEKDAY icon will be flashing.
6. Press TUNE/TRACK up or down to set the day of the week.
Setting Alarm 1
1. Power the dreamTIME speaker “OFF” .
2. Press and hold the ALARM 1 button for two seconds. The
ALARM 1 icon flashes and the HOUR and MINUTE digits start to
flash.
3. Press TUNE/TRACK button up or down to set the HOUR, press
the VOLUME button up or down to set the minutes.
4. The WEEKDAY icon will be flashing.
5. Press the TUNE/TRACK button up or down to adjust the day of
the week.
6. Press the VOLUME button up or down to choose the wake-up
source.
7. Press the ALARM 1 button to confirm the ALARM time and
wake-up SOURCE.
Setting Alarm 2
1. Power the dreamTIME speaker “OFF” .
2. Press and hold the ALARM 2 button for two seconds. The
ALARM 2 icon flashes and the HOUR and MINUTE digits start to
flash.
3. Follow the same procedures as setting ALARM 1.
Display Alarm Settings
1. Power the dreamTIME speaker “OFF” .
2. Quick press the ALARM 1 or ALARM 2 buttons.
Line In Feature
The dreamTIME speaker features a line in. The line in is used to
connect any audio device that uses a standard headphone input.
For Technical Support Please Contact:
1-877-999-DREAM
Or visit us on the web @ www.i.sound.net

Other manuals for DREAM TIME

1

Other I.SOUND Other manuals

I.SOUND HARMONY User manual

I.SOUND

I.SOUND HARMONY User manual

I.SOUND HEADPHONES Operation manual

I.SOUND

I.SOUND HEADPHONES Operation manual

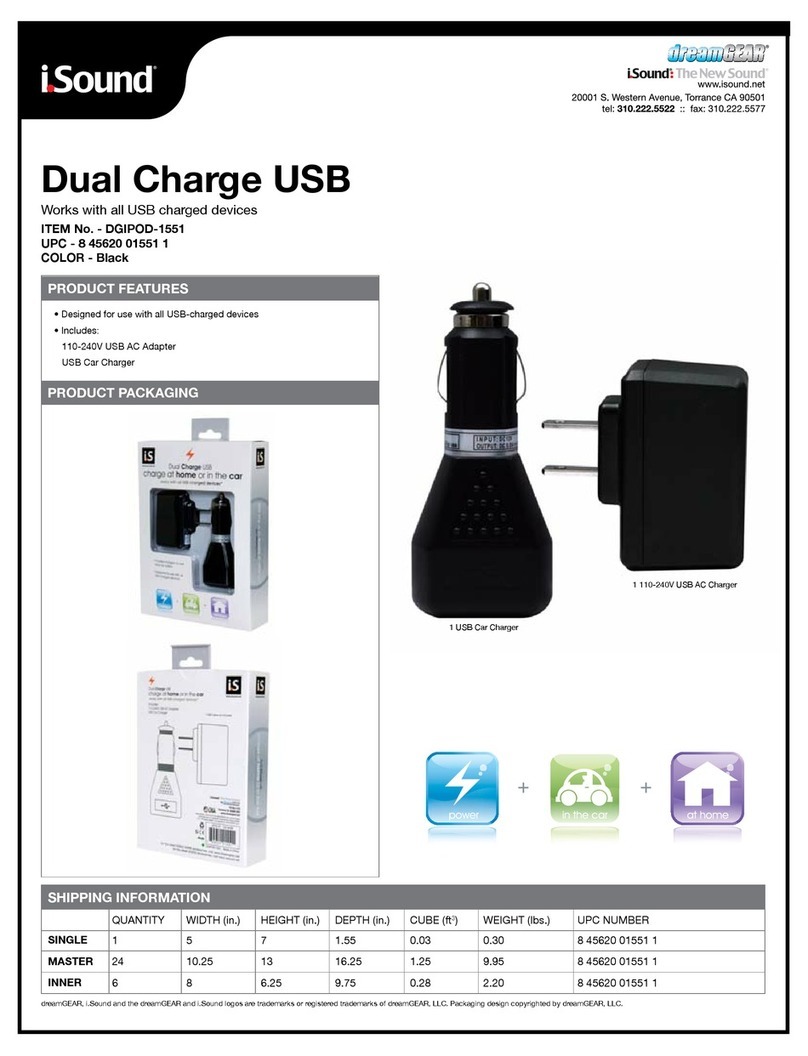
I.SOUND DUAL CHARGE USB Operation manual

I.SOUND

I.SOUND DUAL CHARGE USB Operation manual

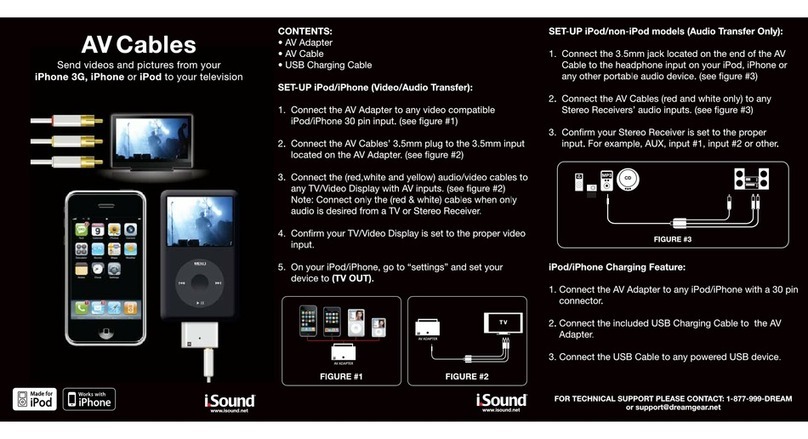
I.SOUND AV CABLES User manual

I.SOUND

I.SOUND AV CABLES User manual

I.SOUND CAR CHARGER Operation manual

I.SOUND

I.SOUND CAR CHARGER Operation manual

I.SOUND WALL Operation manual

I.SOUND

I.SOUND WALL Operation manual

I.SOUND CAR CHARGER User manual

I.SOUND

I.SOUND CAR CHARGER User manual

I.SOUND HARMONY User manual

I.SOUND

I.SOUND HARMONY User manual

I.SOUND DREAM TIME Operation manual

I.SOUND

I.SOUND DREAM TIME Operation manual

I.SOUND AV CABLES User manual

I.SOUND

I.SOUND AV CABLES User manual

Popular Other manuals by other brands

CEMO DT-Mobil Easy 430l operating instructions

CEMO

CEMO DT-Mobil Easy 430l operating instructions

Blue Ox AMBASSADOR BX7302 OPERATOR, PARTS, AND INSTALLATION MANUAL

Blue Ox

Blue Ox AMBASSADOR BX7302 OPERATOR, PARTS, AND INSTALLATION MANUAL

Tiger CS7-200H owner's manual

Tiger

Tiger CS7-200H owner's manual

Chamberlain LMHNTG manual

Chamberlain

Chamberlain LMHNTG manual

CEMO CENTRI SP30 operating instructions

CEMO

CEMO CENTRI SP30 operating instructions

WAGNER VICTORIA manual

WAGNER

WAGNER VICTORIA manual

Sharper Image 206941 user guide

Sharper Image

Sharper Image 206941 user guide

Bacharach Model 105 supplementary guide

Bacharach

Bacharach Model 105 supplementary guide

Haier DE45EM Service manual

Haier

Haier DE45EM Service manual

Lenovo S90-A quick start guide

Lenovo

Lenovo S90-A quick start guide

Basler BE1-50/51B-101 instruction manual

Basler

Basler BE1-50/51B-101 instruction manual

Chamberlain LiftMaster PROFESSIONAL BARS1-L manual

Chamberlain

Chamberlain LiftMaster PROFESSIONAL BARS1-L manual

Proxy Nano Inline User manual and installation guide

Proxy

Proxy Nano Inline User manual and installation guide

Snap-On Solus user manual

Snap-On

Snap-On Solus user manual

VIETA VM-HD107BK user manual

VIETA

VIETA VM-HD107BK user manual

PROAIM CINEMA DL-BRIO-00 instruction manual

PROAIM

PROAIM CINEMA DL-BRIO-00 instruction manual

Whirlpool 3LG5701XP installation instructions

Whirlpool

Whirlpool 3LG5701XP installation instructions

MobilePartners MP2110A user manual

MobilePartners

MobilePartners MP2110A user manual

manuals.online logo
manuals.online logoBrands
  • About & Mission
  • Contact us
  • Privacy Policy
  • Terms and Conditions

Copyright 2025 Manuals.Online. All Rights Reserved.