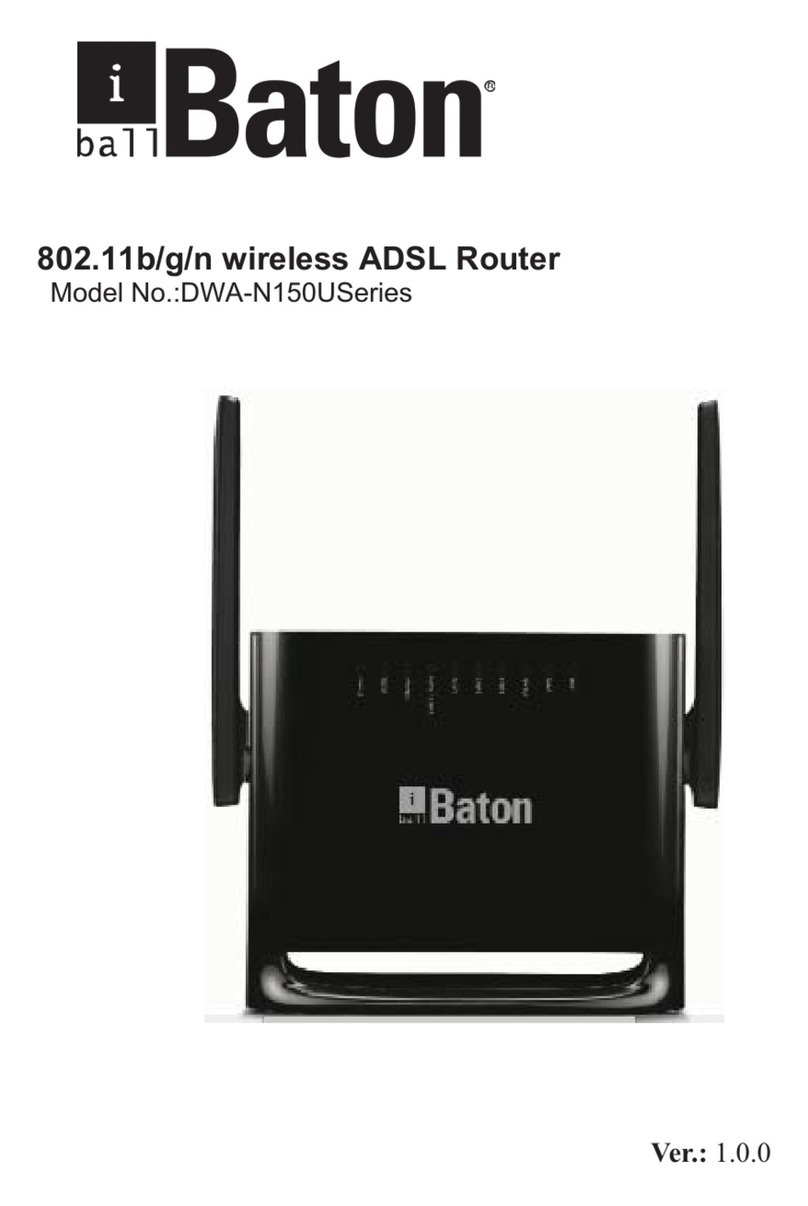
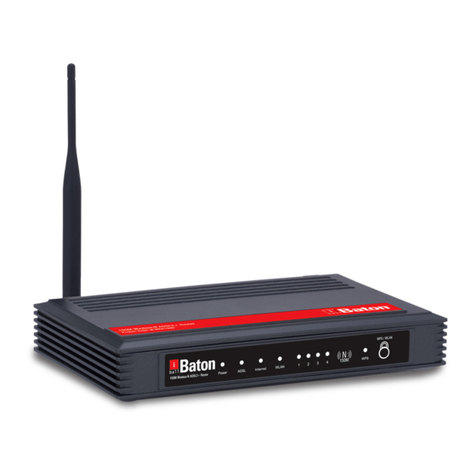
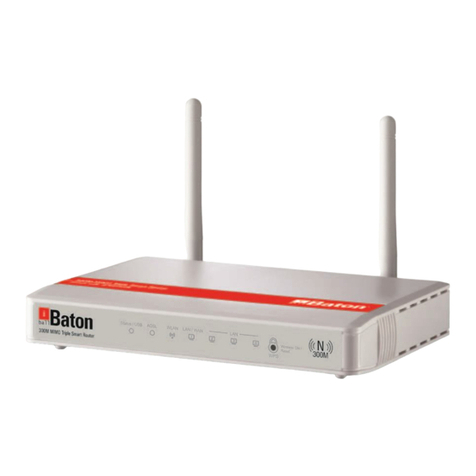
iBall Baton DWA-N150 Series User manual

802.11b/g/n wireless ADSL Router
Model No. DWA-N150Series
Ver.: 1.0.0

ii
FCC STATEMENT
This equipment has been tested and found to comply with the limits
for a Class B digital device, pursuant to part 15 of the FCC Rules.
These limits are designed to provide reasonable protection against
harmful interference in a residential installation. This equipment
generates, uses and can radiate radio frequency energy and, if not
installed and used in accordance with the instructions, may cause
harmful interference to radio communications. However, there is no
guarantee that interference will not occur in a particular installation. If
this equipment does cause harmful interference to radio or television
reception, which can be determined by turning the equipment off and
on, the user is encouraged to try to correct the interference by one or
more of the following measures:
Reorient or relocate the receiving antenna.
Increase the separation between the equipment and
receiver.
Connect the equipment into an outlet on a circuit different
from that to which the receiver is connected.
Consult the dealer or an experienced radio/ TV technician for
help.
This device complies with part 15 of the FCC Rules. Operation is
subject to the following two conditions:
1)This device may not cause harmful interference.
2)This device must accept any interference received, including
interference that may cause undesired operation.
Any changes or modifications not expressly approved by the party
responsible for compliance could void the user’s authority to operate
the equipment.
Note: This device must be more than 20cm away from human body
when using.

iii
CE Mark Warning
This is a class B product. In a domestic environment, this product may
cause radio interference, in which case the user may be required to
take adequate measures.

1
Contents
1Introduction ................................................................................................................... 3
Safety Precautions................................................................................................................. 4
2Features........................................................................................................................ 7
3Hardware Connection................................................................................................... 8
3.1 ADSL Connection............................................................................................. 8
3.2 Broadband Connection .................................................................................... 9
4Router Configuration................................................................................................... 10
4.1 Installation Guide ........................................................................................... 10
5Method –II.................................................................................................................. 12
Web Based GUI Configuring...................................................................................... 12
5.1 Status ............................................................................................................. 12
5.1.1 Device Information......................................................................... 12
5.1.2 ADSL Info....................................................................................... 15
5.1.3 Statistics......................................................................................... 16
5.2 Quick Start...................................................................................................... 16
5.3 Network Setup................................................................................................ 20
5.3.1 WAN............................................................................................... 20
5.3.2 LAN................................................................................................ 27
5.3.3 Wireless ......................................................................................... 35
5.4 Advanced Setting........................................................................................... 47
5.4.1 Routing........................................................................................... 47
5.4.2 NAT................................................................................................ 50
5.4.3 QoS................................................................................................ 55
5.4.4 TR-069........................................................................................... 56
5.4.5 Virtual Port Group .......................................................................... 57
5.4.6 Management.................................................................................. 59
5.5 Access Management ..................................................................................... 59
5.5.1 IGMP.............................................................................................. 59
5.5.2 UPnP.............................................................................................. 60
5.5.3 SNMP............................................................................................. 60
5.5.4 DNS ............................................................................................... 61
5.5.5 DynDNS......................................................................................... 63
2
5.6 Security Settings ............................................................................................ 64
5.6.1 MAC Filter...................................................................................... 64
5.6.2 IP/Port Filter................................................................................... 64
5.6.3 URL Filter....................................................................................... 66
5.6.4 ACL................................................................................................ 67
5.6.5 DoS................................................................................................ 70
5.7 Maintenance................................................................................................... 71
5.7.1 Update ........................................................................................... 71
5.7.2 Password ....................................................................................... 72
5.7.3 Restart ........................................................................................... 73
5.7.4 Time ............................................................................................... 73
5.7.5 System Log.................................................................................... 74
5.7.6 Diagnostics Tools........................................................................... 75
Appendix A: Specifications................................................................................................... 80
APPENDIX B: CONTACT DETAILS…………………………………………………………….79

3
1 Introduction
150M Wireless-N ADSL2+ & Broadband Router (iB-WRA150N2) is a
router for high performance.
Enhanced Wireless transmission speed up to 150Mbps
Complies with IEEE 802.11 b/g/n wireless standards
Dual WAN Router
ADSL Internet (xDSL): 1 - 10/100M (RJ11) WAN port
Broaband Internet (Cable / DSL): 1 –10/100M (RJ45) WAN Port
Wireless On/Off
Allows users to turn off the wireless function not in use.
WPS (Wi-Fi Protected Setup)
Automatically establishing WPA2 secure wireless connection
LEDs and Interfaces
IPv6 Ready
5dBi Omni Directional Antennas

4
Package List
The following contents should be found in the product packaging:
150M Wireless-N ADSL2+ & Broadband Router
5dBi Antenna (Fixed),
Power Adapter
Cd & Quick Installation Guide
RJ45 Patch Cord x 1
ADSL Splitter x 1 & RJ11 Patch cord x 2
Note:
Make sure that the package contains the above items. If any of the listed items
are damaged or missing, please contact with your nearest dealer
Safety Precautions
Follow the following instructions to prevent the device from risks and damage caused by
fire or electric power:
Use the power adapter in the package.
An overburden power outlet or damaged lines and plugs may cause electric shock
or fire accident. Check the power cords regularly. If you find any damage, replace it
at once.
Proper space should be left to avoid damage caused by overheating to the device.
Do not cover the holes on the device which are designed for heat dissipation.
Do not put this device close to heat sources or high temperature place.
Do not expose the device to direct sunshine.
Do not put this device close to an over damp place.

5
LED
LEDs
Color
Status
Description
Power
Red
On
The device is initializing.
DSL
Green
On
The DSL line is established.
Blinking
The DSL Line is training.
Off
No DSL signal.
Internet
Green
On
The Internet connection is normal in
the routing mode (for example: PPP
dial-up is successful), and no Internet
data is being transmitted.
Blinking
Internet data is being transmitted in
the routing mode.
Off
The device is in the bridge mode.
Red
On
The device is initializing.
LAN1/2,
LAN1/WAN
Green
On
The connection is normal and
activated.
Blinking
Data is being transmitted in the
Broadband WAN.
Off
The interface is not connected.
Wireless
Blue
On
Wireless connection has been
activated.
Blinking
Wireless data is being transmitted.
Off
The Wireless connection is not
activated.
WPS
Green
On
Connection succeeds under Wi-Fi
Protected Setup.
Blinking
WPS is enabled and the device is
waiting for client to negotiate.
Off
WPS is disabled.

6
Rear Panel
The following table describes the interfaces and buttons of the device:
Interface
Description
ON/OFF
Power switch, power on or power off the device.
Power
Power interface, for connecting to the power adapter.
Wireless /
WPS
Press the button and hold it for 1 second to 5 seconds,
to enable Wireless.
Press the button and hold it for more than 5 seconds,
to enable WPS function.
Reset
Reset to the factory default configuration. Keep the device
powered on, and insert a needle into the hole for 3 seconds,
then release it. The device is reset to the factory default
configuration.
LAN1/2
RJ-45 interface, for connecting to the Ethernet interface of a
PC or the Ethernet device through Ethernet cable.
LAN1/WAN
This Ethernet RJ-45 interface has two functions.
Worked as a WAN interface that connects to the WAN
for Broadband connection.
Worked as a LAN interface that connects to the LAN
port of the computer.
ADSL
RJ-11 interface, for connecting to the DSL interface or a
splitter through a telephone cable for connection.

7
2 Features
Complies with IEE802.3 & IEEE802.3u standards
Complies with IEEE 802.11b/g/n standards
3-in-1: 2-10/100M Auto-Negotiation (RJ45) Ethernet ports & 1-RJ11
(Internet) LINE port supporting Auto MDI/MDIX and Wireless-N Access
Point
Latest standards with downstream data rates up to 24Mbps, upstream
data rates up to 3.5Mbps (With Annex M enabled).
Provides WPA/WPA2, WPA-PSK/WPA2-PSK authentication, TKIP/AES
encryption security
Multi-SSID Security
AP Isolation and wireless schedule
IPv6 Ready
Wi-Fi Button - Allows users to turn off the
Wireless MAC filtering & DHCP Server
Built-in firewall, supporting IP/MAC filter, Application filter and URL filter.
Virtual Server, DMZ host and IP Address Mapping.
Dynamic DNS, UPnP and Static Routing.
With SNMP & DHCP server.
5-dBi Omni-Directional Antenna type.

8
3 Hardware Connection
3.1 ADSL Connection
Method-I : Plug one end of the twisted-pair ADSL cable into the LINE port on the rear panel
of iB-WRA150N2, and insert the other end into the wall socket.
Method-II: You can use a ADSL splitter. External splitter can divide the data and voice, and
then you can access the Internet and make calls at the same time. The external splitter has
three ports:
1) Connect the Ethernet cable. Attach one end of a network cable to your computer’s
LAN port or a regular hub/switch port, and the other end to the LAN port on the
iB-WRA150N2. (If you have the wireless NIC and want to use wireless connector, you can
skip the connection of LAN port.)
2) Power on the computers and LAN devices.
3) Configure the ADSL connection in the router as per your ISP settings available from your
ISP.

9
3.2 Broadband Connection
1) Connect the LAN Port of the Router to your PC with RJ45 Ethernet cable.
2) Connect the ISP RJ45 LAN Cable (Internet Link) to LAN1/WAN Port of the
Router
3) Connect the power adapter to Power interface of the device.

10
4 Router Configuration
This chapter describes how to configure the router by using the Web-based configuration
utility.
TCP / IP Network Setting
Step 1 Choose Start > Control Panel > Network and Internet > Network and
Sharing Center
Step 2 Choose Change Adapter Settings > Local Area Connection. Right-click
Local Area Connection, and choose Properties.
Step 3 Double-click Internet Protocol Version 4 (TCP/IPv4).
Select Obtain an IP address automatically and Obtain DNS server address
automatically, and then click OK.
If you select Use the following IP address, set IP address of the PC as
192.168.1.X (2~254)
subnet mask as 255. 255.255.0, and enter DNS server provided by your ISP.
4.1 Installation Guide
You can configure the router either with Web GUI menu or Easy Setup
Wizard Utility
Method –I
Configuring the Router via Easy Setup Wizard (Resource CD)
The Easy Setup Wizard will automatically pop up on the computer’s screen.

11
Click on Start to start the Easy Setup Wizard.
Select Intenet connection type ADSL or Broadband as your ISP connection and click Next
Select the proper Connection type & provide the details of user name and password as
provided from our ISP.
cL

12
5 Method –II
Web Based GUI Configuring
The following is the detailed description of accessing the router for the first time.
Step 1 Open the Internet Explorer (IE) browser and enter http://192.168.1.1.
Step 2 In the Login page that is displayed, enter the username and password.
The default username and password of the super user are admin and admin.
5.1 Status
5.1.1 Device Information
If you log in as a super user, the ADSL Router Status page shown in the following figure
appears. In this page, you can view the following information: system, ADSL Status,
TR-069 status, LAN configuration, DNS status, ADSL WAN Interfaces, ADSL WAN IPv6
configuration, Broadband WAN Interfaces, and Broadband WAN IPV6 Status.
In this page, click connect button to connect to Internet. If there is no preset WAN
interface, refer 4.5.1 WAN to do corresponding configuration.

13
Figure 1 Status –1
Figure 2 Status - 2

14
Figure 3 Status –3

15
5.1.2 ADSL Info.
Choose Status > Status info > ADSL Info and the following page appears. In this page,
you can view information of ADSL configuration.

16
5.1.3 Statistics
Choose Status > Statistics > Statistics and the following page appears. In this page,
you can view statistics information.
5.2 Quick Start
The Quick start page guides fast and accurate configuration of the Internet connection
and other important parameters. In the navigation bar, click Quick Start. The page as
shown in the following figure appears.
Step 1 WAN connection setting

17
In following page, enter VPI and VCI provided by your Internet service provider (ISP). In
this example, select PPPoE as connection mode. And then enter PPP username and
password provided by your Internet service provider (ISP).
Table of contents
Other iBall Baton Network Router manuals

iBall Baton
iBall Baton iB-WRT300N User manual

iBall Baton
iBall Baton iB-WRA150N User manual

iBall Baton
iBall Baton iB-W4G311N User manual

iBall Baton
iBall Baton iB-W3GT150N User manual

iBall Baton
iBall Baton iB-WRA300N User manual

iBall Baton
iBall Baton DWA-N150U Series User manual

iBall Baton
iBall Baton iB-WVG300N User manual

iBall Baton
iBall Baton iB-W3GMPB21 User manual

iBall Baton
iBall Baton iB-WR7011A User manual

iBall Baton
iBall Baton 150m User manual