IBM Power Systems 57D7/57B4 Adapter Write Cache
Version 1.3 dated May 19, 2016
Chapter 1
Feature Description
This document describes how to enable and use the new volatile adapter write cache feature for the integrated
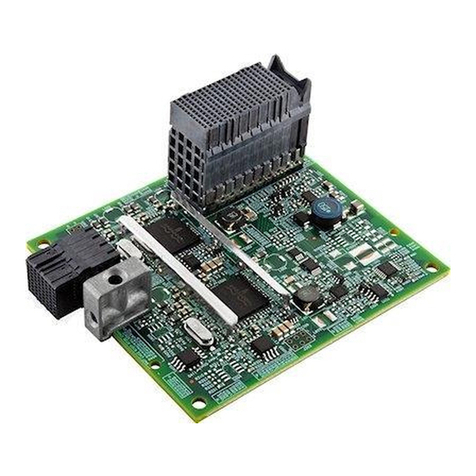
SAS controllers in the #EL3T and #EL3V SAS backplanes on IBM Power 8247-21L and 8247-22L systems,
the integrated SAS controllers in the #EJ0N and #EJ0S SAS backplanes on the IBM Power 8247-42L,
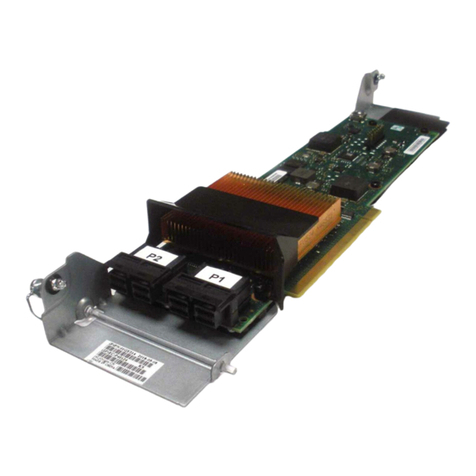
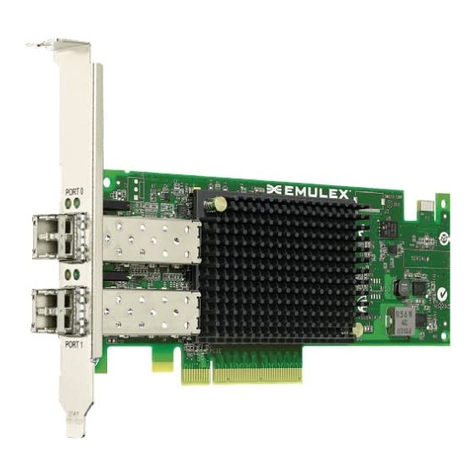
and the PCIe3 x8 SAS RAID adapter low profile Quad Port 6Gb (#EJ0J and #EJ0M). Once the required
adapter firmware and Linux software prerequisites are installed, this feature is enabled by default, but can
be manually disabled on a per RAID array basis. This feature enables a volatile write cache in the SAS
RAID adapter into which data is written. This data is then later flushed to the underlying disks. This
allows the RAID adapter to combine multiple host writes into fewer writes to the disks. It also enables the
RAID adapter to issue stripe writes to RAID 5 or 6 arrays, when a full parity stripe of data is available in
the cache, which can eliminate read-xor write overhead that may occur when a write cache is not available.
This can provide a noticeable performance advantage for some write workloads.
The adapter firmware which implements this volatile write caching feature includes support for a SYNCHRONIZE
CACHE mechanism. This allows journaled filesystems in the Linux operating system to flush any previously
written data prior to updating the filesystem journal. This ensures the filesystem data stays coherent with
respect to the journal in the case of an unexpected power loss of the system. For use cases which access
the RAID array block devices directly and bypass any filesystems in Linux, it may be desireable to dis-
able this feature, particularly if the software has not been written to issue SYNCHRONIZE CACHE commands.
Instructions on how to disable this feature are described later in this document.
3 of 15
