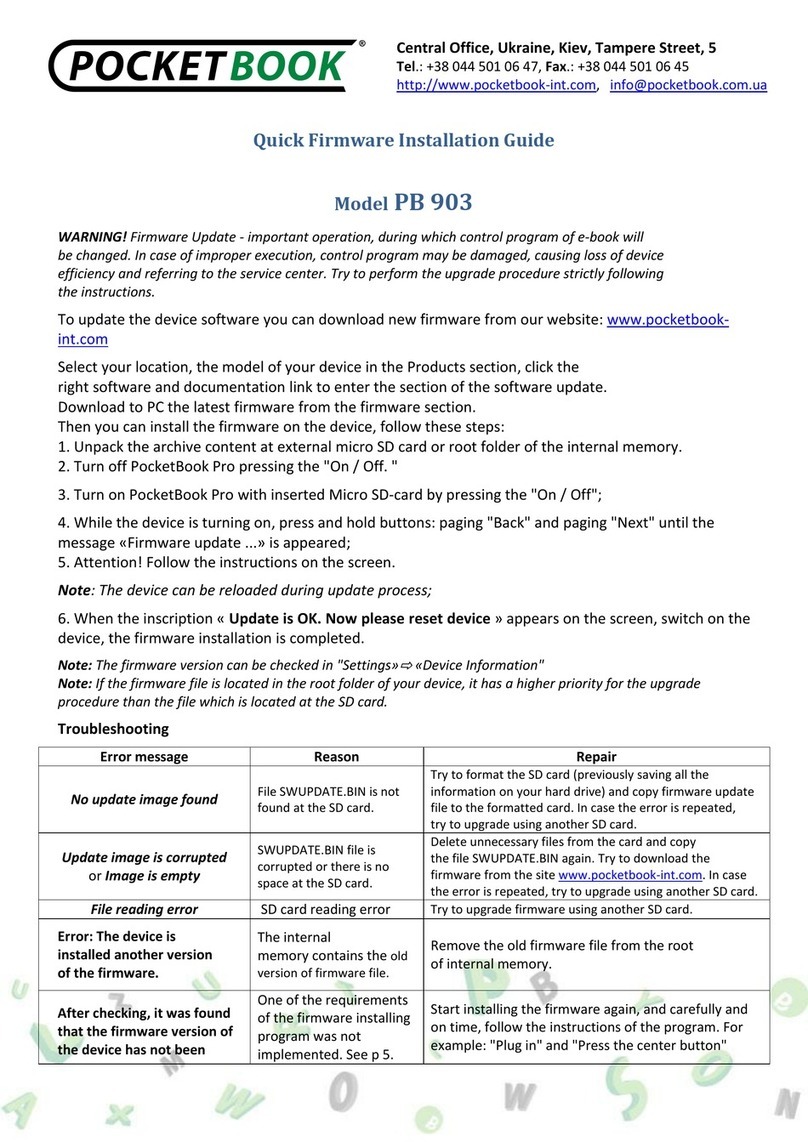
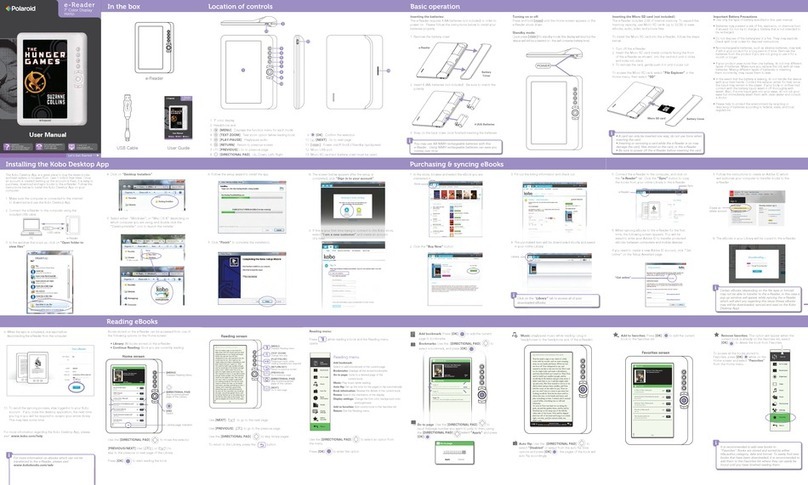
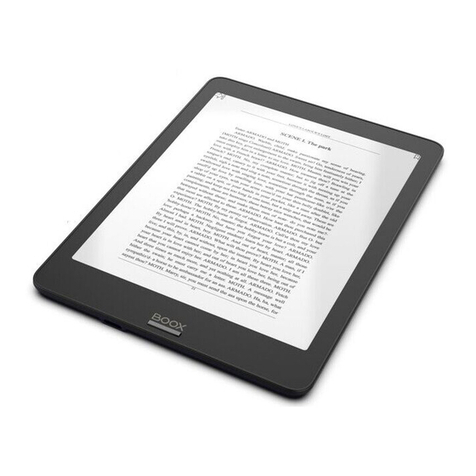
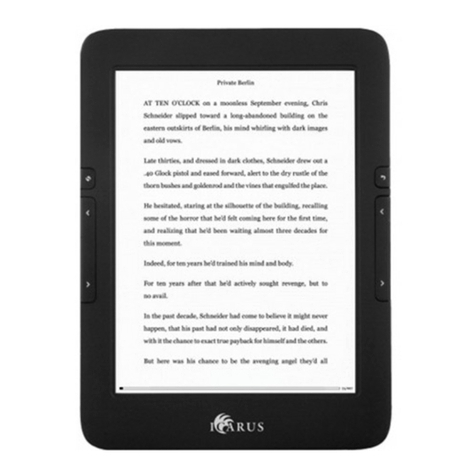
Icarus Sense e-Reader User manual

ST-06-00-en-v2.1
User Manual
e-Reader
Icarus Sense

Copyright
Copyright 2010. All rights reserved. No part of this
publication may be reproduced, transmitted,
transcribed, stored in a retrieval system or translated
into any language or computer language, in any form
or by any means, electronic, mechanical, magnetic,
optical, chemical, manual or otherwise, without the
prior written permission of this company.
Disclaimer
This company makes no representations or warranties,
either expressed or implied, with respect to the contents
hereof and specifically disclaims any warranties,
merchantability or fitness for any particular purpose.
Further, this company reserves the right to revise this
publication and to make changes from time to time in
the contents hereof without obligation to notify any
person of such revision or changes.
Windows is a registered trademark of Microsoft
Corporation in the United States and other countries.
Others are copyrights of their respective companies or
organizations.

Safety instructions
Before operating this device, please read carefully and
follow the instructions below.
● Read the safety and operating instructions carefully
before using the product. All warnings on the product
and in the operating instructions should be observed.
● Do not place this product under direct sunlight or
near heat sources, such as in a closed car under
sunlight or near a stove. The outer casing of this
product may become deformed and the
sophisticated sensors inside may become damaged
due to excessive heat.
● Do not use this product near water, in the rain or
allow any liquid to get inside this product. Water and
moisture may cause short-circuit to the electronic
components and lead to malfunctions.
● Do not use this product near strong electromagnetic
sources, such as a microwave oven. The
electromagnetic interference may cause this
product to malfunction.
● Do not drop or apply shock/vibration to this product.
Strong impacts may damage the components inside.
● Do not insert objects other than compatible memory
cards into the memory card slot of this product. The
metal contacts inside the slot can easily become
damaged by foreign objects.
● Do not use an unknown power adapter other than
the one supplied with this product. Connecting this

product to an unknown power adapter is very
dangerous and may lead to fire or explosion.
● Do not cut, bend, modify, place heavy objects, or
step on the cable of the power adapter. Otherwise
the external insulation may be damaged and result in
short-circuit or fire.
● If there are strange odors or heat emitting from this
product or any signs of malfunction, disconnect this
product from the power immediately and contact
your dealer for inspection or service.
● Use a smooth, soft cloth to clean the surface of the
screen. Do not use liquid cleaners or glass cleaners.
● If a foreign substance or water gets in this product,
please turn the power off immediately and
disconnect the power adapter. Next, remove the
foreign substance or water, if possible, and then send
the product to your nearest service center.
Do not attempt to disassemble or modify this
product. There are no user serviceable parts inside
this product, and unauthorized modifications will
cause the warranty to void.
If the battery is depleted or fails to function properly,
send the product to your nearest service center for
battery replacement. Do not attempt to replace the
battery by yourself.
Do not leave this product in Sleep mode for more
than 2 weeks as this may cause screen burn-in
(permanent image retention caused by still picture
displayed for an extended period of time) that can
not be recovered.
Table of Contents
Introduction..........................................................1
Identifying the Parts ............................................................. 2
Front View ......................................................................... 2
Rear View.......................................................................... 5
Getting Started.....................................................6
Charging............................................................................... 6
Powering on Your Device ................................................... 9
To Turn Off Your Device ................................................... 9
Screen Saver Mode and Sleep Mode......................... 10
Inserting a microSD Card .................................................. 12
To Remove the microSD Card...................................... 12
Browsing Files From a microSD Card................................ 13
Operating the Device .......................................15
Navigating the On-Screen Display (OSD) Menus .......... 15
Using the Touch Screen..................................................... 15
Tap ................................................................................... 15
Flip.................................................................................... 16
Screen Orientation ............................................................ 17
Using the On-Screen Keypad ........................................... 17
Using the Main Menu......................................................... 18
Knowing the Mode Functions....................................... 19

Book list Mode ................................................................... 20
Sorting Books................................................................... 22
Reading a Book.............................................................. 22
Selecting a Reading Mode .......................................... 23
Zooming the Contents................................................... 24
Adding a Bookmark or a Note to a Page................... 25
Viewing Bookmarks and Notes..................................... 26
Deleting Boomkarks or Notes........................................ 27
Looking Up Words .......................................................... 28
Searching Words ............................................................ 29
Activating Power Saving Mode ................................... 29
Displaying Table of Contents........................................ 30
Displaying Book Information ......................................... 31
Bookmark Mode ............................................................... 32
Image Mode ..................................................................... 34
Setting the Slideshow Options ...................................... 35
Playing Back a Slideshow.............................................. 36
Zooming the Image ....................................................... 37
Audio Mode ...................................................................... 38
Using the Control Panel to Play Back Audio Files....... 39
Internet Mode ................................................................... 41
Connecting to a Wi-Fi Network .................................... 41
Accessing a Web Page ................................................ 48
Settings Mode ................................................................... 51
Orientation...................................................................... 52

Wi-Fi Setting..................................................................... 52
Language ....................................................................... 52
Current Date and Time ................................................. 53
Screen Saver................................................................... 55
Power Saving .................................................................. 55
Advanced Setting.......................................................... 55
Device Info ..................................................................... 55
Importing Files from Your Computer ................................ 56
Troubleshooting .................................................58
Product Data......................................................60
Federal Communication Commission Interference
Statement............................................................................... 60
FCC Caution................................................................... 61
Declaration of Conformity ............................................ 61
Specifications ....................................................63

| 1
Introduction
Introduction
Thank you for choosing Smart Reader. Before using this
product, please read this User Manual carefully.
Your Smart Reader features a 6” touch-sensitive
Electrophoretic Display (EPD) panel. You can read books
anytime and anywhere, simply by importing your desired
books in compatible electronic file formats into your
device. It also allows you to view pictures and listen to
music or audiobooks through the built-in speakers or the
headphones. Furthermore, by connecting the device to a
Wi-Fi network, you can download playable files from the
Internet.

|Introduction
2
Identifying the Parts
Front View
No. Description
Power switch
● Slide and hold the power switch for 5 seconds, and then
release it to turn on the device. To turn it off, slide this
switch and then tap .
● To enter Sleep mode, slide this switch at any time and tap
. To disable Sleep mode, slide this switch again.
1 2
43
5
7
6
8
10
11 12
9
1

| 3
Introduction
Micro USB port
● Allows you to connect the device to a computer so the
files can be transferred from your computer to the device,
and vice versa.
● Uses to charge the battery of your device. (See page 6)
Memory card slot
Insert a microSD/microSDHC card into the memory card slot
to access book/image/audio files stored on the card. (See
page 12)
Headphone jack
Insert your headphone connector into this jack to listen to
the audio files through the headphones.
Touch screen
Displays information and allows you to perform operations
via different gestures. (See page 15)
Menu button
In Book list, Image or Audio modes, press this button to
display the sub-menu.
Indicator
When tapping anywhere on the touch screen, this indicator
lights on.
No. Description
2
3
4
5
6

|Introduction
4
Volume control button
1. Press this button to display the volume control bar.
2. Press / to adjust the volume.
Search button
Searches for a particular word used in a book. (See page
29)
Refresh button
Reloads the current page to remove after-images after
reading many pages continuously.
Previous/Volume down button
Returns to the previous page/item or turns the volume
down.
Return button
Returns to the last viewed page or the main menu on the
Home screen.
Next/Volume up button
Proceeds to the next page/item or turns the volume up.
No. Description
7
Volume control bar
8
9
10
11
12

| 5
Introduction
Rear View
No. Description
Reset button
Use a pointed object, such as a pin, to push against this
button to reset your device when it does not respond to
any operations.
Speakers
Built-in speakers for playing sounds.
Press and then / to adjust the
volume of the speakers.
13
14
13
14

|Getting Started
6
Getting Started
Charging
Your device is only partially charged when first unpacked.
Charge the battery before using the device.
1. Insert the micro USB cable’s Type A USB connector into
the power adapter's Type A USB port.
2. Insert the cable’s micro USB connector into the device's
micro USB port.
3. Plug the power adapter into a power outlet. The Battery
charging icon appears on the screen indicating
that the battery is charging now.
1
2
3

| 7
Getting Started
4. After the battery is fully charged (around 4 hours), the
Battery full icon appears on the screen. Remove
the power adapter and the cable from both the power
outlet and the device.
Note:
● For the first time use, charge the device for 8 hours for its
optimal performance. You can also charge the device
by connecting it to a computer.
● The status of the battery power is displayed on the top
right corner of the screen.
Battery is charging.
Battery full.
Battery status:
The fewer bars on the battery
icon, the lower the battery power
remains.
Battery is depleted.
Charge the battery immediately.

|Getting Started
8
Battery Maintenance
This device contains a built-in Li-Polymer rechargeable
battery. The capacity of the battery will reduce each time
it is charged/depleted. However, you can still try to
prolong the battery’s lifetime by following the suggestions
below:
● Use the device at least once a week.
● Charge the battery regularly and fully. Never leave the
battery fully discharged for a long time.
● Always keep the device and the battery away from
heat.
If the device will only work when the power adapter is
connected, contact your local dealer to replace the
battery.
Do not try to replace the battery by yourself.
Any attempt to disassemble the device may
cause damages to the device or result in
personal injuries.

| 9
Getting Started
Powering on Your Device
Slide and hold the power switch for 5 seconds, and
then release it to turn on the device. A start-up screen
appears before entering the main menu on the Home
screen.
To Turn Off Your Device
Slide the power switch and then tap to turn
the device off.

|Getting Started
10
Screen Saver Mode and Sleep Mode
Screen Saver Mode
Your device enters Screen Saver mode when idled for a
period of time. Tap anywhere on the screen to return to
the currently-viewed page. To set up the time duration
before entering Screen Saver mode, go to Settings >
Screen Saver. (See page 55)

| 11
Getting Started
Sleep Mode
Your device enters Sleep mode after idled in Screen Saver
mode for 3 minutes, or you can slide the power switch
at any time and tap to enter Sleep mode.
To disable Sleep mode, slide the power switch
again.
Note: Do not leave the device in Sleep mode for
more than 2 weeks as this may cause screen burn-in
(permanent image retention caused by still picture
displayed for an extended period of time) that can
not be recovered.
Slide the Power switch to resume.

|Getting Started
12
Inserting a microSD Card
Insert the entire microSD card into the microSD card slot
until it locks into place. Ensure that the card’s metal
contacts face downwards.
To Remove the microSD Card
Press on the microSD card to release the card.
Note: Supported memory card types: microSD/
microSDHC.

| 13
Getting Started
Browsing Files From a microSD
Card
You can use the device to browse or play back your
personal book/image/audio files stored on a microSD
card.
1. Insert a microSD card into your device’s microSD card
slot with the metal contacts facing downwards.
2. Insert the micro USB cable’s micro USB connector into
the device’s micro USB port.
3. Insert the cable’s Type A USB connector into a
computer’s Type A USB port. Tap when
prompted to use the device as a mass storage. The
microSD card inserted into your device will be
recognized by your computer as a removable drive
(Windows systems).
2
3
Table of contents
Other Icarus Ebook Reader manuals

Icarus
Icarus Pocket E601GY User manual

Icarus
Icarus 8 User manual

Icarus
Icarus Essence User manual

Icarus
Icarus E652BK User manual

Icarus
Icarus Omnia G2 M701BK User manual

Icarus
Icarus Illumina User manual

Icarus
Icarus Omnia M700BK User manual

Icarus
Icarus Sense E651SR User manual

Icarus
Icarus eXceL E1051BK User manual

Icarus
Icarus GO E600BK User manual