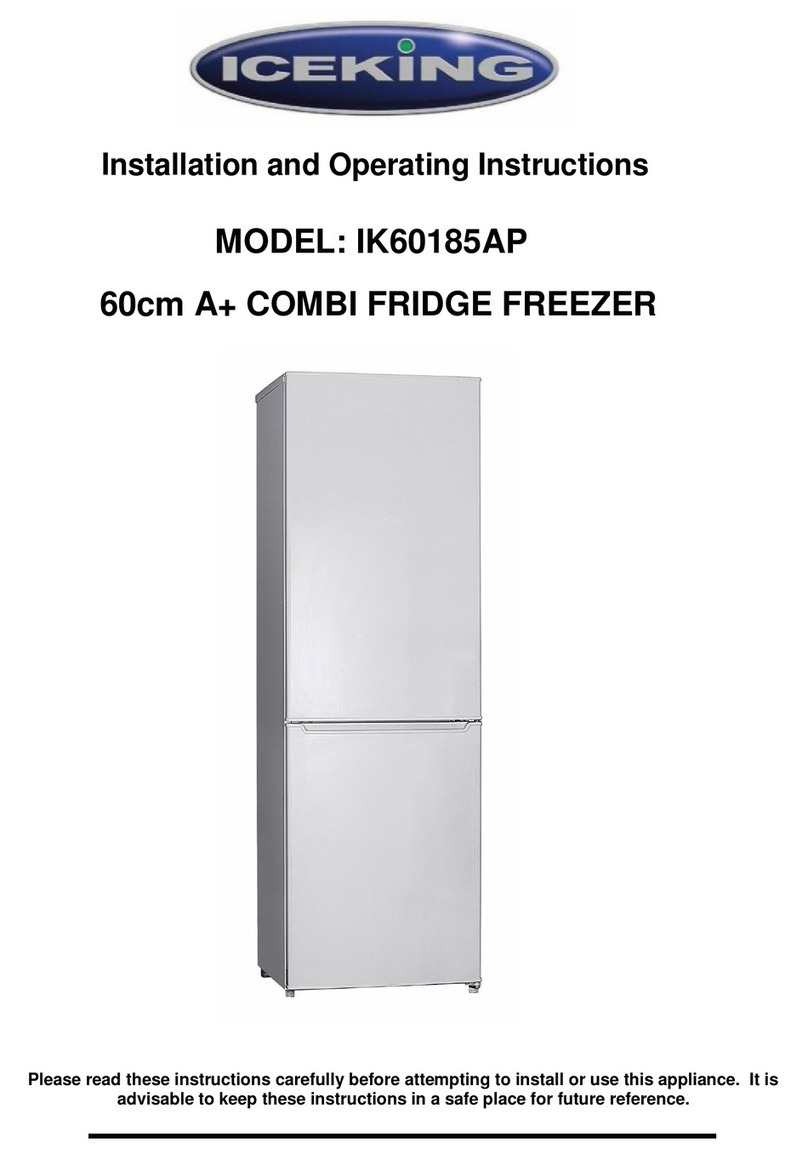
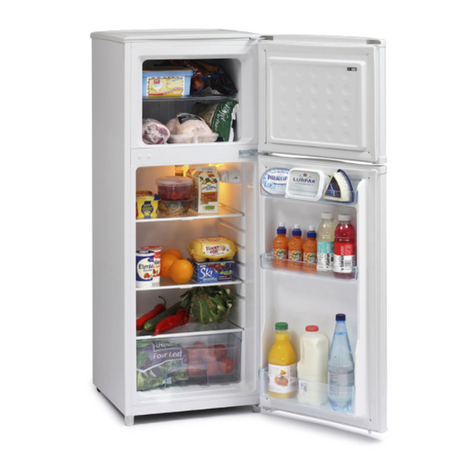
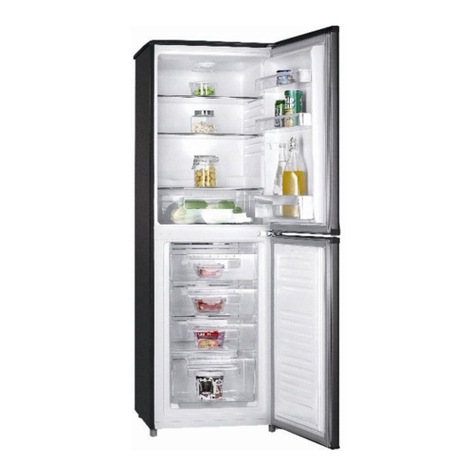
Iceking IK8951WE User manual

Installation and Operating Manual
IK8951WE
F Rated Combi Fridge Freezer White
Please
read these instructions carefully before attempting to install or use
this appliance.
It is advisable to keep these instructions in a safe place for future
reference.
Iceking: Henry John House Northway Industrial Estate Northway Lane Ashchurch
Tewkesbury Gloucestershire GL20 8JH T: 01527 888133 E:
W: www.ice-king.co.uk

INTRODUCTION:
Thank you for choosing this ICEKING appliance. It has been designed to give years
of trouble-free use provided it is installed and maintained correctly.
Please read these instructions carefully before installing or using your appliance. It
is advisable to keep your purchase and installation receipts with these instructions
in a safe place for future reference.
Included is some important safety information in addition to guidelines and
recommendations that will enable you to take full advantage of all the functions
available.
This quality appliance has been tested and certified to meet all applicable UK
electrical and safety standards.
This appliance must be installed and connected in accordance with current
regulations by a qualified electrician.
After unpacking the appliance ensure that there is no visible damage.
If the appliance has been damaged during transit, do not use it, contact your
retailer immediately.
1

YOUR 2-YEAR MANUFACTURER'S GUARANTEE:
THIS DOES NOT AFFECT YOUR STATUTORY RIGHTS.
Your new ICEKING appliance carries a free guarantee which protects you against the cost
of repairs during the first 24 months from date of purchase provided that: any claim is
accompanied by evidence of the model reference, model serial number and proof of
purchase, such as a Sales Receipt, showing that the appliance was purchased within
the 24 months prior to the date of claim.
YOUR GUARANTEE IS VALID ONLY IN THE UK.
To Register your Appliance simply complete the card in your appliance pack and return
it with a stamp affixed or alternatively register your Appliance at www.ice-
king.co.uk/register-your-product
SERVICE HELP-LINE
Should your appliance develop a fault, please call the
Iceking Service Helpline on:
01527-888133
Please remember to have all your product details available, including the
model number, serial number, date of purchase and your retailer’s details
before registering a fault.
Your service call cannot progress without this information.
2

WHAT IS NOT COVERED UNDER THE
GUARANTEE:
Any appliance not correctly installed and operated in accordance with
the manufacturer's instructions.
Any appliance that is used for anything other than domestic purposes.
Any defect caused by accident, misuse, unauthorised modification or
inexpert repair.
Cost of Call-out where a fault cannot be found with the appliance.
Cost of Call-out for work covering routine maintenance, such as, but
not exclusively, cleaning of filters or defrosting.
Cost of Call-out for work required to correct the alignment of doors
following door reversal procedures carried out by you.
Use of the appliance by anyone other than the Householder.
Use in any commercial environment.
Consumable items, such as, but not exclusively, fuses in plugs, bulbs
and breakable items which require routine replacement.
Repair costs incurred that have not been authorised by Repairtech
and/or carried out by a non-approved Repairtech engineer.
3

CONTENTS:
Section 1. First Steps
Section 2. Installation
Section 3.
General Safety and Use
Section 4. Description of the Appliance
Section 5. Daily Use
Section 6.
Maintenance
Section 7. Trouble Shooting
Section 8. Servicing
4

FIRST STEPS:
Unpack the appliance and check to see if there is any damage. Do
not connect the appliance if it is damaged. Report the damage
immediately and retain the packing.
If there is no damage to the appliance remove all packaging and
securing tape from the appliance and dispose of it correctly (see
‘Environmental Protection’ Page 26).
If this appliance is to replace an old refrigerator with a lock, you
must as a safety measure break or remove the lock and/or door
before disposal.
Disconnect the mains plug from the mains socket. Cut off the
mains cable as close to the appliance as possible and discard.
Your old appliance contains insulation gases and refrigerant that
must be disposed of correctly. Please ensure that the refrigerant
circuit is not damaged before the appliance is taken away for
correct disposal, in line with current legislation. If there is any
doubt contact your Local Authority for instructions.
This appliance may contain the refrigerant isobutene (R600a). This
is a natural gas with a high level of environmental compatibility;
however, caution is required as isobutene is a flammable gas. It is
essential to ensure that refrigerant tubes are not damaged during
transportation and the installation of the appliance. In the event
that the refrigerant circuit is damaged, avoid naked flames or
sources of ignition and ventilate the room in which the appliance
is situated.
5

INSTALLATION:
In the interest of safety and to ensure correct use, before installing the
appliance, read this user manual carefully.
To avoid unnecessary mistakes and accidents, it is important to ensure
that all people using the appliance are thoroughly familiar with its
operation and safety features.
Save these instructions and make sure that they remain with the
appliance if it is moved or sold, so that anyone using it throughout
its’ life will be properly informed of the appliance use and safety. Please
note that this warranty is not transferrable.
The manufacturer accepts no responsibility for incorrect installation or
use.
IMPORTANT! This appliance must be left to stand in an upright position for
at least 4 hours before being switched on for the first time.
This appliance has been designed for Domestic Use only.
Wash the interior of the appliance with lukewarm water containing a
small amount of bicarbonate soda (5ml to 0.5 litres of water).
For electrical connection carefully follow the instructions given.
There must be adequate air circulation around the Appliance to avoid
overheating. To achieve sufficient ventilation, follow the instructions
relevant to installation.
Wherever possible the spacers of the product should be against a wall to
avoid the possibility of touching or catching parts that may become hot,
such as the compressor or condenser.
6

REAR SPACERS:
The rear of your new appliance will have either an exposed condensor (Fig.3)
or a concealed condenser or ‘flat-back’ (Fig.2).
Your Appliance may come supplied with spacers fitted to the rear or you may
be supplied with two plastic spacers similar to those shown in Fig.3a or 3b. Fit
these to the rear of the appliance as shown (Fig.3a & 3b). When fitted, the
spacers will ensure an air gap between the condenser and the rear wall.
If the appliance does not come supplied with spacers fitted or you are not
supplied with plastic spacers to fit yourelf, simply ensure that a gap of
approximately 50mm is maintained behind the condenser
7

Connect the plug to an adjacent 13amp socket outlet and ensure that
the appliance is not trapping the supply cable.
Make sure that the plug is accessible after the installation of the
appliance.
Position the appliance in a dry atmosphere and out of direct sunlight.
Do not position next to a cooker or other sources of heat, i.e. radiator.
Leave a minimum gap of 2cm between the appliances in order to avoid
condensation.
Please ensure that there is an ‘air-gap’ between the appliance and the
rear and side walls.
Do not place or store heavy items on the top of this appliance.
Ensure that the appliance is positioned on a firm flat floor.
This appliance must be level.
Ensure that the appliance is upright and wheels/feet are in firm
contact with the floor so that the cabinet is stable.
This appliance has been designed and manufactures to operate
efficiently within an ambient temperature range of +16°C to +32°C.
8

Top
Cover
Upper Hinge
Assembly
Left
Foot
Lower Hinge and Foot
Assembly
REVERSING THE DOOR:
Please note that your appliance may be supplied with the doors left or right hand hinged.
The door opening can be reversed from “right hand hinged” to “left
hand hinged” if required.
Warning! When reversing the door, the appliance must not be
connected to the mains. Remove the plug from the mains
beforehand.
Middle Hinge
Assembly
Top Cover
Left Foot
Upper Hinge
Assembly
9

Remove the retaining screws and lift off the appliance top cover.
Remove the screws and upper-hinge assembly then lift and remove the upper
door away from the middle hinge assembly. Now remove the hinge pin from
the upper hinge, turn the hinge over and refit the pin into the same hole.
Remove the screws and middle hinge assembly then lift the lower door away
from the lower hinge assembly.
Remove the screws, lower hinge and foot assembly. Now remove the hinge pin
from the lower hinge, turn the hinge over and refit the pin into the samehole.
Remove the left foot and refit on the right-hand side.
Now fit the lower hinge and foot assembly to the left-hand side. Tighten the
screws.
Place the lower door onto the lower hinge and then refit the middle hinge into
the pre-drilled holes on the left-hand side of the cabinet. Tighten thescrews.
Now place the upper door onto the middle hinge and then refit the upper
hinge into the pre-drilled holes on the left-hand side of the cabinet. Tighten
the screws.
Ensure that both doors are correctly aligned and that they seal correctly. If the
doors require further alignment, slacken off the screws, re-align the doors then
tighten the screws.
Re-fit the appliance top cover.
10

IMPORTANT NOTICE:
This appliance should not be sited in a cold atmosphere, i.e. garage, cellar
or shed where the temperature may fall below 10°C. Doing so may cause
the freezer unit to under-freeze and lead to condensation issues (see
below). If the ambient temperature is too low, the thermostat (located
inside the fridge section) will shut off and the freezer will not be able to
operate. If this continues for several hours you may find that some or all
of the items stored inside your freezer section are not being maintained at
the correct temperature. This does not indicate that there is a fault with
the appliance!
N.B. If you site this appliance in a garage/out-building or any other cold
environment, condensation may occur depending on the ambient
temperature. This may form on the outer cabinet and “pool” under the
appliance. This is quite normal and does not indicate that there is a fault
with the appliance. However, condensation droplets may also enter the
appliance and damage the insulation.
N.B. Condensation or related problems such as rust are not covered under
the manufacturers guarantee!
N.B. If you site this appliance in a very warm room/environment, i.e.
conservatory, the motor may run continuously and the required
temperature may not be achieved inside the cabinet(s).
11

CHILDREN AND VULNERABLE PEOPLE
SAFETY:
This appliance can be used by children aged from 8 years and above and
persons with reduced physical, sensory or mental capabilities or lack
of experience and knowledge if they are under supervision or have been
given instruction concerning the use of the appliance in a safe way and
therefore understand the hazards involved.
Children aged from 3 to 8 years are allowed to load and unload this
appliance.
Children should be supervised to ensure that they do not play with the
appliance.
Cleaning and user maintenance shall not be carried out by children
unless they are aged from 8 years and above and supervised.
Keep all packaging well away from children to avoid risk of suffocation.
12

GENERAL SAFETY AND USE:
WARNING! Ensure that there is sufficient ventilation around the product at
all times and that it is free from any obstruction.
WARNING! Don’t pack food close together as this prevents air
circulating.
WARNING! Do not use mechanical devices or other means to accelerate the
defrosting process, other than those recommended by the manufacturer.
WARNING! Do not damage the refrigerant circuit.
WARNING! Do not use other electrical appliances (such as ice cream
makers) inside of refrigerating appliances, unless they are approved for this
purpose by the manufacture.
WARNING! Do not touch the light bulb if it has been on for a long period of
time because it could be very hot.
WARNING! When positioning the appliance, ensure the supply cord is not
trapped or damaged.
WARNING! Do not locate multiple portable socket-outlets or portable
power suppliers at the rear of the appliance.
WARNING! Do not store explosive substances such as aerosol cans
with a flammable propellant in this appliance.
The refrigerant isobutane (R-600a) is contained within the refrigerant
circuit of the appliance, a natural gas with a high level of
environmental compatibility but which is nonetheless flammable.
During transportation and installation of the appliance, be certain
that none of the components of the refrigerant circuit become
damaged.
13

Avoid open flames and sources of ignition.
It is dangerous to alter the specifications or modify this product
in any way. Any damage to the cord may cause a short circuit, fire
and/or electric shock.
This appliance is intended to be used in household and similar
applications such as staff kitchen areas, staff rooms, offices and
other working environments; farm houses and by clients in hotels,
motels and other residential type environments; bed and breakfast
type environments; catering and similar non-retail applications.
WARNING! Any electrical components (plug, power cord, compressor
etc.) must be replaced by a certified service agent or qualified service
personnel.
WARNING! The light bulb supplied with this appliance is a “special
use lamp bulb” usable only with the appliance supplied. This
“special use lamp” is not usable for domestic lighting.
Make sure that the plug is not squashed or damaged by the back of
the appliance. Do not remove the plug by pulling the mains cable. If
the plug socket is loose, do not insert the plug. The Power cord
must not be lengthened.
This appliance is heavy. Care should be taken when moving it.
Do not remove or touch items from the freezer compartment if your
hands are damp/wet, as this could cause skin abrasions or
frost/freezer burns.
Avoid prolonged exposure of the appliance to direct sunlight.
14

DESCRIPTION OF THE APPLIANCE
1.
Freezer Compartment
2.
Thermostat Control
3.
Interior Light
4.
Interior Glass Shelf
5.
Door Storage –Specific Areas for Bottles & Dairy Products
6.
Salad Crisper Box with Glass Shelf
7.
Two Levelling Feet
(Picture shown for indicative purposes only, model supplied may differ).
Warmest zone
2/3
.
5
.
4
.
Coldest zone
6
.
1
.
7
.
15

OPERATING THE APPLIANCE:
Set the thermostat control to the required setting as detailed in the
Temperature Control section.
Leave the appliance for approximately 4 hours for the correct temperature to be
reached.
Temperature Control:
Plug in your appliance. The internal temperature is controlled by a
thermostat. There are 8 settings. 1
is the warmest setting and 7 is the
coldest.
Setting 0 is to turn the appliance on and off.
The appliance may not operate at the correct temperature if it is in a
particularly hot location or if you open the doors too often and leave
them open for too long.
Important:
During high ambient temperatures e.g. on hot summer days, it may be
necessary to set the thermostat to the coldest setting (7). This may cause the compressor to run
continuously in order to maintain a low temperature in the cabinet.
16

DAILY USE:
Do not put hot food into the appliance.
Do not place food products directly against the rear wall.
Frozen food must not be re-frozen once it has been thawed out.
Store pre-packed frozen food in accordance with the food
manufacturer’s instructions.
Food storage recommendations should be strictly adhered to.
Do not place fizzy drinks in the freezer compartment as it creates
pressure on the container, which may cause it to explode,
resulting in damage to the appliance.
Ice-lollies can cause frost burns if consumed straight from the
freezer.
To avoid food contamination, please follow the instructions on Page
20.
Opening the door for long periods of time can cause a significant
increase of the temperature inside the appliance.
Regularly clean all surfaces that come into contact with food.
Store raw meat and fish in suitable containers in the refrigerator,
so that there is no contact with other food. Avoid any drips onto
other food.
You may hear faint gurgling or bubbling sounds when the refrigerant is
pumped to the cooling system and through the coils or tubing at the
rear of the appliance. When the compressor is in operation you may
hear a slight whirring sound or pulsating noise. The thermostat
controls the operation of the compressor, and you may hear a slight
click as it cycles in and out.
17

One, two and three star freezer compartments (if they are present in the
appliance) are not suitable for freezing fresh food.
If the appliance is left empty for long periods of time, switch off, defrost,
clean, dry and leave the doors open to prevent mould developing within
the appliance.
During a power cut, do not open the door(s).
Do not open the door(s) too frequently.
Do not keep the door(s) open for too long.
Do not set the thermostat on too cold a temperature.
Some accessories, such as drawers, can be removed to create larger
storage volume and lower energy consumption.
18

Refrigerator
compartments:
Type of
Food:
Door or
balconies of
fridge
compartment
Foods with natural preservatives, such as jams, juices, drinks or
condiments.
Do not store perishable foods.
Crisper drawer
i.e. Salad drawer
Fruits, herbs and vegetables should be place separately in the
crisper bin.
Do not store bananas, onions, potatoes or garlic in the
refrigerator.
Fridge shelf –bottom
Chiller (box/drawer)
Raw meat, poultry or fish (for short-term storage).
Do not mix different types of raw meat or fish on the same shelf
at the same time.
Fridge shelf –middle
Dairy products.
Fridge shelf –top
Foods that do not need cooking, such as ready meals, deli meats
or leftovers.
Freezer drawer(s)/shelf
Foods for long-term storage.
Bottom drawer/shelf for raw meat, poultry or fish.
Middle drawer/shelf for frozen vegetables or chips.
Top drawer/shelf for ice cream, frozen fruit or frozen baked
goods.
Do not mix different types of raw meat or fish on the same shelf
at the same time.
19
Table of contents
Other Iceking Freezer manuals

Iceking
Iceking HZ552WE User manual

Iceking
Iceking IK2022WE User manual

Iceking
Iceking CF300W User manual

Iceking
Iceking FF139WE User manual

Iceking
Iceking RZ552W.E User manual

Iceking
Iceking RZ283I.E User manual

Iceking
Iceking IK304W.E User manual
Iceking
Iceking FF115WE User manual

Iceking
Iceking CF100WE User manual

Iceking
Iceking IK3633WE User manual

Iceking
Iceking RZ204W.E User manual

Iceking
Iceking CFAP66W User manual

Iceking
Iceking IK5050FF User manual

Iceking
Iceking CF371W.E User manual

Iceking
Iceking IK9055WE User manual

Iceking
Iceking ZZ203WE User manual

Iceking
Iceking IK13765AP User manual

Iceking
Iceking RZ202AP User manual

Iceking
Iceking RZ109WL User manual

Iceking
Iceking RZ83WE User manual