ICP DAS USA TPD-280 User manual

TouchPAD Compact User Manual, version 1.0.4. Last Revised: April 2011 Page: 1
Copyright © 2011 ICP DAS Co., Ltd. All Rights Reserved. E-mail: service@icpdas.com
TouchPAD
TPD/VPD Series HMI Device
Compact User Manual
Version 1.0.4
This compact user manual is the simplified version of the user manual.
For details, refer to the user manual of the full version.
ICP DAS Co., Ltd.

TouchPAD Compact User Manual, version 1.0.4. Last Revised: April 2011 Page: 2
Copyright © 2011 ICP DAS Co., Ltd. All Rights Reserved. E-mail: service@icpdas.com
Support
ICP DAS take your problem as ours.
If you have any problem, please feel free to contact us.
You can count on us for quick response.
Email: [email protected]
Tel: 886-3-5973336
Also, the FTP site of ICP DAS has contents about TouchPAD which you
may be interested in. We believe that those contents may be helpful to your
work.
FTP: ftp://ftp.icpdas.com/pub/cd/touchpad/
Warning
ICP DAS assumes no liability for any damage resulting from the use of this
product. ICP DAS reserves the right to change this manual at any time
without notice. The information furnished by ICP DAS is believed to be
accurate and reliable. However, no responsibility is assumed by ICP DAS for
its use, not for any infringements of patents or other rights of third parties
resulting from its use.
Copyright
Copyright @ 2011 by ICP DAS Co., Ltd. All rights are reserved.
Trademark
The names used for identification only may be registered trademarks of their
respective companies.

TouchPAD Compact User Manual, version 1.0.4. Last Revised: April 2011 Page: 3
Copyright © 2011 ICP DAS Co., Ltd. All Rights Reserved. E-mail: service@icpdas.com
Content
1. General Specifications........................................................................................4
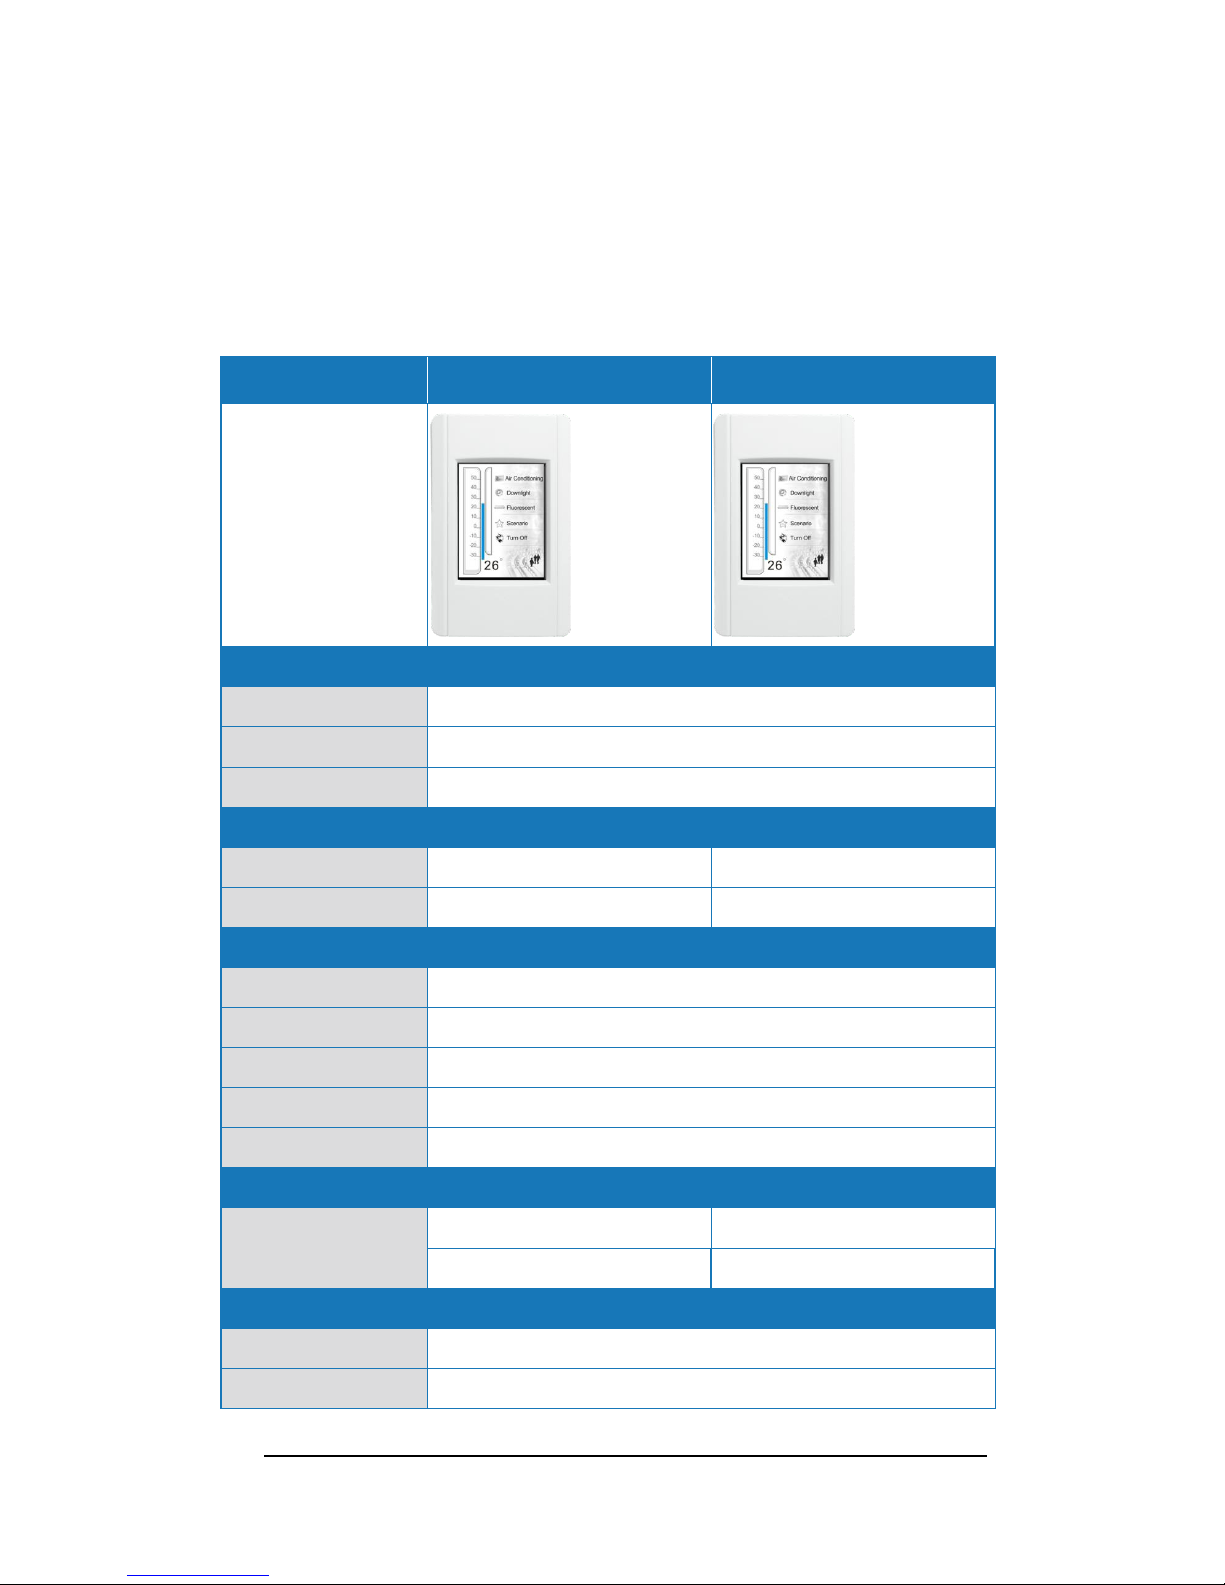
1.1. TPD-28x Series.......................................................................................4
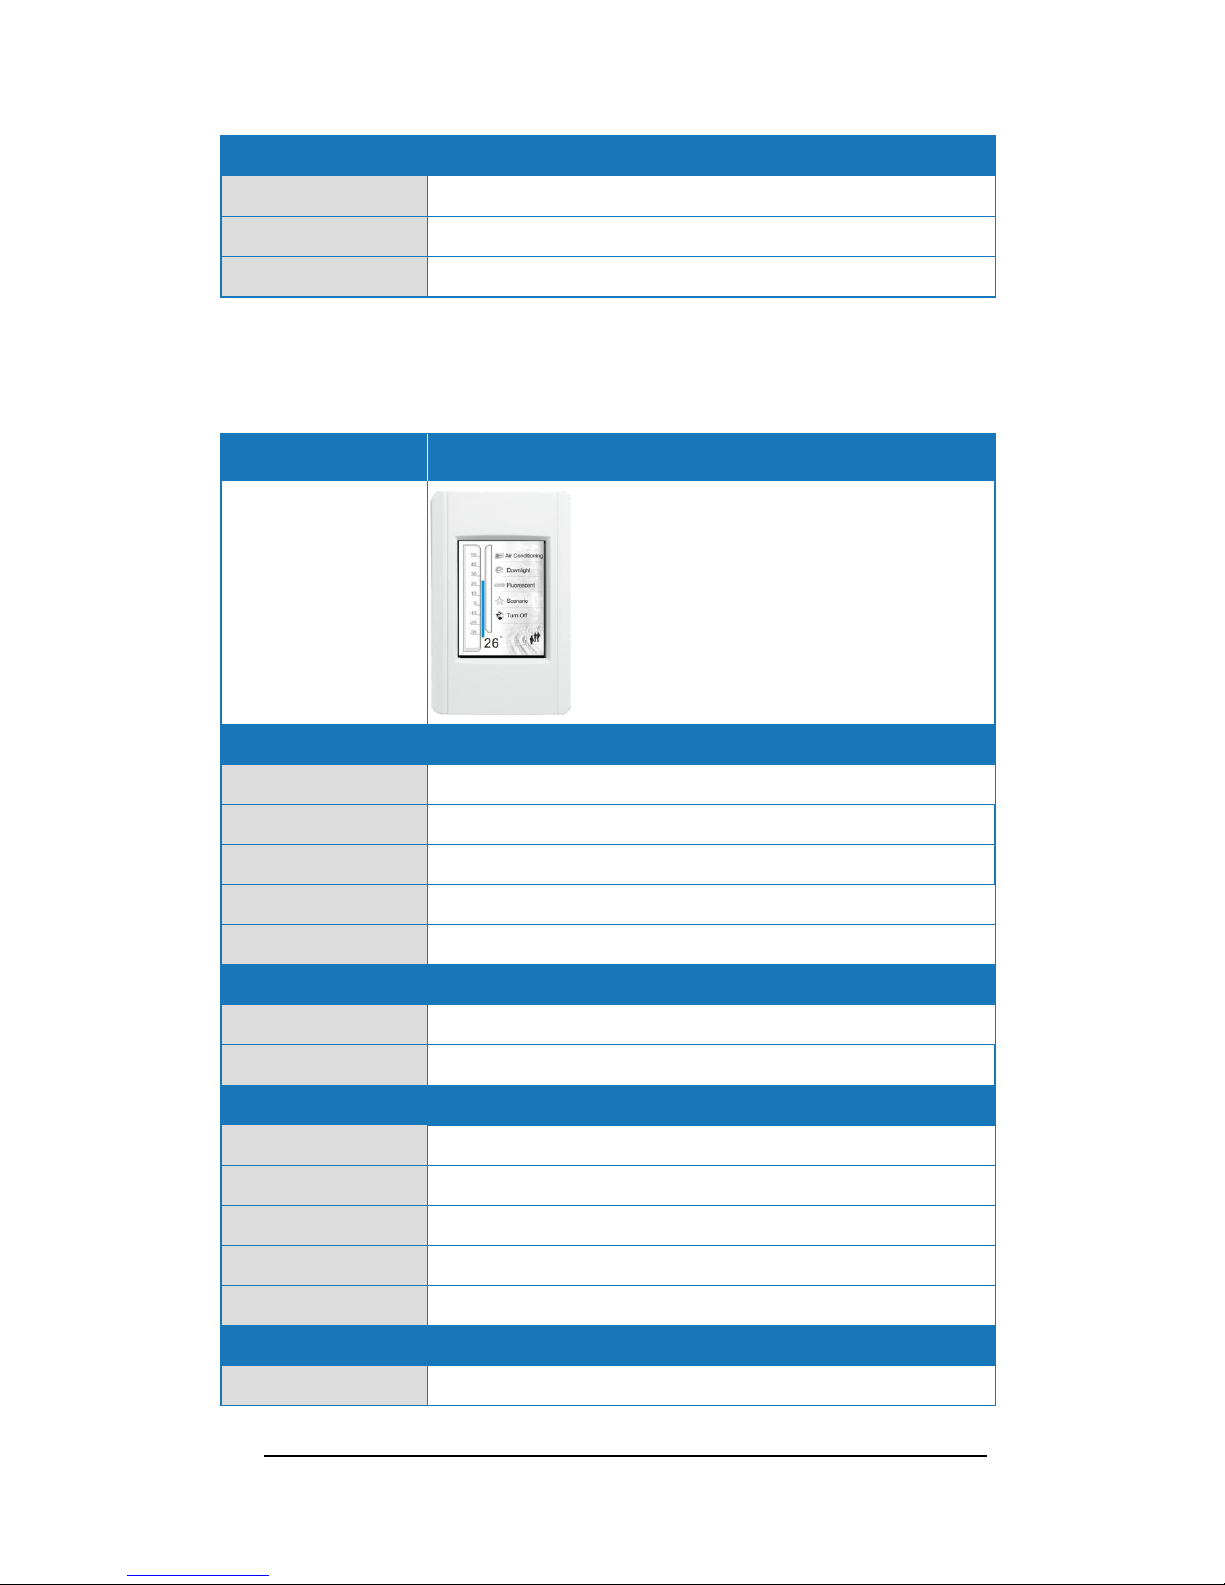
1.2. TPD-28xU Series ....................................................................................5
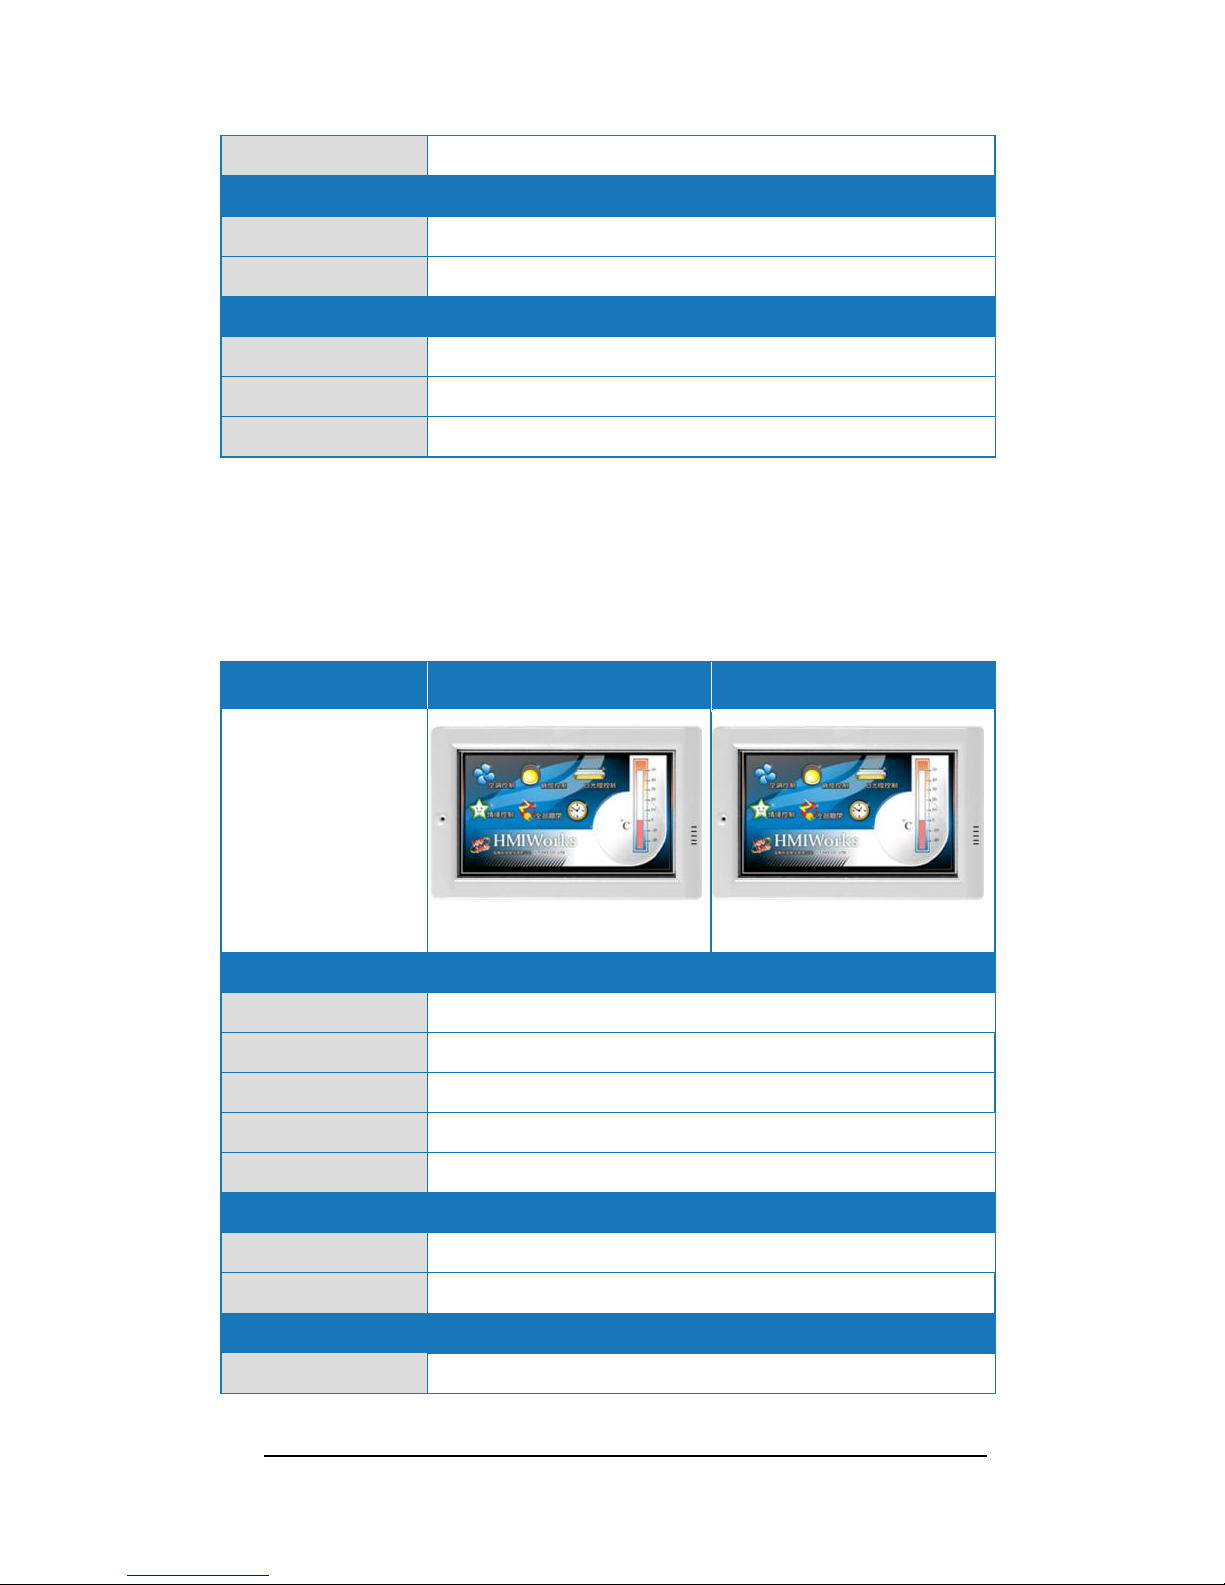
1.3. TPD-43x Series.......................................................................................6
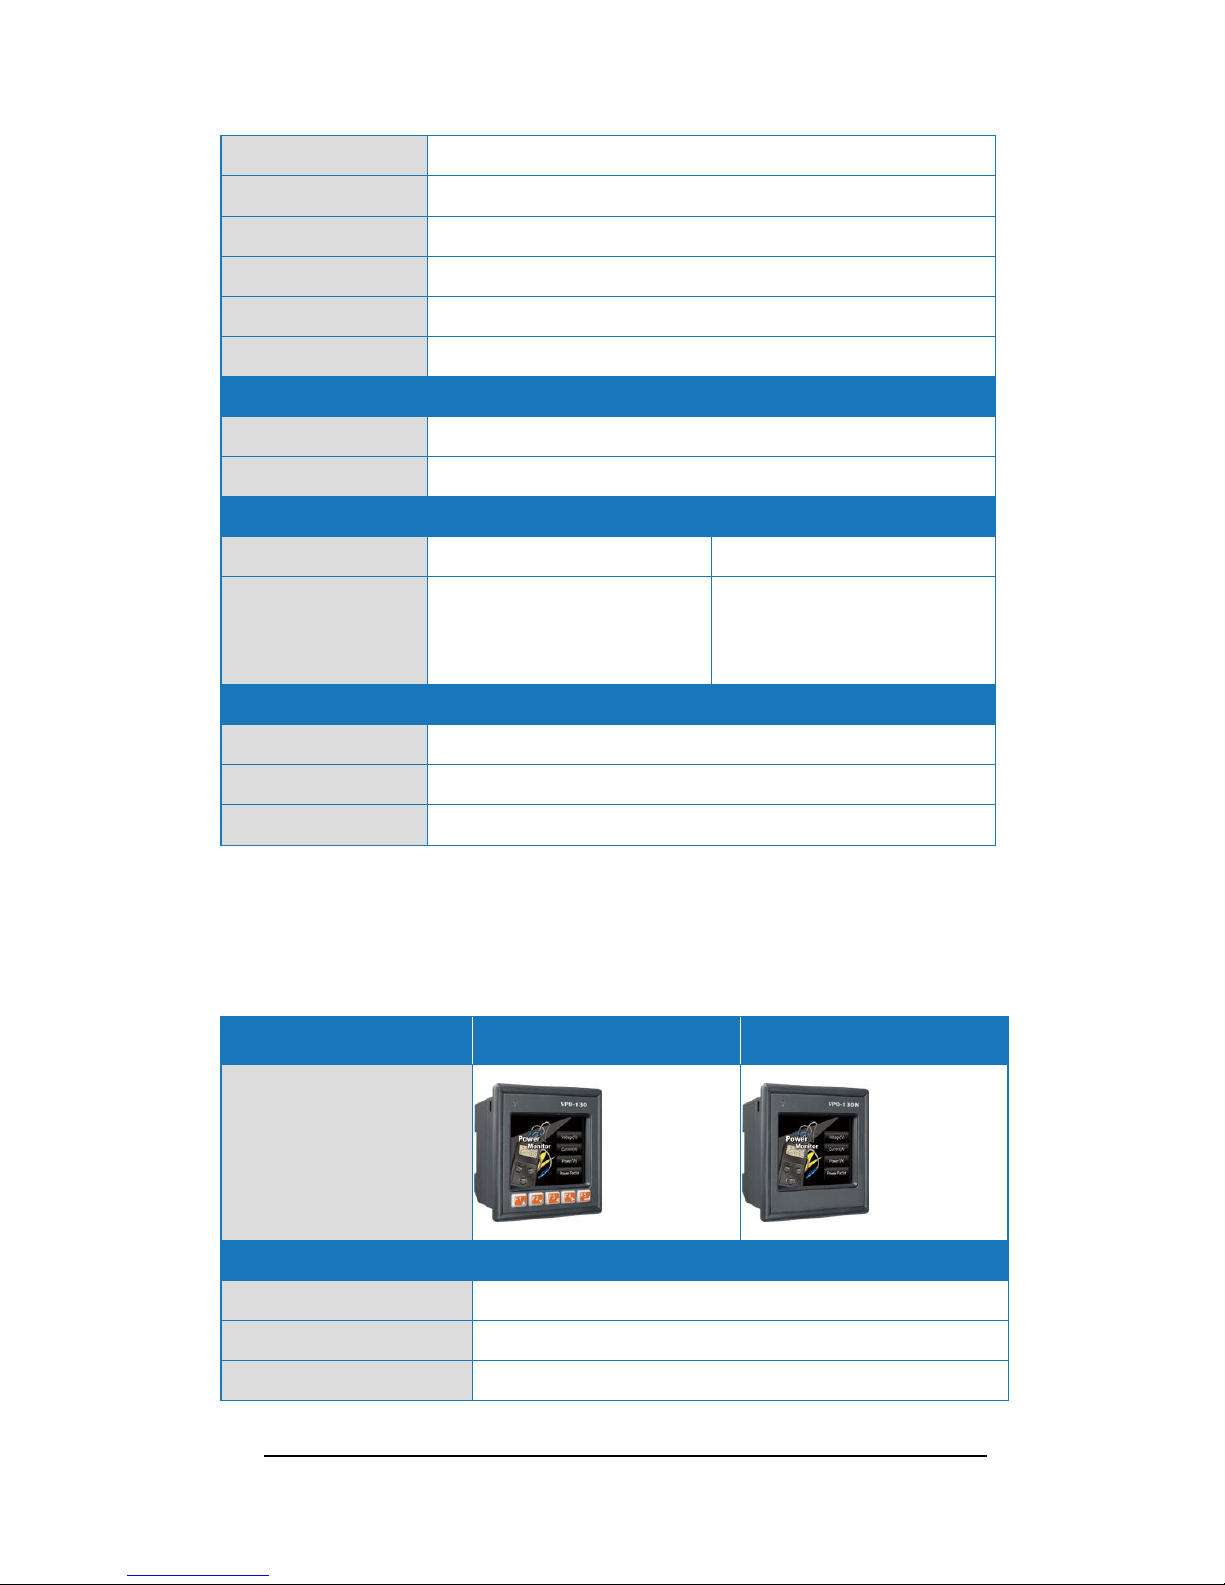
1.4. VPD-13x Series.......................................................................................7
2. Hardware..............................................................................................................8
2.1. Hardware Overview ................................................................................8
2.2. Dimension.................................................................................................9
2.3. Installation and Wirings........................................................................10
3. Setup Device / Connect I/O.............................................................................11
3.1. Setup Devices........................................................................................11
3.1.1. Setup TPD-280............................................................................12
3.1.2. Setup TPD-283............................................................................13
3.1.3. Setup Other Devices in TouchPAD Series..............................15
3.2. Connect to I/O Modules .......................................................................17
4. Development Tool, HMIWorks.........................................................................19
4.1. The Construction of HMIWorks...........................................................19
4.2. Ladder Designer....................................................................................20
4.2.1. Getting Started.............................................................................21
4.2.2. Introduction to Ladder Designer ...............................................21
4.2.3. Operations of Ladder Designer.................................................23
4.2.4. Associate Tags with Tools..........................................................24
4.3. Frames and Tools..................................................................................25
4.4. Menus......................................................................................................27
5. Make a Simple Project......................................................................................28
5.1. Integrate TPD-280 with I/O..................................................................28

TouchPAD Compact User Manual, version 1.0.4. Last Revised: April 2011 Page: 4
Copyright © 2011 ICP DAS Co., Ltd. All Rights Reserved. E-mail: service@icpdas.com
1.General Specifications
1.1. TPD-28x Series
Models
TPD-280
TPD-283
Image
CPU Module
CPU
Low-power 32-bit RISC CPU
Buzzer
Yes
Rotary Switch (0~9)
Yes
Communication Interface
Ethernet
-
RJ-45 x 1, 10/100 Base-TX
Serial Port
RS-485 (including Self-Tuner)
-
MMI (Main Machine Interface)
LCD
2.8” TFT (Resolution 240 x 320 x 16), bright pixels <= 3
Backlight Life
20,000 hours
Brightness
160 cd/m2
Touch Panel
Yes
Reset Button
Yes
Electrical
Power Input
+10 ~ 30 VDC
PoE (Power over Ethernet)
Consumption
1.2 W (50 mA @ 24 VDC)
IEEE 802.3af, Class 1
Mechanical
Dimensions (WxLxH)
76mm (W) x 119mm (L) x 31mm (H)
Installation
Wall Mount

TouchPAD Compact User Manual, version 1.0.4. Last Revised: April 2011 Page: 5
Copyright © 2011 ICP DAS Co., Ltd. All Rights Reserved. E-mail: service@icpdas.com
Environmental
Operating Temperature
-20 ~ +70 °C
Storage Temperature
-30 ~ +80 °C
Ambient Relative Humidity
10 ~ 90% RH, non-condensing
1.2. TPD-28xU Series
Models
TPD-280U
Image
CPU Module
CPU
Low-power 32-bit RISC CPU
Memory Expansion
16 MB SDRAM / 8 MB Flash
Real Time Clock (RTC)
Yes
Buzzer
Yes
Rotary Switch (0~9)
Yes
Communication Interface
Serial Port
RS-485 (including Self-Tuner)
USB 1.1 Client
Firmware updates only
MMI (Main Machine Interface)
LCD
2.8” TFT (Resolution 240 x 320 x 16), bright pixels <= 3
Backlight Life
20,000 hours
Brightness
160 cd/m2
Touch Panel
Yes
Reset Button
Yes
Electrical
Power Input
+10 ~ 30 VDC

TouchPAD Compact User Manual, version 1.0.4. Last Revised: April 2011 Page: 6
Copyright © 2011 ICP DAS Co., Ltd. All Rights Reserved. E-mail: service@icpdas.com
Consumption
1.2 W (50 mA @ 24 VDC)
Mechanical
Dimensions (WxLxH)
76mm (W) x 119mm (L) x 31mm (H)
Installation
Wall Mount
Environmental
Operating Temperature
-20 ~ +70 °C
Storage Temperature
-30 ~ +80 °C
Ambient Relative Humidity
10 ~ 90% RH, non-condensing
1.3. TPD-43x Series
We will provide 4.3”TouchPAD. They have not been released yet.
Though they are close to the final version, the spec. may be changed.
Models
TPD-430
TPD-430-EU
Image
Coming soon ~
Coming soon ~
CPU Module
CPU
Low-power 32-bit RISC CPU
Memory Expansion
16 MB SDRAM / 8 MB Flash
Real Time Clock (RTC)
Yes
Speaker
Yes
Rotary Switch (0~9)
Yes
Communication Interface
Serial Port
RS-485 (including Self-Tuner)
USB 1.1 Client
Firmware updates only
MMI (Main Machine Interface)
LCD
4.3” TFT(Resolution 480 X 272 X 16), bright pixels <= 3

TouchPAD Compact User Manual, version 1.0.4. Last Revised: April 2011 Page: 7
Copyright © 2011 ICP DAS Co., Ltd. All Rights Reserved. E-mail: service@icpdas.com
Backlight Life
20,000 hours
Brightness
400 cd/m2
Touch Panel
Yes
LED Indicator
Yes
Audio
Earphone Out
Reset Button
Yes
Electrical
Power Input
+10 ~ 30 VDC
Consumption
2.5 W (104 mA @ 24 VDC)
Mechanical
Dimensions (WxLxH)
126mm(W) x 82mm(L) x 24mm(H)
126mm(W) x 92mm(L) x 29mm(H)
Installation
Wall Mount
(Suitable for the outlet box in
United States )
Wall Mount
(Suitable for the European 86mm
x 86mm outlet box)
Environmental
Operating Temperature
-20 ~ +70 °C
Storage Temperature
-30 ~ +80 °C
Ambient Relative Humidity
10 ~ 90% RH, non-condensing
1.4. VPD-13x Series
VPD series devices are designed for industrial applications.
Models
VPD-130
VPD-130N
Image
CPU Module
CPU
Low-power 32-bit RISC CPU
Memory Expansion
16 MB SDRAM / 8 MB Flash
Real Time Clock (RTC)
Yes

TouchPAD Compact User Manual, version 1.0.4. Last Revised: April 2011 Page: 8
Copyright © 2011 ICP DAS Co., Ltd. All Rights Reserved. E-mail: service@icpdas.com
Buzzer
Yes
Rotary Switch (0~9)
Yes
Communication Interface
Serial Port
RS-232/ RS-485, including Self-Tuner
USB 1.1 Client
Firmware updates only
MMI (Main Machine Interface)
LCD
3.5” TFT (Resolution 240 x 320 x 16), bright pixels <= 3
Backlight Life
20,000 hours
Brightness
270 cd/m2
Touch Panel
Yes
LED Indicator
Yes
-
Reset Button
Yes
Rubber Keypad
5 keys (Programmable)
-
Electrical
Power Input
+12 ~ 48 VDC
Consumption
2 W (83 mA @ 24 VDC)
Mechanical
Dimension
103 mm (W) x103 mm (L) x 53mm (H)
Ingress Protection
Front Panel: IP65
Installation
DIN-Rail Mount and Panel Mount
Environmental
Operating Temperature
-20 ~ +70 °C
Storage Temperature
-30 ~ +80 °C
Ambient Relative Humidity
10 ~ 90% RH, non-condensing
2.Hardware
2.1. Hardware Overview
TPD-280
TPD-283

TouchPAD Compact User Manual, version 1.0.4. Last Revised: April 2011 Page: 9
Copyright © 2011 ICP DAS Co., Ltd. All Rights Reserved. E-mail: service@icpdas.com
TPD-280U
Where is the reset button?
2.2. Dimension
TPD-280, TPD-280U (unit: mm)
TPD-283 (unit: mm)

TouchPAD Compact User Manual, version 1.0.4. Last Revised: April 2011 Page: 10
Copyright © 2011 ICP DAS Co., Ltd. All Rights Reserved. E-mail: service@icpdas.com
2.3. Installation and Wirings
Mount the hardware
As the figure shows, embedded into
the wall
With External Wall Box, EWB-Txx
series, on the wall
Connect to power and network
TPD-280
TPD-283

TouchPAD Compact User Manual, version 1.0.4. Last Revised: April 2011 Page: 11
Copyright © 2011 ICP DAS Co., Ltd. All Rights Reserved. E-mail: service@icpdas.com
TPD-280U
** Note: either “Ethernet” or “PoE” uses the same general Ethernet cable.
** PoE, power over Ethernet, means that the Ethernet cable conveys not only
data but also power.
3.Setup Device / Connect I/O
First of all, you should install HMIWorks in your PC. HMIWorks is the
development tools for TouchPAD programs.
3.1. Setup Devices
There are several kinds of devices (TouchPADs). Before downloading
programs to TouchPAD, TouchPAD must be setup. We describe how to setup
each kind of devices in the following sections.

TouchPAD Compact User Manual, version 1.0.4. Last Revised: April 2011 Page: 12
Copyright © 2011 ICP DAS Co., Ltd. All Rights Reserved. E-mail: service@icpdas.com
3.1.1.Setup TPD-280
Configuration mode:
In the back of the TPD-280, configuration modes can be found. Use the rotary
switch to set the configuration mode.
No
Mode
Description
0
Run Only
This mode is used for running programs.
1
Update Only
This mode is used for updating programs.
In the Run menu of HMIWorks, Click “Setup Device”.
Select the com port that connects to the TPD-280.
Before downloading programs to the TouchPAD, be sure
to setup the TouchPAD (TPD-280) to connect first.
Download programs to TPD-280

TouchPAD Compact User Manual, version 1.0.4. Last Revised: April 2011 Page: 13
Copyright © 2011 ICP DAS Co., Ltd. All Rights Reserved. E-mail: service@icpdas.com
3.1.2.Setup TPD-283
Configuration mode:
In the back of the TPD-283, configuration modes can be found. Use the rotary
switch to set the configuration mode.
No
Mode
Description
0
Run &
Update
This is a special run mode which is used in the
development phase. TouchPAD can be updated by remote
side PC through Ethernet.
1
Force
Update
While program run on the TouchPAD seriously crashes,
use this mode to update program to TouchPAD.
2
Run
Only
Simply run, TouchPAD cannot be updated in this mode.
Default IP settings of TPD-283: IP = 192.168.255.1; Type = Static.
In the Run menu of HMIWorks, Click “Setup Device”.
For TPD-283, downloading programs update TPD-283’s IP settings.
Because IP settings of TPD-283 are parts of the program file.
The flow chart of setup TPD-283:

TouchPAD Compact User Manual, version 1.0.4. Last Revised: April 2011 Page: 14
Copyright © 2011 ICP DAS Co., Ltd. All Rights Reserved. E-mail: service@icpdas.com
“Search TouchPad …” first. Clicking on the searched TPD-283 shows the
“Setup Ethernet Device”window. Choose the IP type, DHCP or Static, for the
new program and then press OK. Run Run to download the new
program.
Note1: MAC address can be found in the back of TPD-283.
HMIWorks uses MAC to search TouchPAD.
Note2: Be sure to put TPD-283 and your PC in the same subnet.
What to do if download process hangs?

TouchPAD Compact User Manual, version 1.0.4. Last Revised: April 2011 Page: 15
Copyright © 2011 ICP DAS Co., Ltd. All Rights Reserved. E-mail: service@icpdas.com
Anytime download process hangs, users can follow the flow below to finish
the download process. (Note that below is not just for the case after setup
device.)
For details, refer to the user manual.
3.1.3.Setup Other Devices in TouchPAD Series
Configuration mode:
Except TPD-280 and TPD-283, other devices in TouchPAD series have the
same information of configuration modes on their shells. Use rotary switch to
select.
No
Mode
Description
0
Run
This mode is used to run the application. (There is
only one application on a TouchPAD.)
1
Update OS
This mode is used to update operating system of
TouchPAD.
9
Update AP
This mode is used to download applications to
TouchPAD. (There is only one application on a
TouchPAD.)
All devices in the TouchPAD series have USB ports, except TPD-280 and

TouchPAD Compact User Manual, version 1.0.4. Last Revised: April 2011 Page: 16
Copyright © 2011 ICP DAS Co., Ltd. All Rights Reserved. E-mail: service@icpdas.com
TPD-283. HMIWorks can download programs through that USB port. Unlike
TPD-280 and TPD-283, Users need not “Setup Device”in the Run menu but
users must install USB driver in their PC first instead.
Install TouchPAD USB Driver
To install DFU (Device Firmware Update) driver allows user to download
programs to TouchPAD via USB port. Follow these steps to install the driver:
(These steps are written for TouchPAD which have USB ports, such as
TPD-280U, TPD-283U, TPD-430, TPD-433, etc.)
1. Using USB cable to connect to the TouchPAD Device. Rotary Switch set to
“9” and you can see the screen of update mode.
2. The Found New Hardware Wizard pops up thereafter, and select “No, not
this time” and press “Next”.
3. Select “Install from a list or specific location (Advanced)” and press “Next”.
4. Select “Include this location in the search”. Browse to the location of the
driver files and press “Next”.
The default path for the driver is:
[HMIWorks_Install_Path]\Tools\USB_windows_drivers
5. Finally, the Device Firmware Upgrade driver is installed successfully.
Download programs through USB
Plug the USB cable and follow the flow to download a program to TouchPAD.

TouchPAD Compact User Manual, version 1.0.4. Last Revised: April 2011 Page: 17
Copyright © 2011 ICP DAS Co., Ltd. All Rights Reserved. E-mail: service@icpdas.com
Rotary Switch set to 9
Start
End
Reset
Run Run (F9)
Reset
Rotary Switch set to 0
After resetting , the
following screen should
be seen.
Download the
program
by Run Run
In back of
TouchPAD
In back of
TouchPAD
Refer to the user manual to update OS through USB and do calibration.
3.2. Connect to I/O Modules
We provide connection methods for three series of I/O modules, PET-7000,
I-7000, and M-7000 and a general method for Modbus TCP I/O modules. All
these I/O modules have the same model for connections in general.
They need to first create a new connection first (in the Workspace) and
secondly import the tags for the specified I/O module (while registering device)
Press F3 to register device in the “Devices”window.
Item
Description
Device Series
Specify the series which the I/O module to connect
belongs to. (For example, PET-7000, I-7000, Modbus
TCP, etc.)

TouchPAD Compact User Manual, version 1.0.4. Last Revised: April 2011 Page: 18
Copyright © 2011 ICP DAS Co., Ltd. All Rights Reserved. E-mail: service@icpdas.com
Connection
Specify the connection methods, TCPIP or UART, to
connect to the I/O module.
Device Name
Specify the name of the I/O module. Users can assign a
name they want.
Modal Name
Specify the modal of the I/O module to connect.
Net ID
The specified ID of the I/O module in the network.
*Possible range: 0 ~ 255.
*note: for PET-7000 series, the possible range of Net ID is 1 ~ 255.
Create the Connections and Import Tags, Take PET-7000 series for
example. For more details, refer to the user manual.
PET-7000 series I/O by Select
Create the
connections
Create a new connection through protocol “TCPIP”. Here we
set “Connection Name”as “TestMTCP”.
Import tags
Press F3 to register device. Choose “Device Series” as
“PET-7000”, choose “Connection” as “TestMTCP” which you
created in the previous step and press “Search”.

TouchPAD Compact User Manual, version 1.0.4. Last Revised: April 2011 Page: 19
Copyright © 2011 ICP DAS Co., Ltd. All Rights Reserved. E-mail: service@icpdas.com
Click the I/O module you want and then press “OK” to add
tags of the specified I/O module.
Assign the “Device Name”, press “OK” and then you can see
the I/O module is added to the Workspace.
4.Development Tool, HMIWorks
4.1. The Construction of HMIWorks
Click File menu, then click on New….

TouchPAD Compact User Manual, version 1.0.4. Last Revised: April 2011 Page: 20
Copyright © 2011 ICP DAS Co., Ltd. All Rights Reserved. E-mail: service@icpdas.com
Choose the target module, Orientation, and the Default Programming Type.
Press OK and HMIWorks integrated design environment shows as below.
Menu bar
Frame Design Space
Results window (Output and Errors)
Workspace
and
Toolbox
Inspector
and
Libraries
Status bar
4.2. Ladder Designer
Click HMI menu to use this feature.
New Virtual Tag: defines your
own variables
Register Devices: uses devices
of ICP DAS on the networks
Ladder Designer: designs your
ladder logics
Users can manage their ladder design
in the Workspace. Right-click on the
item for its pop-up menu.
Note: for detail descriptions or some advanced features, such as user-defined
function block, user-defined I/O, Modbus RTU devices, please refer to user
manual.
Other manuals for TPD-280
2
This manual suits for next models
6
Table of contents
Other ICP DAS USA Home Automation manuals