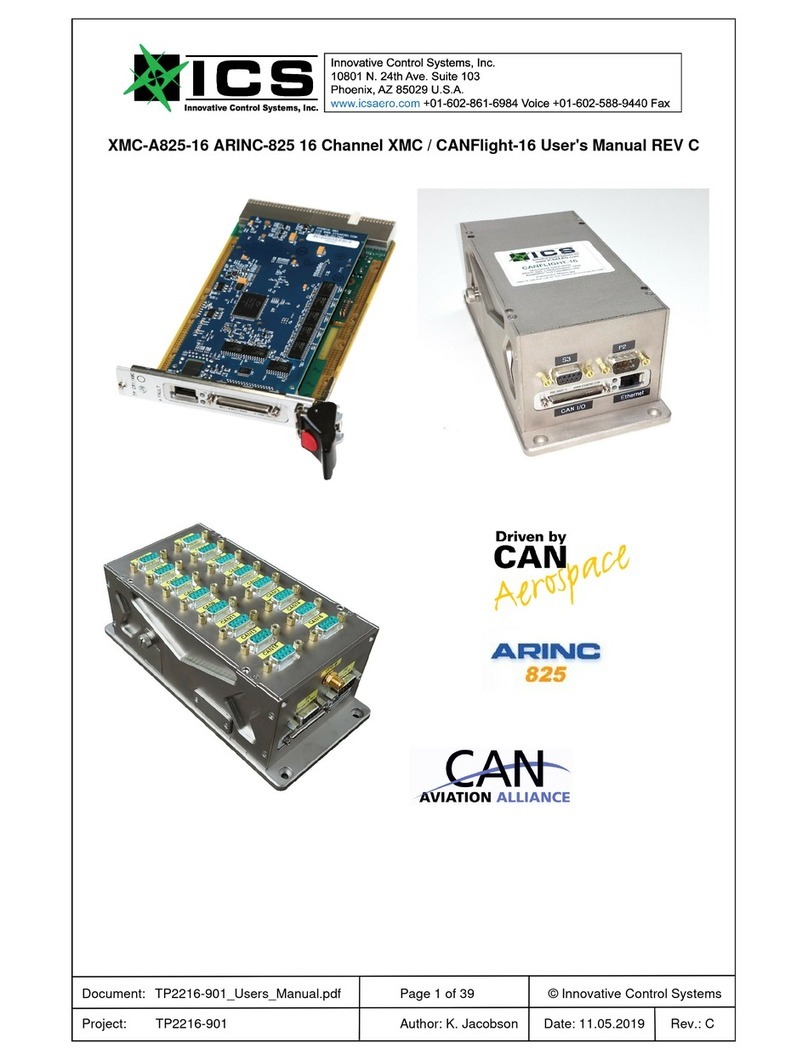
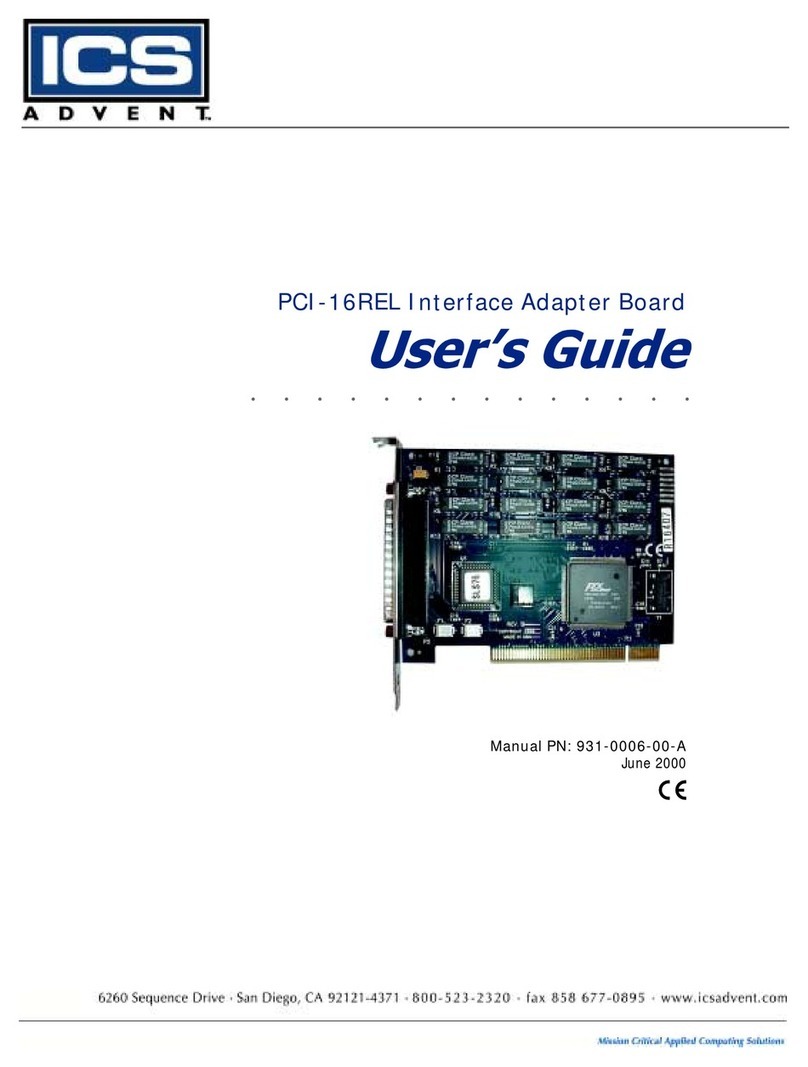
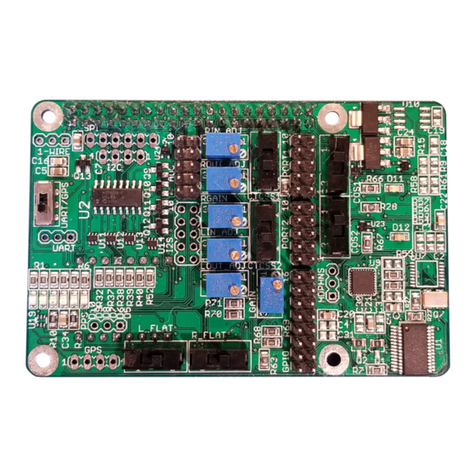
ICS PCI-16ISO User manual

PCI-16ISO
Manual PN: 931-0018-00-A
March 2001

Customer Service
Mailing Address: ICS Advent
6260 Sequence Drive
San Diego, CA 92121-4371
Post-Sales
Technical Support: 858-677-0877, option 1
800-480-0044, option 1 (in the U.S. and Canada)
+44 1243 523505 (UK)
0800-91-29-04 (France)
0800-18-30-095 (Germany)
Visit our site at: www.icsadvent.com
Information in this document is subject to change without notice.
© 2001 ICS Advent, a California Corporation. All rights reserved.
The information in this document is provided for reference only. ICS Advent does not assume any liability arising out
of the application or use of the information or products described herein. This document may contain or reference
information and products protected by copyrights or patents and does not convey any license under the patent rights
of ICS Advent, nor the rights of others.
ICS Advent is a Trademark of ICS Advent. All trademarks and registered trademarks are the property of their
respective owners. All rights reserved. Printed in the United States of America. No part of this publication may be
reproduced, stored in a retrieval system, or transmitted, in any form or by any means, electronic, mechanical,
photocopying, recording, or otherwise, without the prior written permission of the publisher.

Contents iii
Contents
Foreword
About This Manual . . . . . . . . . . . . . . . . . . . . . . . . . . . . . . . . . . . . . . . . . . . v
Customer Comments . . . . . . . . . . . . . . . . . . . . . . . . . . . . . . . . . . . . . . . . . . v
Safety Instructions
When Working Inside a Computer . . . . . . . . . . . . . . . . . . . . . . . . . . . . . . . ix
Protecting Against Electrostatic Discharge . . . . . . . . . . . . . . . . . . . . . . . x
Guarantee and Warranty Policy
Guarantee . . . . . . . . . . . . . . . . . . . . . . . . . . . . . . . . . . . . . . . . . . . . . . . . . . xi
Limited Warranty . . . . . . . . . . . . . . . . . . . . . . . . . . . . . . . . . . . . . . . . . . . . xi
Return Procedure. . . . . . . . . . . . . . . . . . . . . . . . . . . . . . . . . . . . . . . . . . . . xii
Limitation of Liability . . . . . . . . . . . . . . . . . . . . . . . . . . . . . . . . . . . . . . . . xiii
Chapter 1
Introduction
Features . . . . . . . . . . . . . . . . . . . . . . . . . . . . . . . . . . . . . . . . . . . . . . . . . . . 1-1
What’s Included . . . . . . . . . . . . . . . . . . . . . . . . . . . . . . . . . . . . . . . . . . . . . 1-3
Chapter 2
Installation
Driver Installation (for Windows). . . . . . . . . . . . . . . . . . . . . . . . . . . . . . . 2-1
Board Setup . . . . . . . . . . . . . . . . . . . . . . . . . . . . . . . . . . . . . . . . . . . . . . . . 2-1
Chapter 3
Technical Description
Sensor Input Ports Pin Assignments . . . . . . . . . . . . . . . . . . . . . . . . . . . . 3-1
Software . . . . . . . . . . . . . . . . . . . . . . . . . . . . . . . . . . . . . . . . . . . . . . . . . . . 3-2
Programming Examples . . . . . . . . . . . . . . . . . . . . . . . . . . . . . . . . . . . . . . 3-2
Register Description . . . . . . . . . . . . . . . . . . . . . . . . . . . . . . . . . . . . . . . . . 3-3
Chapter 4
Specifications
Appendix A
Troubleshooting
Appendix B
Layout Drawing

iv PCI-16ISO User’s Guide
This page intentionally left blank.

Foreword v
Foreword
About This Manual
This product manual describes how to install and program the
PCI-16ISO board.
Note: Additional technical information and BIOS updates are available from
the ICS Advent Web site, www.icsadvent.com, along with advanced
troubleshooting information in FAQs and release notes.
The following is a summary of the chapter contents:
nChapter 1, Introduction, provides an overview of the PCI-16ISO
board and its features.
nChapter 2, Installation, describes how to install the drivers and
install it into a PCI expansion slot.
nChapter 3, Technical Description, provides sensor input port pin
assignments, describes the software, provides a programming
example, and provides a register description.
nChapter 4, Specifications, lists the board’s physical dimensions,
power requirements, operating temperature specifications, and
calculated MTBF.
nAppendix A, Troubleshooting, provides some steps that can fix
most common problems.
nAppendix B, Layout Drawing, provides a layout drawing of the
PCI-16ISO board.
Customer Comments
If you experience any problems with this manual or just want to provide some
feedback, please send us a message using the online “Service Form” on our
Web site (www.icsadvent.com) under “Support.” Detail any errors you find.
We will correct the errors or problems as soon as possible and post the revised
manual in our online Support Library. Thank you.
Note: You may also use the online “Service Form” on our Web site to submit
comments or concerns about our products, or request technical
support.

vi PCI-16ISO User’s Guide
This page intentionally left blank.

Advisory Conventions vii
Advisory Conventions
Three types of advisories are used throughout the manuals to provide helpful
information or to alert you to the potential for hardware damage or personal
injury. They are Notes, Cautions, and Warnings. The following is an example
of each type of advisory. Use caution when servicing any electrical component.
Note: A Note indicates information that will help you make better use of the
system.
Disclaimer: We have tried to identify all situations that may pose a warning
or caution condition in this manual. However, ICS Advent does not claim to
have covered all situations that might require the use of a Caution or
Warning.
CAUTION
A CAUTION indicates potential damage to hardware and
tells you how to avoid the problem.
WARNING
A WARNING indicates the potential for bodily harm and
tells you how to avoid the problem

viii PCI-16ISO User’s Guide
This page intentionally left blank.

Safety Instructions ix
Safety Instructions
Before handling the PCI-16ISO, read the following instructions and safety
guidelines to prevent damage to the product and to ensure your own personal
safety. Refer to the “Advisories” section for advisory conventions used in this
manual, including the distinction between Warnings, Cautions, and Notes.
nAlways use caution when handling/operating the computer. Only
qualified, experienced, authorized electronics service personnel should
access the interior of the computer. The power supplies produce high
voltages and energy hazards, which can cause bodily harm.
nUse extreme caution when installing or removing components. Refer
to the installation instructions in this manual for precautions and
procedures. If you have any questions, please contact ICS Advent
Post-Sales Technical Support.
When Working Inside a Computer
Before taking covers off a computer, perform the following steps:
1) Turn off the computer and any peripherals.
2) Disconnect the computer and peripherals from their power sources to
prevent electric shock or system board damage.
3) Follow the guidelines provided in “Protecting Against Electrostatic
Discharge” on the following page.
4) Disconnect any telephone or telecommunications lines from the
computer.
WARNING
High voltages are present inside the chassis when the
unit’s power cord is plugged into an electrical outlet.
Disconnect the power cord from its source before removing
the chassis cover. Turning off the power switch does not
remove power to components.

x PCI-16ISO User’s Guide
In addition, take note of these safety guidelines when appropriate:
nTo help avoid possible damage to system boards, wait five seconds
after turning off the computer before removing a component, removing
a system board, or disconnecting a peripheral device from the
computer.
nWhen you disconnect a cable, pull on its connector or on its strain-
relief loop, not on the cable itself. Some cables have a connector with
locking tabs. If you are disconnecting this type of cable, press in on the
locking tabs before disconnecting the cable. As you pull connectors
apart, keep them evenly aligned to avoid bending any connector pins.
Also, before connecting a cable, make sure both connectors are
correctly oriented and aligned.
Protecting Against Electrostatic Discharge
Static electricity can harm system boards. Perform service at an ESD
workstation and follow proper ESD procedure to reduce the risk of damage to
components. ICS Advent strongly encourages you to follow proper ESD
procedure, which can include wrist straps and smocks, when servicing
equipment. The ESD Grounding Receptacle on the chassis provides a
convenient, secure place to insert an ESD grounding strap.
You can also take the following steps to prevent damage from electrostatic
discharge (ESD):
nWhen unpacking a static-sensitive component from its shipping
carton, do not remove the component’s antistatic packing material
until you are ready to install the component in a computer. Just before
unwrapping the antistatic packaging, be sure you are at an ESD
workstation or grounded.
nWhen transporting a sensitive component, first place it in an
antistatic container or packaging.
nHandle all sensitive components at an ESD workstation. If possible,
use antistatic floor pads and workbench pads.
nHandle components and boards with care. Don’t touch the components
or contacts on a board. Hold a board by its edges or by its metal
mounting bracket.
CAUTION
Do not attempt to service the system yourself except as
explained in this manual. Follow installation and
troubleshooting instructions closely.

Guarantee and Warranty Policy xi
Guarantee and Warranty Policy
Guarantee
A thirty day money-back guarantee is provided on all standard products sold.
Special order products are covered by our Limited Warranty, however they
may not be returned for refund or credit. EPROMs, RAM, Flash EPROMs or
other forms of solid electronic media are not returnable for credit - but for
replacement only. An extended warranty is available. Consult the factory.
Refunds
In order to receive a refund on a product for the purchase price, the product
must not have been damaged by the customer or by the common carrier
chosen by the customer to return the goods and the product must be returned
complete (meaning all manuals, software, cables, etc.) within 30 days of
receipt and in an as-new and resalable condition. The “Return Procedure”
must be followed to assure a prompt refund.
Restocking Charges
Product returned after 30 days, and before 60 days, of the purchase will be
subject to a minimum 20% restocking charge and charges for any damaged or
missing parts. Products not returned within 60 days of purchase, or products
which are not in an as-new and resaleable condition, are not eligible for a
credit return and will be returned to the customer.
Limited Warranty
Effective April 1, 1998, all products carry a 2-year limited warranty. Within
two years of purchase, ICS Advent will repair or replace, at our option, any
defective product. ICS Advent will service the warranty for all standard
catalog products for the first two years from the date of shipment.
Please Note: the two year warranty may not apply to special promotion items.
Please consult the factory for warranty verification.
The limited warranty is void if the product has been subjected to alteration,
neglect, misuse, or abuse; if any repairs have been attempted by anyone other
than ICS Advent or its authorized agent; or if the failure is caused by
accident, acts of God, or other causes beyond the control of ICS Advent or the
manufacturer. Neglect, misuse, and abuse shall include any installation,
operation, or maintenance of the product other than in accordance with the
user’s manual.

xii PCI-16ISO User’s Guide
No agent, dealer, distributor, service company, or other party is authorized to
change, modify, or extend the terms of this Limited Warranty in any manner
whatsoever. ICS Advent reserves the right to make changes or improvements
in any product without incurring any obligation to similarly alter products
previously purchased.
Return Procedure
For any Guarantee or Limited Warranty return, please contact ICS Advent
Customer Service at 800-480-0044 or 858-677-0877 and obtain a Return
Material Authorization (RMA) Number. All product(s) returned to ICS Advent
for service or credit must be accompanied by a Return Material Authorization
(RMA) Number. Freight on all returned items must be prepaid by the
customer who is responsible for any loss or damage caused by common carrier
in transit. Returns for Warranty must include a Failure Report for each unit,
by serial number(s), as well as a copy of the original invoice showing the date
of purchase.
To reduce risk of damage, returns of product must be in an ICS Advent
shipping container. If the original container has been lost or damaged, new
shipping containers may be obtained from ICS Advent Customer Service at a
nominal cost.
ICS Advent owns all parts removed from repaired products. ICS Advent uses
new and reconditioned parts made by various manufacturers in performing
warranty repairs and building replacement products. If ICS Advent repairs or
replaces a product, its warranty term is not extended.
ICS Advent will normally return your replacement or repaired items via
Second Day Air. Overnight delivery or delivery via other carriers is available
at an additional charge.
Shipments not in compliance with this Guarantee and Limited Warranty
Return Policy will not be accepted by ICS Advent.

Guarantee and Warranty Policy xiii
Limitation of Liability
In no event shall ICS Advent be liable for any defect in hardware, software,
loss, or inadequacy of data of any kind, or for any direct, indirect, incidental,
or consequential damages in connection with or arising out of the performance
or use of any product furnished hereunder. ICS Advent’s liability shall in no
event exceed the purchase price of the product purchased hereunder. The
foregoing limitation of liability shall be equally applicable to any service
provided by ICS Advent or its authorized agent.
Some sales items and customized systems are not subject to the guarantee
and limited warranty. However in these instances, any deviations will be
disclosed prior to sales and noted in the original invoice. ICS Advent
reserves the right to refuse returns or credits on software or special
order items.

xiv PCI-16ISO User’s Guide
This page intentionally left blank.

Introduction 1-1
Chapter 1
Introduction
The PCI-16ISO provides sixteen optically isolated inputs to allow the
monitoring of offboard switch closures and relays, or for any other general
purpose monitoring. The PCI-16ISO is PCI 2.1 bus compliant. Addressing,
data, and control signals are all TTL compatible.
The PCI-16ISO provides two parallel input ports. Port A and B are interfaced
to optically isolated inputs. Assuming an I/O address of 300 Hex the following
table shows the port addresses.
Features
nTwo 8-bit input ports
nDB-37 female connector
nMultiple adapters can reside in same computer
nAll address, data, and control signals are TTL compatible
Ports A and B are 8-bit input ports connected to optically isolated input
sensors. Each sensor can be used to interface a voltage input and then sense
whether the voltage is on or off. Each sensor is isolated with respect to a
common ground from every other sensor and also isolated with respect to the
host PC ground. This means that signals, such as low-level AC voltage, motor
servo voltage, and control relay signals, can be ‘sensed’ or read by the PC
without the risk of damage due to ground loops or ground faults.
Each sensor input pair has a current limiting resistor that is used to limit the
input current to the opto-isolator. The opto-isolator has two ‘back-to-back’
diodes internally. This allows AC or DC signals to be sensed regardless of
polarity. When the signal is high enough to cause the opto-isolator to turn on,
the output of the opto-isolator goes low (0 volts) and the port bit is read as a
low logic level (binary 0) by the PC. When the input signal is too low to turn on
the opto-isolator, the output goes high and the port bit is read by the PC as a
high logic level (binary 1).
Base Address Hex Decimal Mode
Port A Address 300 768 Input Port
Port B Address 301 769 Input Port

1-2 PCI-16ISO User’s Guide
The input impedance of each isolated input is approximately 560 ohms
(factory default). The opto-isolator requires approximately 3mA to turn on.
The maximum input current is 60mA. There are two things to consider when
selecting the input resistor. The first is turn on voltage for the circuit to sense,
and second is the maximum input voltage. Maximum input voltage must not
provide too much power to the input resistor and must not overdrive the
opto-isolator input current specification. The following formulas apply:
Turn on current: 3 mA
Isolator diode drop: 1.1 V
Resistor power Max: .25 W
Turn on voltage = diode drop + (turn on current) x (resistance)
or : 1.1 + (.003) x R
Maximum voltage = square root of (.25 (resistor value))
The following table shows four common input resistors, the range of voltages,
and maximum current associated with each.
Increasing the input resistor accordingly can increase the maximum input
voltage. Because socketed DIP resistor networks are utilized, they can be
replaced with a different value. This can be done at the factory if necessary.
Input
Resistor
(Ohms)
Min Turn-On
(Volts)
Max Input
Range
(Volts)
Max
Current
(mA)
220 1.76 7 27
560 2.8 12 20
1K 4.1 16 15
2.2K 7.7 24 10
CAUTION
The maximum ratings for inputs are:
- AC = 42.4V peak
- DC = 60V

Introduction 1-3
What’s Included
The PCI-16ISO is shipped with the following items. If any of these items are
missing or damaged, contact ICS Advent.
nPCI-16ISO interface adapter
nCD-ROM with I/O and Communication Software “C” Series
nCD-ROM with manual and datasheet


Installation 2-1
Chapter 2
Installation
Software Installation
Windows 95/98/2000/ME
Install the software before adding the hardware as follows:
1) Insert the I/O and Communication Software “C” Series V2.3 CD into
your CD-ROM drive.
2) Go to the Sea I/O directory, read the instructions and click on the
Install button for the appropriate operating system to install the Sea
I/O software to your system.
Note: Once the software is installed, the board can be installed into a PCI
expansion slot and should automatically be recognized by the system
upon reboot. The applications are ready to operate with the boards.
Windows NT
Install the software before adding the hardware as follows:
1) Insert the I/O and Communication Software “C” Series V2.3 CD into
your CD-ROM drive.
2) Go to the Sea I/O directory, read the instructions and click on the
Install button for the appropriate operating system to install the Sea
I/O software to your system.
3) Install the board into a PCI expansion slot.
4) Go to Start > Settings > Control Panel and open the Sea I/O software
control panel to configure the card for Windows NT.
Board Setup
The PCI-16ISO is a fully compliant PCI ‘Plug and Play’ adapter. All card
resources, such as I/O address and IRQ, are auto-assigned by either your
system BIOS or your ‘Plug and Play’ operating system.

2-2 PCI-16ISO User’s Guide
The PCI-16ISO can be installed in any of the PCI expansion slots as follows:
1) Turn off system power. Disconnect the system’s power cord from the
electrical outlet.
2) Remove the chassis cover.
3) Locate an available PCI slot and remove the associated slot filler
bracket from the rear panel of the chassis.
4) Gently insert the PCI-16ISO into the PCI slot. Make sure that the
board is seated properly.
5) Secure the board’s slot bracket to the rear panel with a screw.
6) Replace the chassis cover.
7) Plug the power cord into an electrical outlet.
Table of contents
Other ICS Computer Hardware manuals