idiag P100 User manual

EN
IDIAG P100
User manual
Version 1.0

3
Copyright© 2020, Idiag AG. All rights reserved. No part of this publication may be reproduced or stored in a data retrieval system or be disseminated in any other form or
using any other procedure without prior written permission from Idiag AG. Idiag and the Idiag logo are registered trademarks of Idiag AG.
Index to the Idiag P100 User Manual
1Notes on the Idiag P100 User Manual ............................................................................................................5
1.1 Storage ...............................................................................................................................................................5
1.2 Users ..................................................................................................................................................................5
1.3 Instructions for use .............................................................................................................................................5
1.4 Icons used ..........................................................................................................................................................5
2Important safety advice ...................................................................................................................................6
2.1 Intended usage...................................................................................................................................................6
3Description the Idiag P100 ..............................................................................................................................8
3.1 Component parts of the device ..........................................................................................................................8
3.2 Additional parts...................................................................................................................................................8
4Introduction.......................................................................................................................................................9
5Indications.........................................................................................................................................................9
6Contraindications .............................................................................................................................................9
7Adverse effects.................................................................................................................................................9
8Risk factors .......................................................................................................................................................9
9Before operating the Idiag P100 ...................................................................................................................10
9.1 Charging, installing and removing the battery ..................................................................................................10
9.2 Assembling the P100........................................................................................................................................11
9.3 General commands ..........................................................................................................................................12
9.4 Turning the device on and free training............................................................................................................12
9.5 Starting a strength training session ..................................................................................................................13
9.6 Starting endurance training ..............................................................................................................................16
10 Respiratory feedback .....................................................................................................................................21
10.1 Visual feedback during endurance training ......................................................................................................21
10.2 Acoustic feedback during endurance training ..................................................................................................22
10.3 Visual feedback during strength training ..........................................................................................................22
11 Maintenance....................................................................................................................................................23
11.1 Inspection by the user ......................................................................................................................................23
11.2 General information regarding hygiene ............................................................................................................23
11.3 Hygiene overview .............................................................................................................................................24
11.4 Cleaning ...........................................................................................................................................................24
11.5 Disinfection .......................................................................................................................................................25
12 Operating, storage and transport conditions..............................................................................................27
12.1 General recommendations ...............................................................................................................................27
12.2 Operating conditions.........................................................................................................................................27

4
12.3 Transport conditions .........................................................................................................................................27
12.4 Storage conditions............................................................................................................................................27
13 Technical specifications ................................................................................................................................28
14 Troubleshooting (problem/possible cause/solution) .................................................................................29
15 Disposal...........................................................................................................................................................29
16 Warranty ..........................................................................................................................................................30
16.1 Warranty conditions..........................................................................................................................................30
16.2 Warranty coverage ...........................................................................................................................................30
16.3 Legal provisions................................................................................................................................................30
16.4 Limitation of liability ..........................................................................................................................................30

5
1 Notes on the Idiag P100 User Manual
Read this manual before unpacking and using the Idiag P100. This user manual contains information on how to use
and maintain the Idiag P100 and also how to avoid potential risks.
1.1 Storage
This manual must be stored in printed or electronic form in an easily accessible location for all users. If the device is
re-sold, the manual must also be supplied in printed or electronic form.
1.2 Users
It is recommended that the Idiag P100 is only used by persons who have made themselves familiar with the Idiag
P100 hardware in advance by reading the user manual.
1.3 Instructions for use
This user manual is also available in PDF format. Hyperlinks and bookmarks allow links to be opened quickly.
Moreover, the search function facilitates efficient searching for keywords.
1.4 Icons used
Icons in the user manual
Danger!
Indicates an imminently hazardous situation which, if not avoided, will
result in death or serious injury.
Warning!
Indicates a potentially hazardous situation which, if not avoided, may
result in death or serious injury.
Caution!
Indicates a possibly hazardous situation which, if not avoided, may result
in minor or slight injuries or damage to property.
Tip
Highlights useful tips, recommendations and information for achieving
efficient, fault-free operation.
DANGER
CAUTION
6
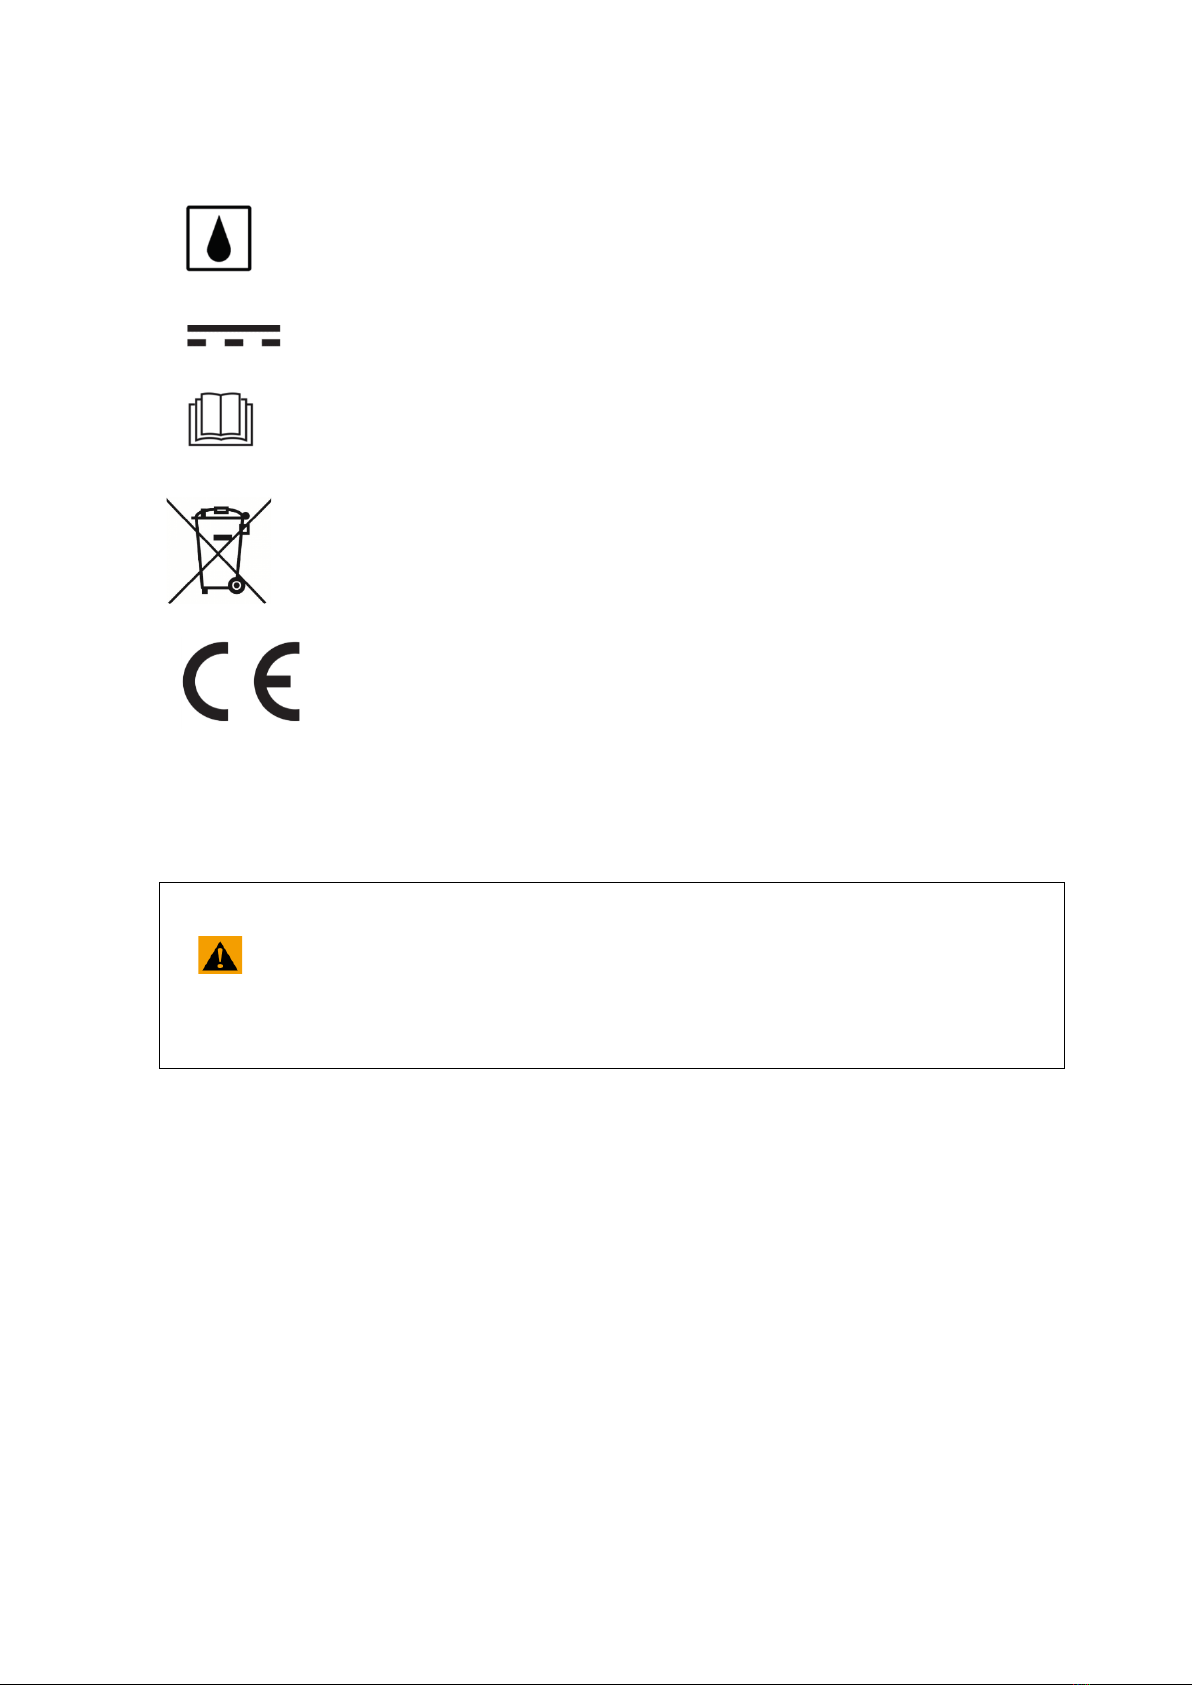
Icons on the device
IPX2 protection against dripping water
D.C. voltage power supply
Observe the operating instructions
The Idiag P100 may not be disposed of together with normal household waste.
Before disposing of this product please consult your local authority or your dealer
and enquire about the correct method of disposal.
Conforms to Directive 2014/35/EU of the European Parliament and of the Council
of 26 February 2014 on the harmonisation of the laws of the Member States
relating to the making available on the market of electrical equipment designed for
use within certain voltage limits.
2 Important safety advice
2.1 Intended usage
•The Idiag P100 is intended for performing respiratory muscle training with the purpose of
improving pulmonary function, respiratory muscle strength and physical condition.
•The use of the device is limited to the predefined purpose and application as described in this user
manual. See also Chapter 12.4 “Storage conditions”.
•The underlying principle of the Idiag P100 is forced respiration with controlled CO2-rebreathing, or
so-called isocapnic hyperpnoea.
•The Idiag P100 serves to improve lung function and respiratory muscle strength and also reduce
the feeling of breathlessness, which have positive effects on physical condition and quality of life.
•Idiag P100 training is performed approx. 4-5 times a week. Depending upon the desired
performance improvement, the training mode, together with the duration and frequency of training
sessions, can be varied.
•Using the device in combination with other devices is not permitted.
•The device may not be changed or modified.
Warning!
•Read the quick reference guide or this user manual before using the Idiag P100.
•Avoid hazardous situations that are marked “WARNING”.
•Any repair or servicing work may only be carried out by authorised personnel.
Other manuals for P100
3
Table of contents
Other idiag Respiratory Product manuals


