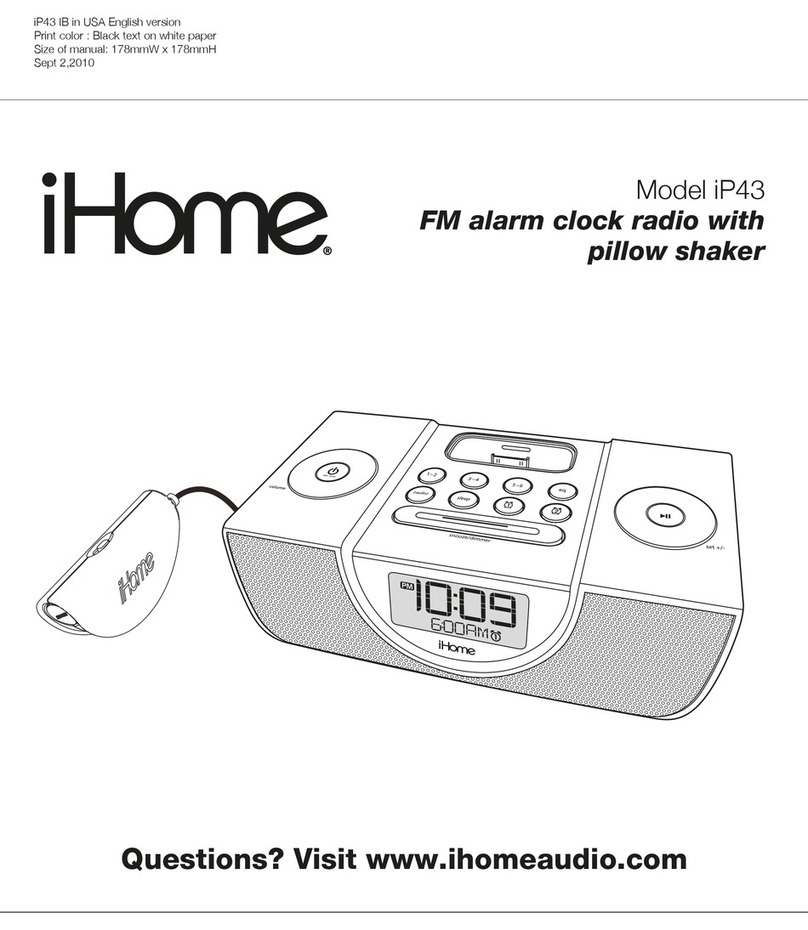
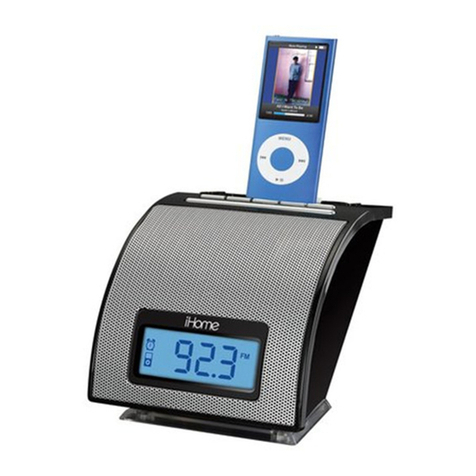
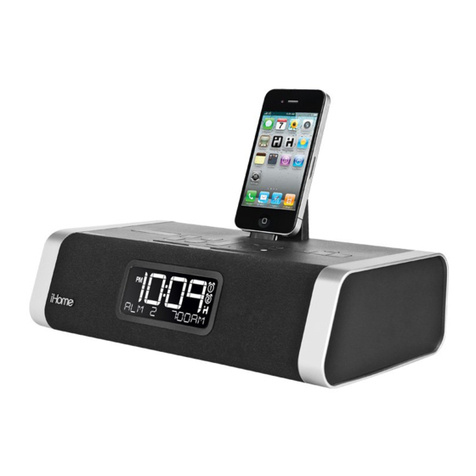
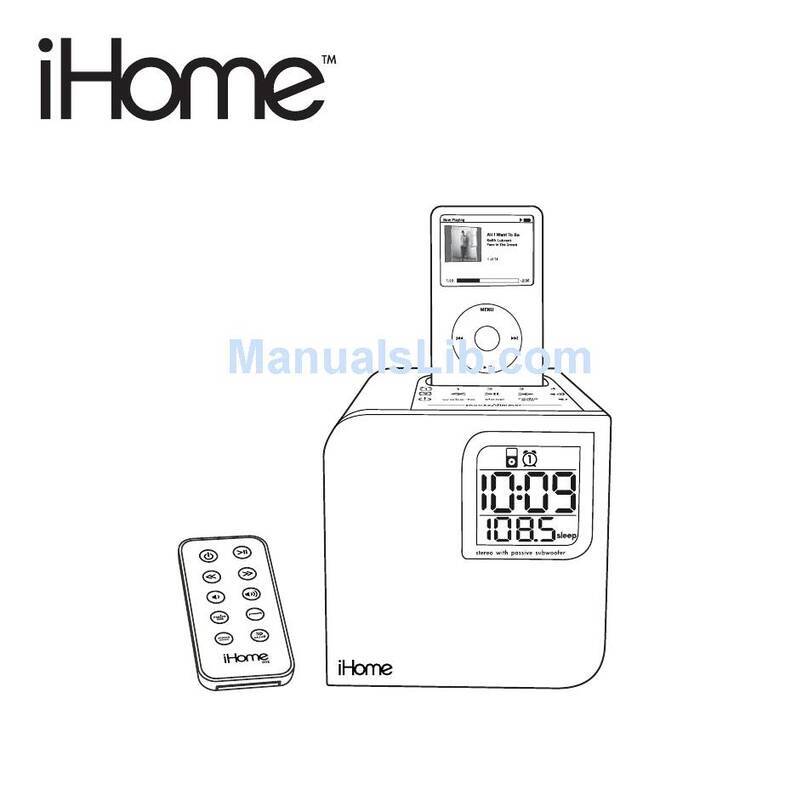
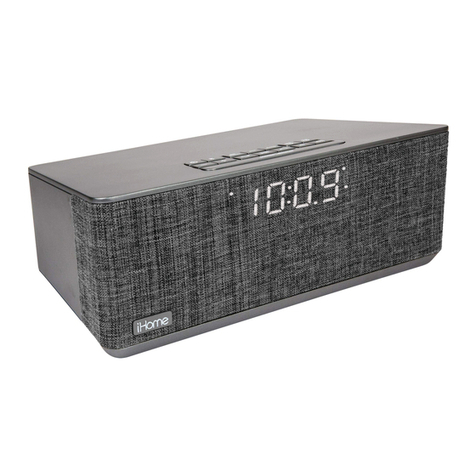
iHome HiH60 User manual

HIH60 IB
May 5, 2008
size: 178 x 178
color: Black
Model HiH60
Hotel Clock Radio
For Your iPod®
THIS UNIT WILL NOT CONTROL OR CHARGE 3G iPod
Questions? Visit www.hoteltech.com
www.hoteltech.com
Printed in China HIH60-050508-A

Note: The manufacturer is not responsible for any radio or TV interference cause by unauthor-
ized modifications to this equipment. Such modification could void the user’s authority to
operate the equipment.
FCC INFORMATION: This device complies with Part 15 of the FCC Rules. Operation is subject
tot the condition that this device does not cause harmful interference.
CAUTION: TO REDUCE THE RISK OF ELECTRIC SHOCK, DO NOT REMOVE
COVER (OR BACK). NO USER-SERVICEABLE PARTS INSIDE. REFER SERVICING
TO QUALIFIED SERVICE PERSONNEL.
WARNING: TO REDUCE THE RISK OF FIRE OR ELECTRIC SHOCK, DO NOT
EXPOSE THIS APPLIANCE TO RAIN OR MOISTURE.
The lightning flash with arrowhead symbol, within an equilateral triangle, is intended to
alert the user of the presence of uninsulated “dangerous voltage” within the product’s
enclosure that may be of sufficient magnitude to constitute a risk electric shock to
persons.
The exclamation point within an equilateral triangle is intended to alert the user of the
presence of important operating and maintenance (servicing) instructions in the
literature accompanying the appliance.
The symbols above are located at the bottom of the cabinet.
CAUTION
RISK OF ELECTRIC SHOCK
DO NOT OPEN
CAUTION: To prevent electric shock, match wide blade of plug to wide slot. Fully insert.
ATTENTION: Pour eviter les choc electriques. Introduire la lame la plus large de la fiche dans la borne
correspondante de la prises et pousser jusquau fond.
This device complies with part 15 of the Federal Communications Commission
Rules. Operation is subject to the condition that this device does not cause
harmful interference.
1
Playing and Charging your iPod
1. Turn Dock Adjust Dial until pad moves back. Gently dock iPod. Turn Dock Adjust dial so
iPod is firmly supported in the dock. When docked, iPod will charge until fully charged.
Unit will not overcharge iPod. Note: The HiH60 will not control or charge 3G iPod models.
2. Turn on the HiH60 by pressing the Power Button then press the Mode button until
the iPod icon appears on the display.
3. Press the Play button on your iPod to let it play.
4. Rotate the Volume Thumbwheel to adjust the volume level.
5. To turn off the unit and your iPod, press the Power Button.
Playing Radio, Built-in Nature Sounds or Music
1. There are two ways to turn on the radio. Press one of the Radio Preset Buttons to listen to
one of the preset stations, or press the Power Button and/or Mode button. The radio
frequency will appear on the display under radio mode.
2. Press the or Button to tune the station. Hold a button for a few seconds to scan the dial
quickly.
3. To listen to built-in Nature Sounds or Music, just press the corresponding button. Keep pressing
the button to change the sound/music. There are 4 nature sounds and 4 music modes to
choose from.
4. Rotate the Volume Thumbwheel to adjust the volume level.
5. Press the Power Button to shut off the unit.
Playing the Aux Input
1. Connect the Aux input cord to your CD/MP3 player or other device.
2. Turn on the HiH60 by pressing the Power Button then press the Mode button until the
AUX icon appears on the display.
3. Play your device and rotate the Volume Thumbwheel to adjust the volume level.
4. To turn off the unit, press the Power Button. Remember to turn off you device too.
8

A Consumer Guide to Product Safety
2
Alarm Operation
Setting the Alarm
1. Press the Alarm Set Button. The wake time will flash on the lower part of display.
2. Press the or Button to set the desired alarm time (hold to advance the time quickly).
3. Press the Alarm Set Button again to confirm setting. The alarm is now armed , indicated by
the alarm icon.
4. After setting the alarm time, press the Wake To Button to select iPod, radio or Buzzer as
your alarm source.
5. iPod alarm will sound continually for 1 hour, radio/buzzer alarm will sound continually for 15
minutes.
Turning the Alarm On or Off
Press the Alarm On/Off Button to arm or disarm alarm function. When armed, the time and
alarm source will appear on the bottom part of display.
One Day Alarm
This unit features a one day alarm: once the alarm sounds, it is disarmed and must be set again to
come on the following day. This prevents guests waking to unwanted alarm.
Snooze
Press the Snooze/Dimmer button after the alarm sounds. The alarm will be silenced and come
on again 9 minutes later. Snooze can be pressed several times during the 1 hour iPod alarm period.
Sure Alarm
This unit has a sure alarm feature. If backup batteries are installed, the buzzer alarm will sound in
the event of a power failure/interruption.
Adjusting the Display Brightness
This unit features an adjustable backlight, with dim, medium and bright settings. To select a backlight setting,
press the Snooze/Dimmer Bar until the desired brightness is reached.
when alarm is not armed
when alarm is armed
7

Table of Contents
A Consumer Guide to Product Safety............................................................................................................................ 2
FCC Information ............................................................................................................................................................. 3
Controls and Indicators / HIH60 Display .................................................................................................................... 4
Installation and Maintenance ...................................................................................................................................... 5
Setting the Clock/Calendar ........................................................................................................................................... 6
Programming the Preset Radio Station ....................................................................................................................... 6
Alarm Operation ............................................................................................................................................................ 7
Adjusting the Display Brightness................................................................................................................................. 7
Playing and Charging your iPod ................................................................................................................................. 8
Playing Radio or Build-in Nature Sounds or Music.................................................................................................... 8
Playing the Aux Input..................................................................................................................................................... 8
This device complies with Part 15 of the FCC Rules, operation is subject to the following two conditions: (1) This device may
not cause harmful interference, and (2) this device must accept any interference received, including interference that may
cause undesired operation.
This equipment complies with the limits for a Class B digital device as specified in Part 15 of FCC Rules. These limits
provide reasonable protection against radio and TV interference in a residential area.
However, your equipment might cause TV or radio interference even when it is operating properly. To eliminate
interference you can try one or more of the following corrective measures:
• Reorient or relocate the receiving antenna.
• Increase the distance between the equipment and the radio or TV.
• Use outlets on different electrical circuits for the equipment and the radio or TV.
Consult your dealer or an experienced radio/television technician if the problem still exists.
Modifying or tampering with your system’s internal components can cause a malfunction and might invalidate the
system’s warranty and void your FCC authorization to operate it.
This Class B digital apparatus complies with Canadian ICES-003.
FCC Information
3
Setting the Clock/Calendar
This unit has a factory preset clock which is set to Eastern time, you just need to follow a few steps before using:
1. Remove the rear panel cover at the back of the unit.
2. Press and hold Time Zone Button. The currently set time zone will flash. Press the or
Button until correct time zone is displayed then press the Zone Button again.
3. To account for Daylight Saving Time, set the DST Switch to +1 to add a hour time or to -1
to subtract a hour.
To Set Clock Manually.
1. Press and hold the Clock Adjust Button unit the clock display flashes. Press the or
Button to adjust the time (hold button to adjust quickly). Please remember to set correct AM
or PM time.
2. Press the Clock Adjust Button. The year will flash. Press the or Button to adjust the
year (hold to adjust quickly).
3. Press the Clock Adjust Button again. The date will flash. Press the or Button to
adjust the date (hold to adjust quickly). Press the Clock Adjust Button again to exit
clock/calendar setting.
4. Replace the rear panel cover and tighten the screw (unless you need to adjust radio presets,
see Programming Preset Radio Stations below).
Programming the Preset Radio Stations
Note: Extend the Wire Antenna for better reception.
This unit has 4 Radio Preset Buttons for guests to find local FM stations. You should prepare or
receive a list of 4 FM stations to program the settings.
1. Remove the rear panel cover at the back of the unit. Slide the Preset Lock Switch to
“Unlock”.
2. Press the Power On/Off Button and/or Mode Button to turn on the radio. The radio
frequency will appear on the display.
3. Press or Button to tune the station (hold for a few seconds to scan the dial quickly).
4. Press and hold a Radio Preset Button to set the station. The unit will beep to indicate the
station stored. Repeat steps 3 and 4 for remaining three Preset Buttons.
5. When you have finished programming, press the Power On/Off Button to turn off the radio.
6. Slide the Preset Lock Switch to “Lock”. replace the rear panel cover and tighten the screw.
Time Zone
Calendar
Radio Station
Clock
6
Installation and Maintenance
Installation
1. Remove the unit and all packing material from the carton. You should save packing materials in case unit needs to be
return for service. If you do not wish to save the materials, please dispose of them properly.
2. Place the unit on a stable, level surface, close to an AC outlet, out of direct sunlight, and away from sources of dust,
dirt, heat, water, moistures, vibration and strong magnetic fields.
3. After installing the batteries (see below) and reading the Maintenance notes, plug the AC cord into an outlet.
“Sure Alarm” Battery Backup Installation
It is recommended that 2 “AA” (LR6) batteries be installed into the unit, as directed below, to
activate the “Sure Alarm” battery backup feature. In the event that the AC power cord is
disconnected or a power failure or other interruption occurs, the “Sure Alarm” system will maintain
clock and alarm settings for the life of the batteries, ensuring that the alarm will sound at the set
time (Note: while operating on battery power, all set alarms will sound as a buzzer). When power is
restored, the clock will cease using battery power, and will again operate on AC power. The Battery
Low Indicator flashes when there is not enough power to run the backup.
1. Use a Phillips screwdriver to remove the battery compartment door.
2. Install 2 “AA” (LR6) batteries (alkaline batteries are recommended for longer life) into the battery
compartment, making sure that the + and – polarities match up with the diagram printed inside
the compartment.
3. Close the battery compartment door and tighten the screw. Gently return the clock radio to its
upright position.
Maintenance
1. Place the unit on a level surface away from sources of direct sunlight or excessive heat.
2. Protect your furniture when placing your unit on a natural wood and lacquered finish. A cloth or other protective material
should be placed between it and the furniture.
3. Clean your unit with a soft cloth moistened only with mild soap and water. Stronger cleaning agents, such as Benzene,
thinner or similar materials can mar the surface of the case.
4. If the unit is not to be used for a prolonged period, such as a month or longer, remove the batteries to prevent possible
corrosion. Should the battery compartment become corroded or dirty, clean the compartment thoroughly and replace
the batteries.
5
Rear Cover
Aux Input cord
FM Antenna
nano
Controls and Indicators
HiH60 Display
Power Button
Clock Adjust Button Time Zone Button
Courtesy Outlet
Preset Lock Switch DST Switch
Mode Button
Dock
Dock Adjust Dial Radio Preset Button
Nature Sounds Button
Wake To Button
Alarm On/Off Button
Volume Thumbwheel
Button
Button
Music Button
Snooze/Dimmer Button
Alarm Set Button
AM/PM Indicator
Battery Low Indicator
Alarm Indicator
PM Indicator
am Indicator
AUX Indicator
FM Indicator
iPod Indicator
Clock Display
Time Zone/Radio Frequency/Date/Alarm Time Display
DST Indicator
Wake To Indicator
4
Table of contents
Other iHome Clock Radio manuals