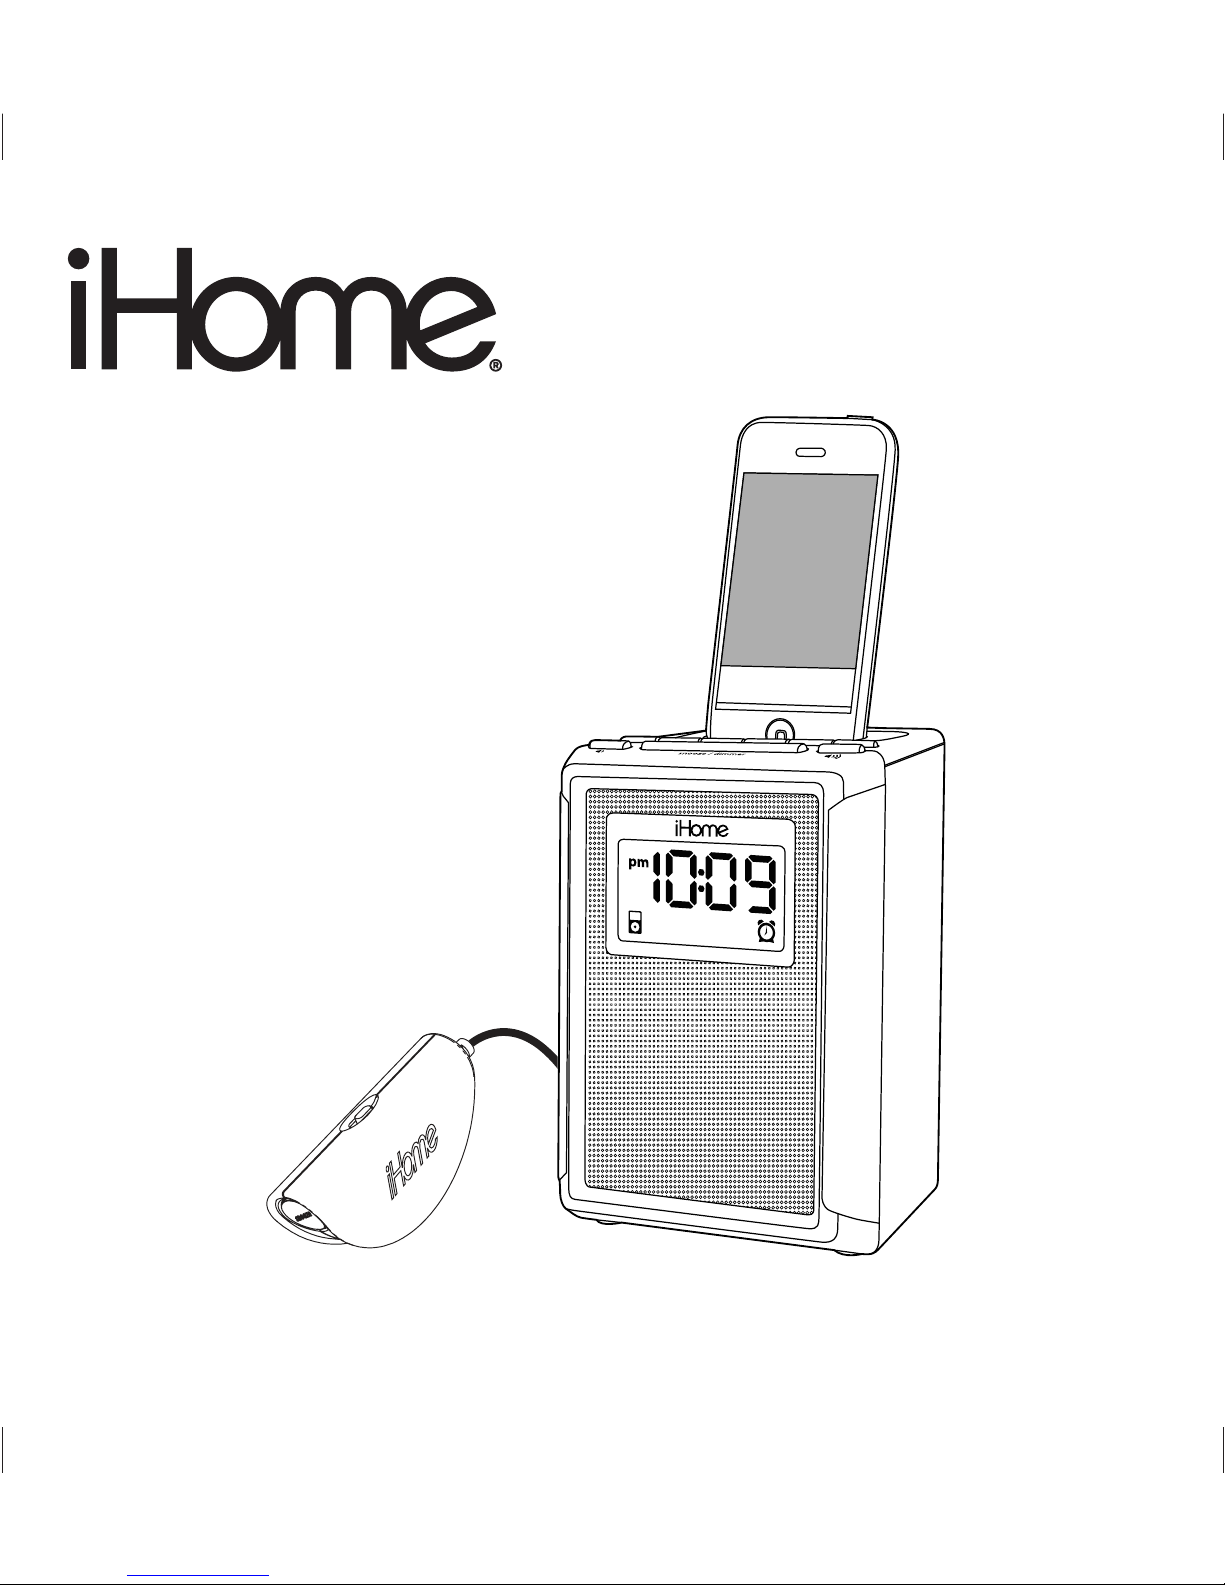
iHome iP44 User manual

Questions? Visit www.ihomeaudio.com
Model:iP44(USEnglishversion)
Printcolor:Blacktextonwhitepaper
Sizeofmanual:178mmWx178mmH
Date:June24,2010 P1
Model iP44
Pillow Shaker FM Alarm Clock
Radio for iPhone or iPod

• Place the unit on a level surface away from sources of direct sunlight or excessive heat.
• Protect your furniture when placing your unit on a natural wood and lacquered finish. A cloth or other protective material
should be placed between it and the furniture.
• Clean your unit with a soft cloth moistened only with mild soap and water. Stronger cleaning agents, such as Benzene,
thinner or similar materials can damage the surface of the unit.
Maintenance
Table of Contents
1
2-3
3
4
5
5
6
7
7
7
8
8
8
9
10
11
iP44 Quick Start
Controls and Indicators
iP44 Display
Installing/Replacing the Clock Backup Battery
Getting Started
Setting Up the iP44
Using the Alarm
Charging your iPhone/Pod
Listening to iPhone/iPod
Listening to FM Radio
Sleep Operation
Using the iP44 in Other Countries
Dimmer Operation
A Consumer Guide to Product Safety
Trouble Shooting
Warranty Information
Table of Contents
P2

P3
FCC Information
This equipment complies with the limits for a Class B digital device as specified in Part 15 of FCC Rules. These limits
provide reasonable protection against radio and TV interference in a residential area.
However, your equipment might cause TV or radio interference even when it is operating properly. To eliminate interference
you can try one or more of the following corrective measures:
• Reorient or relocate the receiving antenna.
• Increase the distance between the equipment and the radio or TV.
• Use outlets on different electrical circuits for the equipment and the radio or TV.
• Consult your dealer or an experienced radio/television technician if the problem still exists.
Modifying or tampering with your system’s internal components can cause a malfunction and might invalidate the system’s
warranty and void your FCC authorization to operate it.
This Class B digital apparatus complies with Canadian ICES-003.
Cet appareil numérique de la classe B est conforme à la norme NMB-003 du Canada.
This device complies with Part 15 of the FCC Rules, operation is subject to the following two conditions:
(1) This device may not cause harmful interference, and (2) this device must accept any interference
received, including interference that may cause undesired operation.
Battery Information
For models that use Lithium batteries
• Lithium batteries can explode or cause burns if disassembled,
shorted, recharged, exposed to water, fire, or high temperatures.
& not handled appropriately
• Do not place loose batteries in a pocket, purse, or other container
containing metal objects, mix with used or other battery types, or
store with hazardous or combustible materials.
• Store in cool, dry, ventilated area.
• Follow applicable laws and regulations for transport and disposal.
For models that require more than one battery
• Do not mix with used or other battery types/brands
• Replace all cells at the same time
• Do not open batteries
• Do not dispose of in fire
• Do not heat above 75C (167F)
• Do not expose contents to water
• Do not charge or recharge
• Do not install backwards

1
P4
NOTE: If you do not have an insert for your iPhone/iPod, please visit
www.ihomeaudio.com or call iHome toll free at 800-288-2792 to purchase one
iP44 Quick Start
2:inserts
Select the dock insert for your
iPhone/iPod model from the table
below and place insert in dock.
Never dock an iPhone or iPod
without an insert in place.
3:iPod/iPhone
Insert iPhone or iPod into dock with
proper insert (iPhone/iPod must not
be in a skin or case). iPhone/iPod
will charge while docked. Press Play
Button on iP44 to play iPhone/iPod.
1:power
Attach AC adaptor cable to jack on
back of the iP44 and plug the other
end into a wall socket.
4:time • To use time sync, dock your iPhone/iPod and press the Time
Sync/Set Button. The unit will sync to the time on your iPhone/iPod.
• To set time manually, move the DST switch on rear of unit to +1 or -1
(adds or subtracts an hour for daylight saving time or standard time).
• Press & hold the Time Sync/ Set button on the back of unit until the
hour display flashes. Press / buttons to set the current hour.
• Press the Time Sync/ Set button. The minute display flashes.
Press / buttons to set the current minutes.
• Press the Time Sync/ Set button again to confirm time setting.
nano 5G
insert 18
nano 5G
iPod touch 2G
iPod touch 2G
insert 16
For this iPhone/iPod
Use this insert iPhone 3G
iPhone 3G/3GS
Insert 15
RESET
RESET
TEST
TEST

2
P5
Controls and Indicators
Top Panel
Power On/Off/
Alarm Reset Button
Play/Pause Button
Volume Down Button
Volume Up Button
Snooze/Dimmer Button
Alarm Button
Radio/Aux Button
Forward Button
iPod / iPhone Dock
Reverse Button
alm. reset
radio / aux.
snooze / dimmer
Back Panel
Sleep Button
DST Switch
AC Adaptor Jack
FM Antenna
EXB Button
Time Sync/Set
Button
Pillow Shaker Jack

3
P6
iP44 Display
Time Display
PM Indicator
iPhone/iPod Indicator
Radio Indicator
Buzzer Indicator
Alarm Indicator
EXB Indicator
Sleep Indicator
Wake-to Indicator
Battery Low Indicator
Controls and Indicators
On/OFF Switch
Snooze Button
Pillow Shaker
Line-in Plug
Aux (pillow shaker)
Indicator

4
P7
Installing/Replacing the Clock Backup Battery
The iP44 requires a CR2032 lithium battery (included) to provide backup power to
the clock in the event of a temporary power interruption. The CR2032 backup
battery was packed in the same poly bag with this instruction manual.
1. Place the clock radio face down on a flat surface.
2. Slide the battery door in the direction of the arrow and then lift the door by the
opposite edge to remove it from the radio.
3. Install the CR2032 backup battery in the battery compartment with the “+” side
facing up as shown in the illustration.
4. Replace the battery door.
If AC power is interrupted the backlighting in the display will go off and the radio or
docked iPod/iPhone will not play. However, the buzzer alarm will still turn on at the
selected time to wake you up, even if you had selected the Wake to Radio, or Wake
to iPod alarm modes.
When the Battery Low Icon appears in the display it is time to replace the battery. Purchase a fresh CR2032 battery,
available wherever batteries are sold. Follow steps 1 through 4 above to remove the exhausted battery and install the fresh
battery. IMPORTANT: To avoid having to reset the time and wake up time, leave the radio connected to the AC outlet when
you install the new backup battery.
Note: Make sure you dispose of the exhausted lithium battery properly, according to your local regulations.
Installing Backup Battery

P8
Thank you for purchasing the iP44. Designed specifically to work with your iPhone and iPod, this system provides high quality
audio performance that brings out the best in your music and lets you wake or sleep to it.
Please read this instruction carefully before the appliance is operated and keep it for future reference.
Install iPhone/iPod Insert
Your iP44 comes with a set of inserts to ensure your iPhone or iPod fits properly in the dock
on the top of the system.
To place an insert:
1. Select the insert for your iPhone/iPod.
2. Gently press the iPhone/iPod insert into the dock.
3. Carefully place your iPhone/iPod into the dock. The iPhone/iPod must not be in a case
or “skin”.
4. To remove/replace an insert, first remove your iPhone/iPod, grip the insert and pull
gently upwards.
Getting Started
Install Insert
Setting Up the iP44
5
Time Sync from iPhone/iPod
The iP44 Time Sync feature allows you to quickly sync the time on the iP44 to the time on your iPhone or recent model iPod
(iPod Touch, iPod Nano and iPod Classic; older iPod models such as iPod mini do not support this feature).
1. Press the Time Sync/Set Button located at the back of the unit. A cursor will flash across the display, indicating the
unit is attempting to sync.
2. Once sync is completed two beeps will confirm sync was successful and the new time will be displayed.
3. If sync was not successful, one long beep will sound. If this happens, please try again with a different iPhone/iPod, or see
Setting Time Manually on page 5 to set the time.
Note: iPhone time is automatically updated to the correct time via cell phone towers. The time on your iPod is accurate only
to the time on the computer the last time the iPod was synced to it. It’s possible to have up to 59 seconds difference between
the iP44 and synced iPhone or iPod.
Setting Clock Time Manually
1. Depending on your location and whether or not Daylight Saving Time is in effect, set the DST Switch located at
the back of the unit to +1 to add an hour or to -1 to subtract an hour.
2. Press and hold the Time Sync/Set Button located at the back of the unit for 2 seconds until the hour flashes on the
display. Press the << or >> button to set the current hour (hold to advance rapidly). Remember to set the correct AM
or PM time. The PM Indicator is located on the upper left side of the time display; there is no AM indicator
2. Press the Time Sync/Set Button again. The minutes will flash. Press the << or >> Button to set correct minutes.
3. If desired, press the Button during time setting to toggle the clock format between 12 hour and 24 hour display mode.
4. Press the Time Sync/Set Button again (or no button within 10 seconds) to exit the time setting mode. Two beeps will
confirm the time is set.

6
P9
Using the Alarm
Using the Pillow Shaker
The iP44 comes with a pillow shaker that plugs into the aux wake-to (pillow shaker) jack on the back of the unit. You can
wake to any alarm mode with or without the shaker. For example, if your alarm source is set to iPod and the pillow shaker is
connected and on, the iPod will play AND the pillow shaker will vibrate at the set alarm time.
1. Connect the pillow shaker to the aux wake-to (pillow shaker) jack found on the rear of the unit.
2. Slide the pillow shaker power switch to the ON (green) position and place the pillow shaker device under your pillow.
When the alarm goes off, the pillow shaker will vibrate and the alarm source will sound.
3. Slide the switch to the OFF (red) position to turn off the pillow shaker.
4. Press the Snooze Button on the pillow shaker to stop its vibration and silence any alarm source for the duration of
snooze time set (see Snooze Operation) before coming on again.
Setting the Alarm
1. Press and hold the Button until the alarm icon and alarm hour flashes. Press the << or >> Button to set the alarm
hour. Remember to set the correct AM or PM time.
2. Press the Button again. The minutes will flash. Press the << or >> Button to set the alarm minutes.
3. Press the Button again. The wake-to icon will flash. Press the << or >> Button to select iPhone/iPod, radio, aux
(pillow shaker) or buzzer.
Note: if selected wake-to source is iPhone/iPod but no iPhone/iPod is docked/detected, the iP44 will automatically
switch to wake to buzzer. The same is true if the selected wake-to source is aux (pillow shaker) and the pillow shaker is
either turned off or not connected.
4. Press the Button again (or no button within 10 seconds) to exit the alarm setting mode. Two beeps will confirm the
alarm is set and the corresponding alarm icon will light up.
Review, Arming and Disarming Alarm (Turn Alarm Function On and Off)
1. To arm/disarm the alarm, just press the Button to toggle it on or off, indicated by the appearance or lack of the alarm
icon on the display. The current alarm time also appears.
Resetting the Alarm to Come on the Next Day
1. When the alarm is sounding, press the Button to stop the alarm and reset it to come on the following day.
Snooze Operation
1. Press and hold the Snooze/Dimmer Button for a few seconds until the snooze time flashes. Press the << or >>
Button to set the snooze timer for 1 to 29 minutes.
2. Press the Snooze/Dimmer Button on the main unit (or the snooze button on the pillow shaker) after the alarm sounds.
The alarm will be silenced and come on again after the set snooze time. Snooze can be pressed several times during
the 1 hour alarm cycle.
Sure Alarm
The iP44 has a sure alarm feature. If the backup battery is installed, the buzzer alarm will still sound in the event of power
failure.

Charging your iPhone/Pod
7
P10
Listening to iPhone/iPod
Note: Please make sure you are using the correct insert for your iPhone/iPod and that it is properly docked into the iP44.
Failure to do so may damage your iPhone/iPod. This unit does not charge non-docking iPod models.
1. While your iPhone/iPod is docked in the unit and the unit is connected to AC power, it recharges (until fully charged).
1.
Dock the already playing iPhone/iPod, the iP44 will automatically turn on and you will hear the music playing from your
iPhone/iPod.
Note: If the playing song/music loudness is too low on the iPhone/iPod, the iP44 may not detect that your iPhone/iPod
is in play mode. Press the Button to play it. iPhone/iPod icon will turn on to show iP44 is running under iPhone/iPod
mode.
2. When the iPhone/iPod is docked and in standby mode, press the Button to play it.
3. Press the Button again to pause play; press again to resume it.
4. To skip to different music tracks or to perform high speed music search within a track, you may press the << or >>
buttons on the top panel of the iP44. These controls have the same function as the l<< or >>l buttons on your iPod
click wheel or your iPhone display.
5. Press the or Button to adjust the system volume.
6. Press EXB Button located on the rear of the unit to enhance the bass sound.
7. To turn off the unit, press the Button. Your iPhone/iPod will continue charging while in the dock.
Listening to FM Radio
Setting up Antenna
Extend wire antenna fully for best reception. Do not strip, alter or attach to other antennas.
Tuning and Playing the Radio
1. Press the Radio/Aux Button to turn the iP44 on. The radio icon in the lower part of the display will appear.
2. Press the << or >> Button to tune the radio to a desired station. Press and hold briefly to scan to next clear station.
3. Press the or Button to adjust the system volume.
4. Press the EXB Button located on the rear of the unit to enhance the bass sound.
5. To turn off the unit, press the Button.

8
P11
Dimmer Operation
During normal operation, press the Snooze/Dimmer Button to set the brightness of the LCD display and accent lighting to
Hi, Mid, Low, Low display only or Off.
Sleep Operation
Sleep mode lets you sleep to your iPhone/Pod or radio, gradually lowering the volume until the unit shuts off at the selected
time. iP44’s sleep volume setting is independent of the normal volume level. You may adjust the sleep-to music volume to a
softer level without affecting the main volume level that you will hear when the alarm turns on.
1. Press the Sleep Button to enter sleep mode. The sleep icon will show in the lower part of the display.
2. You can adjust the sleep timer from 90, 60, 30 or 15 minutes by pressing the button again.
3. iP44 has independent volume setting for sleep mode so you can adjust the sleeping volume without affecting the alarm
volume. Press the or Button to adjust the sleep volume. The sleep volume will remain at that level the next time
you enter sleep mode until controls are changed.
4. When the display changes back to show the real time, pressing the Sleep Button once will show the sleep time
remaining. Pressing it again will change sleep time to next lowest increment.
5. To stop listening at any time, press the Button to turn unit off.
Using the iP44 in Other Countries
Setting Radio Frequency/Reception Range
Different regions of the world use different FM radio frequency steps and ranges. You will need to select the one that matches
the standards in your region (USA, EUROPE, JAPAN, AUSTRALIA,or CHINA). The default setting is USA; if you live in the US,
you may skip this section.
1. Make sure the iP44 is OFF (not playing in any mode). Press and hold the Radio Button for about 5 seconds until
the radio icon flashes in the lower part of the display. Press the << or >> Button to select your region.
2. Press the Radio Button again (or no button within 10 seconds) to exit the radio frequency setting mode.

When used in the directed manner, this unit has been designed and manufactured to assure your personal safety. However,
improper use can result in potential electrical shock or fire hazards. Please read all safety and operating instructions carefully
before installation and use. Keep these instructions handy for future reference. Take special note, and adhere to all warnings
on the unit and in the instruction and service manual.
1. Water and Moisture - The unit should not be used near water. For example, near a bathtub, washbowl, kitchen sink,
laundry tub, in a wet basement, or near a swimming pool, etc.
2. Ventilation - The unit should be situated so that its location or position does not interfere with its proper ventilation. For
example, it should not be situated on a bed, sofa, rug, or similar surface that may block the ventilation openings; or placed
in a built-in installation, such as bookcase or cabinet that may impede the flow of air through the ventilation openings.
3. Heat - The unit should be situated away from heat source such as radiators, heat register, stoves, or other appliances
(including amplifiers) that produce heat.
4. Power Sources - The unit should be connected to a power supply only of the type described in the operating instructions
or as marked on the appliance.
5. Power Cord Protection – Power supply cord should be routed so that they are not likely to be walked on or pinched
by items placed upon or against them. It is always best to have a clear area from where the cord exits the unit to where
it is plugged into an AC outlet.
6. Cleaning - The unit should be cleaned only as recommended by the manufacturer.
7. Object and Liquid Entry - Care should be taken so that objects do not fall and liquids are not spilled into the enclosure
through openings.
8. Attachments – Do not use attachments not recommended by the product manufacturer.
9. Lightning and Power Surge Protection – Unplug the unit from the wall outlet and disconnect the antenna or cable system
during a lightning storm or when it is left unattended and unused for long periods of time. This will prevent damage to the
product due to lightning and power-line surges.
10. Overloading – Do not overload wall outlets, extension cords, or integral convenience receptacles as this can result in a
risk of fire or electric shock.
11. Damage Requiring Service - The appliance should be serviced by qualified service personnel when:
A. The power-supply cord or plug has been damaged.
B. Objects have fallen into or liquid has been spilled into the enclosure.
C. The unit has been exposed to rain.
D. The unit has been dropped or the enclosure damaged.
E. The unit exhibits a marked change in performance or does not operate normally.
12. Antenna – Do not connect an external antenna to the unit (other than that provided).
13. Periods of Nonuse – If the unit is to be left unused for an extended period of time, such as a month or longer, the power
cord should be unplugged and take out batteries from the unit to prevent damage or corrosion.
14. Servicing - The user should not attempt to service the unit beyond that described in the user’s operating instructions. All
other servicing should be referred to qualified service personnel.
Questions? Visit www.ihomeaudio.com
or call 1-800-288-2792 Toll Free
A Consumer Guide to Product Safety
9
P12

10
P13
Trouble Shooting
Symptom Possible Problem Solution
Unit does not
respond (no power)
AC adaptor isn’t plugged to a wall outlet or the
connector is not plugged into the power supply
jack on the back of the unit
Plug the AC adaptor into a wall outlet and plug the connector
into the supply jack on the unit
Wall outlet is not functioning Plug another device into the same outlet to confirm the outlet is
working. If outlet is controlled by a switch, try moving switch.
iPhone/iPod does not
dock properly
Using no or wrong iPhone/iPod insert Make sure the dock insert is the proper fit for your iPhone/iPod
iPhone/iPod isn’t docked properly Remove your iPhone/iPod from the dock and check for
obstruction on the connectors in the dock and on your
iPhone/iPod. Then reseat it in the dock.
iPhone/iPod isn’t docked properly Remove your iPhone/iPod from the dock and check for
obstruction on the connectors in the dock and on your
iPhone/iPod. Then reseat it in the dock.
iPhone/iPod does
not respond to the
unit
Your iPhone/iPod software is too old Upgrade software on your iPhone/iPod via iTunes.
iPhone/iPod is locked up
Please make sure your iPhone/iPod is working properly before dock
into the unit. Please refer to your iPhone/iPod manual for detail.
iP44 cannot control those iPod models or other devices.
Using 1st or 2nd generation iPod, iPod
shuffle or other devices.
iPhone/iPod is not docked properly Remove your iPhone/iPod from the dock and check for
obstruction on the connectors in the dock and on your
iPhone/iPod. Then reseat it in the dock.
iPhone/iPod didn’t
charge up
iPhone/iPod is locked up/frozen
iPhone/iPod battery has problem
Please make sure your iPhone/iPod is working properly before
dock into the unit. Please refer to your iPhone/iPod manual for
detail.
Volume level is set too high Decrease the volume. Turn off EXB effect
Sound source is distorted If original sound source file is poor quality, distortion and noise
are easily noticed with high-power speakers. Try a different file
from a trusted source such as iTunes
If you are using an iPod Shuffle or external sound source like
older generation iPod, try reducing the output volume on the
device itself. Also, try turning the iPod bass boost OFF.
Sound is distorted

11
iHome Products, a division of SDI Technologies Inc. (hereafter referred to as SDI Technologies), warrants this product to be free from defects
in workmanship and materials, under normal use and conditions, for a period of 1 year from the date of original purchase.
Should this product fail to function in a satisfactory manner, it is best to first return it to the store where it was originally purchased. Should this
fail to resolve the matter and service still be required by reason of any defect or malfunction during the warranty period, SDI Technologies will
repair or, at its discretion, replace this product without charge (except for a $10.00 charge for handling, packing, return UPS/postage, and
insurance). This decision is subject to verification of the defect or malfunction upon delivery of this product to the Factory Service Center listed
below. The product must include proof of purchase, including date of purchase. The fee for service without proof of purchase is $25.00.
Before returning this product for service, please first replace the batteries (if applicable) with fresh ones, as exhausted or defective batteries are
the most common cause of problems encountered.
If service is still required:
1. Remove the batteries (if applicable) and pack the unit in a well padded, heavy corrugated box.
2. Enclose a photocopy of your sales receipt, credit card statement, or other proof of the date of purchase, if within the warranty period.
3. Enclose a check or money order payable to the order of SDI Technologies, for the sum of $10.00 ($25.00 without proof of purchase).
4. Send the unit prepaid and insured, to the Factory Service Center listed below.
Consumer Repair Department
SDI Technologies Inc.
1330 Goodyear Drive
El Paso, TX 79936-6420
Disclaimer of Warranty
NOTE: This warranty is valid only if the product is used for the purpose for which it was designed. It does not cover (i) products which have
been damaged by negligence or willful actions, misuse or accident, or which have been modified or repaired by unauthorized persons; (ii)
cracked or broken cabinets, or units damaged by excessive heat; (iii) damage to digital media players, CD’s or tape cassettes (if applicable); (iv)
the cost of shipping this product to the Factory Service Center and its return to the owner.
This warranty is valid only in the United States of America and does not extend to owners of the product other than to the original purchaser.
In no event will SDI Technologies or any of its affiliates, contractors, resellers, their officers, directors, shareholders, members or agents be liable
to you or any third party for any consequential or incidental damages, any lost profits, actual, exemplary or punitive damages. (Some states do
not allow limitations on implied warranties or exclusion of consequential damages, so these restrictions may not apply to you.) This warranty
gives you specific legal rights, and you may also have other rights which vary from state to state.
Your acknowledgement and agreement to fully and completely abide by the above mentioned disclaimer of warranty is contractually binding
to you upon your transfer of currency (money order, cashier's check, or credit card) for purchase of your SDI Technologies product.
© 2010 SDI Technologies, Inc. All rights reserved
Questions? Visit www.ihomeaudio.com
or call 1-800-288-2792 Toll Free
Limited 1 Year Warranty Information
P14

P16
iP44-072310-A
Printed in China
Table of contents
Other iHome Clock Radio manuals

iHome
iHome iPL23 User manual

iHome
iHome Hello Kitty Si-B62 User manual

iHome
iHome iHM28 Technical manual

iHome
iHome iHome iBT20 User manual

iHome
iHome iDL46 User manual

iHome
iHome iDL100 User manual

iHome
iHome iP230 User manual

iHome
iHome IM29 User manual

iHome
iHome iDL45 Installation and maintenance instructions

iHome
iHome HDL95 User manual