manuals.online logo
Brands
  1. Home
  2. •
  3. Brands
  4. •
  5. Ikan
  6. •
  7. Lighting Equipment
  8. •
  9. Ikan Lightstar LS-2500E User manual

Ikan Lightstar LS-2500E User manual

CHECKED BY
LS-2500E
Quick Start Guide
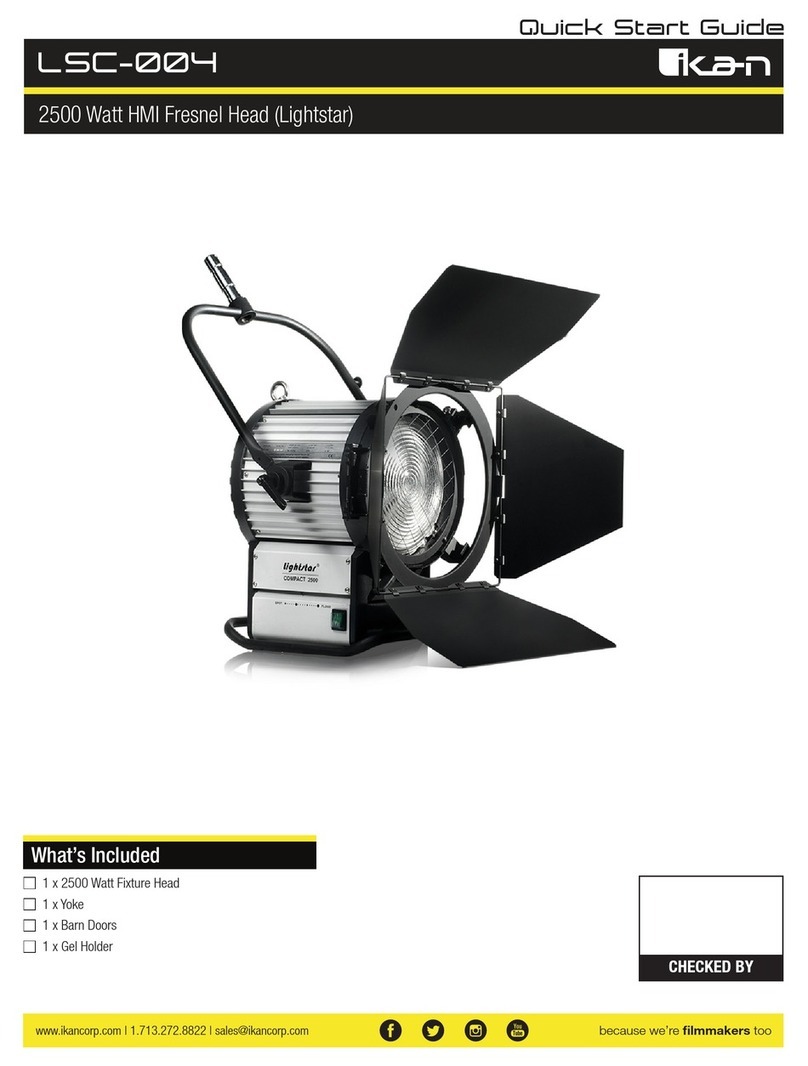
2500 Watt HMI Fresnel Kit (Lightstar)
What’s Included
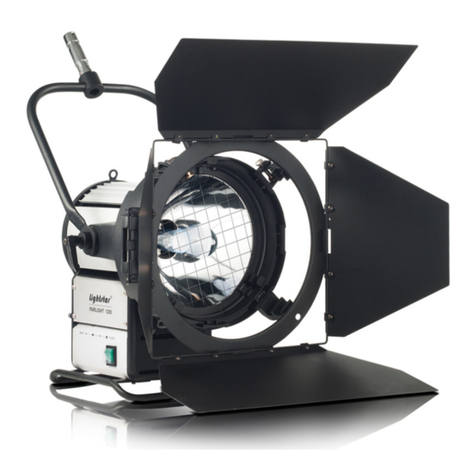
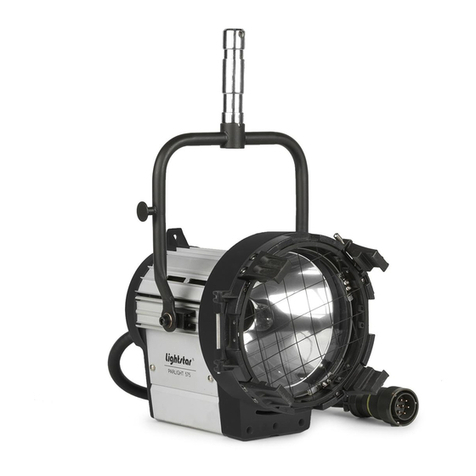
1 x 2500W HMI Fresnel Light
1 x 2500/4000 Watt Ballast
1 x 7-Meter Heavy Duty Head to Ballast Cable
1 x Gel Holder
1 x Barn Doors
1 x Yoke
www.ikancorp.com | 1.713.272.8822 | [email protected] because we’re filmmakers too
Safety Precautions
• The LS-2500E fixture has been designed for professional use and must be operated by qualified personnel only.
• Electrical Connections: Do not attach the ballast directly to any electrical mains.
• The 2500/4000 Watt Electronic Ballast can only be used with a Lightstar 2500 watt or 4000 watt light fixture.
• Before connecting the electronic ballast to the power supply, make sure that the socket is correctly wired.
• Lamp head must be disconnected from the electronic ballast or electronic ballast must be disconnected from main power supply before fitting or
replacing a lamp or bulb.
• The electronic ballast must be switched off before connecting or disconnecting either head to ballast cable or power supply cable.
• The electronic ballast must be placed only on a solid, flat, and dry ground. Do NOT place the electronic ballast in direct sunlight. Do NOT operate the
electronic ballast in high humidity areas or near easily flammable materials.
Working Conditions
• The MAX ambient temperature limit is ±45°C (113°F)
• Please keep a minimum distance of 2 feet when close to inflammable objects.
• Do not cover the ventilation holes on the fixture housing. They are necessary for proper ventilation.
• Use only original parts and accessories from Lightstar.
• Before hanging the fixture, make sure the suspension points are properly rated to handle the weight of the fixture.
• It is ALWAYS advisable to add a safety cable or chain through the yoke to properly suspend the fixture in place.
WARNING: DO NOT USE THE FIXTURE IN A SPACE WITH FLAMMABLE SUBSTANCES.
WARNING: UV RISK / HEALTH RISK. THE LAMPS USED WITH THE LS-2500E EMIT AN AMOUNT OF UV RADIATION WHICH CAN BE
DANGEROUS TO HUMAN HEALTH IF NOT PROPERLY SHIELDED AGAINST.
THE FIXTURE MUST NEVER BE USED IN SITUATIONS WHEN DIRECT LIGHT EMISSIONS FROM THE LAMP CAN OCCUR. (Ex: No front
glass, no intentional mirror, damaged front housing).
Lamp Installation & Replacement
• Ensure the fixture is disconnected from the main power supply.
WARNING! LAMP WILL STILL BE HOT TO TOUCH EVEN AFTER THE ALLOTED LAMP REST PERIOD.
THERMAL GLOVES ARE RECOMMENDED FOR WORKING WITH THE FIXTURE AND THE BULB.
• Check to see that the new lamp is the correct wattage.
• Release the lamp clamp level inside the front of the fixture.
• To replace the lamp pull up and out to remove the old lamp.
• Re-tighten the lamp clamping device.
Re-clamp procedures: DO NOT TOUCH THE BULB WITH YOUR BARE-HANDS. This can cause oil to accumulate
on the glass and reduce the performance of the lamp life. The plastic/foam cover which protects the lamp should
NOT be removed until after the lamp is fitted into the fixture. If bulb becomes dirty due to hand contact or foam
contaminant, it can be cleaned with a cloth moistened with alcohol.
• Close the lens door and secure latch.
Ikan is the exclusive distributor of Lightstar products in the United States.

www.ikancorp.com | 1.713.272.8822 | [email protected] because we’re filmmakers too
Ballast Installation Instructions
Connecting a fixture to the ballast and energizing the ballast with power.
Make sure the ballast and the lamp head fixture is compatible.
Check that the ballast is appropriate for the AC Power that will energize the ballast and fixture. (Voltage & Frequency)
The ballast needs to be properly grounded and the main power switch is in the OFF position.
The lamp with proper wattage is fitted into the head fixture.
Make sure the AC Power is not higher than the max power of the ballast.
The safety glass shield is in good working order with no cracks or anomalies. The safety glass is in the proper position and there is a safety wire guard.
Periodic Fixture Inspection
• The condition of the internal wiring and ceramic base will need to be inspected and tested every 4000 working hours or at least once a year. This
frequency may need to be increased if the fixture has endured rough treatment. All internal components should only be replaced with Lightstar
spare parts.
• The lamps should be checked every 100 working hours. The lamp should be changed if the lamp becomes deformed or damaged, otherwise
explosion might occur. Defer to instructions provided by the lamp manufacturer.
• Always check the safety shield before every use.
• All high-voltage components (Ex: Voltage wires, lamp ceramic, external shield, igniter must be inspected every 100 working hours or at least once a
year.
• Outer door hinges and latching system must be checked every 250 working hours. It must be replaced whenever it becomes either cracked or
broken. It is essential for the performance of the fixture.
Specifications
Fixture Specifications
Head Type HMI Fresnel 2500W
Lens Type Fresnel 9.8" Lens
Lamp Base 2500W/115V/G38
Beam Angle 7° - 60°
Control/Dimming 50%-100%
Focusing Knob Control
Build Material Aluminum
Cooling System Air Cooled
Yoke Cast Aluminum w/ 1 1/8"pin
IP Class IP23
Fixture Size 29 x 20.3 x 15.6 in.
Fixture Weight 43 lbs
Electronic Ballast Specifications
Power Supply Electronic Ballast 2500/4000W
Input Voltage 24VDC/100-240VAC
Electronic Ballast Size 17.7 x 10.2 x 14.2 in.
Electronic Ballast
Weight 43.7 lbs
Shipping Specifications
Shipping Dimensions Box 1 20 x 18 x 21 in.
Shipping Dimensions Box 2 22 x 15 x 20 in.
Shipping Weight 92 lbs
Learn More
More dynamic information at official website: www.ikancorp.com
Support
Contact email: [email protected]
CONDITIONS OF WARRANTY SERVICE
• Free service for one year from the day of purchase if the problem is caused by manufacturing errors.
• The components and maintenance service fee will be charged if the warranty period is expired.
Free Service will not be Provided in the Following Situations:(*Even if the product is still within the warranty period.)
• Damage caused by abuse or misuse, dismantling, or changes to the product not made by the company.
• Damage caused by natural disaster, abnormal voltage, and environmental factors, etc.
©2017 ikan Corporation. All rights reserved
www.ikancorp.com | 1.713.272.8822 | [email protected] because we’re filmmakers too

Other Ikan Lighting Equipment manuals

Ikan LightStar LSKT-004 User manual

Ikan

Ikan LightStar LSKT-004 User manual

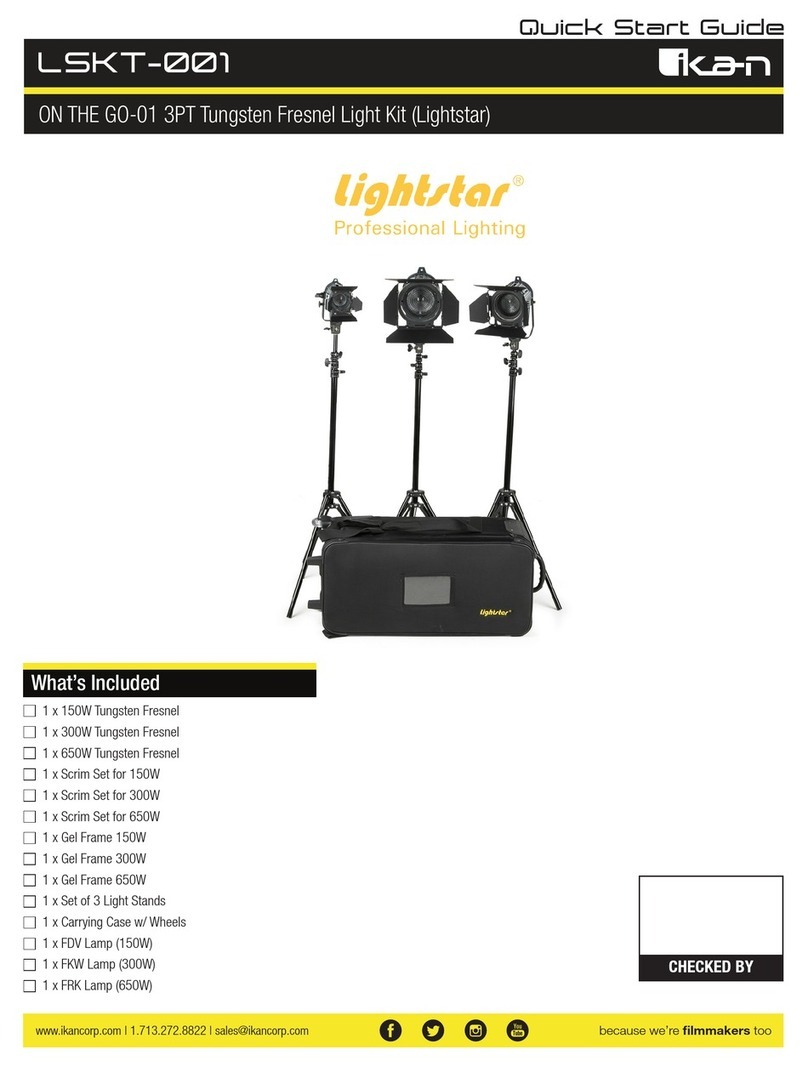
Ikan Lightstar LSKT-001 User manual

Ikan

Ikan Lightstar LSKT-001 User manual

Ikan LLAN-19 User manual

Ikan

Ikan LLAN-19 User manual

Ikan Lyra DMX LBX15 User manual

Ikan

Ikan Lyra DMX LBX15 User manual

Ikan RS-F350 User manual

Ikan

Ikan RS-F350 User manual

Ikan HS-PT700-UGK User manual

Ikan

Ikan HS-PT700-UGK User manual

Ikan LW10-3PT-KIT User manual

Ikan

Ikan LW10-3PT-KIT User manual

Ikan IB1000 User manual

Ikan

Ikan IB1000 User manual

Ikan LSC-003 User manual

Ikan

Ikan LSC-003 User manual

Ikan IB 1000 User manual

Ikan

Ikan IB 1000 User manual

Ikan LB10-3PT-KIT User manual

Ikan

Ikan LB10-3PT-KIT User manual

Ikan MB4-2PT-KIT User manual

Ikan

Ikan MB4-2PT-KIT User manual

Ikan LSC-005 User manual

Ikan

Ikan LSC-005 User manual

Ikan IB500 User manual

Ikan

Ikan IB500 User manual

Ikan CB6 User manual

Ikan

Ikan CB6 User manual

Ikan CC8 User manual

Ikan

Ikan CC8 User manual

Ikan LYRA User manual

Ikan

Ikan LYRA User manual

Ikan ID500-KIT-v2 User manual

Ikan

Ikan ID500-KIT-v2 User manual

Ikan LSC-001 User manual

Ikan

Ikan LSC-001 User manual

Ikan LSW-010 User manual

Ikan

Ikan LSW-010 User manual

Ikan Lightstar LSKT-002 User manual

Ikan

Ikan Lightstar LSKT-002 User manual

Ikan MYLO MB-1H2Q User manual

Ikan

Ikan MYLO MB-1H2Q User manual

Ikan ID1000-v2 User manual

Ikan

Ikan ID1000-v2 User manual

Ikan CB8 User manual

Ikan

Ikan CB8 User manual

Popular Lighting Equipment manuals by other brands

Utilitech CMG-NYC-M3 installation instructions

Utilitech

Utilitech CMG-NYC-M3 installation instructions

Ovation PIONEER 200C ZOOM user manual

Ovation

Ovation PIONEER 200C ZOOM user manual

Velleman HQ POWER VDP301RL manual

Velleman

Velleman HQ POWER VDP301RL manual

Votatec VO-SC2W30-120-P-3WAY Use and care guide

Votatec

Votatec VO-SC2W30-120-P-3WAY Use and care guide

Kudux Super LED Strobe 1500 user manual

Kudux

Kudux Super LED Strobe 1500 user manual

Govee H7040 user manual

Govee

Govee H7040 user manual

AEG BSL18 Original instructions

AEG

AEG BSL18 Original instructions

Lithonia Lighting PreCise ELA LCRIS Series instruction sheet

Lithonia Lighting

Lithonia Lighting PreCise ELA LCRIS Series instruction sheet

Namron PANELOVN ZIGBEE 400W instruction manual

Namron

Namron PANELOVN ZIGBEE 400W instruction manual

HYBRYD CRYSTAL LED Installation and maintenance manual

HYBRYD

HYBRYD CRYSTAL LED Installation and maintenance manual

X4-Life 701350 user manual

X4-Life

X4-Life 701350 user manual

EuroLite LED PIX-6 HCL user manual

EuroLite

EuroLite LED PIX-6 HCL user manual

IKEA ROLFSTORP manual

IKEA

IKEA ROLFSTORP manual

DS Produkte 20002 instructions

DS Produkte

DS Produkte 20002 instructions

ProLights TURTLE user manual

ProLights

ProLights TURTLE user manual

Storz 81301021 instruction manual

Storz

Storz 81301021 instruction manual

Vari Lite VL1100 quick start guide

Vari Lite

Vari Lite VL1100 quick start guide

ProLights EclFresnel TW user manual

ProLights

ProLights EclFresnel TW user manual

manuals.online logo
manuals.online logoBrands
  • About & Mission
  • Contact us
  • Privacy Policy
  • Terms and Conditions

Copyright 2025 Manuals.Online. All Rights Reserved.