manuals.online logo
Brands
  1. Home
  2. •
  3. Brands
  4. •
  5. Ilti Luce
  6. •
  7. Outdoor Light
  8. •
  9. Ilti Luce Lux 20 CS User manual

Ilti Luce Lux 20 CS User manual

-L'installazione deve essere fatta da personale qualicato.
-Installation should be carried out by a suitable qualied installer.
-Non aprire il faretto
-Do not open the spot.
-Tutte le operazioni di cablaggio e manutenzione vanno eseguite con
l’interruttore generale in posizione OFF.
-All wiring and maintenance must be performed with the main switch
in the OFF position.
Alimentatori/ LED Drivers (SELV)
WALIMLED08350
WALIMLED03350
WALIMLED12350
WALI/DIMM/JOLLY
WBOKVAR
Codice/Code
non inclusi/not included
Caratteristiche/
Specications
n. faretti/
n.spots
4W - 350mA
10W - 350mA
15W - 350mA
15W - 350mA - dimm
variatore/dimmer 1/10V
1
2
4
4
/
Esempio di collegamento (connessione in serie)/
Example of connection (serial connection)
max n°2 Lux spots 3x1,2W
WALIMLED08350
10W - 350mA
+
N
L
2
1-
50/60 Hz
110V-240V*
connessione in SERIE
+
--
+
-In caso di guasti, previa autorizzazione al reso di ILTI Luce, il prodotto
non dovrà essere aperto, il pressacavo non deve essere smontato e il
cavo deve essere tagliato lasciandone almeno 10/15cm.
-In case of failure,upon a return authorization of ILTI LUCE, the
product will not have to be opened,the cable gland must not be
removed and the cable must be cut leaving at least 10/15cm
56
67
ø 49
XX350mA
-
+
L=1mt (sez. 2x0,5mm2)
IN
L
N
OUT
ø
56
ø 53
LUXCASSA3
36
(mm)
110 - 240V*
50~60Hz
SMALL SPOTLIGHTS
OUTDOOR
Lux 20 CS/TF ISTRUZIONI DI MONTAGGIO / INSTALLATION INSTRUCTIONS
Lux 20 CS/TF - BLUX0103_30_CS/TF
3,6W
max
50˚C*
-20˚C
IP68
-Pulire periodicamente la supercie frontale del faretto.
Non utilizzare detersivi a base acida.
-Periodically clean the frontal part of the spot.
Do not use acid substances.
-Togliere tensione prima di eseguire operazioni di manutenzione.
-Disconnect main voltage before maintenace operation.
-Per un corretto funzionamento, l’apparecchio necessita di
relativo vetro di protezione integro.
-For a proper operation, thetting requires its protective
undamaged glass.
GENERALI / GENERALS
MANUTENZIONE/
MAINTENANCE
* Vericare la tensione di ingresso supportata dagli alimentatori / Verify the input tension supported from drivers
si consiglia la conservazione delle seguenti istruzioni - we suggest you to keep this copy for your les
La morsettiera di alimentazione non è inclusa/the terminal block not included
20m (40m tot.)
sez.cavo/cable section
1mm
* solo per versione in ottone-versione TF max 35°C /Only for CS model-35°C for TF model
MADE in ITALY_10 - 2018 (M)
ILTI LUCE srl · Lungo Dora P. Colletta, 113/9· 10153 Torino (Italy); tel (39) 011 765 73 01; fax (39) 011 853855; www.iltiluce.com; ilti@signify.com
SMALL SPOTLIGHTS
OUTDOOR
Lux 20 CS/TF ISTRUZIONI DI MONTAGGIO / INSTALLATION INSTRUCTIONS
si consiglia la conservazione delle seguenti istruzioni - we suggest you to keep this copy for your les
A
D
C
B
drenaggio
dreinage
tubo per cablaggio
tube for cables
cemento
concrete
E
per utilizzo in immersione
è consigliabile applicare uno
strato di silicone tra cassaforma
e faretto.
for underwater use we suggest
to apply a silicone layer between
boxskill and the spot.
IP67-68 application
cassaforma(ABS) ILTILUCE
boxskill(ABS ) ILTILUCE
E
A
B
C
D
90°
20/30cm
1
2
Ø 48
Fissaggio molle per incasso
Spring Fixation
Solo per uso molle
Only for Spring Fixation
CABLAGGIO / WIRING
SMALTIMENTO/
DISPOSAL
Secondo la direttiva comunitaria WEEE (Waste Electrical and Electronic
Equipment) l’apparecchio non può essere smaltito con i riuti
indierenziati. Deve essere portato nelle strutture locali per lo
smaltimento ed il riciclaggio dei prodotti elettronici.
In accordance with EU Directive WEEE (Waste Electrical and Electronic
Equipment), luminaires must not be disposed of with other household
waste. At the end of their life, luminaires must be taken to the appropriate
local facility available for the disposal or recycling of electronic products.
-Eettuare il cablaggio usando un sistema che garantisca almeno il
grado IP del faretto.
-Make the wiring using a system that guarantees at least the IP grade of
the spot.
- Dare tensione all’impianto solo dopo aver collegato tutti i LED
all’alimentatore.
- Connect the tting to the power supply only after connecting all LED
to the driver.
MADE in ITALY_10 - 2018 (M)
ILTI LUCE srl · Lungo Dora P. Colletta, 113/9· 10153 Torino (Italy); tel (39) 011 765 73 01; fax (39) 011 853855; www.iltiluce.com; ilti@signify.com
SMALL SPOTLIGHTS
OUTDOOR
Lux 20 RGB CS/TF ISTRUZIONI DI MONTAGGIO / INSTALLATION INSTRUCTIONS
3,6W
max
50˚C*
-20˚C
IP68
si consiglia la conservazione delle seguenti istruzioni - we suggest you to keep this copy for your les
-L'installazione deve essere fatta da personale qualicato.
-Installation should be carried out by a suitable qualied installer.
-Pulire periodicamente la supercie frontale del faretto.
Non utilizzare detersivi a base acida.
-Periodically clean the frontal part of the spot.
Do not use acid substances.
-Non aprire il faretto
-Do not open the spot.
-Togliere tensione prima di eseguire operazioni di manutenzione.
-Disconnect main voltage before maintenace operation.
-Tutte le operazioni di cablaggio e manutenzione vanno eseguite con
l’interruttore generale in posizione OFF.
-All wiring and maintenance must be performed with the main switch
in the OFF position.
56
67
ø 49
L=1mt (sez. 6x0,5mm2)
36
ø
56
ø 53
LUXCASSA3
Rosa/Pink
Grigio/Gray
Marrone/Brown
Bianco/White
Giallo/Yellow
Verde/Green
(mm)
-In caso di guasti, previa autorizzazione al reso di ILTI Luce, il prodotto
non dovrà essere aperto, il pressacavo non deve essere smontato e il
cavo deve essere tagliato lasciandone almeno 10/15cm.
-In case of failure,upon a return authorization of ILTI LUCE, the
product will not have to be opened,the cable gland must not be
removed and the cable must be cut leaving at least 10/15cm -Per un corretto funzionamento, l’apparecchio necessita di
relativo vetro di protezione integro.
-For a proper operation, thetting requires its protective
undamaged glass.
Slave RGB
(vedere istruzioni del controller scelto/see
instructions of the choosen controller)
Master RGB + sensor
Telecomando/Remote control
Tappo terminale DMX/DMX end-cap
Amplicatore di segnale DMX 4 CH/
DMX signal amplier 4 CH (max 30 slaves)
Telecomando/Remote control
Slave DMX - max 6 spot(24V) 3 spot(12V)
(vedere istruzioni slave DMX/see istructions of the slave DMX)
BLUX0103F306CS
BLUX01034306CS
BLUX0103F306TF
BLUX01034306TF
MANUTENZIONE/
MAINTENANCE
GENERALI / GENERALS
CABLAGGIO / WIRING
Alimentatori/ LED Drivers (SELV)
WALIM60W24V
WALIMLED020/24
WALIMLED100/24
WALIMLED150/24
Codice/Code
non inclusi/not included
Caratteristiche/
Specications
20W - 24V
60W - 24V
100W - 24V
150W - 24V
CONTROLLER DMX
WSLAVEDMX6X3
Controller RGB DMX/RGB DMX
Controller
non inclusi/not included
Caratteristiche/
Specications
QDMX512/CAP
WTELEC-RGB (opz.)
WALIMLED240/24 240W - 24V
WSPLITTERDMX
WMASTERRGB5X3I
WSLAVERGB5X3
Controller RGB/RGB controller
non inclusi/not included
Caratteristiche/Specications
WTELEC-RGB
WALIMLED025/12
WALIMLED09W12V
WALIMLED060/12
WALIMLED100/12
Codice/Code
non inclusi/not included
Caratteristiche/
Specications
9W - 12V
25W - 12V
60W - 12V
100W - 12V
WALIMLED240/12 240W - 12V
In immersione con sistema DMX/Submerged applications with DMX system
* solo per versione in ottone-versione TF max 35°C /Only for CS model-35°C for TF model
MADE in ITALY_10 - 2018 (M)
ILTI LUCE srl · Lungo Dora P. Colletta, 113/9· 10153 Torino (Italy); tel (39) 011 765 73 01; fax (39) 011 853855; www.iltiluce.com; ilti@signify.com
La morsettiera di alimentazione non è inclusa/the terminal block not included
SMALL SPOTLIGHTS
OUTDOOR
Lux 20 RGB CS/TF ISTRUZIONI DI MONTAGGIO / INSTALLATION INSTRUCTIONS
si consiglia la conservazione delle seguenti istruzioni - we suggest you to keep this copy for your les
A
D
C
B
drenaggio
dreinage
tubo per cablaggio
tube for cables
cemento
concrete
E
per utilizzo in immersione
è consigliabile applicare uno
strato di silicone tra cassaforma
e faretto.
for underwater use we suggest
to apply a silicone layer between
boxskill and the spot.
IP67-68 application
cassaforma(ABS) ILTILUCE
boxskill(ABS ) ILTILUCE
E
A
B
C
D
90°
20/30cm
1
2
Ø 48
Fissaggio molle per incasso
Spring Fixation
Solo per uso molle
Only for Spring Fixation
CABLAGGIO / WIRING
SMALTIMENTO/
DISPOSAL
Secondo la direttiva comunitaria WEEE (Waste Electrical and Electronic
Equipment) l’apparecchio non può essere smaltito con i riuti
indierenziati. Deve essere portato nelle strutture locali per lo
smaltimento ed il riciclaggio dei prodotti elettronici.
In accordance with EU Directive WEEE (Waste Electrical and Electronic
Equipment), luminaires must not be disposed of with other household
waste. At the end of their life, luminaires must be taken to the appropriate
local facility available for the disposal or recycling of electronic products.
-Eettuare il cablaggio usando un sistema che garantisca almeno il
grado IP del faretto.
-Make the wiring using a system that guarantees at least the IP grade of
the spot.
- Dare tensione all’impianto solo dopo aver collegato tutti i LED
all’alimentatore.
- Connect the tting to the power supply only after connecting all LED
to the driver.
MADE in ITALY_10 - 2018 (M)
ILTI LUCE srl · Lungo Dora P. Colletta, 113/9· 10153 Torino (Italy); tel (39) 011 765 73 01; fax (39) 011 853855; www.iltiluce.com; ilti@signify.com
SMALL SPOTLIGHTS
OUTDOOR
Lux 20 RGB CS/TF ISTRUZIONI DI MONTAGGIO / INSTALLATION INSTRUCTIONS
Connessione in serie / Serial connection
Attenersi all'identicazione dei colori dei li e alle polarità indicate sulle istruzioni di SLAVE e MASTER.
Please, follow the colour identication of the cables and the polarities shown in the mounting instructions of SLAVE
and MASTER.
Dettaglio connessioni tra faretti
Connection details between spots
Connessione li di entrata/uscita
Cables connection out/in
(+) (+) (+) (-)
(-)
(-) (+) (+) (+) (-)
(-)
(-)
(+) (+) (+) (-)
(-)
(-)
MASTER /
SLAVE
OUTPUTS
B
G
R
R
G
B
Vin=24V DC + NERO MARCHIATO
ROSSO
- NERO
-
-
-
+
+
+
+
+
-
-
bianco/white
giallo/yellow
verde/green
marrone/brown
rosa/pink
grigio/grey
D1 Led blu
D2 Led verde D3 Led rosso
C1
C2
C3
C1
C2
C3
C1
C2
C3
PINK / GREY
YELLOW / GREEN
BROWN / WHITE
R-
R+
B-
B+
G-
G+
+
-+
-
+-
+
-+
-
+-
+
-+
-
+-
+
-+
-
+-
+
-+
-
+-
15 m(30 m TOT)
15 mt(30 m)
15 m(30 m TOT)
R-
R+
B-
B+
G-
G+
+
-+
-
+-
+
-+
-
+-
+
-+
-
+-
+
-+
-
+-
+
-+
-
+-
15 m(30 m TOT)
15 m(30 m)
15 m(30 m TOT)
Gestione con Master RGB/RGB Master running
Esempio di collegamento /Example of connection
WMASTERRGB5X3I
S
Alimentatore/Feeder
WALIMLEDxxxxx
24V
A
+
-
A
L
N
S
max 20m
110V-240V*
50/60 Hz
+
-
max 99 slaves
max 20m
max 20m
M
MFaretti 3x1W RGB/Spots 3x1W RGB
Alimentazione/Feeding
cavo 6 poli/Cable 6 poles
Segnale RGB/RGB signal 200 mt. TOT
WSLAVERGB5X3
si consiglia la conservazione delle seguenti istruzioni - we suggest you to keep this copy for your les
MADE in ITALY_10 - 2018 (M)
ILTI LUCE srl · Lungo Dora P. Colletta, 113/9· 10153 Torino (Italy); tel (39) 011 765 73 01; fax (39) 011 853855; www.iltiluce.com; ilti@signify.com
SMALL SPOTLIGHTS
OUTDOOR
Lux 20 RGB CS/TF ISTRUZIONI DI MONTAGGIO / INSTALLATION INSTRUCTIONS
Connessione in serie / Serial connection
Attenersi all'identicazione dei colori dei li e alle polarità indicate sulle istruzioni di SLAVE e MASTER.
Please, follow the colour identication of the cables and the polarities shown in the mounting instructions of SLAVE and MASTER.
* Vericare la tensione di ingresso supportata dagli alimentatori / Verify the input tension supported from drivers
Alimentatore/Feeder
WALIM60W12V
(17 faretti LED 3x1W/Up to 17 spots LED 3x1W)
D
+
-
R-
R+
B-
B+
G-
G+
(dopo utilizzare amplicatore di segnale/after use
signal amplier WSLITTERDMX)
R-
R+
B-
B+
G-
G+
+
-+
-
+-
+
-+
-
+-
+
-+
-
+-
15 m(30 m TOT)
15 m(30 m TOT)
15 m(30 m TOT)
+
-+
-
+-
+
-+
-
+-
+
-+
-
+-
15 m(30 m TOT)
15 m(30 m TOT)
15 m(30 m TOT)
Controller DMX RGB
Esempio di collegamento /Example of connection
max 15 m
max 200m
Centralina DMX/Controller DMX
Master DMX
Slave DMX
WSLAVEDMX6X3
no a 3 faretti LED 3x1W (alimentazione 12V)
Up to 3 spots LED 3x1W (12V feeding)
S
D
L
N
110V-240V*
50/60 Hz
L
N
110V-240V*
50/60 Hz S
S
max 32 slaves
Alimentazione/Feeding
Alimentazione 12V/Feeding 12V
Segnale DMX/DMX signal 200 mt. TOT
Faretti 3x1W RGB/Spots 3x1W RGB
Controller DMX RGB
Esempio di collegamento /Example of connection
Alimentatore/Feeder
WALIM60W24V
(17 faretti LED 3x1W/Up to 17 spots LED 3x1W)
A
Centralina DMX/Controller DMX
Master DMX
Slave DMX
WSLAVEDMX6X3
no a 6 faretti LED 3x1W (alimentazione 24V)
Up to 6 spots LED 3x1W (24V feeding)
S
Faretti 3x1W RGB/Spots 3x1W RGB
+
-
R-
R+
B-
B+
G-
G+
(dopo utilizzare amplicatore di segnale/after use
signal amplier WSPLITTERDMX)
R-
R+
B-
B+
G-
G+
max 30 m
max 200m
A
L
N
110V-240V*
50/60 Hz
L
N
110V-240V*
50/60 Hz S
S
max 32 slaves
+
-+
-
+-
+
-+
-
+-
+
-+
-
+-
+
-+
-
+-
+
-+
-
+-
+
-+
-
+-
15 mt.(30 mt. TOT)
15 mt.(30 mt. TOT)
15 mt.(30 mt. TOT)
+
-+
-
+-
+
-+
-
+-
+
-+
-
+-
+
-+
-
+-
+
-+
-
+-
+
-+
-
+-
15 mt.(30 mt. TOT)
15 mt.(30 mt. TOT)
15 mt.(30 mt. TOT)
si consiglia la conservazione delle seguenti istruzioni - we suggest you to keep this copy for your les
MADE in ITALY_10 - 2018 (M)
ILTI LUCE srl · Lungo Dora P. Colletta, 113/9· 10153 Torino (Italy); tel (39) 011 765 73 01; fax (39) 011 853855; www.iltiluce.com; ilti@signify.com
-L'installazione deve essere fatta da personale qualicato.
-Installation should be carried out by a suitable qualied installer.
-Non aprire il faretto
-Do not open the spot.
-Tutte le operazioni di cablaggio e manutenzione vanno eseguite con
l’interruttore generale in posizione OFF.
-All wiring and maintenance must be performed with the main switch
in the OFF position.
-In caso di guasti, previa autorizzazione al reso di ILTI Luce, il prodotto
non dovrà essere aperto, il pressacavo non deve essere smontato e il
cavo deve essere tagliato lasciandone almeno 10/15cm.
-In case of failure,upon a return authorization of ILTI LUCE, the
product will not have to be opened, the cable gland must not be
removed and the cable must be cut leaving at least 10/15cm
56
67
ø 49
XX700mA
-
+
L=1mt (sez. 2x0,5mm )
IN
L
N
OUT
ø
56
ø 53
LUXCASSA3
36
(mm)
110 - 240V*
50~60Hz
SMALL SPOTLIGHTS
OUTDOOR
Lux 20 opal gen.2 ISTRUZIONI DI MONTAGGIO / INSTALLATION INSTRUCTIONS
BLUX0101G17_CS
2 W
max
35˚C
-20˚C
IP68
-Pulire periodicamente la supercie frontale del faretto.
Non utilizzare detersivi a base acida.
-Periodically clean the frontal part of the spot.
Do not use acid substances.
-Togliere tensione prima di eseguire operazioni di manutenzione.
-Disconnect main voltage before maintenace operation.
-Per un corretto funzionamento, l’apparecchio necessita di
relativo vetro di protezione integro.
-For a proper operation, thetting requires its protective
undamaged glass.
GENERALI / GENERALS
MANUTENZIONE/
MAINTENANCE
si consiglia la conservazione delle seguenti istruzioni - we suggest you to keep this copy for your les
Alimentatori/ LED Drivers (SELV)
WALIMLED03700
WALIMLED01700
WALIMLED05700
WALIMLED12700
WALIMLED12700D
Codice/Code
non inclusi/not included
Caratteristiche/
Specications
n. faretti/
n.spots
3W - 700mA
10W - 700mA
18W - 700mA
36W - 700mA
36W - 700mA
1
3
3-7
4-14
4-14
* Vericare la tensione di ingresso supportata dagli alimentatori / Verify the input tension supported from drivers
Esempio di collegamento (connessione in serie)/
Example of connection (serial connection)
max n°3 Lux spots 2W
WALIMLED03700
10W - 700mA
N
L
2
1
50/60 Hz
110V-240V*
connessione in SERIE
WALI/DIMM/JOLLY
WBOKVAR
25W - 700mA - dimm
variatore/dimmer 1/10V
9
/
+++
+
-
-
--
20m (40m tot.)
sez.cavo/cable section
1mm
La morsettiera di alimentazione non è inclusa/the terminal block not included
MADE in ITALY_10 - 2018 (M)
ILTI LUCE srl · Lungo Dora P. Colletta, 113/9· 10153 Torino (Italy); tel (39) 011 765 73 01; fax (39) 011 853855; www.iltiluce.com; ilti@signify.com
SMALL SPOTLIGHTS
OUTDOOR
Lux 20 opal gen.2 ISTRUZIONI DI MONTAGGIO / INSTALLATION INSTRUCTIONS
si consiglia la conservazione delle seguenti istruzioni - we suggest you to keep this copy for your les
A
D
C
B
drenaggio
dreinage
tubo per cablaggio
tube for cables
cemento
concrete
E
per utilizzo in immersione
è consigliabile applicare uno
strato di silicone tra cassaforma
e faretto.
for underwater use we suggest
to apply a silicone layer between
boxskill and the spot.
IP67-68 application
cassaforma(ABS) ILTILUCE
boxskill(ABS ) ILTILUCE
E
A
B
C
D
90°
20/30cm
1
2
Ø 48
Fissaggio molle per incasso
Spring Fixation
Solo per uso molle
Only for Spring Fixation
CABLAGGIO / WIRING
SMALTIMENTO/
DISPOSAL
Secondo la direttiva comunitaria WEEE (Waste Electrical and Electronic
Equipment) l’apparecchio non può essere smaltito con i riuti
indierenziati. Deve essere portato nelle strutture locali per lo
smaltimento ed il riciclaggio dei prodotti elettronici.
In accordance with EU Directive WEEE (Waste Electrical and Electronic
Equipment), luminaires must not be disposed of with other household
waste. At the end of their life, luminaires must be taken to the appropriate
local facility available for the disposal or recycling of electronic products.
-Eettuare il cablaggio usando un sistema che garantisca almeno il
grado IP del faretto.
-Make the wiring using a system that guarantees at least the IP grade of
the spot.
- Dare tensione all’impianto solo dopo aver collegato tutti i LED
all’alimentatore.
- Connect the tting to the power supply only after connecting all LED
to the driver.
MADE in ITALY_10 - 2018 (M)
ILTI LUCE srl · Lungo Dora P. Colletta, 113/9· 10153 Torino (Italy); tel (39) 011 765 73 01; fax (39) 011 853855; www.iltiluce.com; ilti@signify.com

This manual suits for next models

1

Other Ilti Luce Outdoor Light manuals

Ilti Luce Lux 12 User manual

Ilti Luce

Ilti Luce Lux 12 User manual

Ilti Luce Velis OVE SAT Series User manual

Ilti Luce

Ilti Luce Velis OVE SAT Series User manual

Popular Outdoor Light manuals by other brands

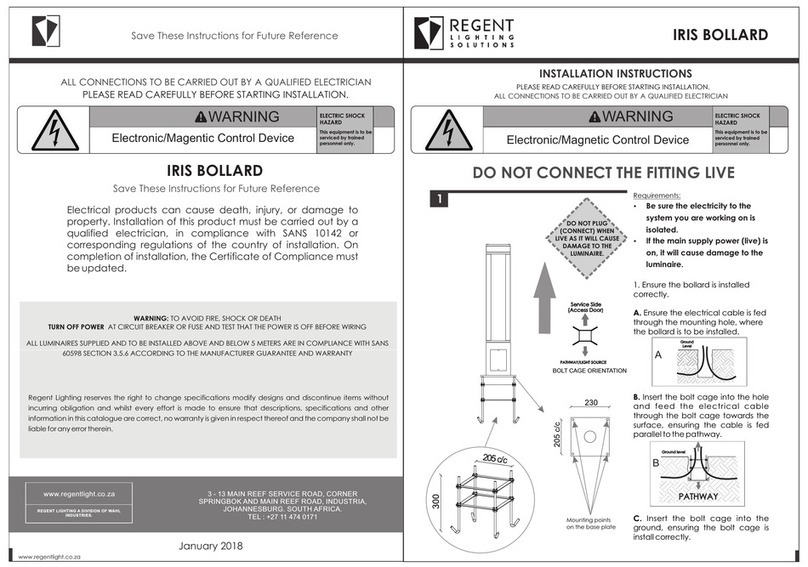
Regent Lighting Solutions IRIS Series installation instructions

Regent Lighting Solutions

Regent Lighting Solutions IRIS Series installation instructions

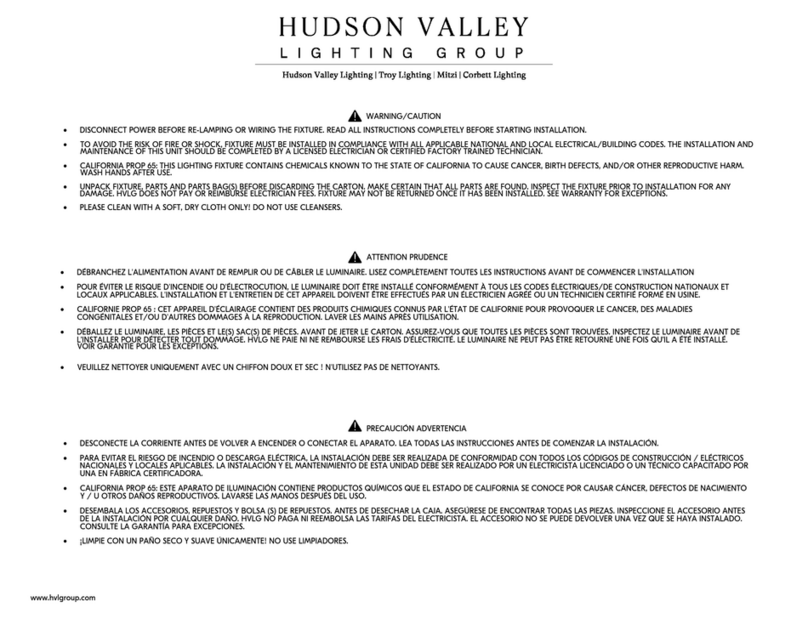
HUDSON VALLEY LIGHTING mitzi JEN HL819201 installation instructions

HUDSON VALLEY LIGHTING

HUDSON VALLEY LIGHTING mitzi JEN HL819201 installation instructions

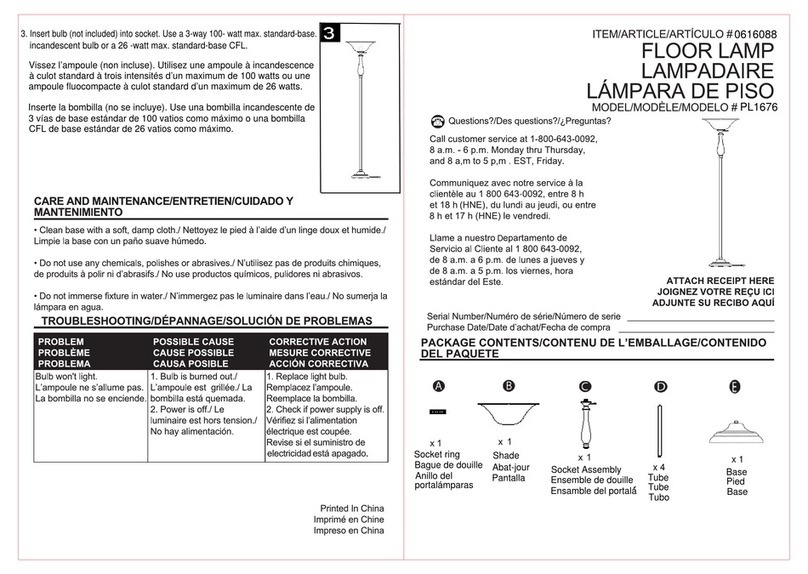
Woodbine PL1676 manual

Woodbine

Woodbine PL1676 manual

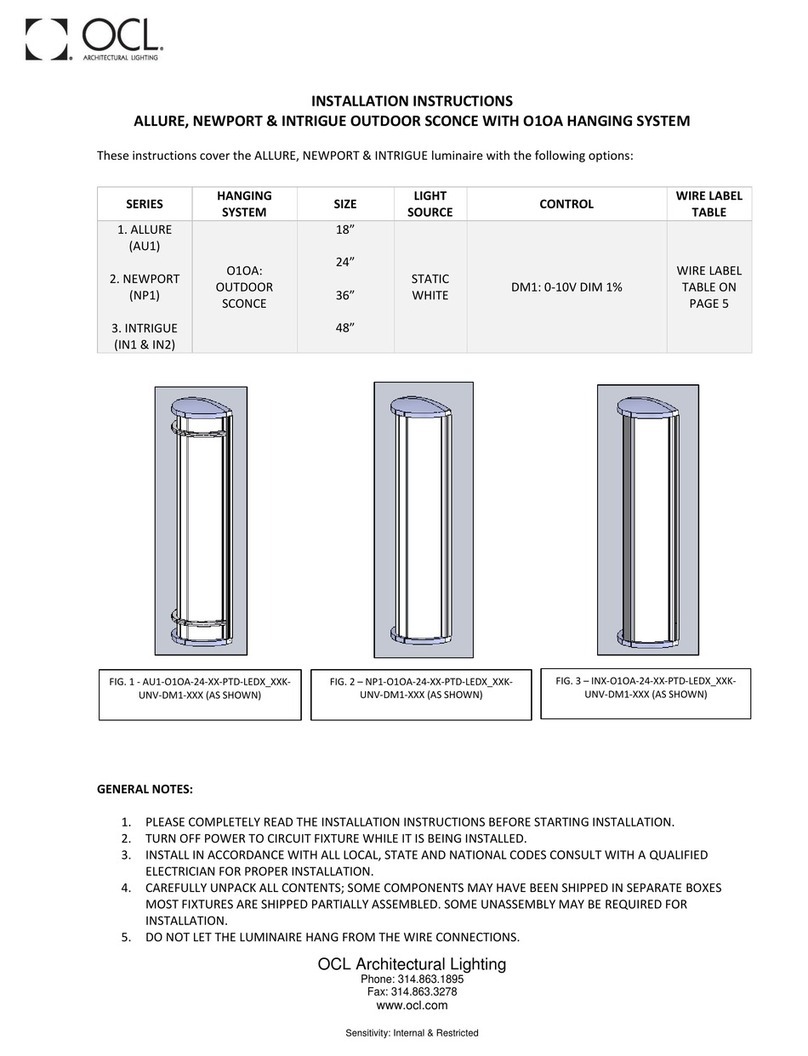
OCL Allure Series installation instructions

OCL

OCL Allure Series installation instructions

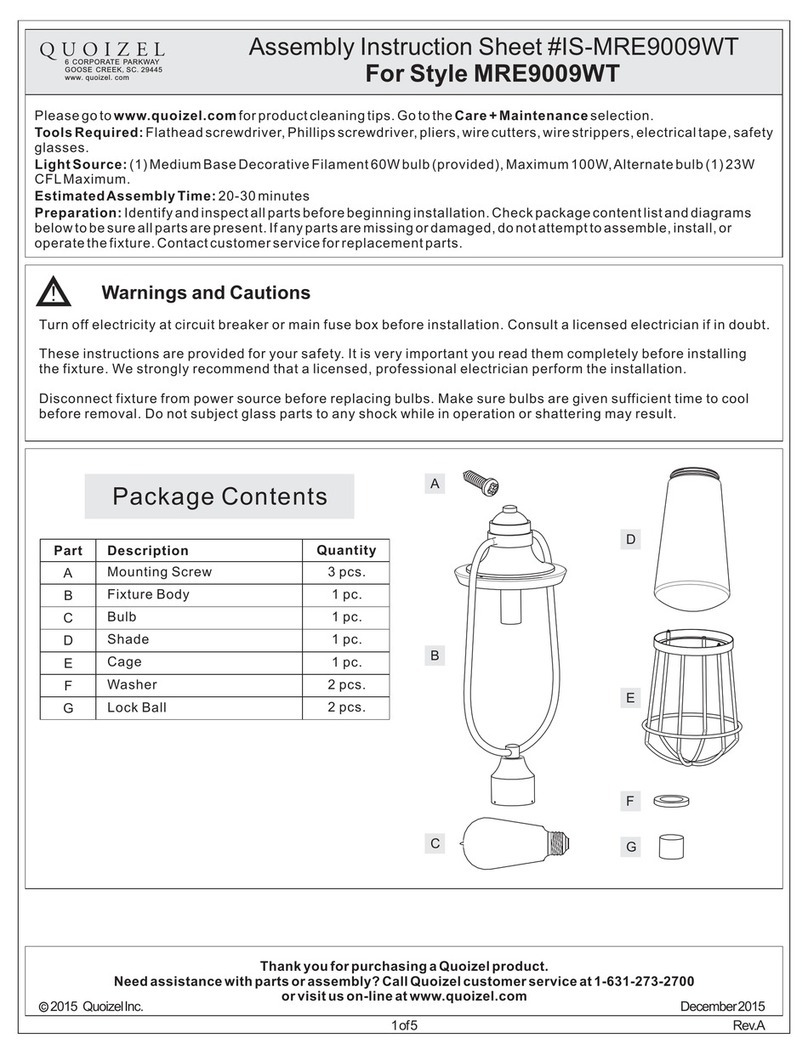
Quoizel MRE9009WT manual

Quoizel

Quoizel MRE9009WT manual

Home Decorators Collection 12531-HBU Use and care guide

Home Decorators Collection

Home Decorators Collection 12531-HBU Use and care guide

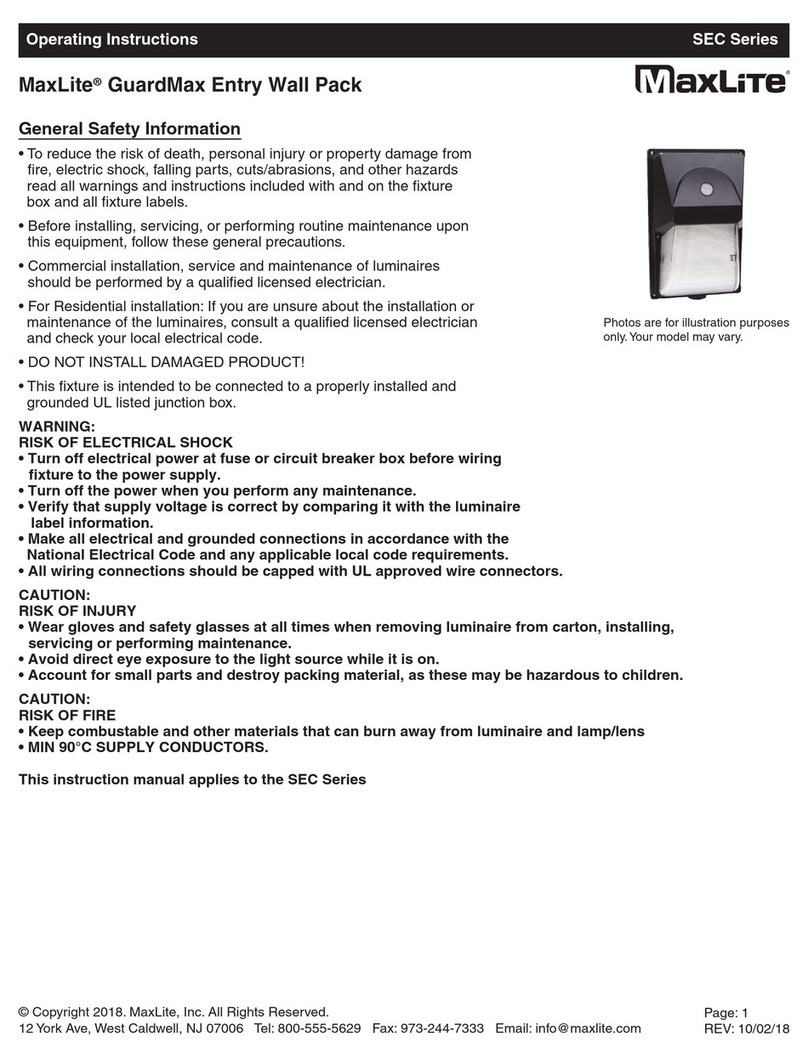
MaxLite SEC Series operating instructions

MaxLite

MaxLite SEC Series operating instructions

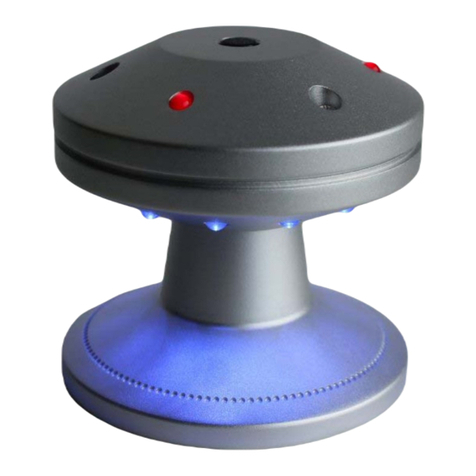
Hagerman Audio Labs UFO StrobeClamp manual

Hagerman Audio Labs

Hagerman Audio Labs UFO StrobeClamp manual

Portfolio E3A quick start guide

Portfolio

Portfolio E3A quick start guide

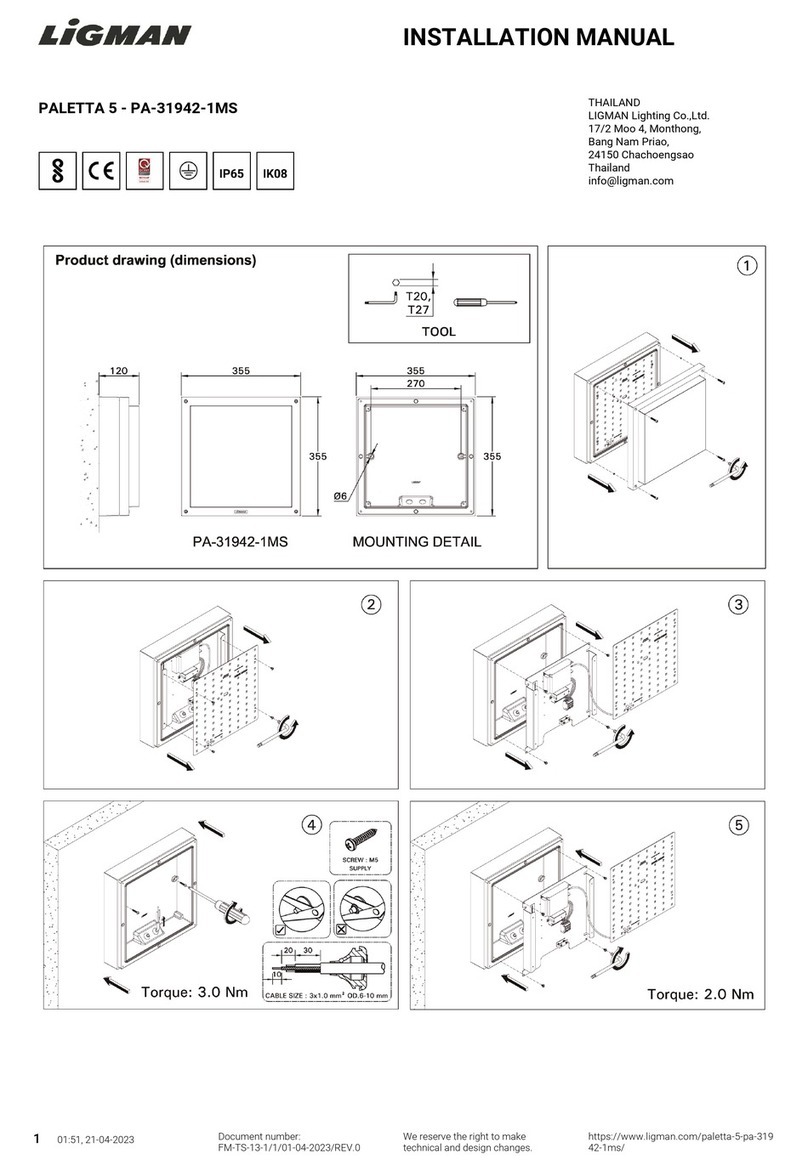
LIGMAN PA-31942-1MS installation manual

LIGMAN

LIGMAN PA-31942-1MS installation manual

Endon Breton Outdoor Wall light Fitting instruction manual

Endon

Endon Breton Outdoor Wall light Fitting instruction manual

V-TAC VT-7506 instruction manual

V-TAC

V-TAC VT-7506 instruction manual

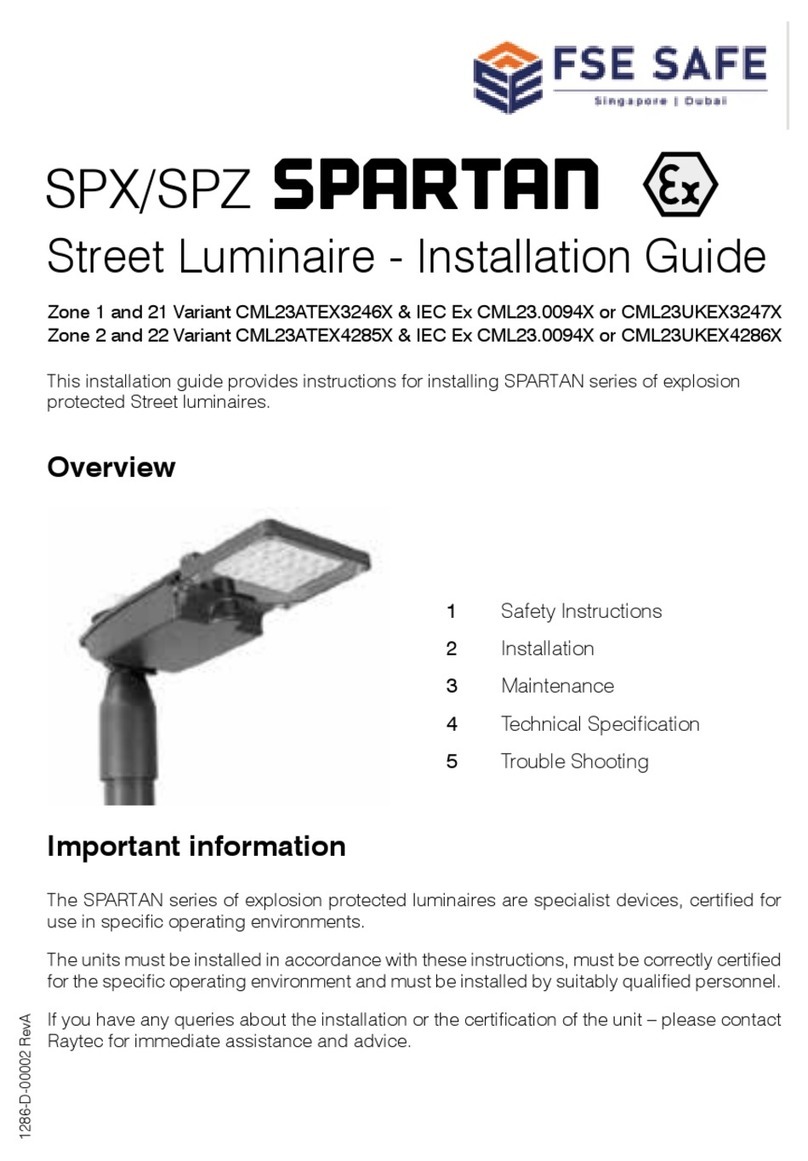
FSE SAFE SPARTAN SPX installation guide

FSE SAFE

FSE SAFE SPARTAN SPX installation guide

Safavieh TBL4272A quick start guide

Safavieh

Safavieh TBL4272A quick start guide

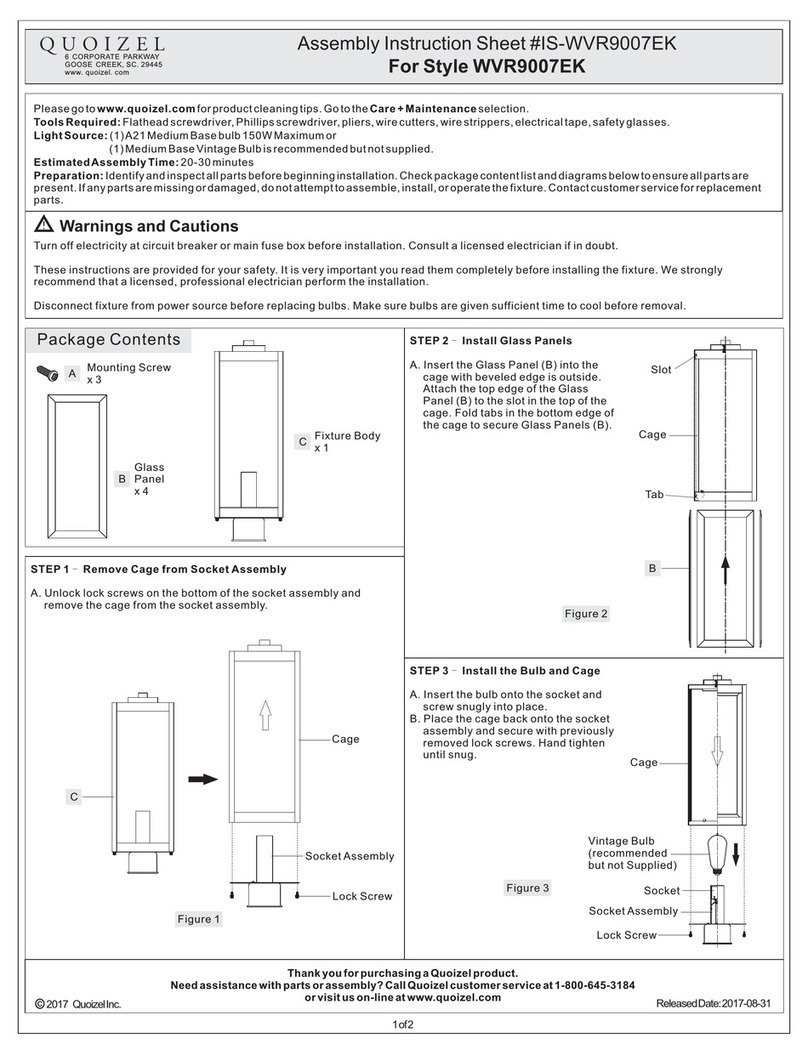
Quoizel WVR9007EK Assembly instruction sheet

Quoizel

Quoizel WVR9007EK Assembly instruction sheet

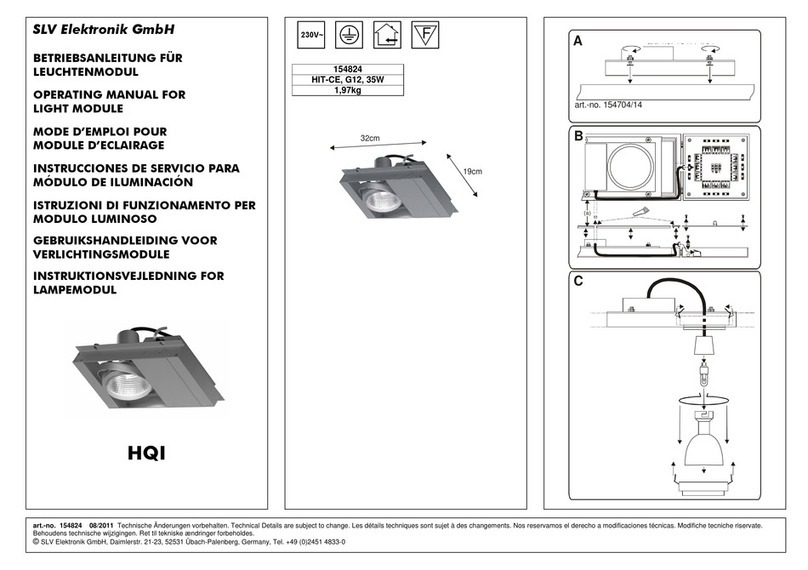
SLV Elektronik HQI operating manual

SLV Elektronik

SLV Elektronik HQI operating manual

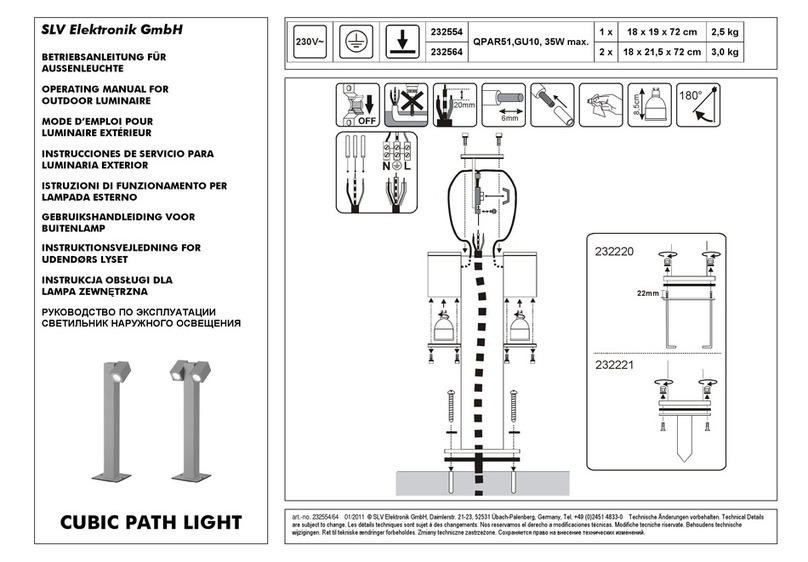
SLV Elektronik CUBIC PATH LIGHT 232554 operating manual

SLV Elektronik

SLV Elektronik CUBIC PATH LIGHT 232554 operating manual

Secom LIKON Installation and assembly instructions

Secom

Secom LIKON Installation and assembly instructions

manuals.online logo
manuals.online logoBrands
  • About & Mission
  • Contact us
  • Privacy Policy
  • Terms and Conditions

Copyright 2025 Manuals.Online. All Rights Reserved.