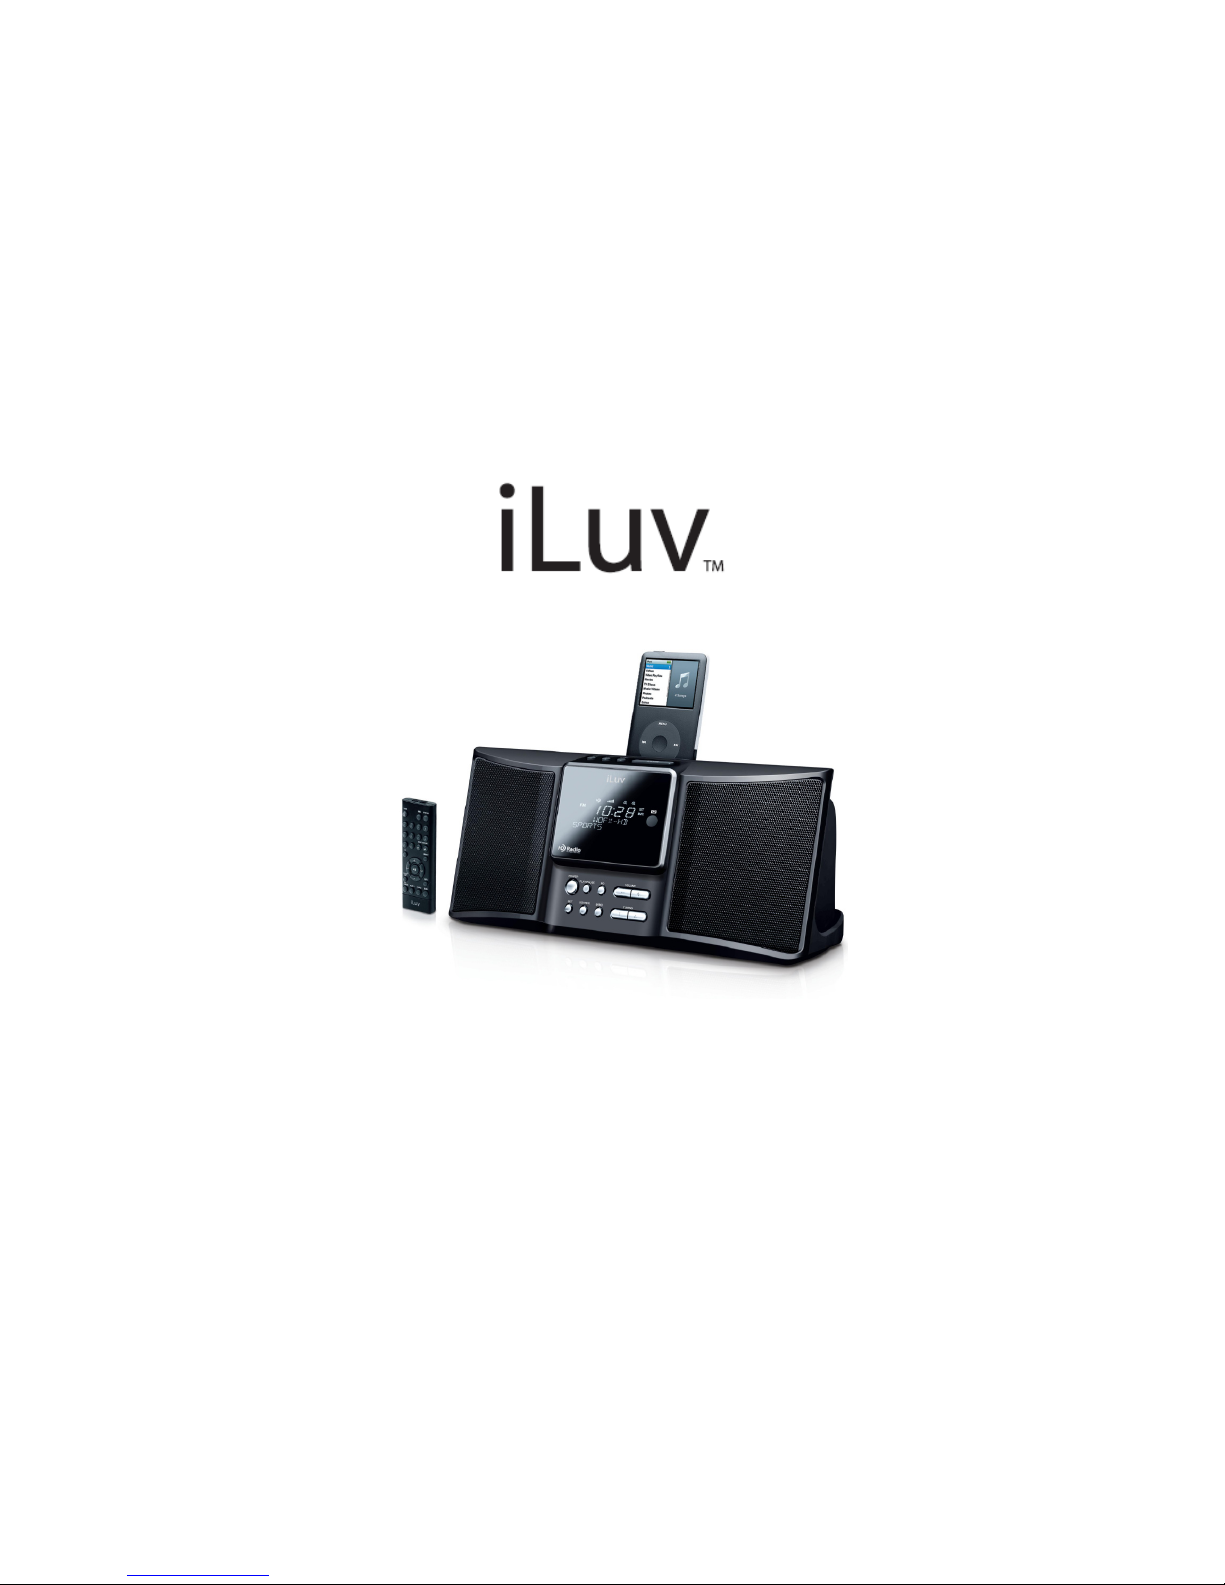
HD Radio Receiver with iPod Dock and Dual Alarm Clock V10M10_IM_EN_03032008
www.i-Luv.com- 3 -
USER SAFETY GUIDE
FOR USERS IN THE USA
As specified in Part 15 of the FCC Rules, this equipment complies within the limits of a Class B digital device. These restrictions provide sufficient protection
against radio and TV interference in residential areas. However, even during normal operation, this device may cause TV or radio interference. In attempting
to eliminate some or all interference, you should try one or more of the following corrective measures:
1. Increase the distance between the device and the radio and/or TV
2. Try a different outlet on various electrical circuits for the device, the radio and/or TV.
3. Reposition the receiving antenna
Do not attempt to fix technical problems yourself if they continue to still exist. Refer servicing only to a qualified technical professional. Interfering or
modifying with your product’s internal components may cause a malfunction and an invalidation of the system’s warranty. This tampering can also void the
FCC authorization to operate it.
This device complies with Part 15 of the FCC Rules. Operation is subject to the condition that this device does not cause harmful interference.
IMPORTANT NOTES
Since digital circuitry may cause interference to other radio or television tuners nearby, switch this unit off when not in use or move it away from the affected
radio/television tuner.
FOR USERS IN CANADA
This digital apparatus does not exceed the Class B limits for radio noise emissions from digital apparatus as set out in the Radio Interference Regulations of
Industry Canada. These limits are designed to provide reasonable protection against harmful interference in a residential installation. This equipment
generates, uses, and can radiate radio frequency energy and, if not installed and used in accordance with the instructions, may cause harmful interference
to radio communications. However, there is no guarantee that interference will not occur in a particular installation. If this equipment does cause harmful
interference to radio or television operation (which can be determined by turning the equipment off), the user is encouraged to try to correct the interference
by one or more of the following measures:
•Reorient or relocate the receiving antenna.
•Increase the separation between the equipment and receiver.
•Connect the equipment into an outlet on a circuit different from that to which the receiver is connected.
•Consult the dealer or an experienced radio / TV technician for help.